Pre-School Chopper

Rat Rod Bikes Bicycle Forum

Help Support Rat Rod Bikes Bicycle Forum:

This site may earn a commission from merchant affiliate links, including eBay, Amazon, and others.
Glad I kept at it. This is looking more cool each time I see it. Had to take a picture from this angle when I got home from work tonight...
IMG_20191024_183815.jpg

Peter Fonda, eat yer red white and blue chopper heart out! LOL
 
They will be getting cut off soon! The legs of the fork kinda toed in a little. Need a little adjustment yet.
I just had an idea for your brake bosses. What if you ran springs from them up to a bracket mounted from the bottom of the steer tube? Big ol, fat springs that would give it a long extended springer look.

Here's what I did with my One-Liner build a couple of RRB BO's ago. This Butt Marker piece is available at your hardware / Home Depot store. As well as the 1/2" x 1/8" steel tubing and the springs. All relatively cheap.

IMG_20160521_081614.jpg
IMG_20160521_081605.jpg

A rubber stopper plug wedged up in the steer tube of the fork works great for mounting the 'fork crown' piece (in my case the Butt Marker). Just run a screw right into the dense rubber.

IMG_20160521_192217.jpg


Your bottom attachment for the fork braces would be your brake boss stumps. My springs ended up rubbing the tire I wanted to use on this build, so I ultimately mounted them down low for the final position.

IMG_20160522_193729.jpg
 
I just had an idea for your brake bosses. What if you ran springs from them up to a bracket mounted from the bottom of the steer tube? Big ol, fat springs that would give it a long extended springer look.

Here's what I did with my One-Liner build a couple of RRB BO's ago. This Butt Marker piece is available at your hardware / Home Depot store. As well as the 1/2" x 1/8" steel tubing and the springs. All relatively cheap.

View attachment 107791 View attachment 107792
A rubber stopper plug wedged up in the steer tube of the fork works great for mounting the 'fork crown' piece (in my case the Butt Marker). Just run a screw right into the dense rubber.

View attachment 107790

Your bottom attachment for the fork braces would be your brake boss stumps. My springs ended up rubbing the tire I wanted to use on this build, so I ultimately mounted them down low for the final position.

View attachment 107789
I saw that setup when looking for ideas for my Summer build off Spaceliner. It was what gave me the idea to make the trusses on that bike.
One idea I have for this chopper is to run trusses from the bosses down to the axle.
Another, before the bending actually happened was to cut the bosses off, run trusses from the axle to the top of the steer tube with a custom bracket on the steer tube to hold them. Springs up at that top bracket. Maybe some fake rockers too. Kinda give it a Sugar Bear chopper look. Not sure if that would work now that I bent the forks.
I have plenty of time to think about it.

My thoughts now are wether or not to paint the bike. Originally I planned an old school flat or satin black rattle can paint job with some fautina, but now I'm liking the ratty red, white and blue look. Maybe just touch up the fork paint and paint the rear extensions?

Sent from my Pixel 2 XL using Tapatalk
 
I like the frame paint the way it is. And seat sissy support. The blue doesn't do it for me.

I'd do a flat black over the blue fork. Then ratina a little if you need to. It would tie the seat and rails in with the graphics on the frame.

All of your fork bracing ideas would work. I like your brake boss to the axle idea. Maybe stick a big bee hive spring on top of it.

Take this over the top. You've got a good thing going here! @kingfish254 is always a good one to get involved with 'out of the box' ideas that make for killer builds! B? Your thoughts?

preschool chopper black fork.jpg


Maybe a wide, chopped fender for the rear as well?!
 
....also, can you show me how you did your rear drop out extensions? Might be needing something like that for my RRB BO #15 build next summer...:wink1::happy::hi::nod:
 
Rear bobber fender is in the plan. Gonna try my luck at tinsmithing and make one. Possibly from some thin diamond plate aluminum for the bling.

No blue, huh? Maybe try to match the red faded to white look on the fork and seat support?

Sent from my Pixel 2 XL using Tapatalk
 
Last edited:
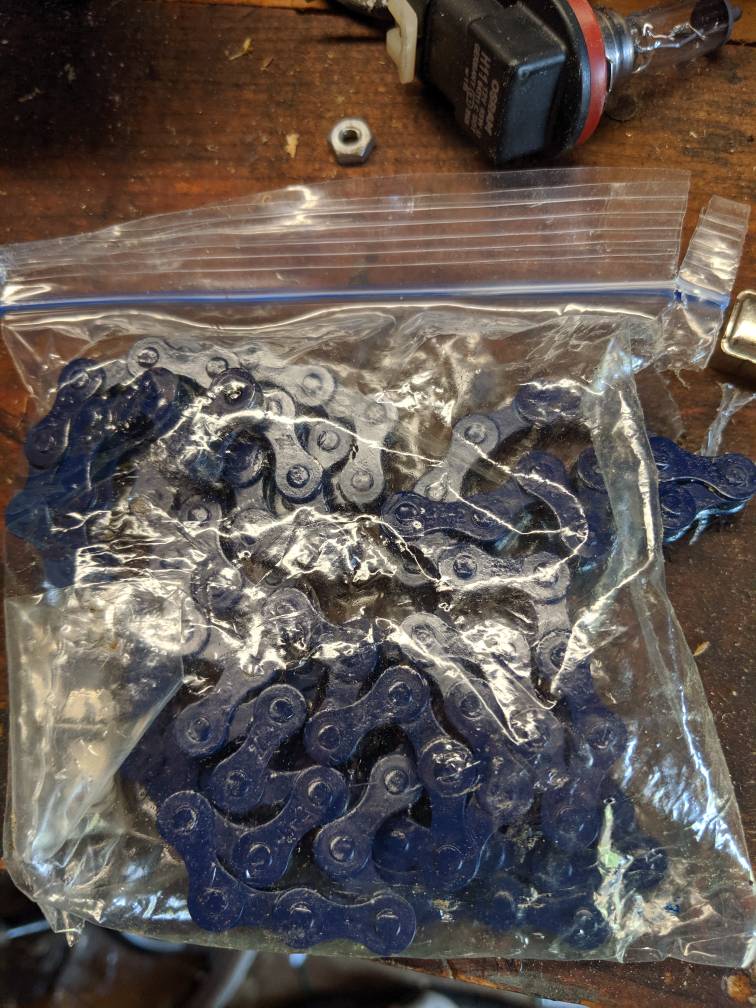
Think I will stay with the red, while and blue motif. Found the chain I am going to use. The first one I bought for Rust in Space and lost until I bought another one! LOL
ace0a89af05b118706f1ea5190dc7a73.jpg


Sent from my Pixel 2 XL using Tapatalk
 
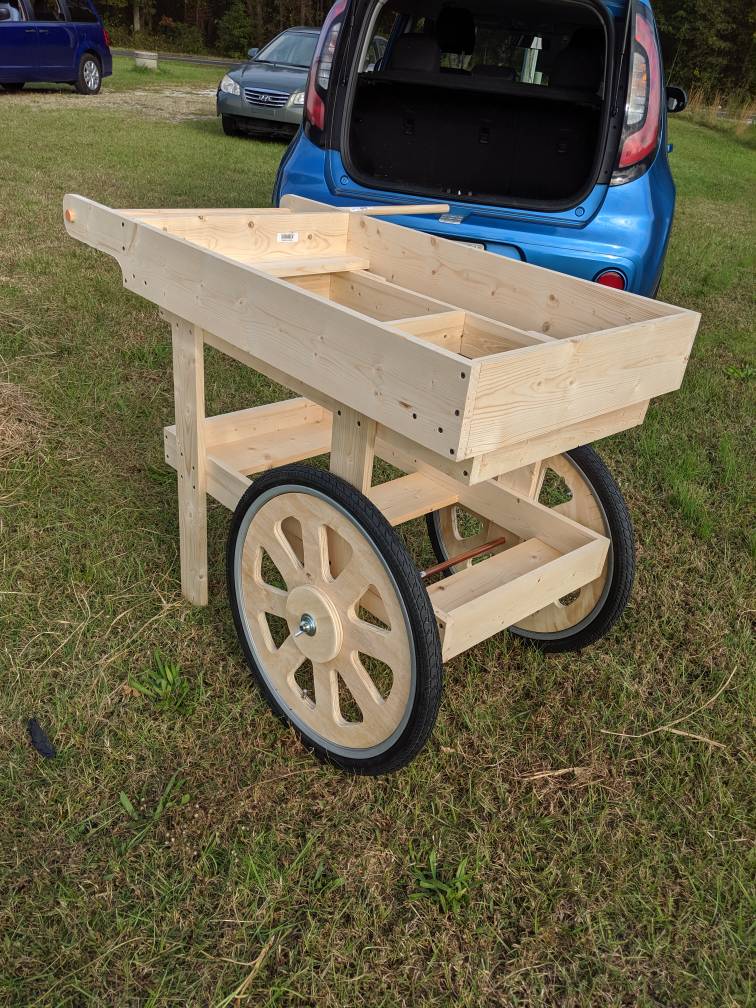
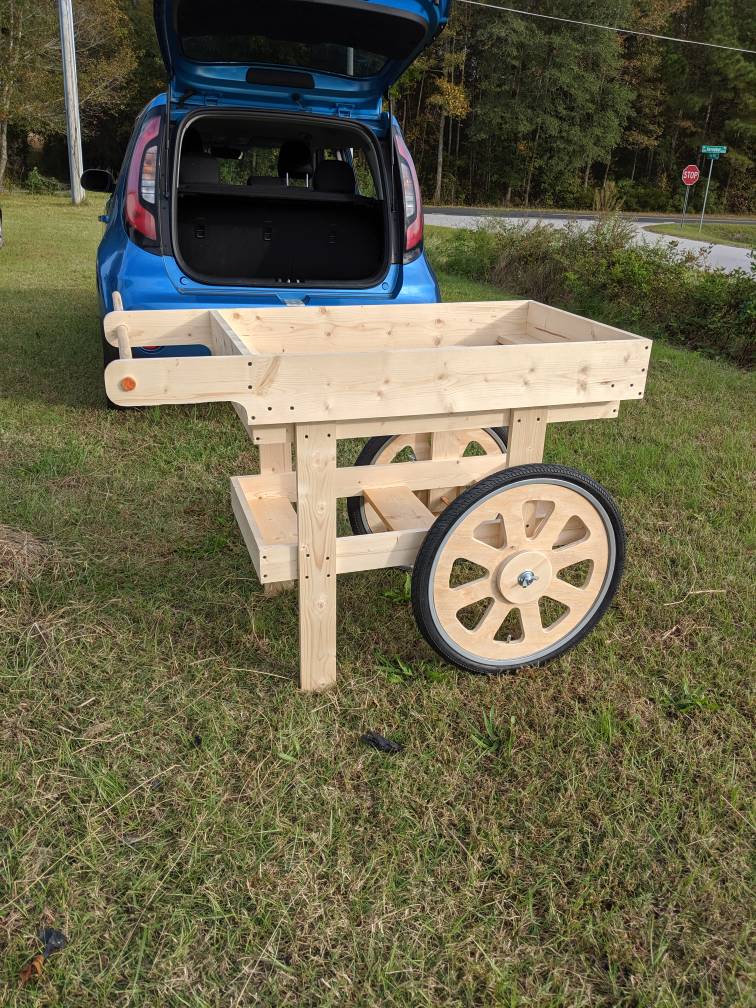
Really nice job on the cart, Andy!

Are we talking paint, or stain, or maybe just a amber colored varnish to give it that 'vintage pine' look?

Looks like you went with the aluminum valve extenders. Very clean look to those wheels.

A couple winters ago we had a Wheelbarrows, Carts, and Wagons build off during the Fall / Winter time frame. Would have fit right in!
Thanks OJ!
Daughter-in-law wants to whitewash it for antique look. I'm thinking a bead of caulk around the rims would be a good thing. Keep moisture out of the joint between steel and plywood. Plus hide some small gaps.
Have to build this thing in sections so she can easily transport it. That is the tricky part.

Sent from my Pixel 2 XL using Tapatalk
 
I like the whitewash idea!

Looks like the wingnut axles should be easy to remove for getting the wheels off. Maybe a similar fasten system for the top shelf of the cart?

Then it would be 4 pieces; two wheels, top shelf / handles, and the mid section.

Again, awesome build.
 
Basically that's it. The base. The part with the handle, the upright pieces, and shelves and roof. Right about the wing nuts. Figure they can be tightened up for brakes too.

Sent from my Pixel 2 XL using Tapatalk
 
First thing I'd do is heat gun all the sticker graphics off of it. Then let's see what the original paint looks like. (I thought it was orange...) I often use themes to decide, but you could ask the future owner what things he likes, to get an idea.

Carl.
 
First thing I'd do is heat gun all the sticker graphics off of it. Then let's see what the original paint looks like. (I thought it was orange...) I often use themes to decide, but you could ask the future owner what things he likes, to get an idea.

Carl.
The original paint was red now faded to off white from the looks of things. I kinda like the ratty "patina" the way it is, stickers and all. LOL

Not really spent much time thinking about paint. Had planned on flat black, but that is getting old. Maybe primer red?

Sent from my Pixel 2 XL using Tapatalk
 

Latest posts

Back
Top