Talked to my chrome guy, he still hasn't even started my guard. I'm getting annoyed. But rather than just sitting around waiting I came up with an idea. Since the back of my flaming stack won't be changed I'll just borrow my daughter's Stack to figure out where I'm going to put the mounting hole. So I told the guy I can give him till the 30th to have it completely done. I hope he comes through or I'm going to be missing a majorly cool piece of this build and I'll be thoroughly pissed off. Now that I have this plan, I want to get the frame into paint as soon as I can so I can give it some cure time.
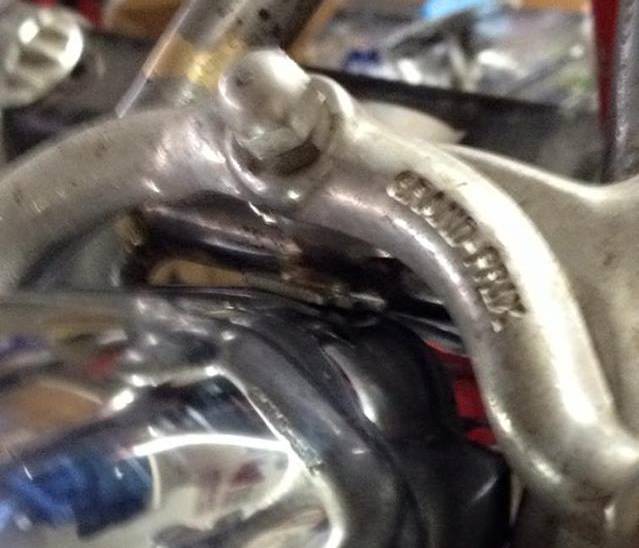
To fix my brake mounting issues my bud brazed a fender bolt to the tab. I brought it home and tested how it all would fit. First thing I noticed is that I couldn't just slide the fender up with the fender hole as it existed.
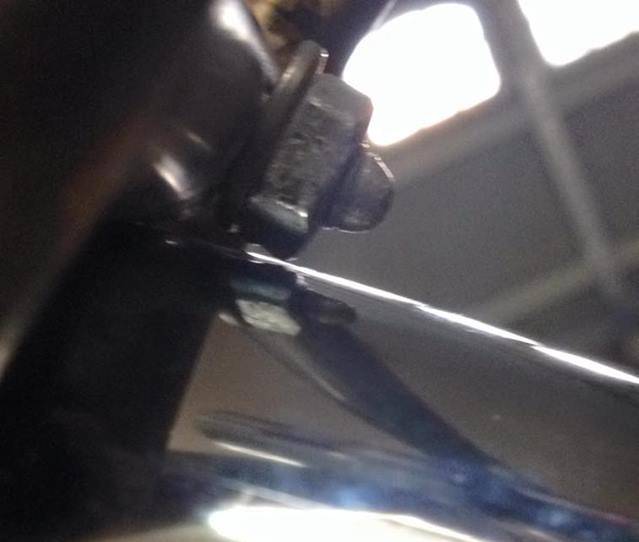
So I elongated the hole into an oval and the fender had room to slide up flush with the tab.
We weren't working with a lot of clearance between the tire and the fender, so seeing this wasn't good.
I tore it down and a Dremel tool made quick work of it.
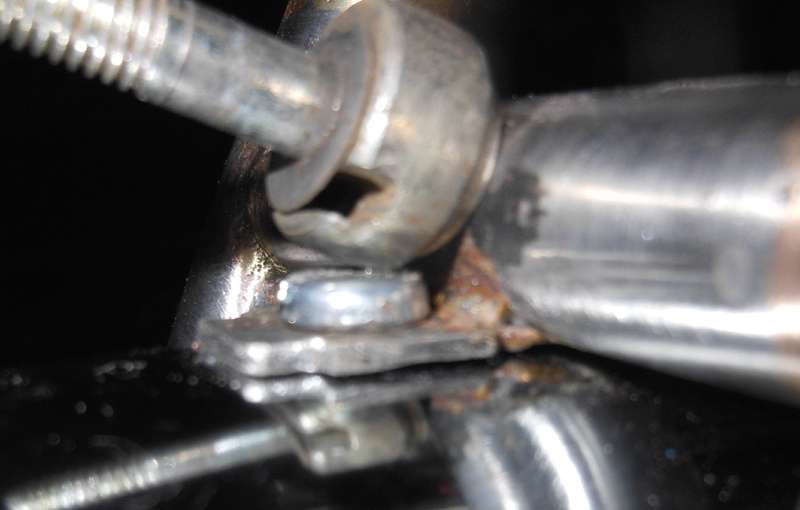
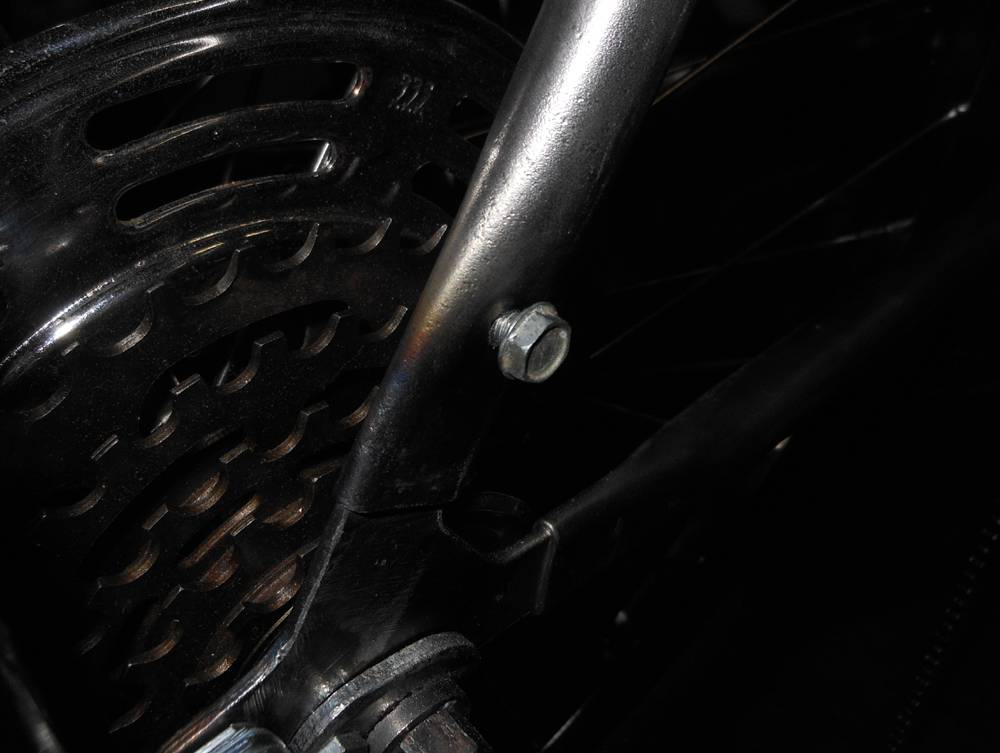
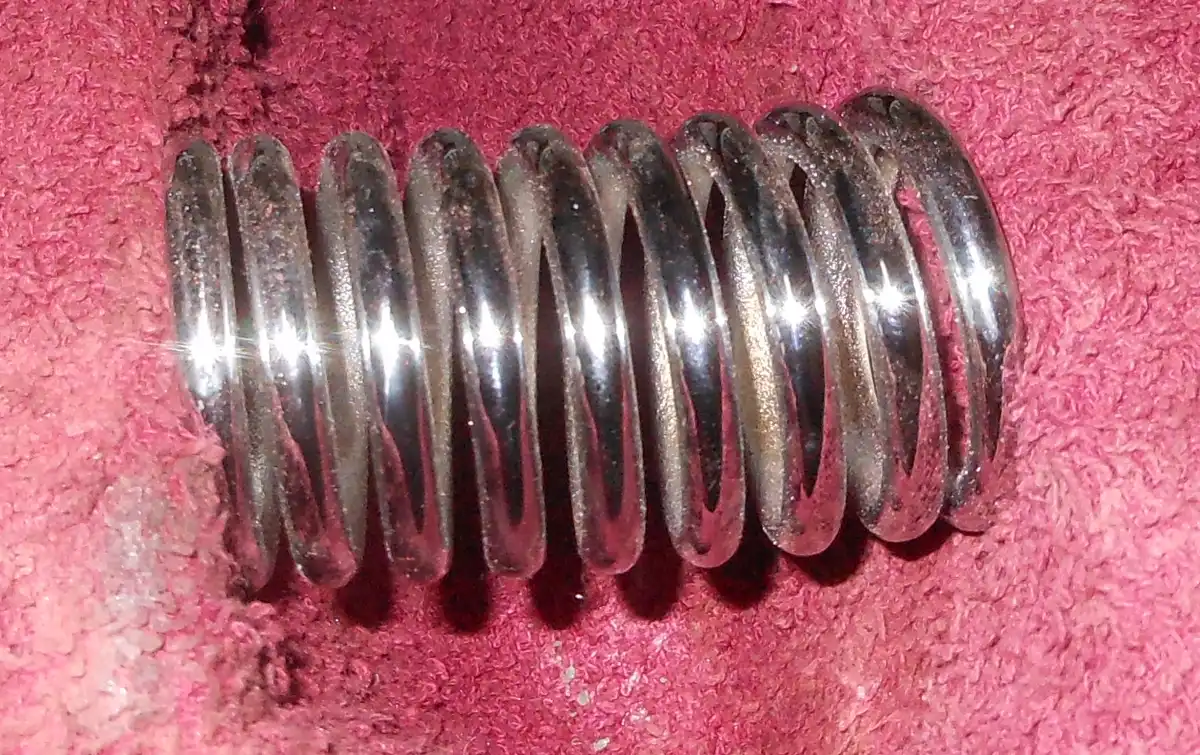
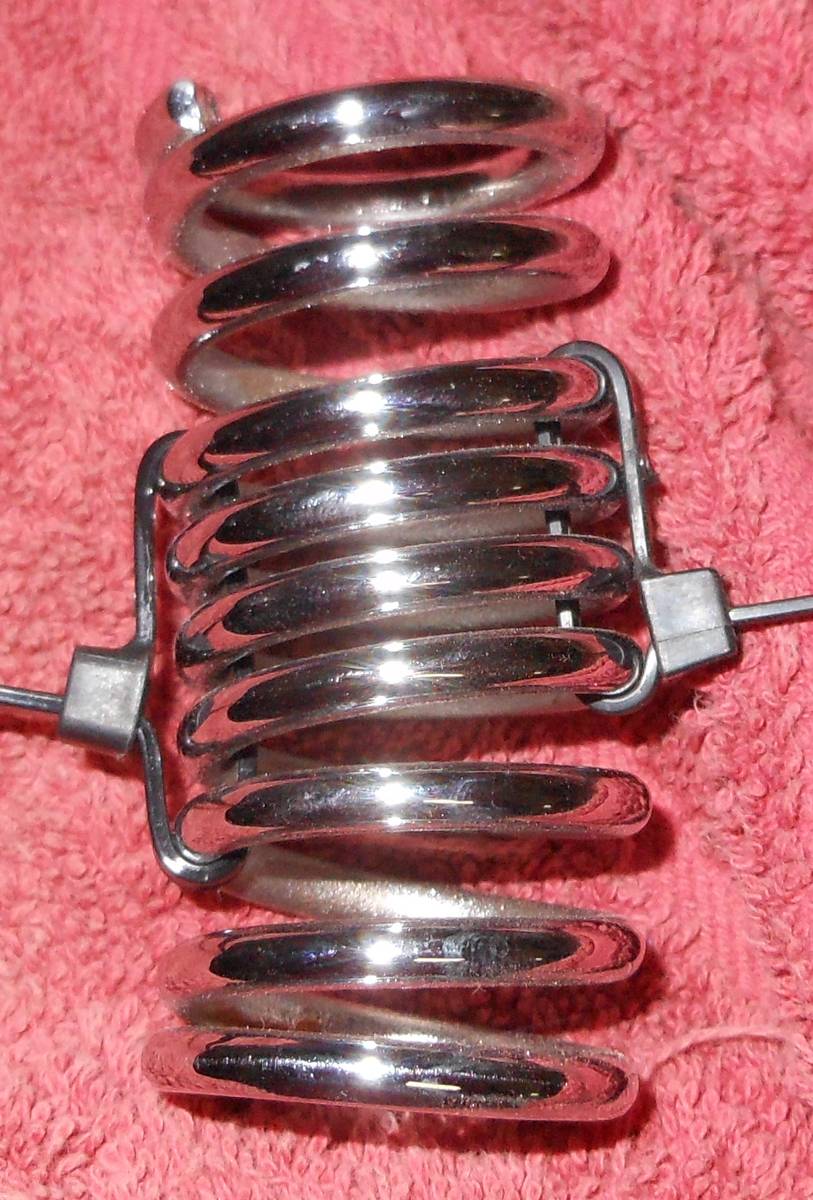
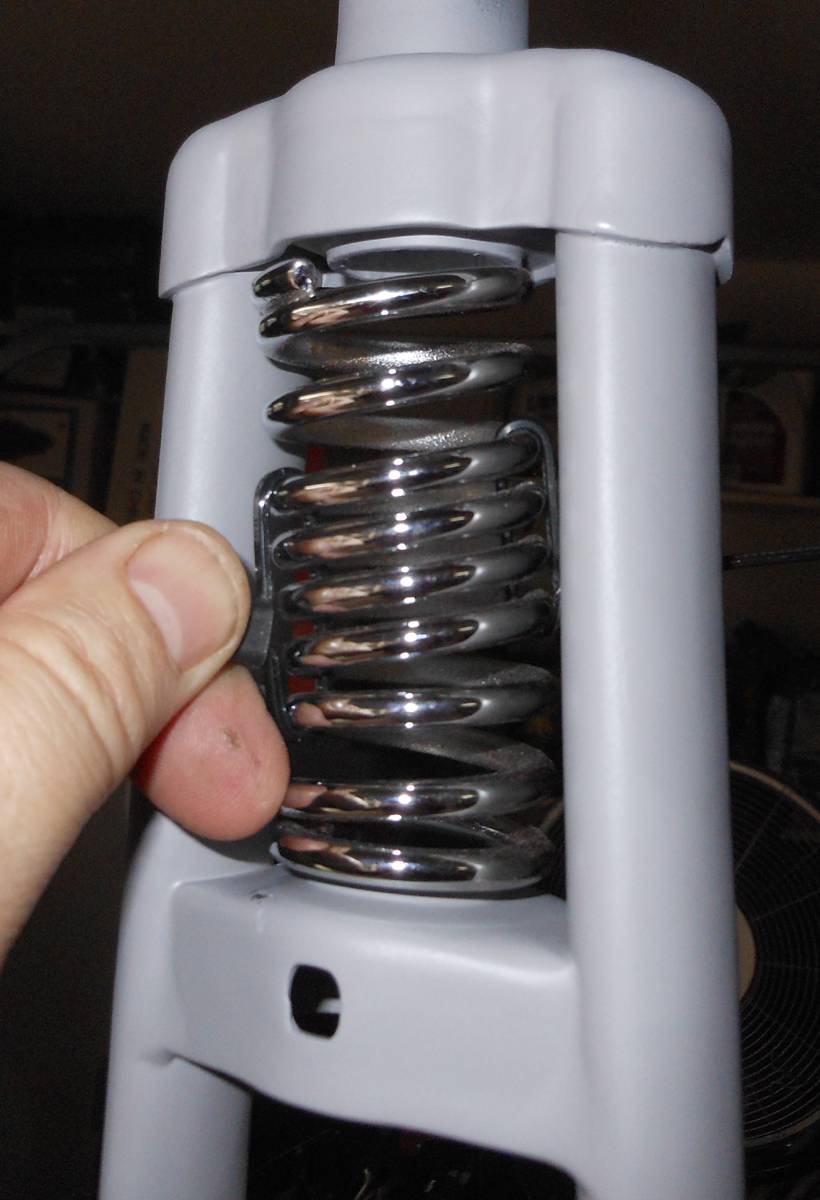
I have to mount the brake before the fender, but that's ok. As you can see, there is now plenty of clearance under the brake.
And even some clearance in the mounting nut in the back. To help that I installed a slightly thinner nut.
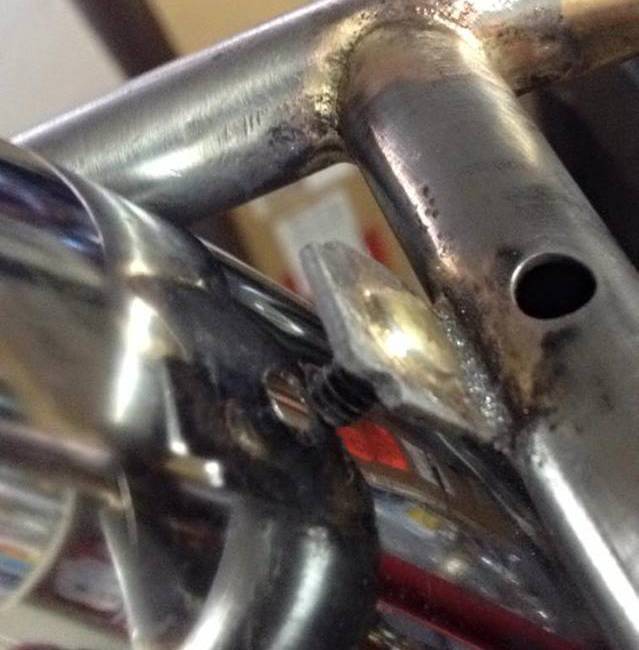
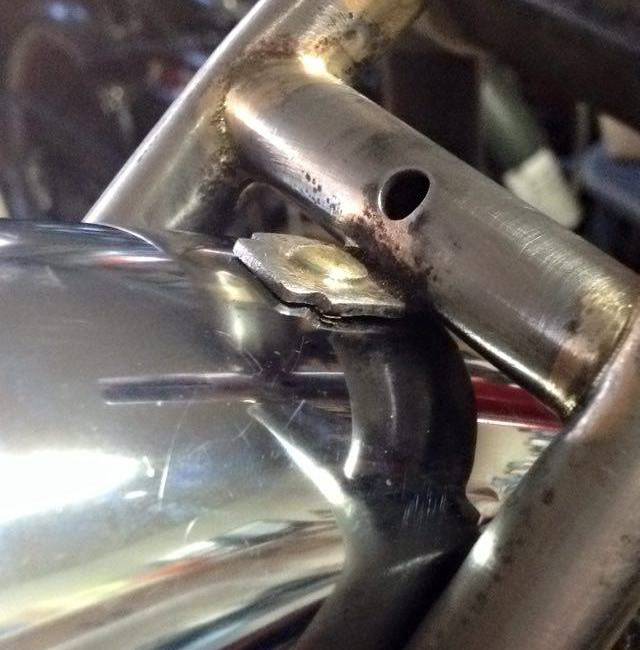
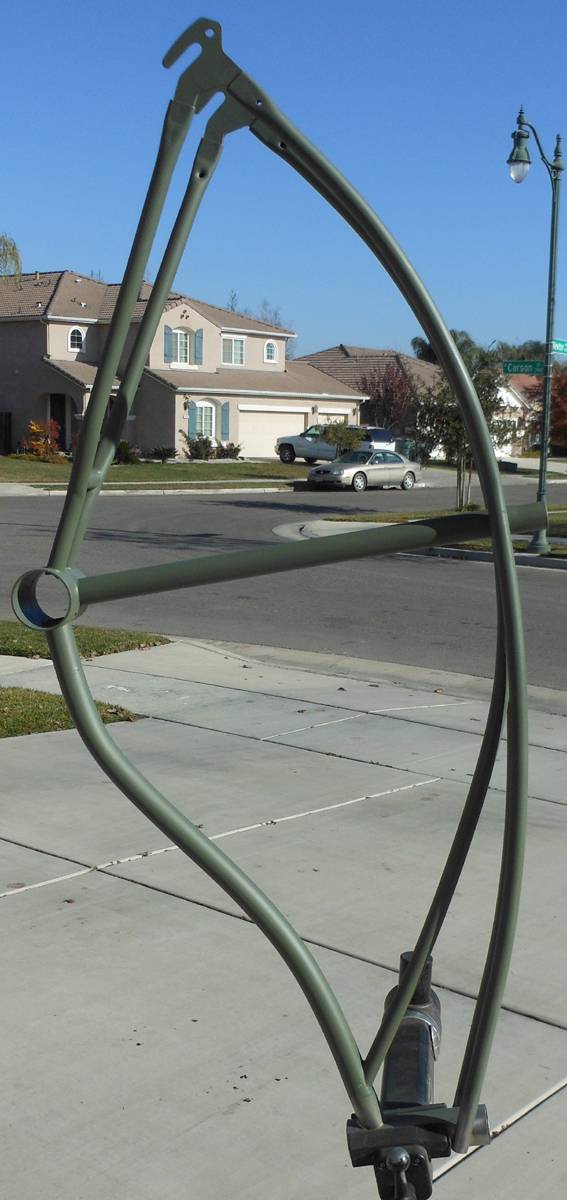
So that ended the mods I needed my friend for, so I wanted to finish all the mods to the frame tonight so I could start prepping for paint tomorrow. First up, as mentioned, is the mounting hole for my Flaming Stack. Since I didn't have the actual custom stack I had to guess. So I pulled up my son's Rail next to me for visual reference.
I guessed the height over the sprocket with the chain on, then figured out a rough angle based on what I saw on the Rail, and adjusted for the particulars of the frame. This is where is landed.
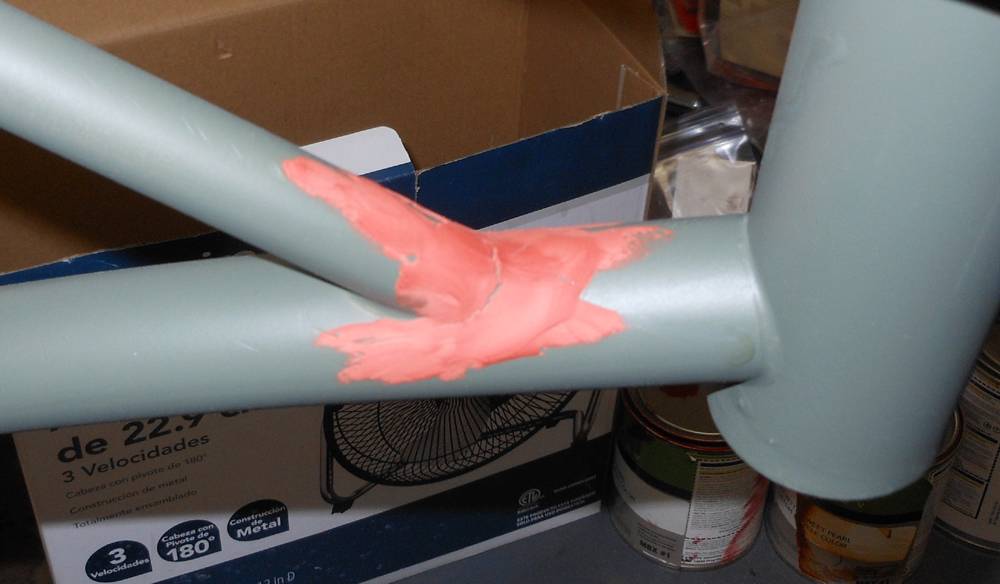
So I marked it, punched it, drilled it, and tapped it.
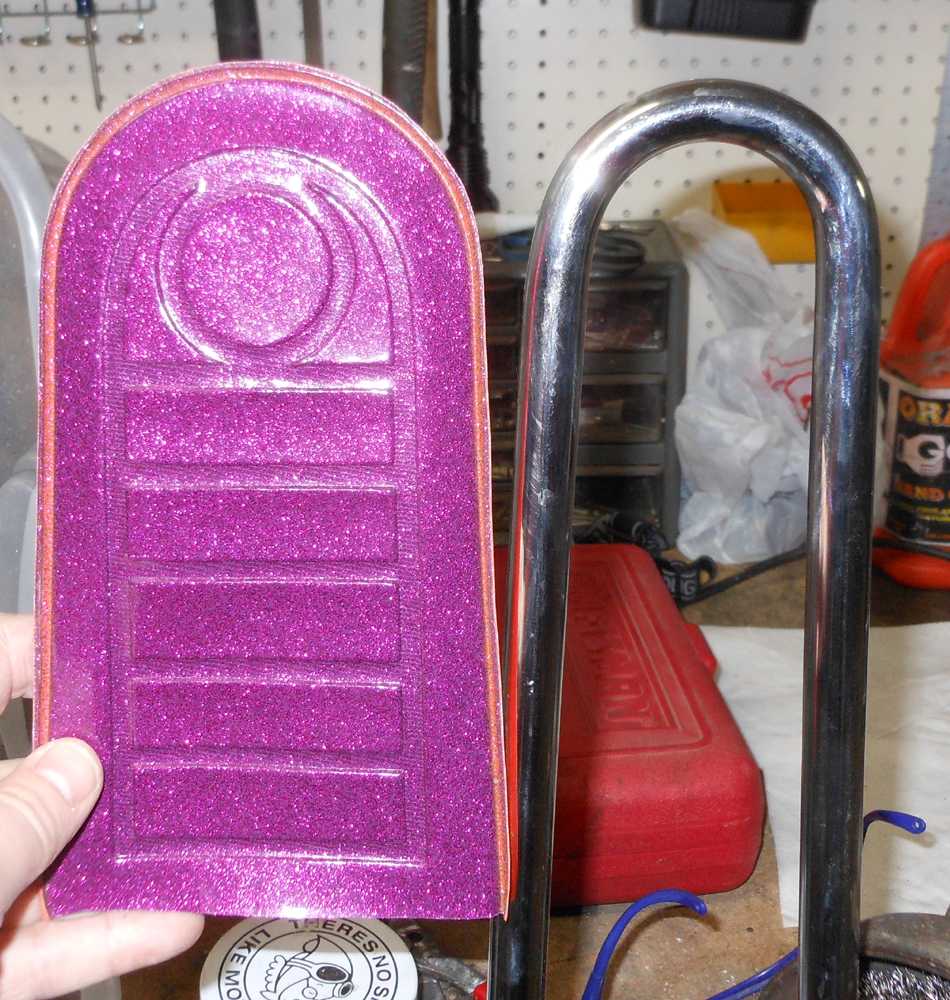
I still had to strip the paint off the front triangle of the bike, so I disassembled everything... again. When I took off the sissy and took the seat off of it, I pulled out the NOS Huffy Sissy Pad. I've been meaning to try it out on this custom sissy. (
In case I didn't mention it, this sissy was custom made specifically for this bike. The guy who makes them is particular with the type of mounting you want to us, so naturally I went with Huffy. I also bought some NOS Huffy sissy mounts from Rob Eagleeye... who I also got the NOS pad from)
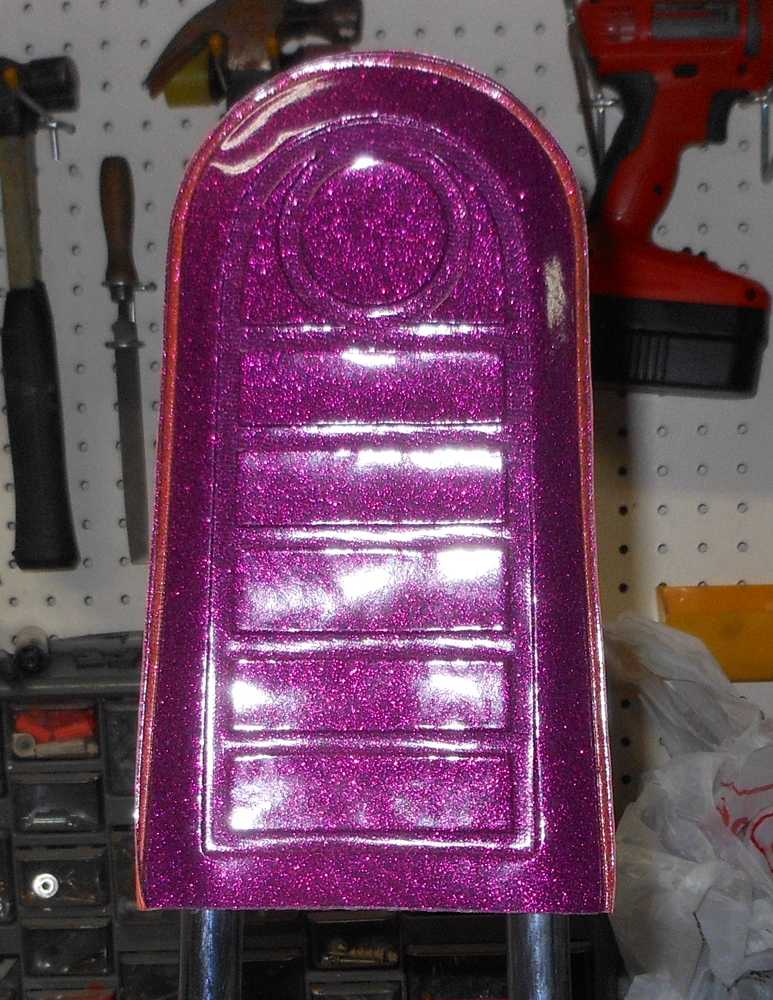
The custom sissy is a little thinner at the top than the Troxel sissy that Huffy used.
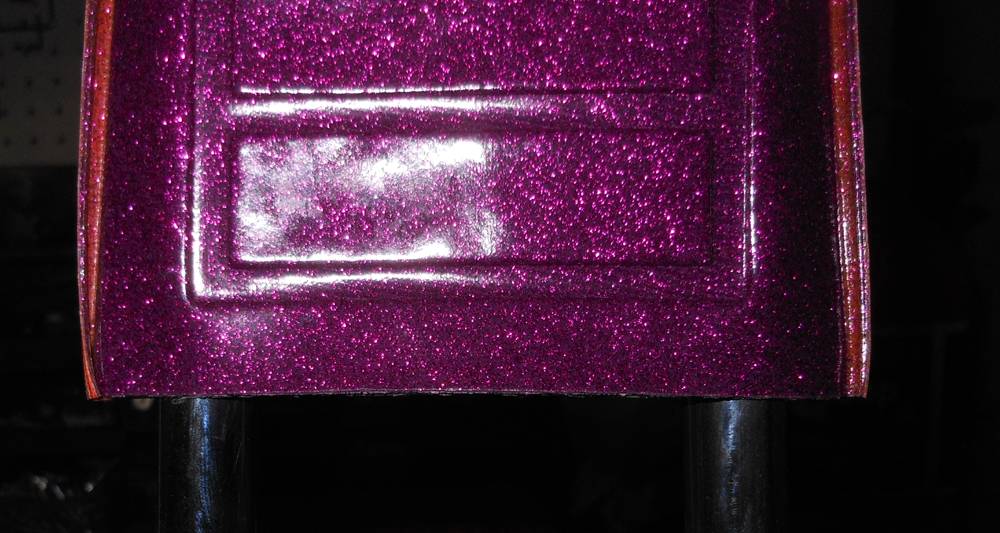
You can see here the problem that presents. The bar doesn't fill out the inside of the pad.
So what I'm going to do is go buy some dense foam that I can shape, and stuff it in there to fill out that pad. But I'll do that while the paint is curing. Back to the bike...
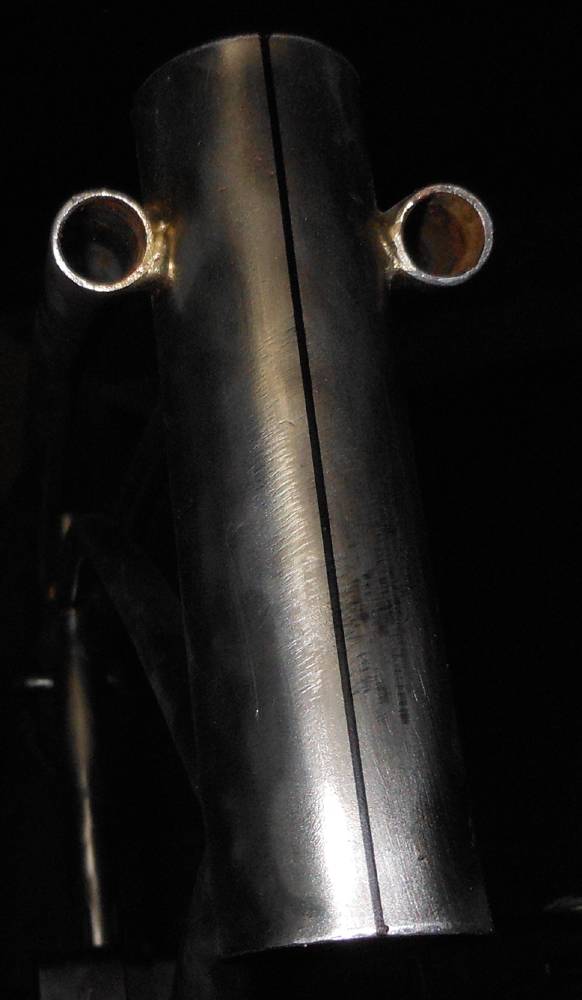
A couple hours of stripping, sanding, and filing later... (I also like to clean up the welds and knock down and smooth out excess braze) I was ready to drill the head badge rivet holes.
So I measured and marked the center of the head tube.
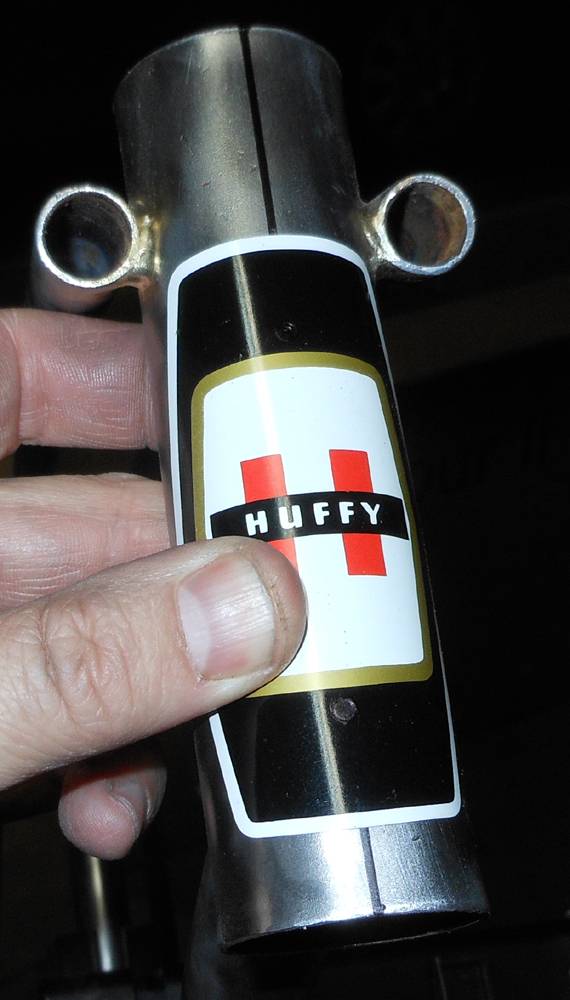
Placed my head badge where it needs to go. (It looked weird at first glance so low, but I verified the placement on a Super Stock, Huffy put the top of the head badge at the bottom of the side top tubes.)
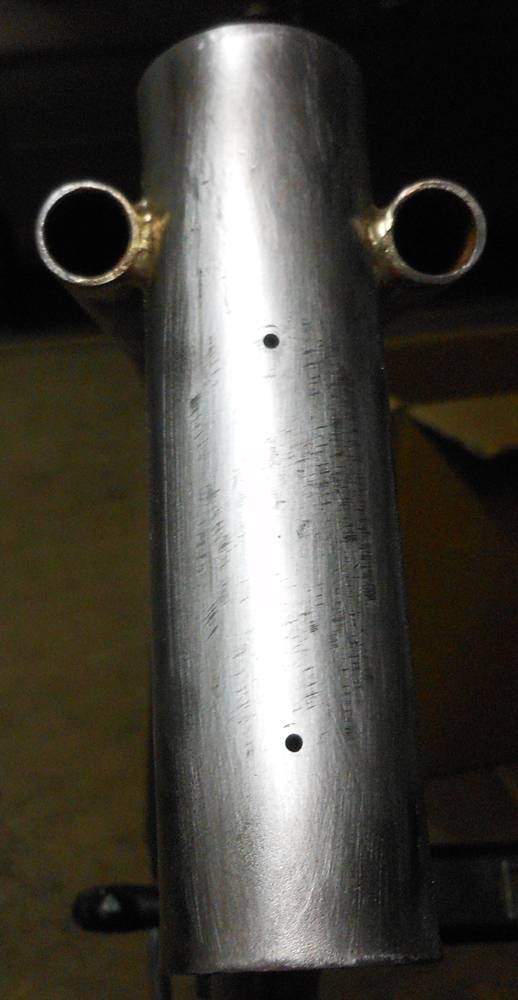
I marked them, punched them, and drilled them.
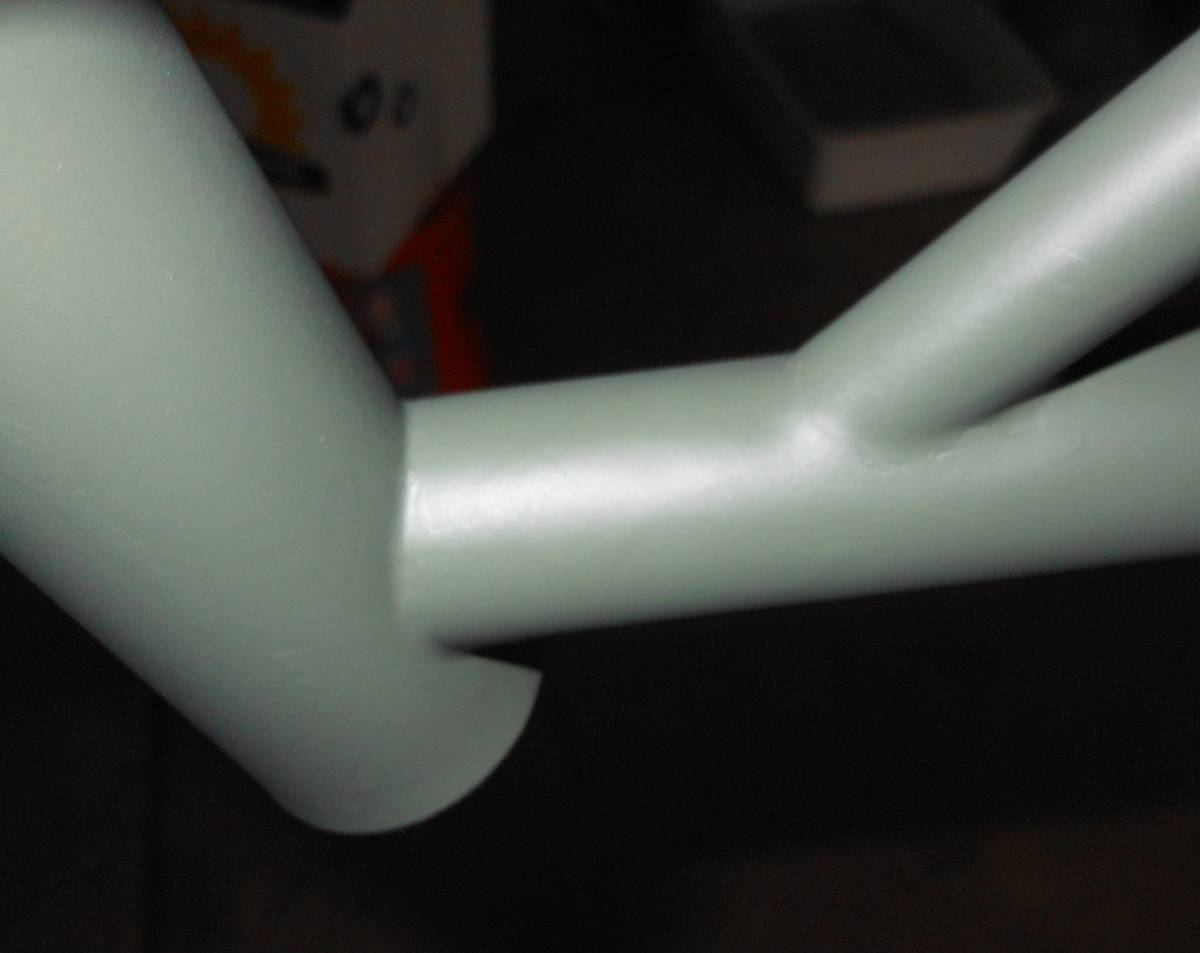
I may have mentioned it before, but there were two holes in the head tube to mount the tank of the El Dorado. Even though they would have been hidden, they bugged me. So my friend brazed them. Now with the holes drilled it looks just like an unpainted Super Stock!
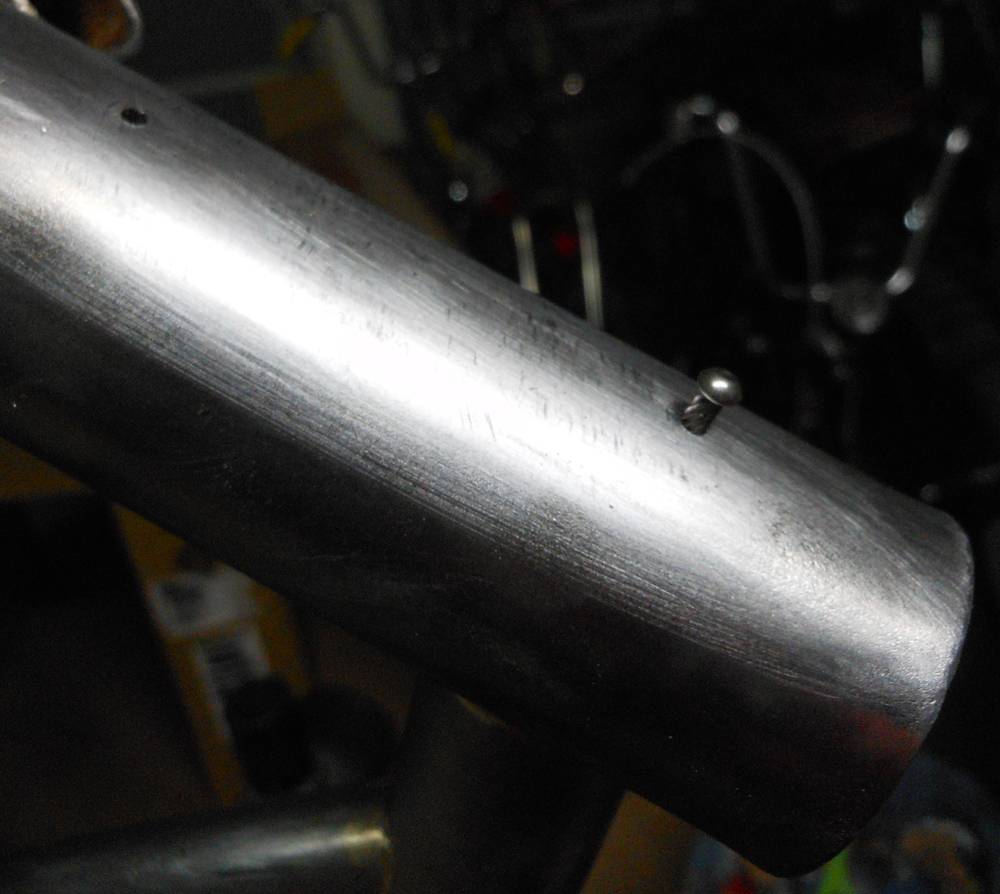
Here's a shot of a rivet sitting in the a hole.
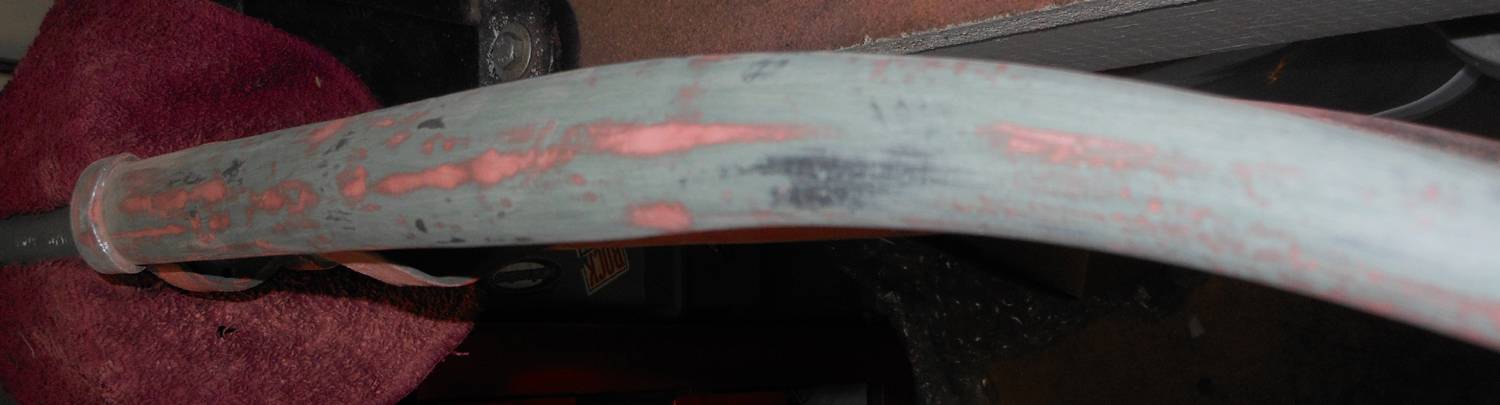
So that's it for tonight. It's after 11. Tomorrow I'll clean the frame with Acetone, spray its first coat of etch primer, and give it a little bondo to smooth out some spots.
I've got a ton of bondo on the fork, so I have a LOT of sanding to do tomorrow.


 ..but you've really inspired me with these Huffys...you've got a great eye for what makes a muscle bike cool.