Congrats on landing a job! Get this thing built man!
You are using an out of date browser. It may not display this or other websites correctly.
You should upgrade or use an alternative browser.
You should upgrade or use an alternative browser.
(MBBO4 Class 1) Super Slingshot
- Thread starter CRASH
- Start date


Help Support Rat Rod Bikes Bicycle Forum:
This site may earn a commission from merchant affiliate
links, including eBay, Amazon, and others.
Measured out the donation fork blades and cut them. They were ever so slightly different than the other forks, so it was tricky to join them. A little brace was made for the inside to ensure stability. Then they were set up on the jig.

And the welds.
The welds were cleaned up and blended, but I wanted to get it all home so forgot to take some close ups of the finished product. But it's not finished as I have a lot more smoothing to do.
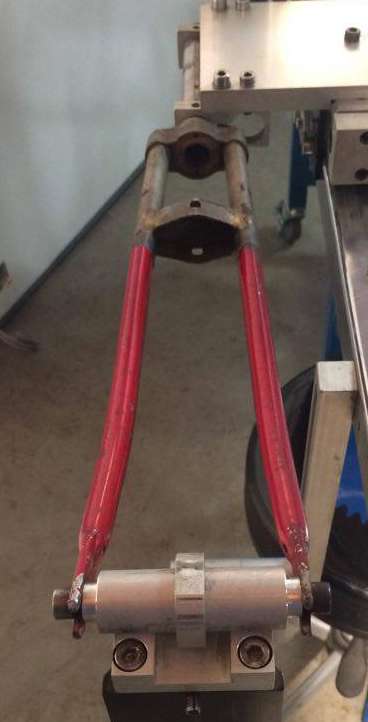
So here's the stance.
I started mocking it up. First thing I realized is that the tab we installed to look just like original actually pushes the fender down too far and the tire rubs. So, Tuesday we're going to re-weld the tab so it doesn't come down, it will just came straight out of the brace.
I installed the custom sissy I had made and realized I have a bit of a challenge. I can't keep the bike at my usual height on the stand because the sissy hits the ceiling!
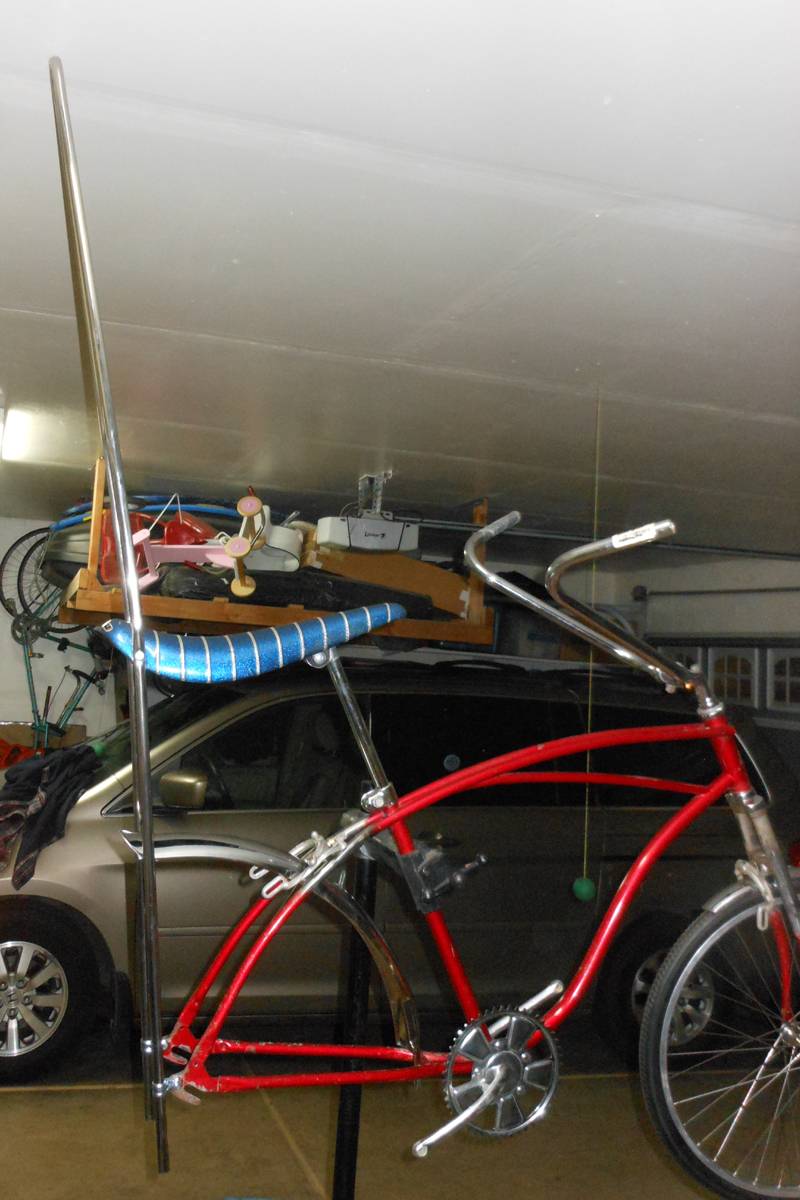
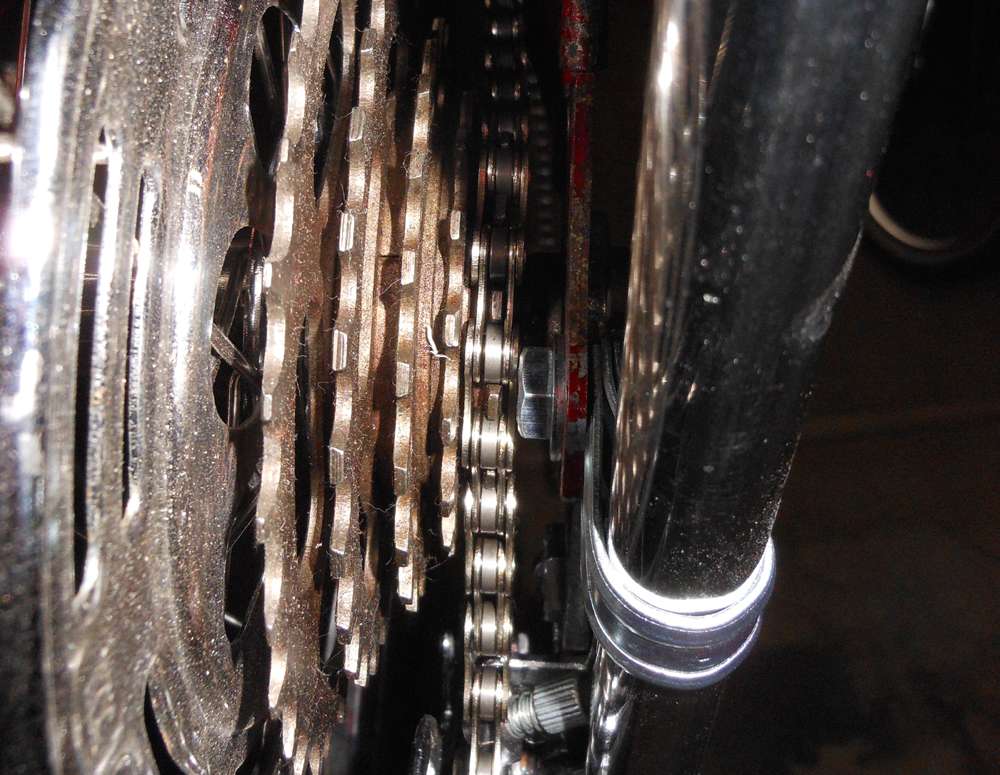
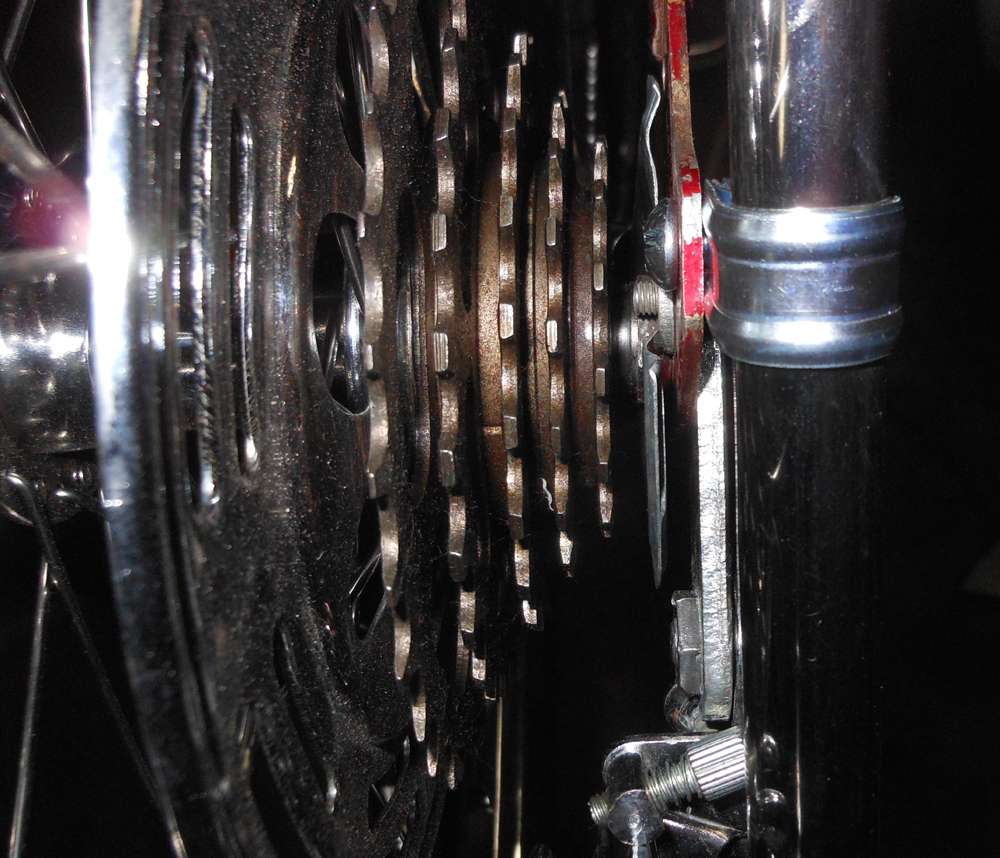
I was going to run the chain, but when I installed the wheel I could see that the highest gear was awfully close to the sissy bolts. I ran into the same problem with the "Monster-Ray", so I know that the solution is to get some round-headed bolts. I'll grab those tomorrow, along with some better seat mounting hardware.
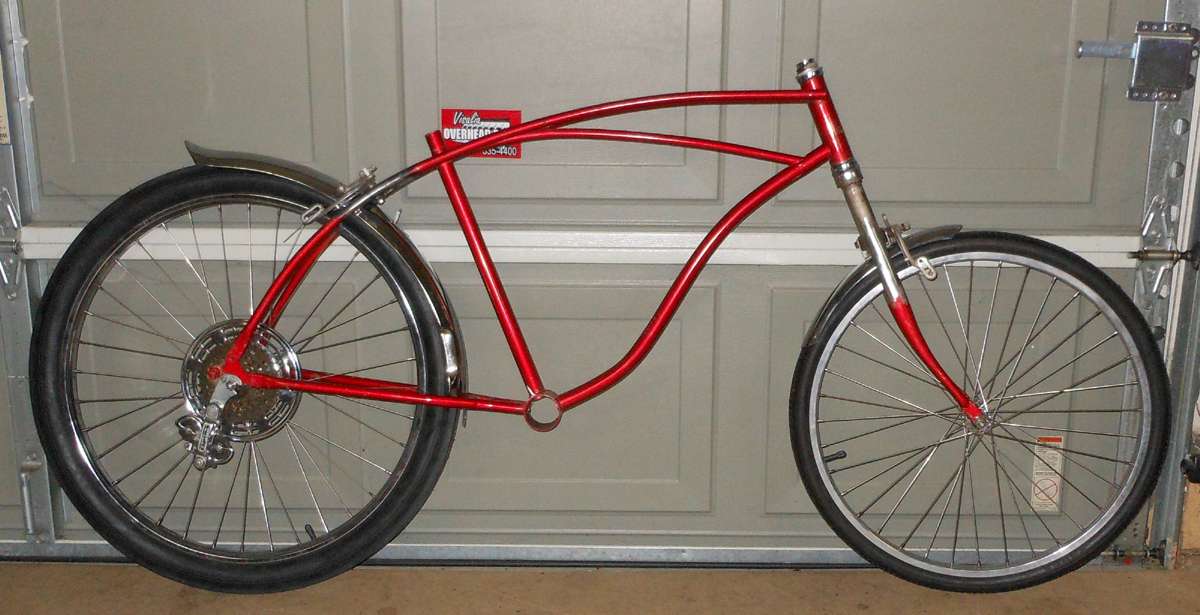
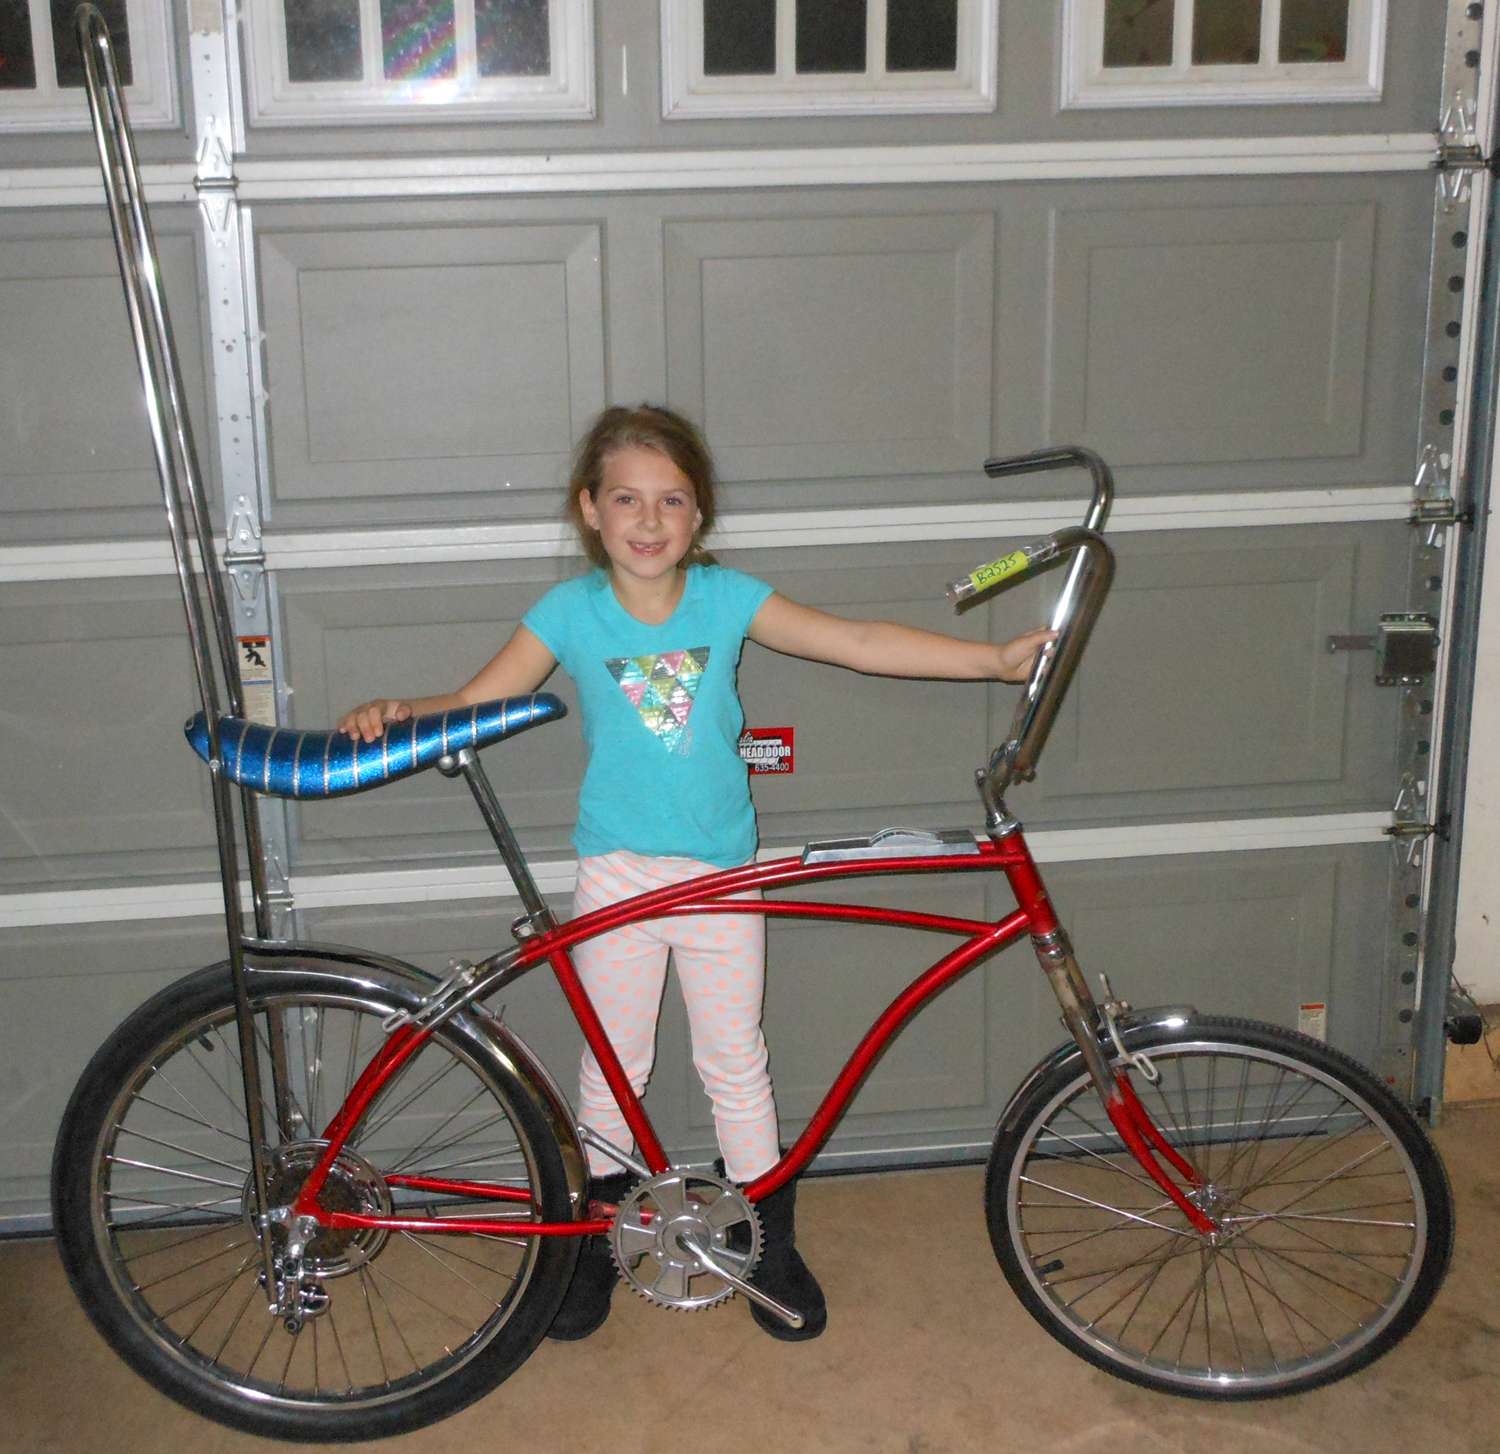
That's about as far as I got tonight. Here's the bike as is sits. To give you an idea of the size of this bike, the seat is set for me. I'm 6'4" tall. They top of the sissy bar is right at my eye level.
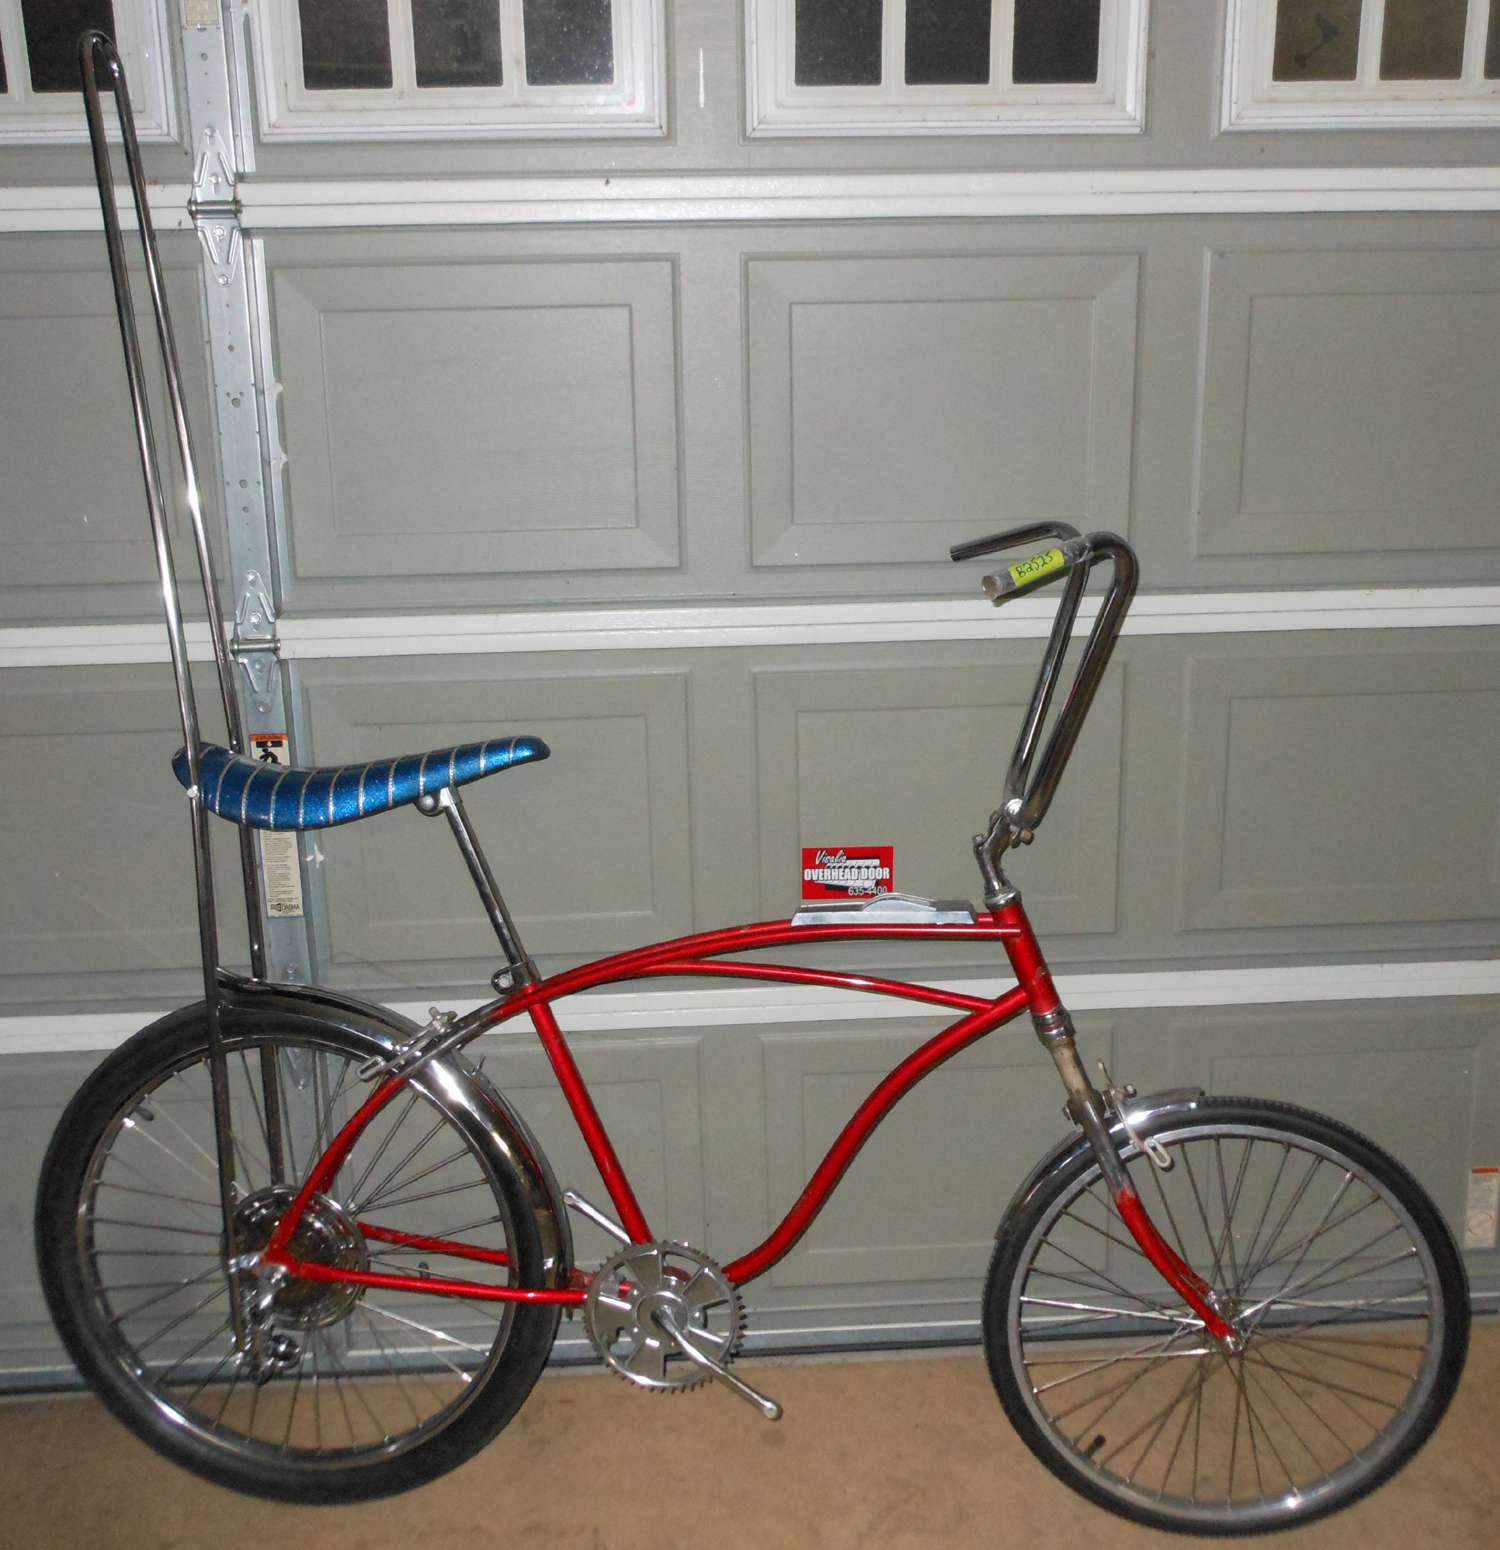
And for perspective, here's my 7 year old daughter holding it up.
And the welds.
The welds were cleaned up and blended, but I wanted to get it all home so forgot to take some close ups of the finished product. But it's not finished as I have a lot more smoothing to do.
So here's the stance.
I started mocking it up. First thing I realized is that the tab we installed to look just like original actually pushes the fender down too far and the tire rubs. So, Tuesday we're going to re-weld the tab so it doesn't come down, it will just came straight out of the brace.
I installed the custom sissy I had made and realized I have a bit of a challenge. I can't keep the bike at my usual height on the stand because the sissy hits the ceiling!
I was going to run the chain, but when I installed the wheel I could see that the highest gear was awfully close to the sissy bolts. I ran into the same problem with the "Monster-Ray", so I know that the solution is to get some round-headed bolts. I'll grab those tomorrow, along with some better seat mounting hardware.
That's about as far as I got tonight. Here's the bike as is sits. To give you an idea of the size of this bike, the seat is set for me. I'm 6'4" tall. They top of the sissy bar is right at my eye level.
And for perspective, here's my 7 year old daughter holding it up.
That bar is no sissy! Stance looks good. Can't remember the wheel sizes, is it 26 x 22?
Looking awesome! Whoever is helping with the fabrication work does really nice work too!
That is one big muscle bike! Loving the stance too, Looks just like a 20" version until you see something with it for perspective...
Luke.
That is one big muscle bike! Loving the stance too, Looks just like a 20" version until you see something with it for perspective...
Luke.
O.K. now I want to build a Rail frame to fit my 6'1" frame!
Great build Crash, I can't wait to see it finished
Great build Crash, I can't wait to see it finished
I had to us the frame's original seat post clam because the painted Huffy one (from a 24" frame) won't fit it. The problem is it's chrome. I've never painted chrome. How do you knock the chrome off so you can prep it for paint? I just want it down to bare metal.
looks great Crash ! you have to have it media blasted to get the chrome off , if you just want to paint over it you can use 80 grit DA paper on it that will allow you to use a etching primer , from there you can use a fill in sand primer then paint
What is DA paper?...80 grit DA paper
 Will a wire wheel have any effect? I could give that a try first. Might be quicker.
Last edited:
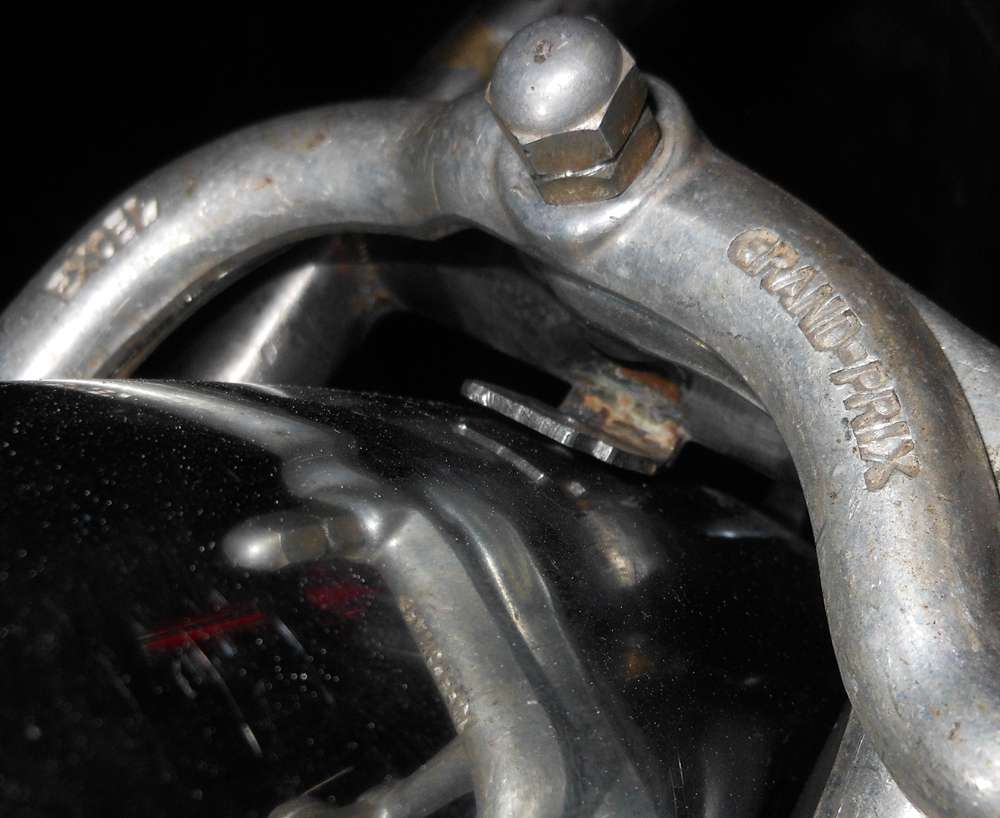
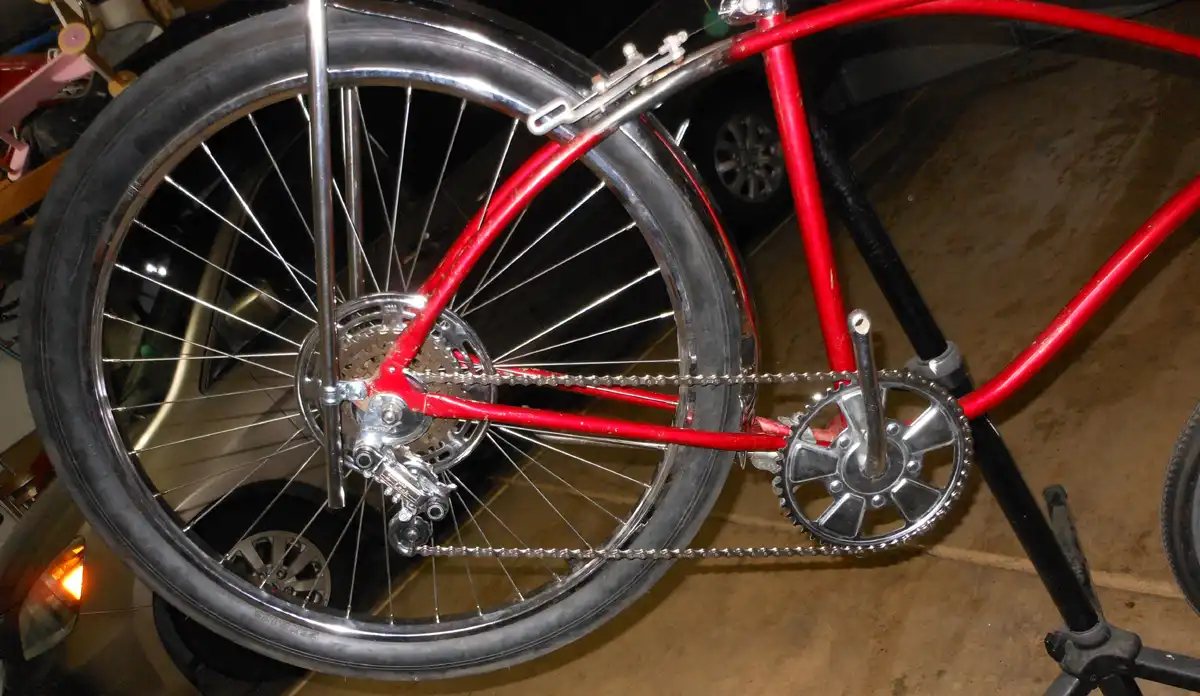
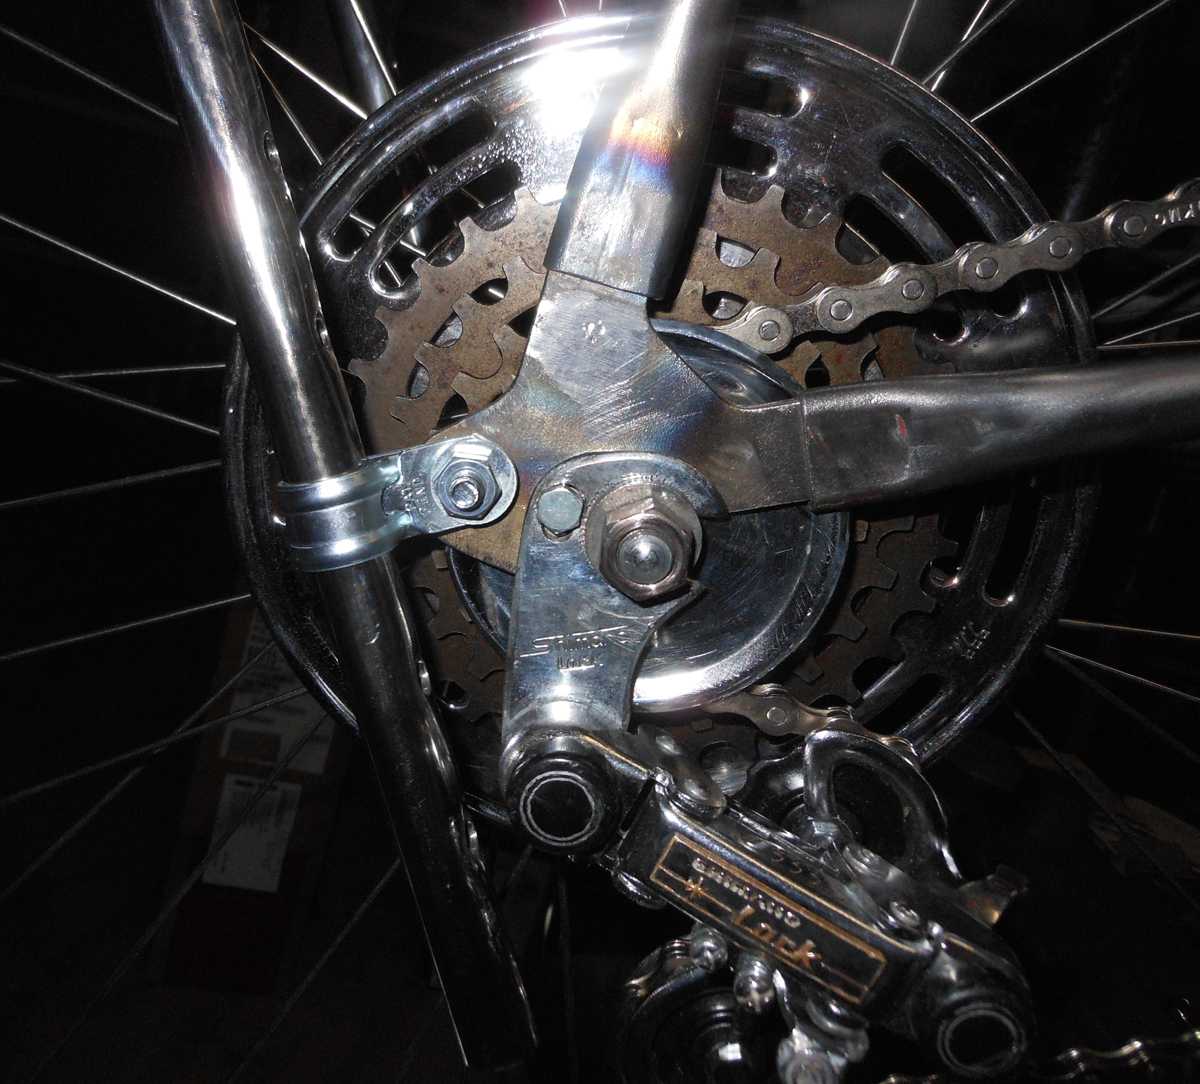
Got a couple of button head bolts and dumped the washers. That did the trick to give the chain plenty of clearance. I also installed the frame protector to ensure there was enough clearance for the chain. (I'm looking for another Huffy frame protector for MBBO5, so let me know if you have one.  )
)
Installed the chain. In first gear the chain rubs the fender, but before I make adjustments to the fender I want to fix the tab so the fender is in its final install spot.
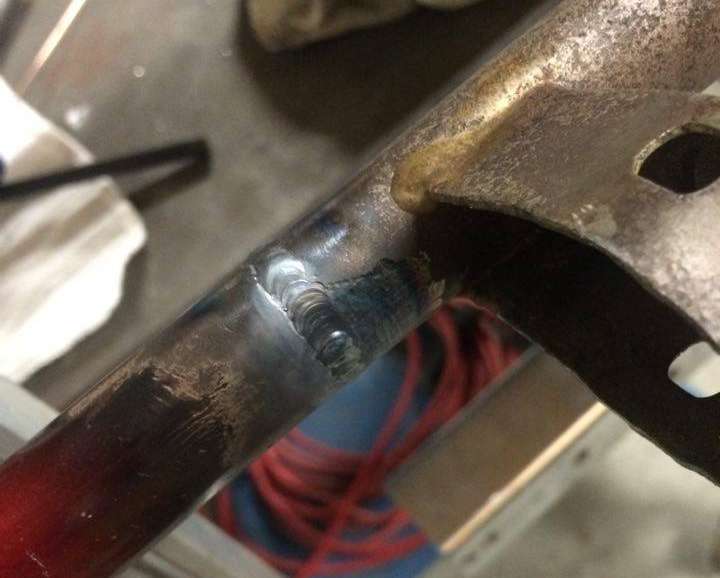
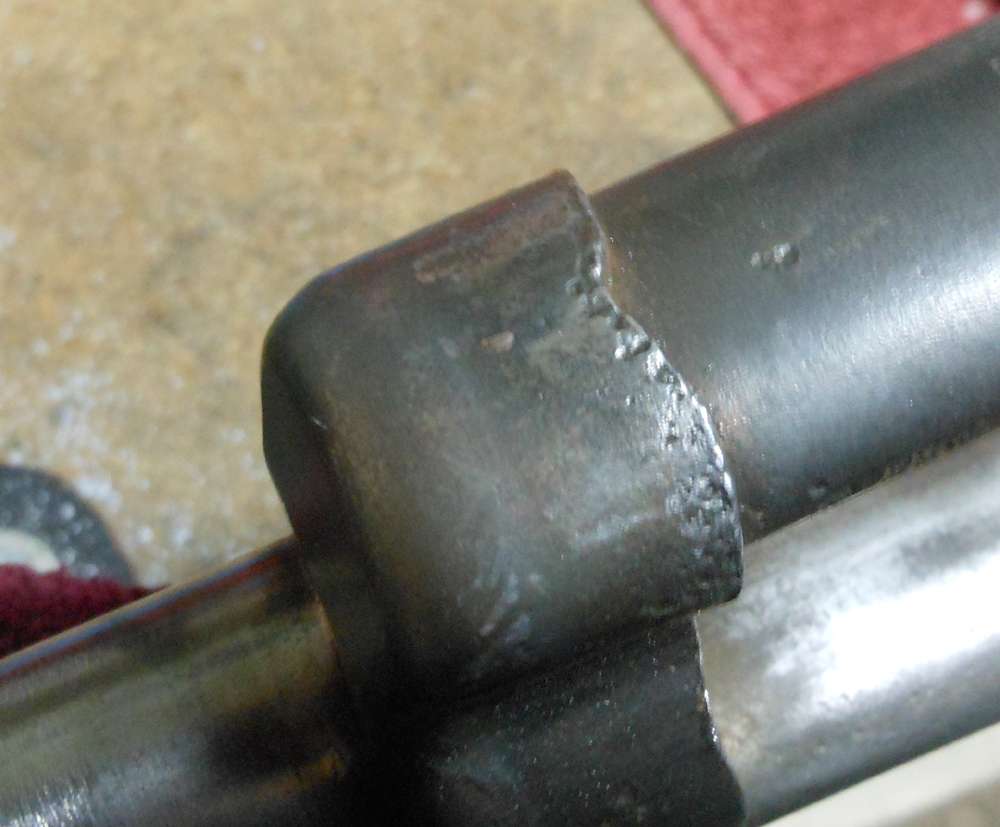
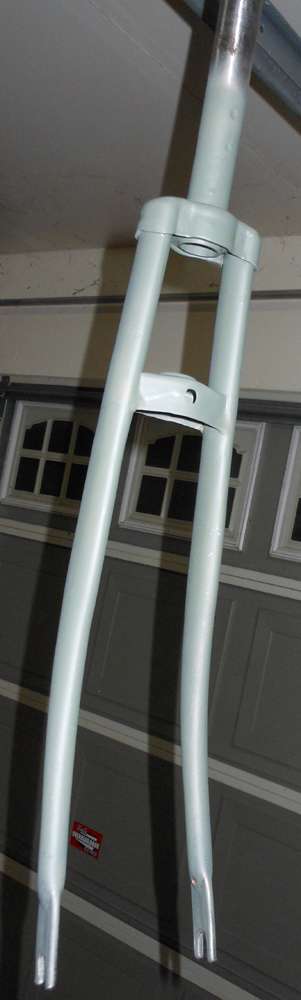
The fork is going to need the most "body work" attention, so I pulled it and got started. The welds needed filing to smooth out. Pictures have difficulty showing the small detail in difference, but I'll try.
Before:
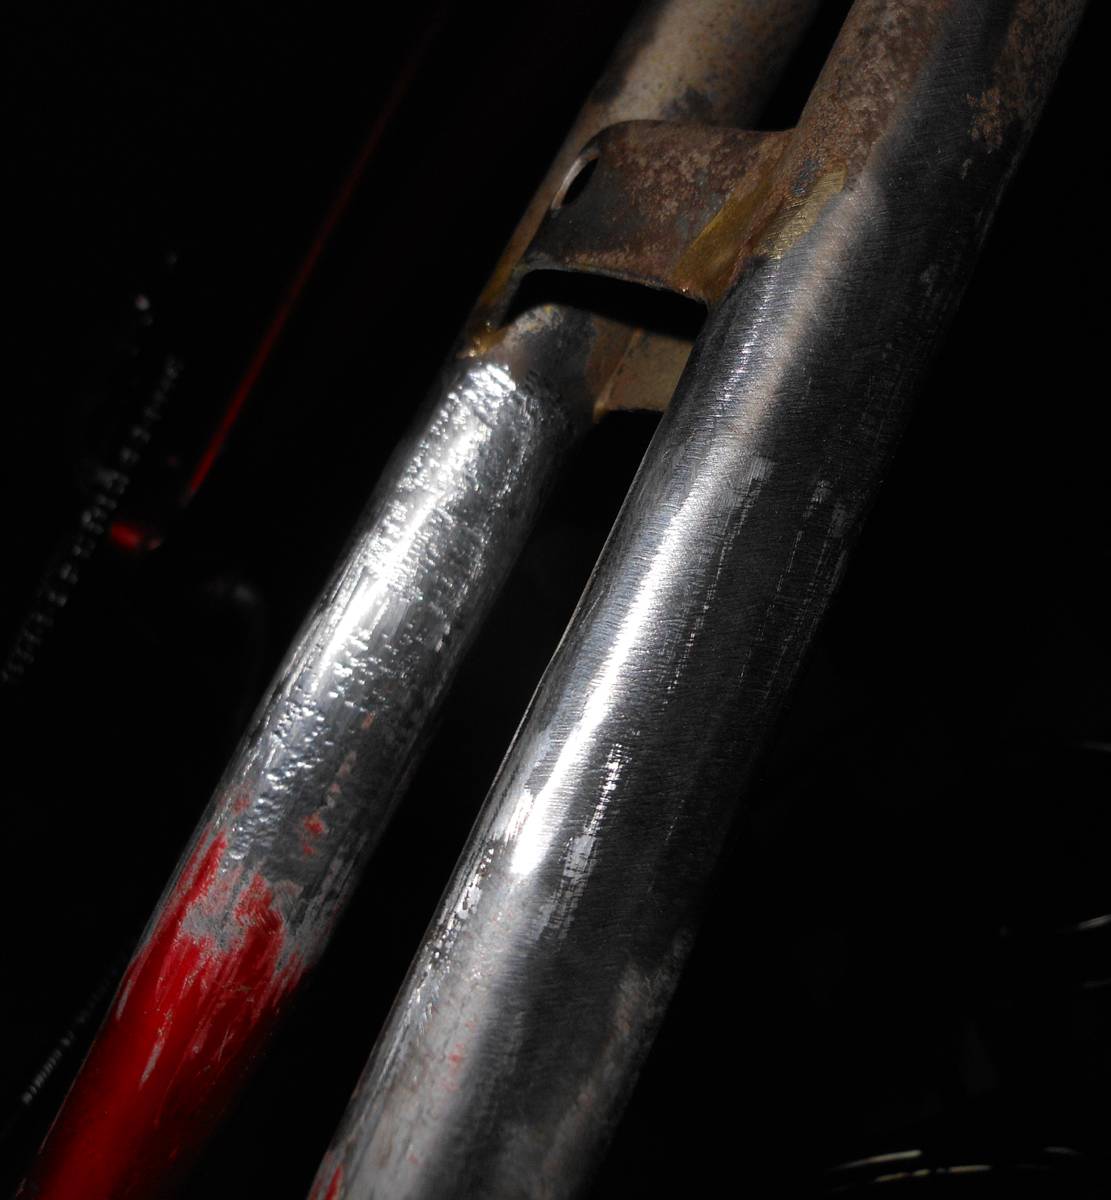
After:
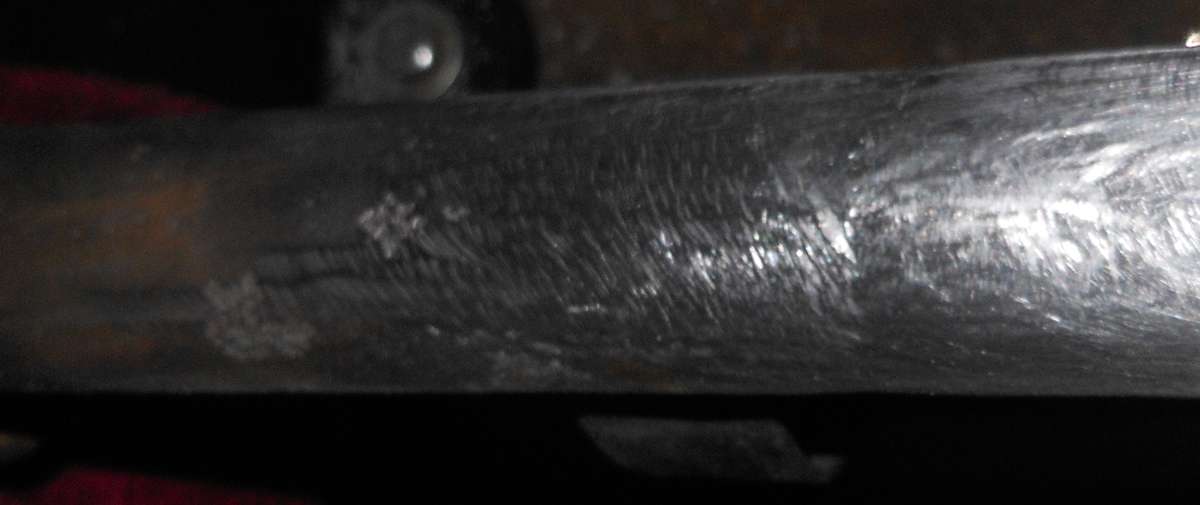
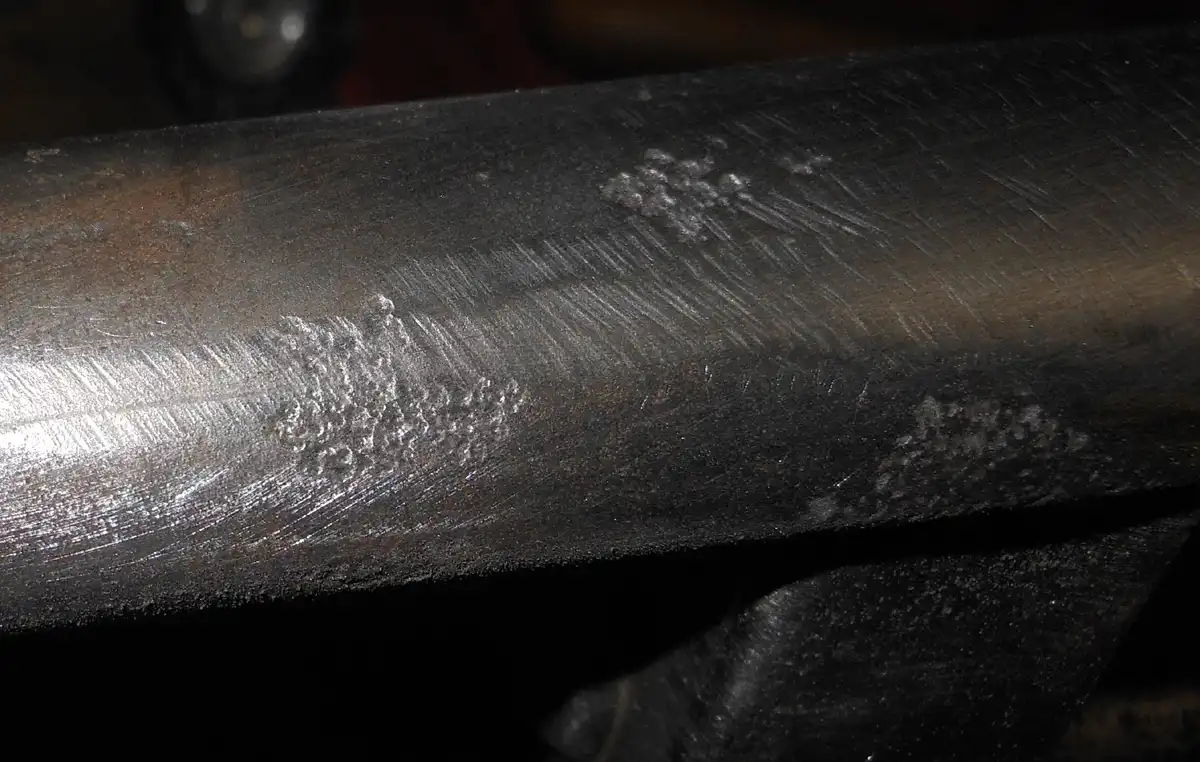
As you can see, the inside of the forks got chewed up with the grinder. I tried to smooth the metal a bit, but they're going to need a good bit of filler. But that's not all. The upper portion of the fork came from a very rusted girls' Gremlin. That's how I got it, and the flaming stack so cheap. (Which was still expensive because they are rare). I didn't realize it until I cleaned the fork up with the wire wheel, but there is a lot of rust pitting. It's funny that it didn't really show it after sand blasting, but the wheel sure showed it.

A lot of filing and sanding later I cleaned them up and shot them with a coat of etch primer so I can work on the bondo and sanding tomorrow.
)
Installed the chain. In first gear the chain rubs the fender, but before I make adjustments to the fender I want to fix the tab so the fender is in its final install spot.
The fork is going to need the most "body work" attention, so I pulled it and got started. The welds needed filing to smooth out. Pictures have difficulty showing the small detail in difference, but I'll try.
Before:
After:
As you can see, the inside of the forks got chewed up with the grinder. I tried to smooth the metal a bit, but they're going to need a good bit of filler. But that's not all. The upper portion of the fork came from a very rusted girls' Gremlin. That's how I got it, and the flaming stack so cheap. (Which was still expensive because they are rare). I didn't realize it until I cleaned the fork up with the wire wheel, but there is a lot of rust pitting. It's funny that it didn't really show it after sand blasting, but the wheel sure showed it.
A lot of filing and sanding later I cleaned them up and shot them with a coat of etch primer so I can work on the bondo and sanding tomorrow.
Love seeing the progress Crash!
Luke.
Luke.
Do I get a prize for being the last one to finish?Love seeing the progress Crash!
Luke.
Looks like you've got the right tools and skills for the job! Paint will be a nice way to "Finish" up this build.....looking forward to it!
What is DA paper?
I think DA paper is the sand paper disk that goes on a DA (dual action) sander. I've used 80 grit before to rough up chrome plating for paint, not DA paper, but I don't think it really matters.
Just left the chrome guy. He hasn't even started on my guard yet. He's had it since October 6th. I told him "no hurry", but that was 2 months ago when there wasn't a hurry! He better not be the reason this project tanks!! I emphasized that I'm in "crunch time" and that I'm waiting on that part, which is now a single-point failure for this project. 
You're gonna have to start crackin' the whip on these guys CRASH.....
Take it to the guy that did the fork/frame for the splice then take it back to the chromer.
I haven't dealt with a chromer but I came close. Called a place but there was no answer. I wanted to chrome the alum front rim to get out of the sanding but it would be best to sand smooth before chroming I suppose anyways.
Big sissy! Great Slingshot proportions there...front fender radius looks possibly a shade tight for that 22 incher...
I think I had it just sitting funny. Those were taken before I "worked" the front brake and fender mount. The brake I had on there actually has bent arms, but it was complete. The other "Raceur" brakes I had were in pieces, so I grabbed that one as reference for the fork build. I've since built the actual brake I'm going to use. Along with that I was able to tweak the fender mount to fit that fork better. It's a very tight fit and needed the angle adjusted. That's why it sits funny in the pic. Now it sits even and the back doesn't look like it's scraping the tire....front fender radius looks possibly a shade tight for that 22 incher...
Looks like it might just be the reflection. It's looking good. Real Slingshotey.
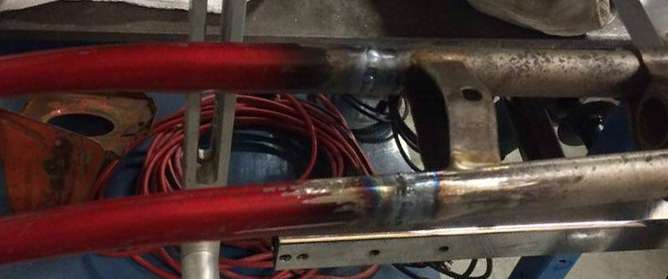
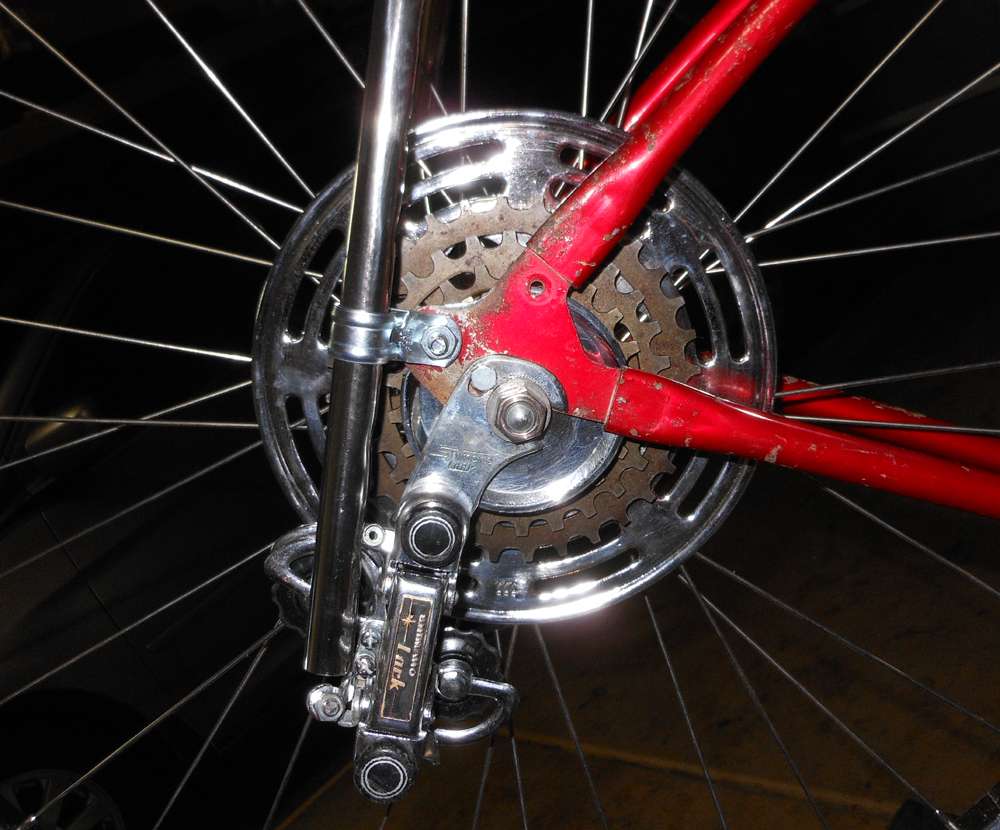
I mentioned before about re-tacking the tab closer to the brace to move the fender up and away from the tire more. That was done. In addition, 1/16th of an inch of drop out was carved out to move the derailleur back a touch to give the wheel a bit more clearance. Both of those things worked. However, I ran into a couple snags. First, I was going to use a fender bolt to mount the fender. But the smooth side won't grab the tab enough, so I can tight the nut enough on the inside of the fender. So that was no good. The hole was too big to tap it so I could use a small bolt from the inside, like Huffy did originally. I'd have to use a giant bolt and cut it down, and that would probably look silly. So, I used a pan head straight-slot bolt from the top with a nut inside. It looked really good and worked well... until I tried to install the brake.
First, the new position of the fender killed the clearance the install nut had to tight the brake from the back.
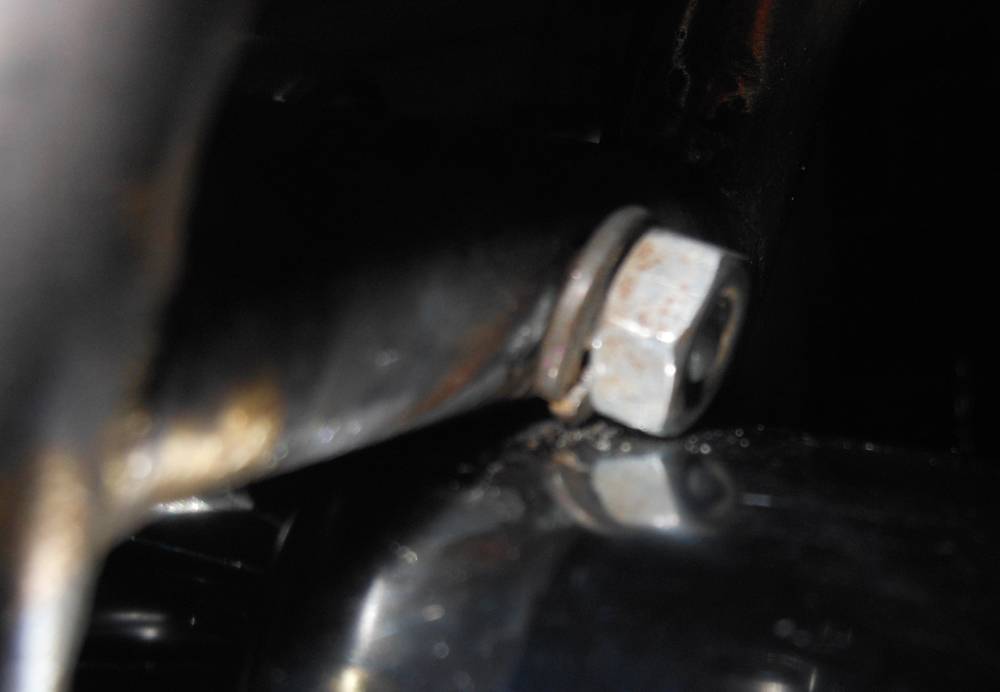
To get to the point you see above I had to completely disassemble the brake, then turn the center-mounting bolt to the nut. Then I realized that the spring mount was scraping the fender bolt!
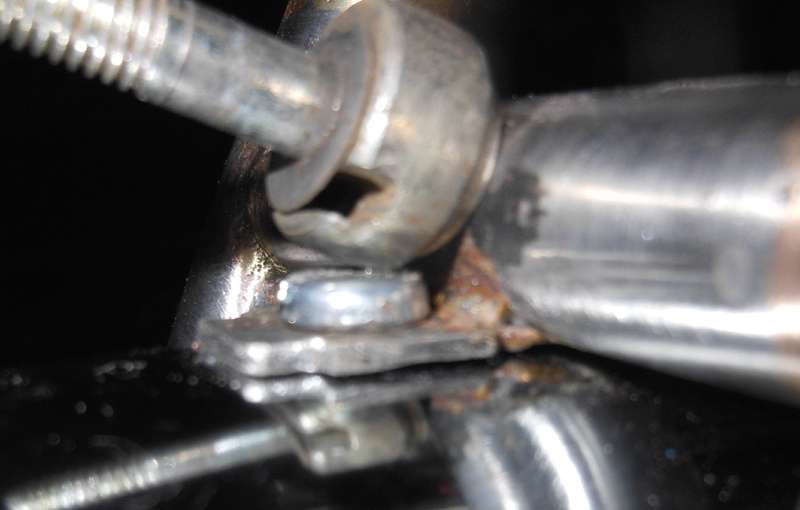
I discussed the dilemma with my friend. We're going to weld "Tab v.3" tomorrow. What we decided was to weld a bolt to the tab so nothing sticks up. That'll give the spring mount the clearance it needs, and will allow me to install the brake, then the fender, so the nut in the back can tighten. We may even move the tab a bit "down" to give that nut clearance, but we have to be careful because the tire isn't working with a lot of clearance under that fender.
Another thing that was done was a little OCD thing I had. This '66 Huffy El Dorado frame had holes right where the seat stays clamped into the drop outs. They weren't used for anything on the El Dorado, so I don't know why they were there. But on the Super Stock the holes weren't there at all. So they got filled and ground. There were two holes on the front of the head tube as well for the tank light. Those were filled, even though they won't be seen under the head badge. But my OCD would know they were there, so they got filled and ground down.
The chain guard still hasn't been welded. I asked him if he could weld it then give it to me so I can mock it on the frame, make sure it fits, and cut and tap its mounting hole. Then he can have it back to chrome, and I can paint the frame. I think it's going to be next week till I can paint.
ugh
First, the new position of the fender killed the clearance the install nut had to tight the brake from the back.
To get to the point you see above I had to completely disassemble the brake, then turn the center-mounting bolt to the nut. Then I realized that the spring mount was scraping the fender bolt!
I discussed the dilemma with my friend. We're going to weld "Tab v.3" tomorrow. What we decided was to weld a bolt to the tab so nothing sticks up. That'll give the spring mount the clearance it needs, and will allow me to install the brake, then the fender, so the nut in the back can tighten. We may even move the tab a bit "down" to give that nut clearance, but we have to be careful because the tire isn't working with a lot of clearance under that fender.
Another thing that was done was a little OCD thing I had. This '66 Huffy El Dorado frame had holes right where the seat stays clamped into the drop outs. They weren't used for anything on the El Dorado, so I don't know why they were there. But on the Super Stock the holes weren't there at all. So they got filled and ground. There were two holes on the front of the head tube as well for the tank light. Those were filled, even though they won't be seen under the head badge. But my OCD would know they were there, so they got filled and ground down.
The chain guard still hasn't been welded. I asked him if he could weld it then give it to me so I can mock it on the frame, make sure it fits, and cut and tap its mounting hole. Then he can have it back to chrome, and I can paint the frame. I think it's going to be next week till I can paint.
ugh
On that fender you could rivet a tab to the fender but make it so the tab part on the fender is towards the rear of the bike so you can get max height. Then the vertical bend of the fender tab can attach to the brake bolt. You'd then have to eliminate the welded on tab deal. Looks like you might be tight on space to do it that way.
Or tap 2 holes in the cross brace and bolt it up on either side of your brake bolt..
That little hole in the rear dropout on my bike was for the chainguard mount. Non-drive side had one as well but you could tell it was never used.
+Congrats on landing a job.....+good to see you sinking your teeth into this bike.
Last edited:
Well, since you stole my "Adult Slingshot" idea, someone has to show you how it's really done!good to see you sinking your teeth into this bike.

In all seriousness, yours looks great, and has motivated me to keep on this till the end.