Lets face it. Most of us are on a budget. Most of us are pretty handy. Most of us would rather build a jog or tool for $300 over spending $100 for something that would do the same thing. Its what we do. I want to see Whatever tools you've made to work on bikes. I want to see all the little tricks and secrets that we've come up with.
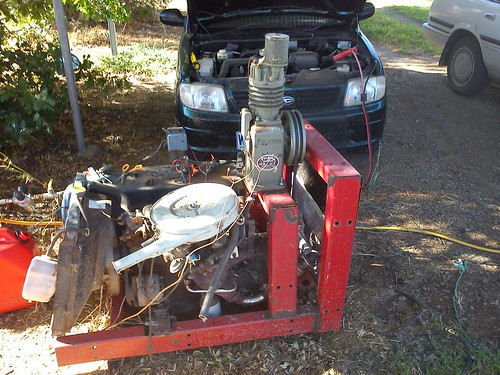
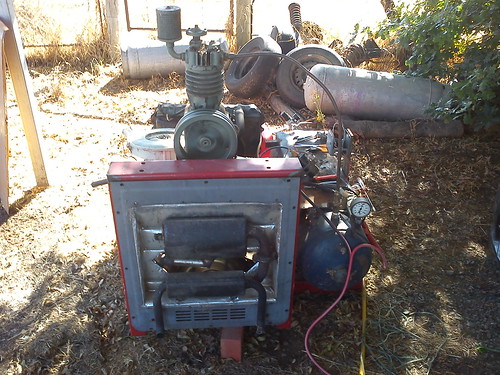
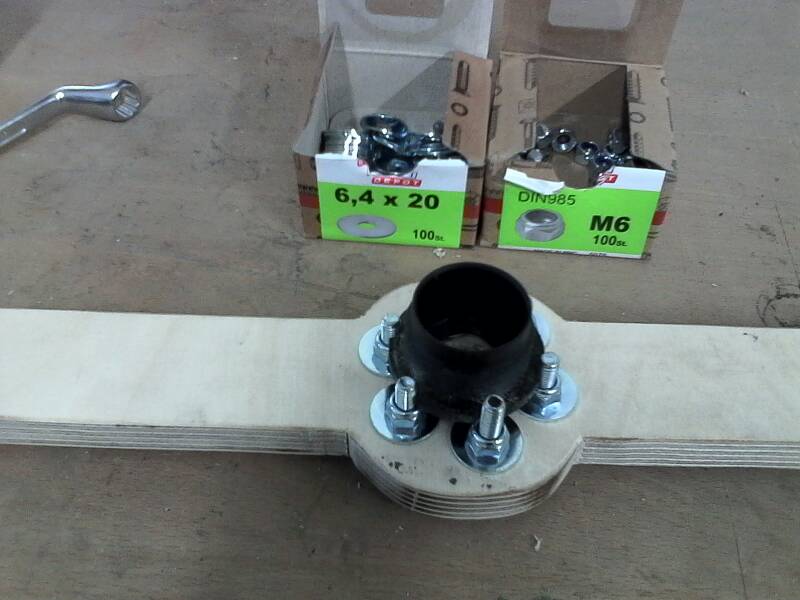
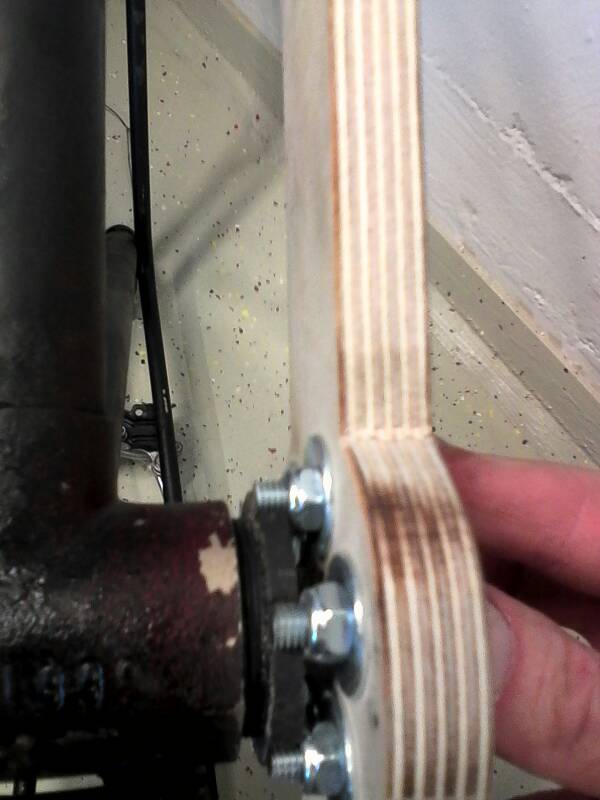
My homemade stand. It works OK. I'm hoping Santa claus will bring a shiny new blue one this year though
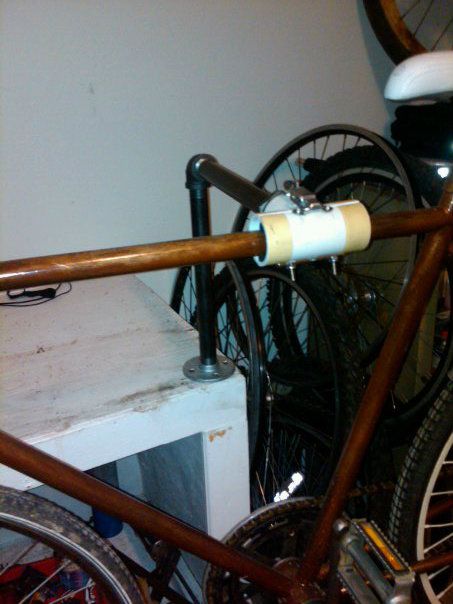
I made this rack out of an old crib I dug out of the dumpster.

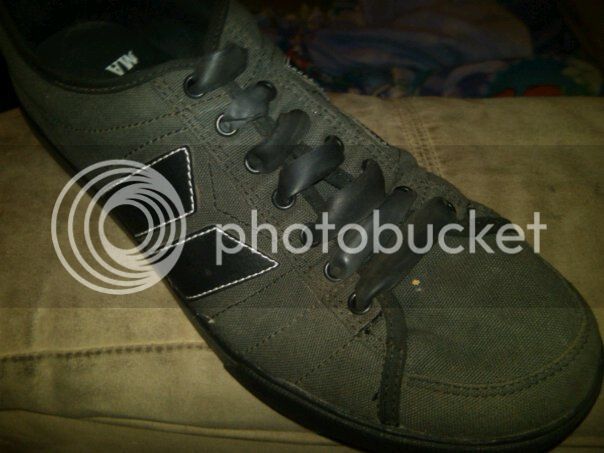
I blew a shoelace. so I sliced up a tube. Now I never tie my shoe. They're stretchy!
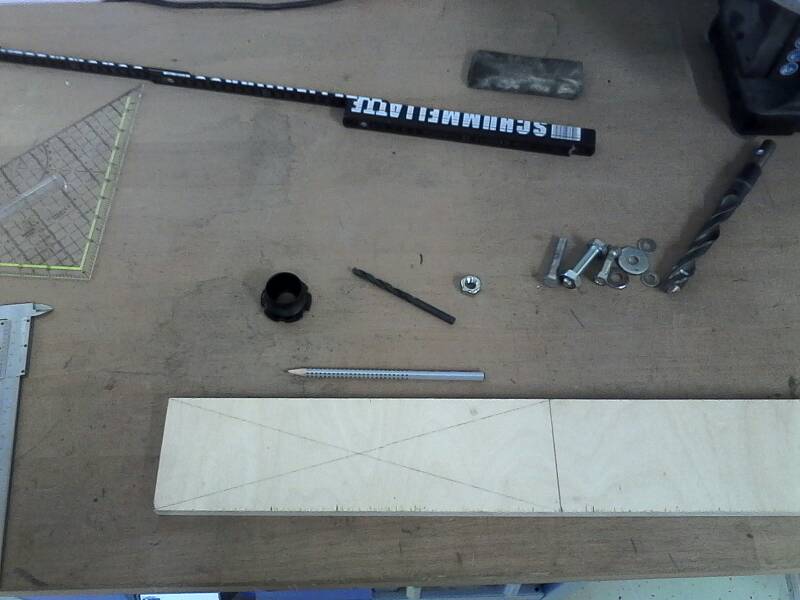
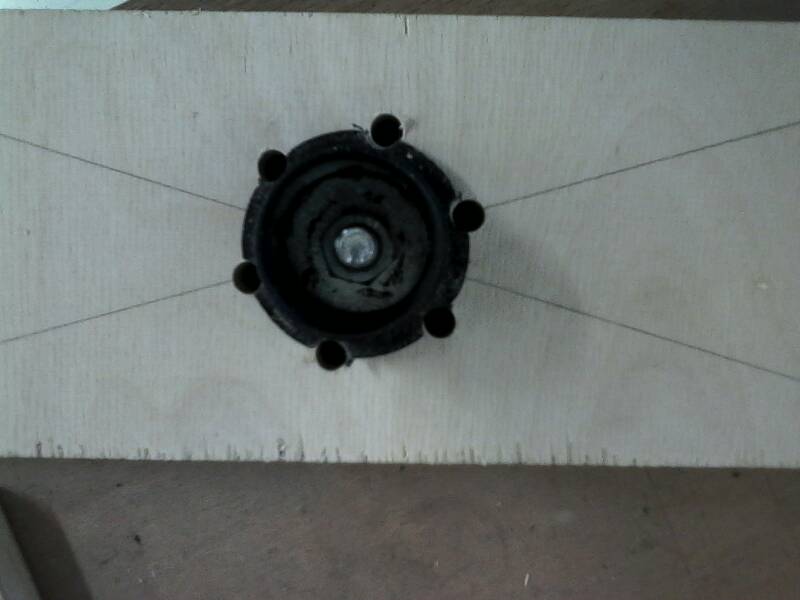
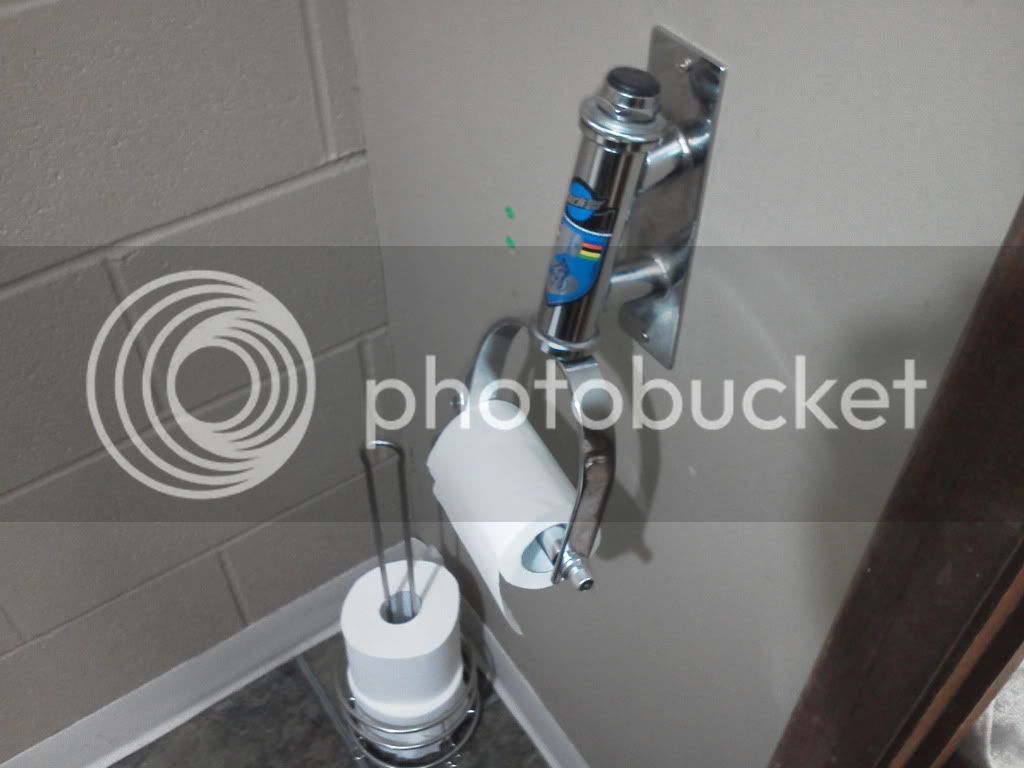
Not mine. Park Tools makes this one, but I will be recreating it ASAP
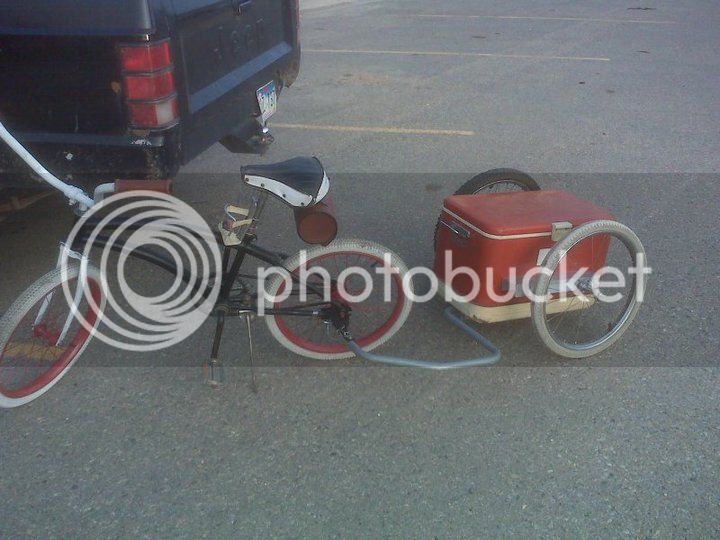
And this one....well, this one holds beer.
Lets see what you have!!
My homemade stand. It works OK. I'm hoping Santa claus will bring a shiny new blue one this year though
I made this rack out of an old crib I dug out of the dumpster.
I blew a shoelace. so I sliced up a tube. Now I never tie my shoe. They're stretchy!
Not mine. Park Tools makes this one, but I will be recreating it ASAP
And this one....well, this one holds beer.
Lets see what you have!!