CWC-1 Updated 7/30/10 Build Finished!

Rat Rod Bikes Bicycle Forum

Help Support Rat Rod Bikes Bicycle Forum:

This site may earn a commission from merchant affiliate links, including eBay, Amazon, and others.
Re: CWC-1 Updated 7/11/10

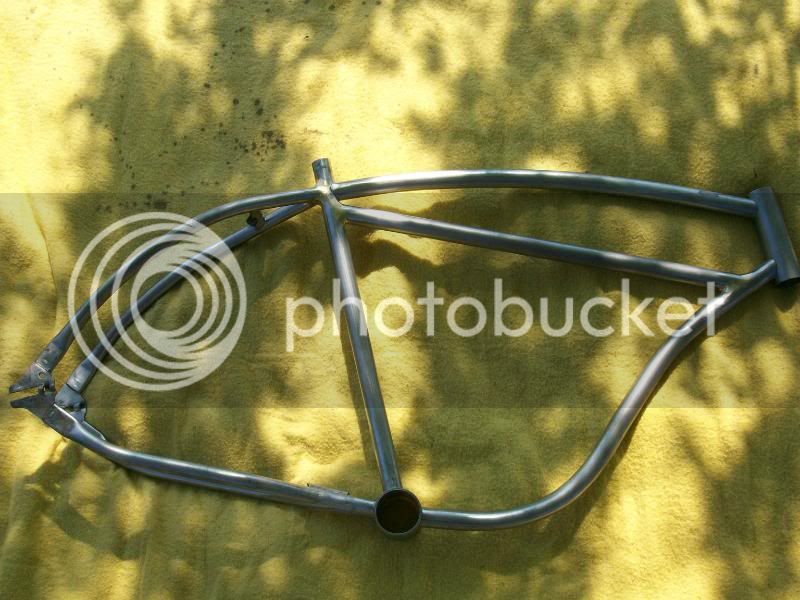
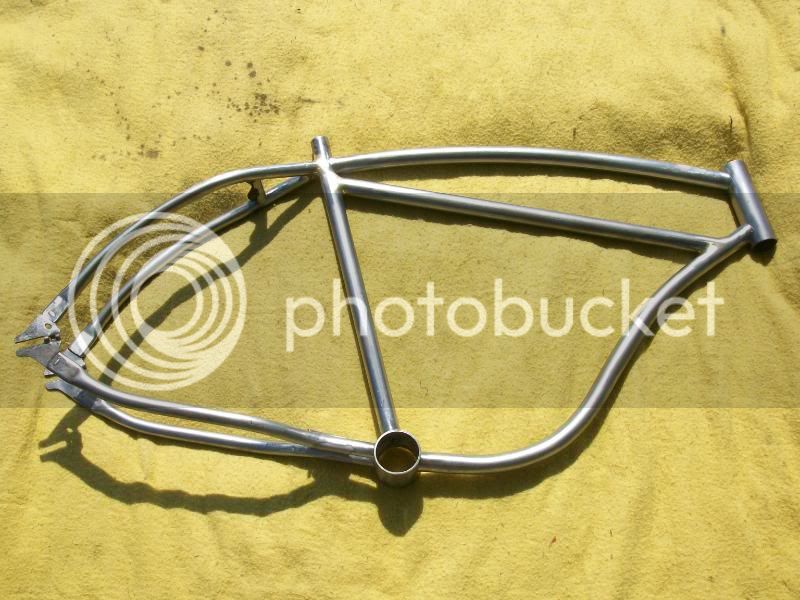
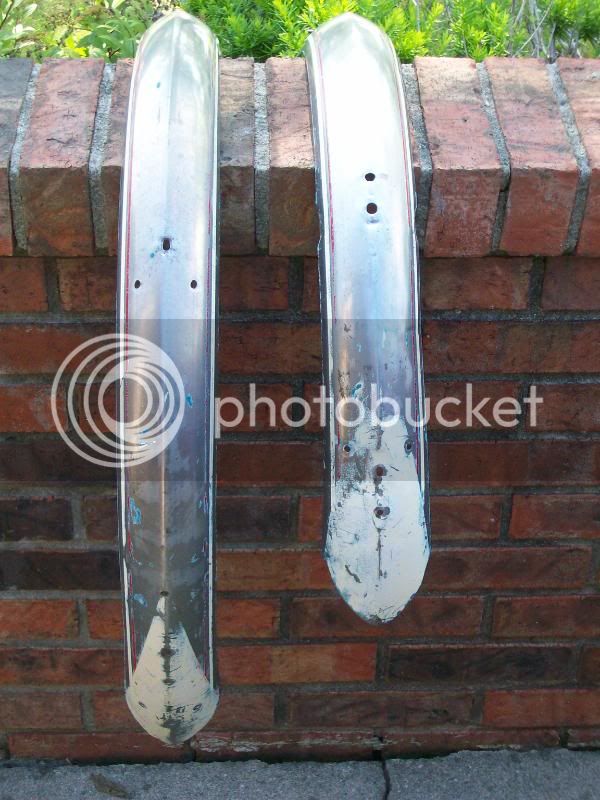
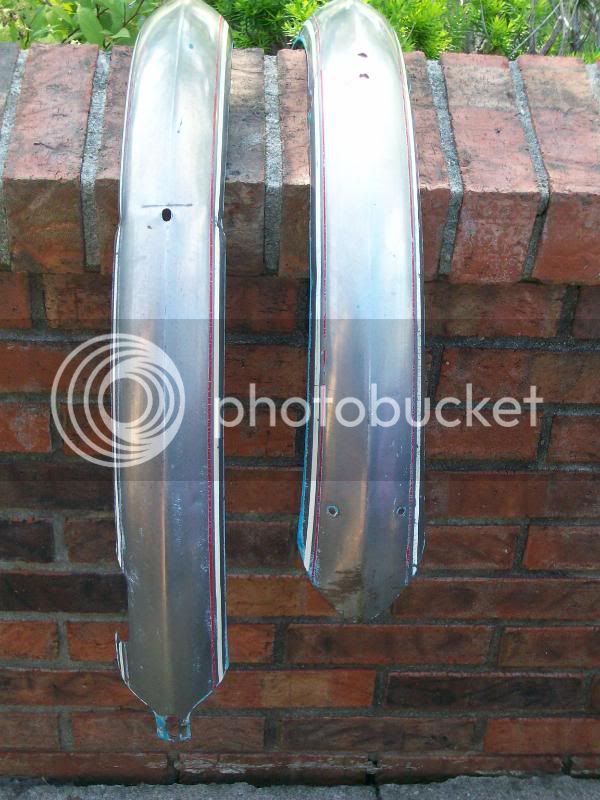
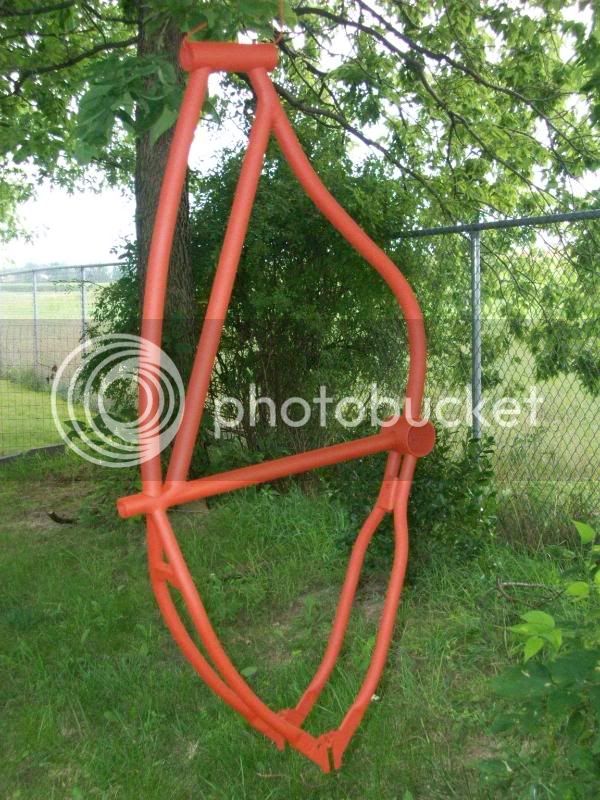
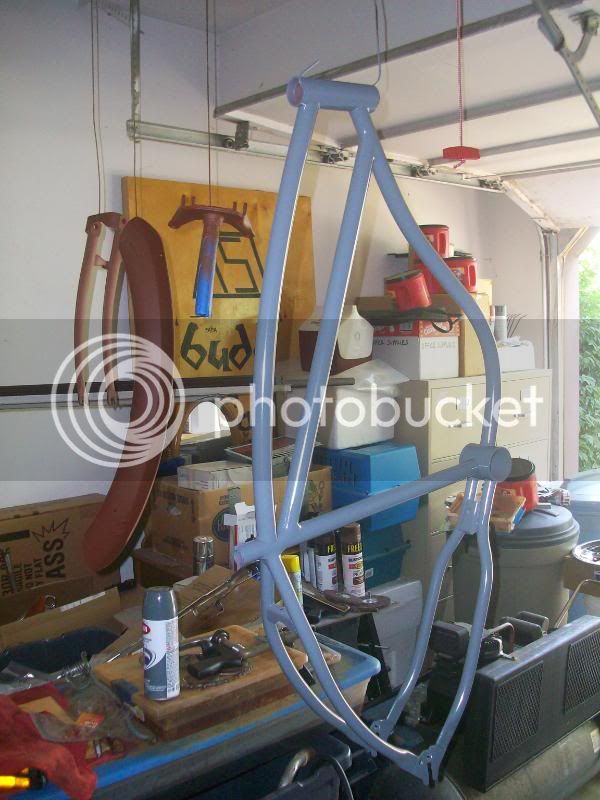
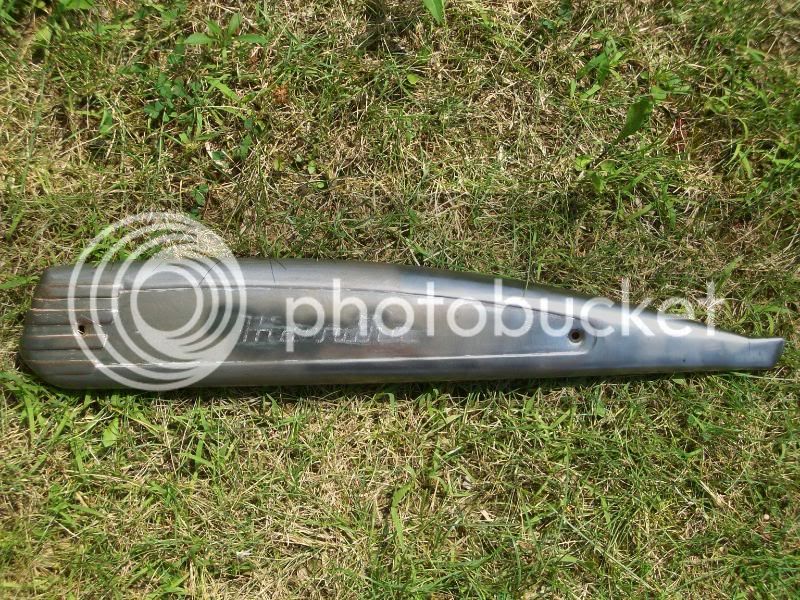
Yesterday's accomplishments - filed and sanded all the nooks & crannies I love complaining about, filled in 4 major dents (my first experience w/ Bondo) on the top tube & stays, and got the frame sanded down ready for primer - whew, I never thought I'd see this day. On the side I nailed the fenders with 2 coats of oven cleaner. Amazing - I went over these aggressively with a steel wire brush after the oven cleaner and the pin striping is like bullet proof. Nice thing about fenders - not as many "nooks & crannies". Slowly making progress - every other day I think I'm not going to have it done in time, but on the other days I feel positive that if I keep pushing forward I can do this. This is the longest project I've taken on in years, maybe decades. I think I can, I think I can ...

B154.jpg


B155.jpg


B152.jpg


B153.jpg
 
Re: CWC-1 Updated 7/11/10

Looking good Robert. If your going to be stripping paint to bare metal try using Aircraft paint stripper. It's excellent stuff, removes multiple layers and when you done it rinses off with water. In the long run it will be cheaper than oven cleaner. I think this quart can was about 10 bucks and lasts awhile. Oven cleaner works great when your trying to save whats underneath....this stuff takes it all off :mrgreen:

It's available at automotive parts stores that sell paint supplies.....normally "NOT" places like O'Rileys, Autozone...etc!

Pickup up some cheap, cheap, cheap throw away small paint brushes to apply it, a small plastic scraper/cheap plastic spatula/putty knife to remove it, and some steel wool for the final clean. It will take off any paint, decal, bondo, etc......

It goes on heavy in one coat brushing in one direction.....resist the urge to spread it around once it's on. Let it do it's job and reapply for those stubborn places.

It's the best paint remover I've personally used......next to sand blasting :mrgreen:

Oh yea...use it outside because the fumes are really strong.

 
Re: CWC-1 Updated 7/11/10

Yea, rico told me about the aircraft paint remover and he sent me some pics of it "in action". So these are the choices I had - one step aircraft paint remover for $10, no step sand blast for $25 or multiple steps plus mucho labor oven cleaner for $0 (I snagged 4 cans from my roommate who now has a self cleaning oven). There is no doubt in my mind that I picked the hardest and most time consuming choice but I'm unemployed, have the time and don't have any money. Hopefully next build I'll be working and can make a better choice. Thanks for info - I didn't know where I could get the aircraft paint remover or the price. Let me be the first to say that the method I am using sucks.
 
Re: CWC-1 Updated 7/11/10

sweet lookking primer !

now the fun beegins :mrgreen:
 
Re: CWC-1 Updated 7/14/10

Put on the big push today - put 2 coats of finish on the frame, 2 coats of primer on the fenders, stripped the paint off the tank and springer and started cleaning all the chrome and bare metal parts for the springer. I had one of these Shockmasters when I was a kid and I remember after taking the springs and struts out the pivot fork just flops in the wind. I'm not that good at remembering stuff anymore - like where all those 200 nuts, bolts, washers and lock rings go - so I tend to take a lot of pics of things as I disassemble them - you gotta love Digital Cameras. They rate right up there near the top of great inventions with plywood and microwaves. I also put parts in individual zip lock bags and label them so when reassemble time comes I should be able to put it back together without even thinking - just the way I like it. I'm kinda anal when it comes to organization.
Now it's going to rain for two days, dry for one and then rain again. I'm trying to avoid painting when it's raining - another reason for the big push. I gotta work with Mother Nature now, and she ain't been too happy lately with what's going on in the Gulf. Anybody ever put clear spray over decals? I'd like to put some decals on the tank sides and then clear coat over them to seal them in place, but I've never done it and don't want to mess up the paint job at this point. Moving on -

B159.jpg

B160.jpg

B161.jpg

B162.jpg

B163.jpg

B164.jpg


Dead Parts Walking

http://i601.photobucket.com/albums/tt99/Road-Master/CWC%201%20%20%20RRB%20Buildoff%20%205/B165.jpg[/IMG
[img]http://i601.photobucket.com/albums/tt99/Road-Master/CWC%201%20%20%20RRB%20Buildoff%20%205/B166.jpg
B167.jpg
 
Re: CWC-1 Updated 7/15/10

Hottest day all summer and the prep work for painting parts just seem to get more difficult. After I got the paint off the tank and springer I had lots of rust to deal with. The springer is forged and thick so I could really grind on it with a drill and wire brush attachment and not worry about bending anything - man against springer rust plus I managed to get 2 coats of primer on it. But the tank had pitted rust all around the outside edges inside the bends - I got one half done and then the rain came. I had no idea there could be so much rust hiding under paint. This is really becoming tedious but I'm almost done with the crap work. The original Hawthorne lettering on the tank remained after the paint was stripped - more bullet proof paint like the fender pinstriping. I used 80 grit sandpaper with a palm sander on the pinstriping but took way too long so I went old school on this one - wood chisel. Not very conventional but highly functional. I put a nice sharp edge on it with the grinder and went at it. Finally something that doesn't take forever. Don't try this at home unless you've got a steady hand because one slip and you've got a tank gouge.

B168.jpg


B170.jpg
 
Re: CWC-1 Updated 7/20/10

Robert , job well done can't wait to see more :wink:
 
Re: CWC-1 Updated 7/20/10

A good grey is always worthwhile.
Excellent job man.
 
Re: CWC-1 Updated 7/25/10

You know that dull funky finish they put on fender braces, seat clamps & what not - not a fan. I grind, sand, wire brush, anything I can to get that off of there. Then a clear coat and I'm a happy guy. You tell me, which do you like better?

B176.jpg


If there's one thing I can't stand is rust. Some guys take a wire brush attachment on a drill and grind it out. To me that does about the same thing as triple chroming a part - no detail, no sharp lines - just everything nice and smooth. I was reading here recently in a "How To" section to remove rust electrolytically and the rust is replaced with iron. Now I've never tried this myself but on paper this scores a "10"! I use white vinegar to eat the rust off, buff it out with a Dremel (or drill) and a wire brush attachment till it shines. The more RPM and the lighter the touch the more she shines. Add a clear coat and again - I'm happy.

B135.jpg

B135a.jpg


So I go into Lowes the other day and just inside the door in bins are small hand tools for $1.95. I snagged two of these little gems - I can't tell you how many times I've had to improvise a larger tool to do what theses babies were born to do.


B177.jpg


Learning Curve Lesson Number 37 - after I removed all the paint from the chain guard I noticed a lot a good chrome left so I'm thinking two tone - chrome and black. When I held the part up where light would reflect off it I could see the edges curve around and then flatten out on the face kind off making a line. I took a Sharpie and put marks along the reflective line. Now in my career as a carpenter everything we measured, cut and and installed was to the center of the mark. So I mask it off, prime it, paint it black (did somebody just hear The Stones?), remove the masking and I see what appears to be bleed through. I'm thinking that blue masking tape ain't all it's cracked up to be. I put my 4 power glasses on and you know I'm looking at - the other half of the marks - DUH. If you zoom in on the pic you can see them plain as day.

B179.jpg


A little after midnight I finally got the chainguard and pedals on and took it out for my first spin since I disassembled it. Just last week they finished repaving our whole complex with new black top. We have no exits other than the main entrance so every street ends with a cul de sac making it a non stop run through from one point all the way around and back to the original starting point. The only thing I heard was the chain eating through the sprockets and the whine of the Fat Franks maxed out at 65 lbs after I got up to speed. Magnifique!
 
Re: CWC-1 Updated 7/25/10

lookin good! lets see some finished pics! 8)
 
Re: CWC-1 Updated 7/25/10

The biggest reason I don't have any finished pictures is because it isn't finished yet. I put the decals on the tank today, then I'll seal it with clear tomorrow and then it's "Picture Time". Wish I had a Tux - I'd need something black and snazzy to look good on this. Needless to say I am happy with the results. Pics coming shortly!
 
Re: CWC-1 Updated 7/25/10

Hey Robert
that was good a tux and what about some black shades 8) , :lol:
 

Latest posts

Back
Top