Chopper Style (fat rear tire)

Rat Rod Bikes Bicycle Forum

Help Support Rat Rod Bikes Bicycle Forum:

This site may earn a commission from merchant affiliate links, including eBay, Amazon, and others.
Joined
Dec 21, 2012
Messages
308
Reaction score
11
Location
Sandy Hook, New Jersey
Rating - 0%
0   0   0
Hey guys

I'm a new face around here, been lurking on these forums since August and registered just before Christmas. This is my first build, I hacked away at a couple of failed attempts last summer, this one I am planning to see it thru.
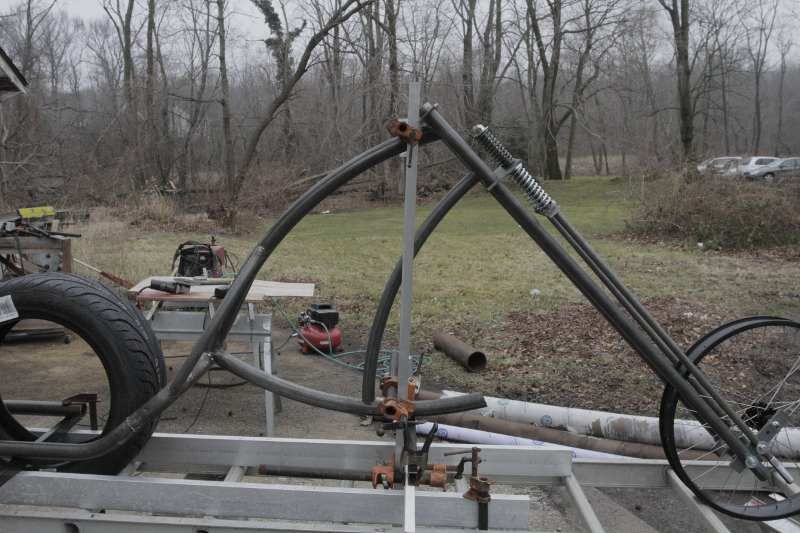
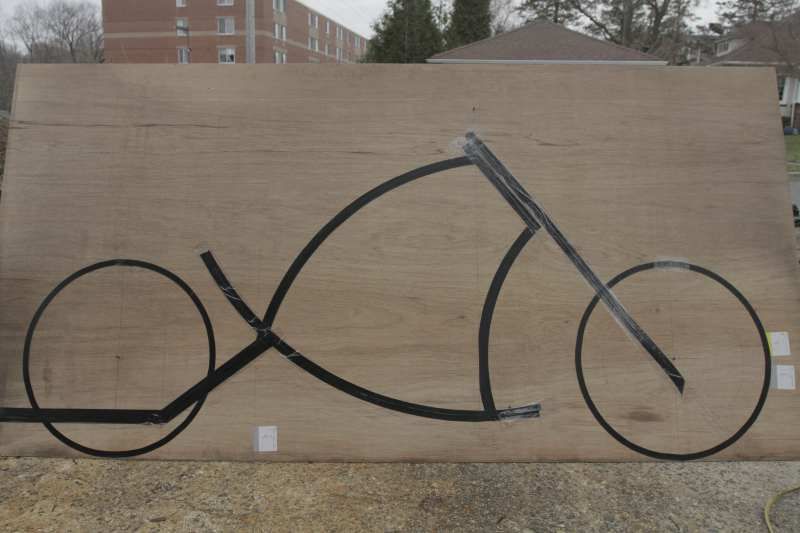
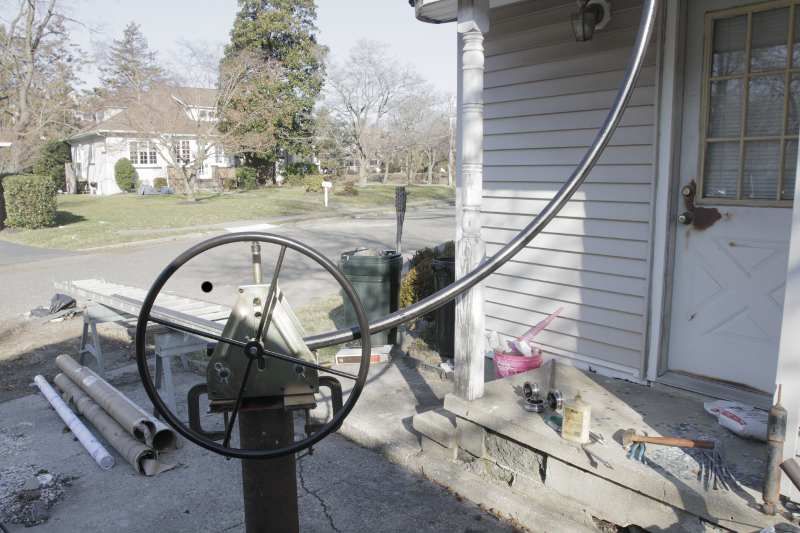
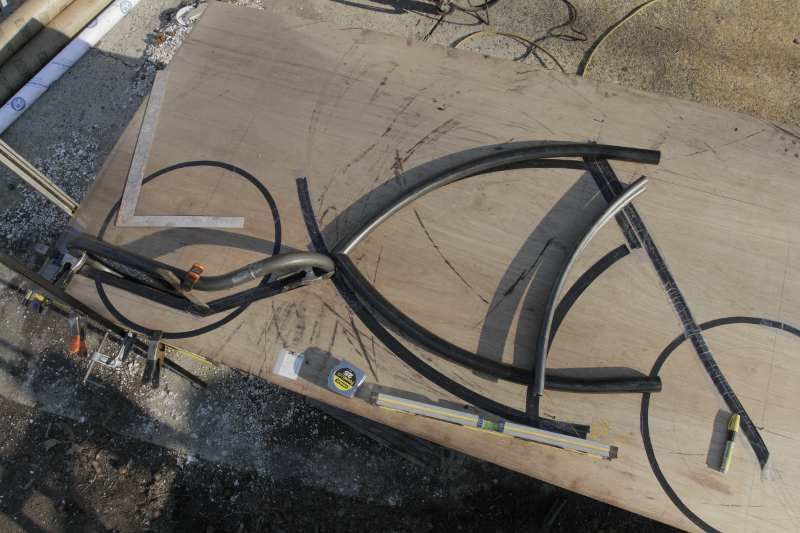
I started with a concept drawing I made, from there it went to a plywood full scale plan. I used 2 different benders to get the different bends a JD2 model 32 to bend the tighter bends on the rear cage, and the Harbor Freight Roller for the smooth swooping curves in the front.
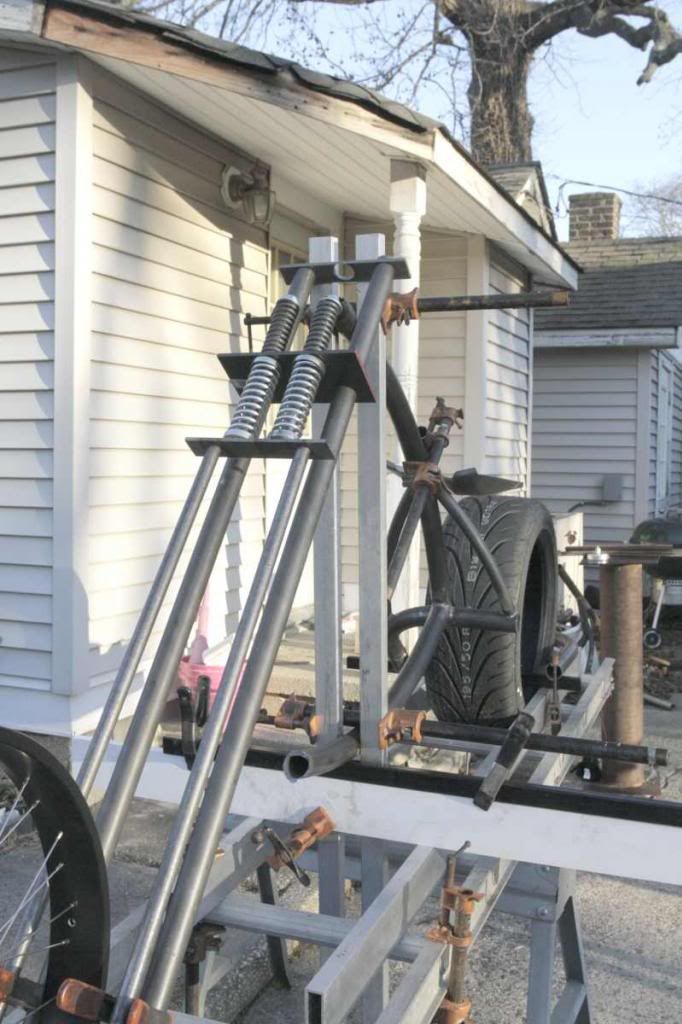
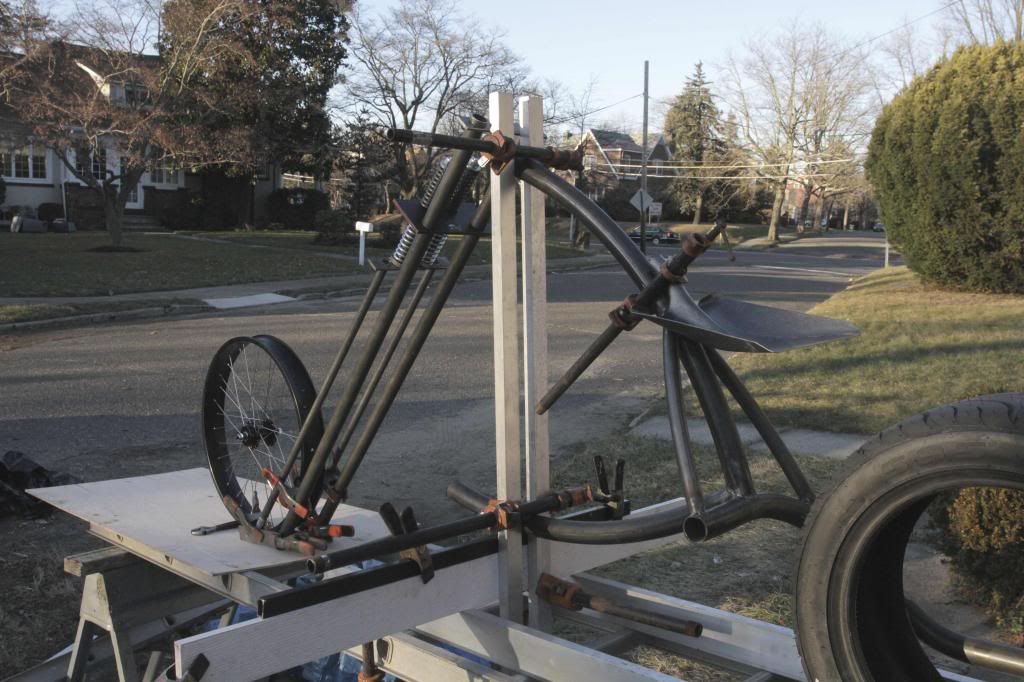
I found plans for a set of springers on the net, they have been fairly uncooperative, but I am slowly winning the battle with them :)

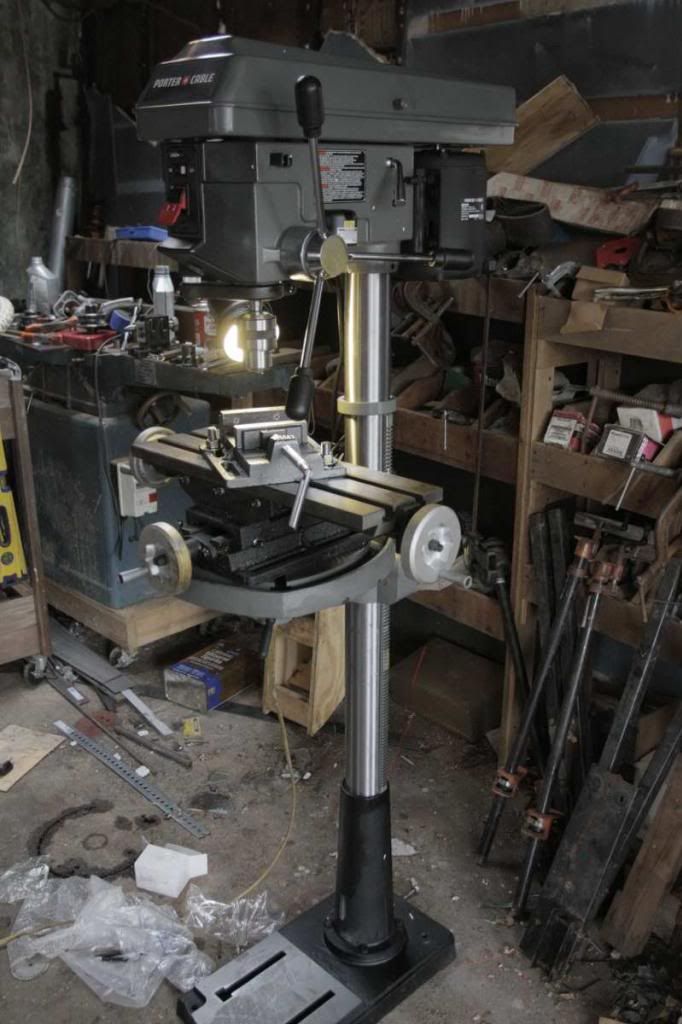
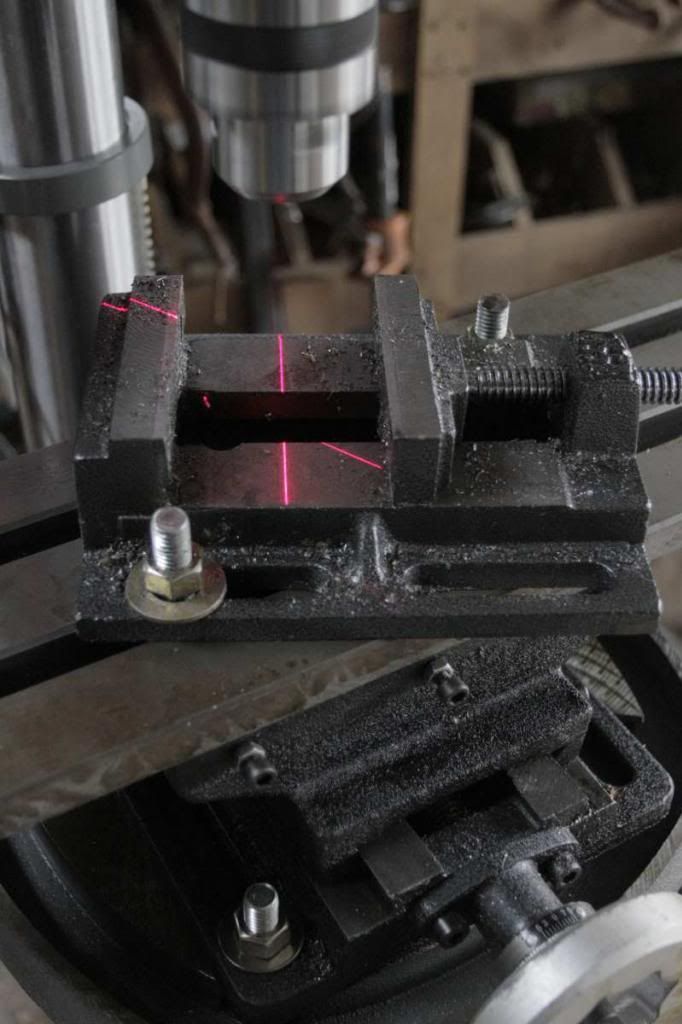
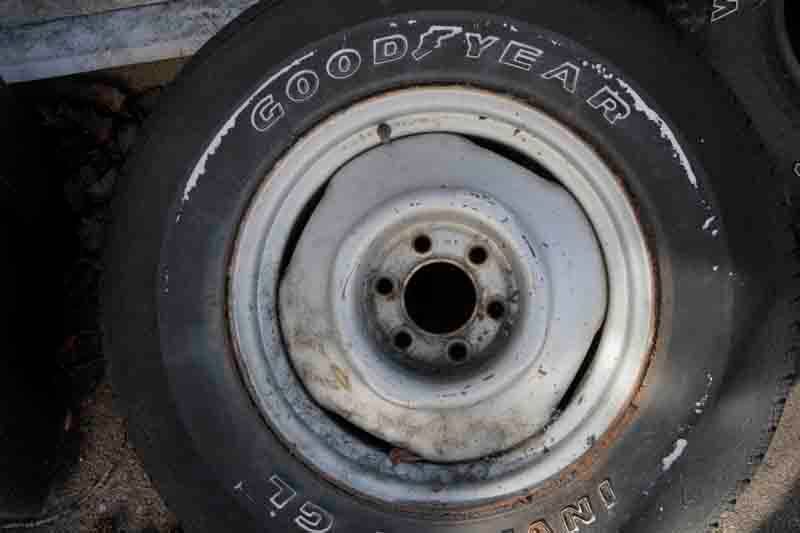
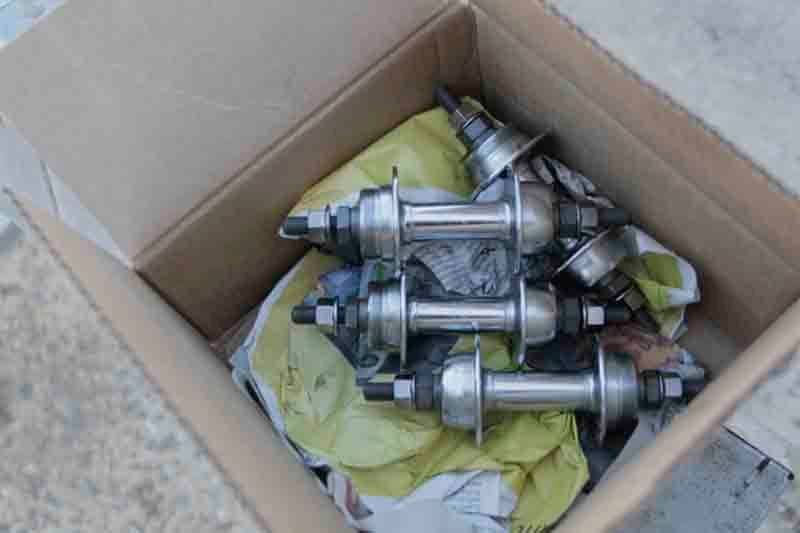
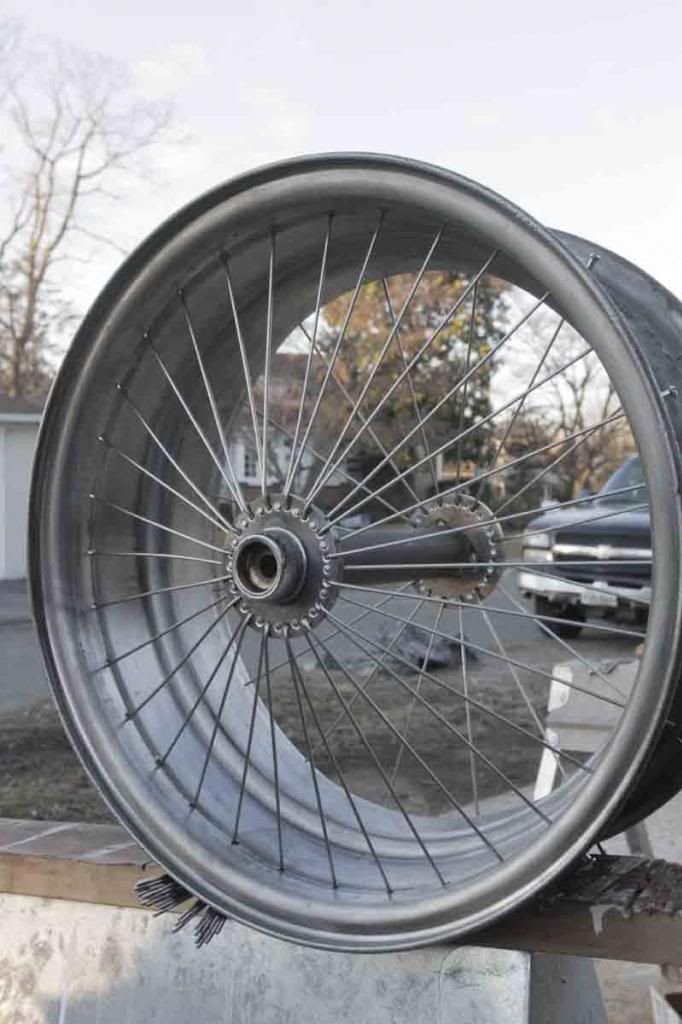
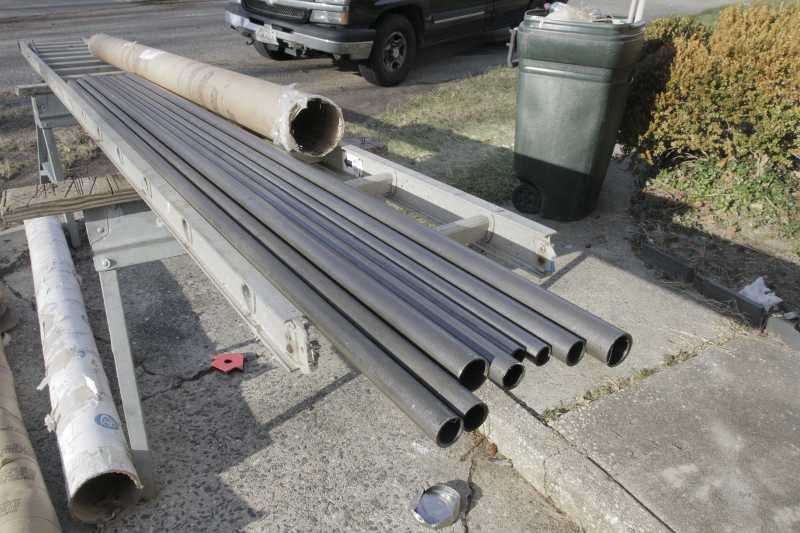
Anywho, here are some pictures:
overkillmockup_zpse5e2b3fe.jpg

tuberollertubinginit_zps6ed7d577.jpg

metal2_zps83ed9f2e.jpg

rearcage1_zps21f1245e.jpg

tuberollertubinginit_zps6ed7d577.jpg

overheadroughframe_zps9a259ef3.jpg

frontforksnearlyinstalled2_zps71241a50.jpg

frontforksnearlyinstalled3_zpscf5e3d25.jpg


Thanks for having me, hope you enjoy.

Rich
 
Re: Chopper Style

Thats a great start....The plans you are following for your springer are from John Brain....If you are having trouble with something hit him up. He is a super cool cat and will try to help you. Keep up the great work!! 8) 8)
 
Re: Chopper Style

Awesome build, that is going to be amazing!

Love fat tire builds... Love chopper builds... Love homemade springers... Love shovel seats...

Oh, and nice tube roller too! :D

Luke.
 
Re: Chopper Style

Thanks for the great comments guys!
@BigDaddy... nice bikes! I took a look at your Facebook page, nice work! As for the springers, not really the plans as much as design decisions I made during the project. I never solidified the head tube location, and for various reasons I used metal I was going to use for the forks on other parts, and using 1 1/4" tubes for the forks... than I forgot to figure that into the layout for the parts for the forks... That rim is 3" wide, there really is not much room left in there with the stock fork layout... so that one has bit me... now that I basically know where the front forks are going things are slowly coming loose from the big log jamb I had there :) So the troubles I am running into are all self inflicted :)

@Wimpy, Sensor, Dr. Tankenstein and Luke... thanks for the kudos...

Rich
 
Re: Chopper Style

Thanks fro stopping by Peatbog and Kingzebba.

Worked on getting the forks on, the head tube in position and the down tube bent and in position. Tomorrow everything gets welded in.
I'm anxious to get this inside, the weather is not going to be good forever around here.
sideviewchopperwforksandheadtube_zps5dd76292.jpg


Thanks for watching.

Rich
 
Re: Chopper Style

I was going to work on the rear wheel yesterday but I ran into a couple little problems, the rear hub flanges I made for it, I was not able to find, so I set up to make some others, got 4 pieces of 3" x 3/16" steel all cut up, center hole punched... than my drill press, an old Craftsman pre war model gave up the ghost, motor smoked and the whole innards for the spindle came out. She don't owe me a thing, I have been beating up on that drill press for a couple of decades, but they sure do pick bad times to breakdown :)
I'm looking for a replacement now, I have a couple of options Harbor Freight, Porta Cable or online with a Grizzly or Jet model. Even toying with the idea of a mill, it would be a bit of a trade of for some of the things I do, but it would allow for me to use it for light duty milling also... but it would be a ton more money... I'm gonna think about this for a touch, tomorrow, they will still be there if I choose to just pick up another 14" 12 speed model...

Rich
 
Re: Chopper Style

Picked up a Porta Cable 14" 12 speed model drillpress today. I looked at teh Harbor Freight offerings, but was not impressed with what they looked like of offered. This guy has far more features than my previous Craftsman, but I can see myself liking at least a couple of them. Tensioning to the belt with an easy to reach handle, a light for use in the shop will come in handy, laser crosshairs (not exactly a feature I feel is needed, but I'll take it) the speeds are adjustable with belts from 300 to 3000RPM. All for 309.00 USD I am happy with the unit right now, came home and assembled it. went together easy, everything seems to be in order, tomorrow I'll spend the time to get her to work. It will be fun to have another machine in the shop, the older unit was an old warhorse, stuborn in some of the things it did, but always seemed to work, this model seems to be a better fit for the shop... time will tell :)
dpoverview_zps6a4dcdab.jpg

dplasercrosshairs_zps08f25517.jpg

Hope you enjoy

Rich
 
Re: Chopper Style

I am waiting for my steel hubs to arrive, so I have some time to kill :) these flanges will relace the ones on the hub... I was not sure whether I needed BMX hubs or if freewheel hubs would have worked, I intend to have a transmission midway, just in front of the wheel, I do not need anything on the rear hub other than a single gear, I am thinking 22 tooth should be enough. Not sure whether I will use a Sturmey Archer 3 speed or 5 speed infront of the wheel on the mid drive tranny... I think it would help to have at least a couple of gears to push this guy along :)

I broke my counterbore in 2 different holes... so I am going to do this all over again tomorrow :) it's great practice!
Anywho, first pick is the radial indexer on the drill press with the flange all marked and ready to drill holes, the second is the piece with all the holes drilled. That laser sight is "da bomb" for this type of work! It was easy to place right over the marked holes and that allowed for simple placement of the drill bit... I was quite happy with it after doing that for just the first 5-10 holes... I would not want to do it any other way now :) When the holes are drilled I take the pieces over to my sanding station and than grind them into 3" circles. Works pretty well, I have a circle cutting jig I made for that.
flangewithcounterbore_zps4b07d853.jpg

flangewithholes_zps65db9d4a.jpg


Slow moving right now, but hopefully things will start moving again when the hubs arrive and I figure out what it is I am going to be doing with the mid drive transmission.

Thanks Wimpy, BigDaddy and Luke for keeping an eye out for me :) I appreciate it.

Thanks for watching ! :)
 
Ha, you guys probably thought I was dead :)
I was not too satisfied with the flanges, so I went to the university and made a template in autocad.
Here is today and yesterdays work.
Received my new hubs in the mail this morning.
Proceeded to than cut it into pieces :)
cleaned up the flanges
welded the flanges to the fleshly cut up hubs
I only tacked the hubs, I am planning to just put everything together, pull them apart them do a final reassembly whe I am sure everything will work correctly.
And than all of the pieces going together.
The basic final look.
tireoriginal_zpsbf984b23.jpg

freshbmxhubs_zpsce4a2736.jpg

cutupthebrandnewhubs_zps0f041a71.jpg

uglywelds_zps8e8cd704.jpg

hubflangeandaxle_zps7356d014.jpg

finalwheel_zps2ffbdfb2.jpg

I had visit from a big Harley dude the other night, he wanted to know if I made that single swing axle Harley chopper that was in the driveway the other week :) It was kinda fun telling him it was just a bicycle :) hehehe. He builds bikes and we ended up having a good conversation about bending equipment, materials and techniques :)
Thats one of the reasons all this is so fun :)

Rich
 

Latest posts

Back
Top