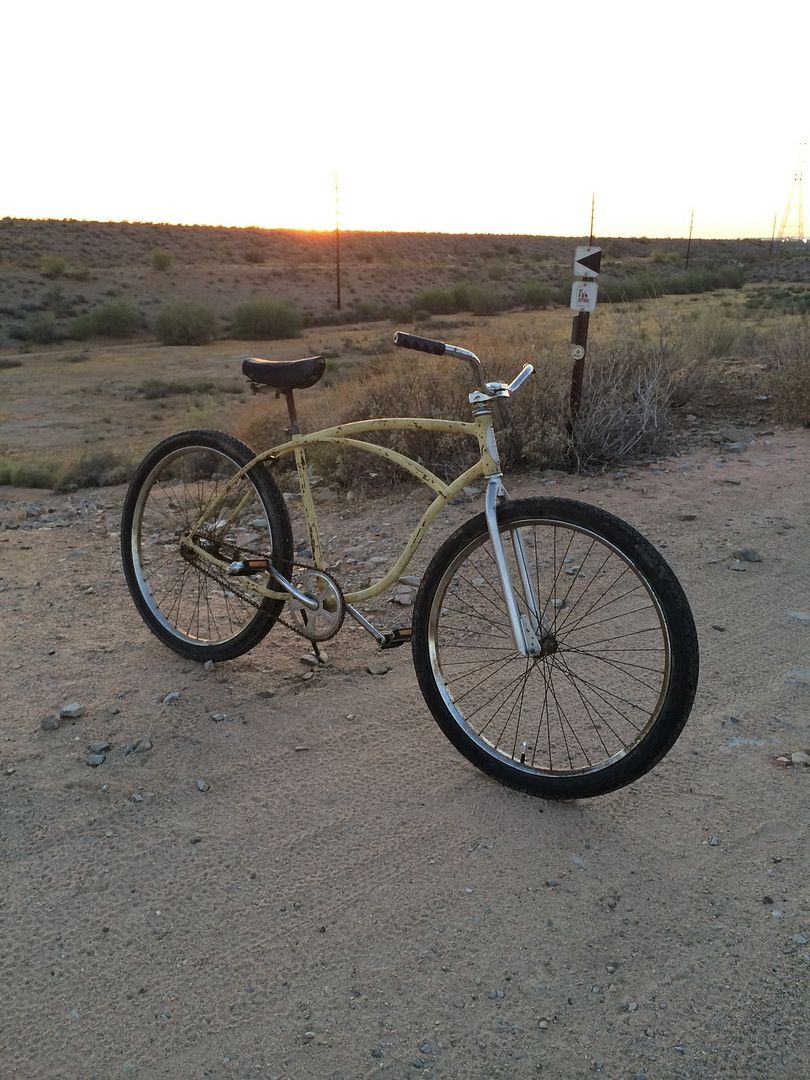
I'm building a 1952 Schwinn Phantom into a clunker, and I'm wondering what I need to convert it from a one piece crank to a sealed three piece crank. Does anyone know a good deal on conversion kits??


I've found that it's pretty easy to use the American-to-Euro adaptors (like this: http://www.niagaracycle.com/categories/truvativ-bottom-bracket-conversion-american-to-euro
And then just thread in whatever MTB/road/Track-type Euro BB to mount the cranks. The only reason I tend to avoid this is b/c it's a kludgey solution where, in the end, your crank set-up will be weaker. Even if you're running the most bomb-proof mtb/dh cranks, your BB interface is weakened via the use of the adaptor-- more parts, more bolts, more things to flex and wiggle.
OTOH, tubular chromo 3-piece cranks, like they use in bmx, you've got very sgtrong and stiff cranks that are designed to work in a BB set without a bolt-in adaptor. Even better, you have a lot of adjustability in the chainline with a BMX crank, which is weird b/c BMX set-ups tend to have standard chainline, but it's an awesome surprise advantage.
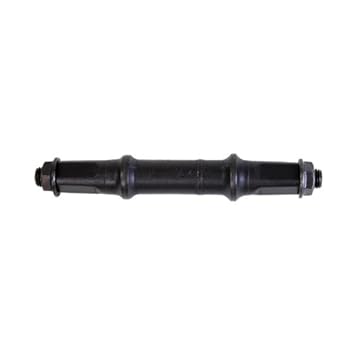
A lot of folks go 3-piece on their cruisers. I've got 3-piece cranks on a couple different bikes with american-sized shells, and RRB is littered with hundreds of posts about it. Going with the euro adaptor and a thread-in BB/crank is totally workable, and it ain't bad, and it's not even all that weak if properly installed. But, if you go with a square-taper type of crank/bb (and most RRB types do), then you're going to be wondering what length spindle to get, and you;re gonna be PO'd when you realize that these things aren't standardized.... you're going to have to research it, google it, do some math to make it all fit your application, and then it still might take some trial and error.
If you go with a more modern external bearing set-up, you'll find that chainline for the MTB-type cranks is far too outboar (and not adjustable). If you get an external-bearing road crank, it's pretty straightforward, but chainline is not adjustable plus you gotta run the sprocket on the inside of the spider which works fine, but it gives the bike a no-talent hack-job kinda look (and yeah, I've sported bikes like that...so i speak from experience).
Get yourself some of those Sunday Saker cranks; they're cheap and ppl seem to like'm. I just installed some Redline Flights on my Triple S, and while they're a bit pricey, they look awesome and they're stiff as can be....

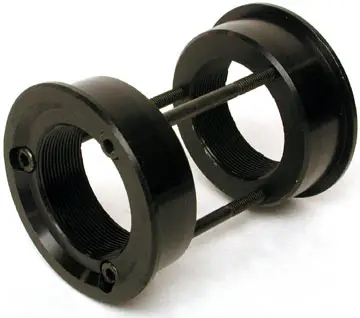
Depending on what crank you use, probably not. Those have a looooooong spindle, at something like 127mm, which will throw your chainline out pretty wide with most cranks, especially modern ones. It'd be cheaper to use that than to use the threaded adaptor, plus a BB set, but it'd also be more of a headache, as far as set-up goes. I can really only recommend that if you're running some very old cranks. (Plus, most threaded square taper BB sets have cartridge bearings nowadays, which reduces maintenance. Not a deal breaker, but another factor.)So is this BB set (pictured) good to use for a conversion?
I've found that it's pretty easy to use the American-to-Euro adaptors (like this: http://www.niagaracycle.com/categories/truvativ-bottom-bracket-conversion-american-to-euro

I just got one of these type adapters today. I tried it out a few hours ago and it is too big to fit into the BB. (Very disappointing on the eve of the build off). I assumed that American BB's are all the same size. Did I order the wrong part? The one that I ordered looks like the one pictured above except that it has 4 bolts.

") )
)FWIW often those conversions don't just 'screw in' with the supplied bolts. On my projects they've typically pressed in just as tight or tighter than the original OPC cups. Can make lining up the bolt holes a bit tricky- grease, patience, trial and error will usually do the trick... ;-)
( That and a bottom bracket press

This would be my recommendation too, those BMX 3 piece cranks are simply awesome, I buy every bike I can that has them, just to get enough for future builds... I am even using one for a single sided rear hub on my "OutLaw" build, that is how strong I think they are!Get yourself a BMX-style 3 piece with an American-sized BB set. If you're gonna bother to do it, you might as well go with stronger cranks.
.? Good catch.


I'm a fan of the pinch bolts too, and also a fan of the slightly coarser splines, seems like it would take significantly more to strip them... But that is just me!And here's a pic of a Profile, complete with arms, axle, bearings, spacers, bolts, and American-sized cups. Basically, everything but the pedals and sprocket:
And here's the current Redline Flight, same list of stuff:
Profile has the advantage of more splines; the Redline has the advantage of pinch bolts. I think the pinch bolts are more important by a mile, but I'll probably recant that if I ever strip the splines on my Flights...
I'm a fan of the pinch bolts too, and also a fan of the slightly coarser splines, seems like it would take significantly more to strip them... But that is just me!
Luke.
Enter your email address to join:
