A productive day in the end today after quite a few hold-ups...
First off, sorry about the blur spot on most of the photos, apparently got some cutting oil on the lens yesterday, didn't realise till I had nearly finished...
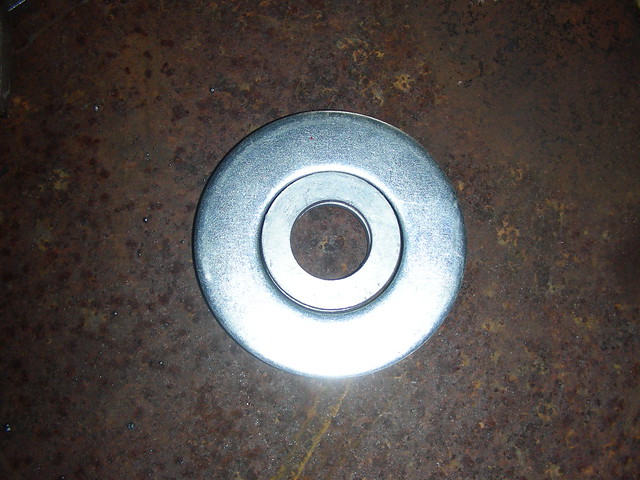
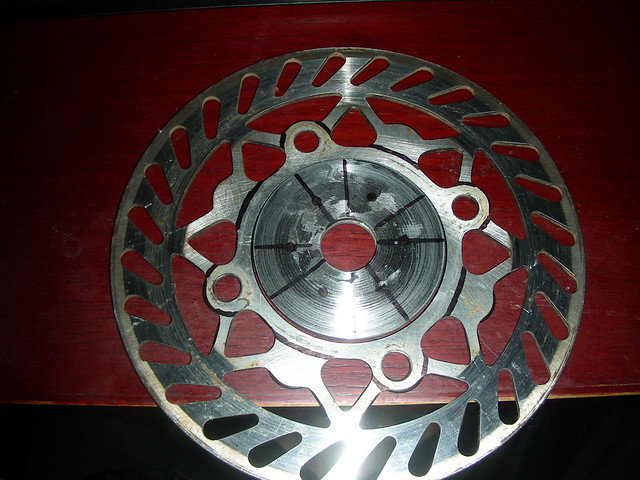
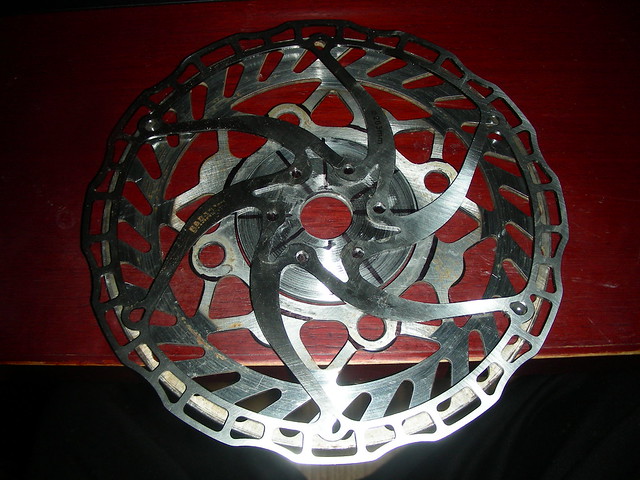
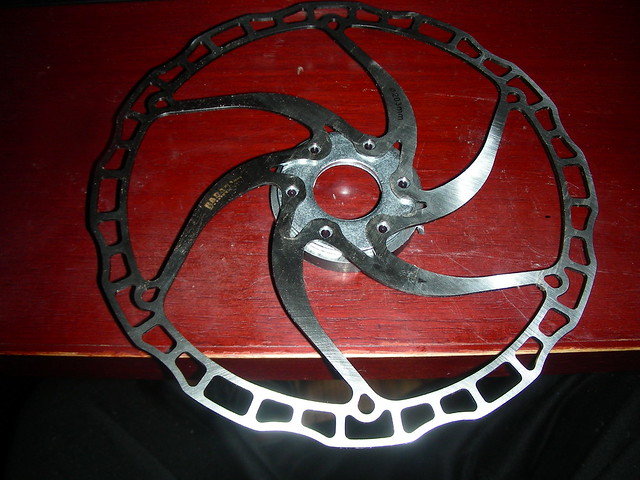
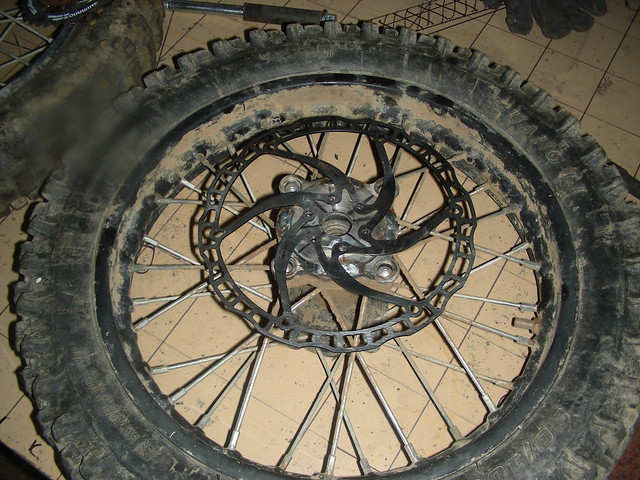
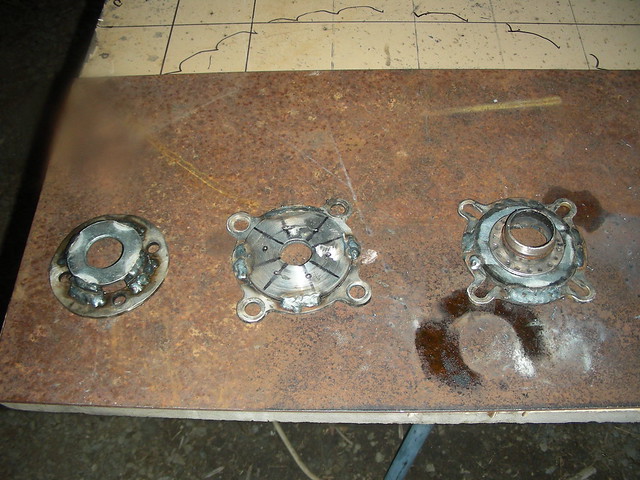
Started by cleaning up the old discs into the mounting plates:
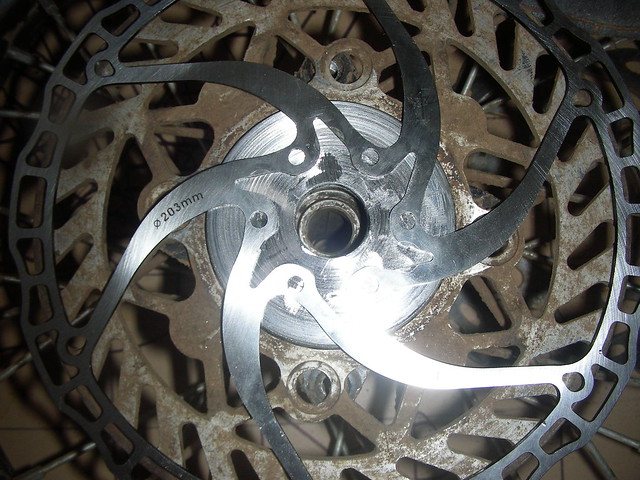
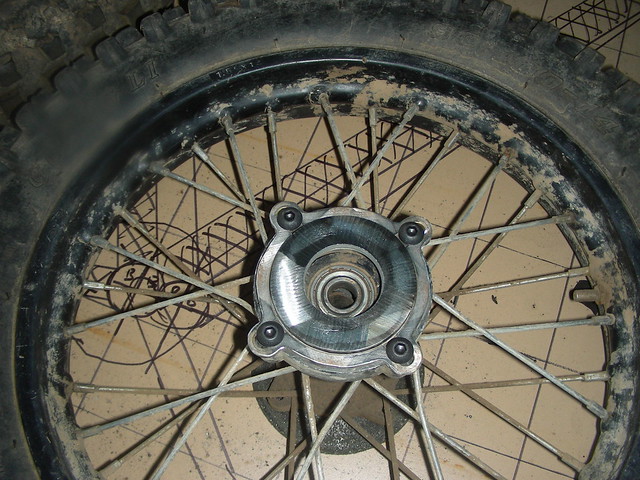
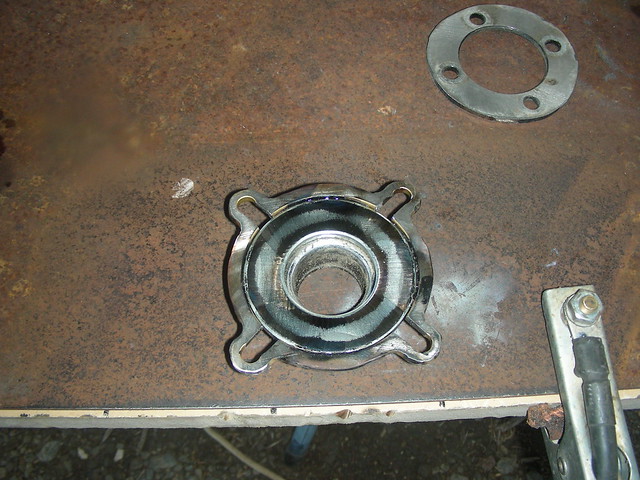
I started then with the rear disc side adapter, used an axle and a spacer tube to make sure it was fully centred and bolted the plate down hard and welded the washer in place:
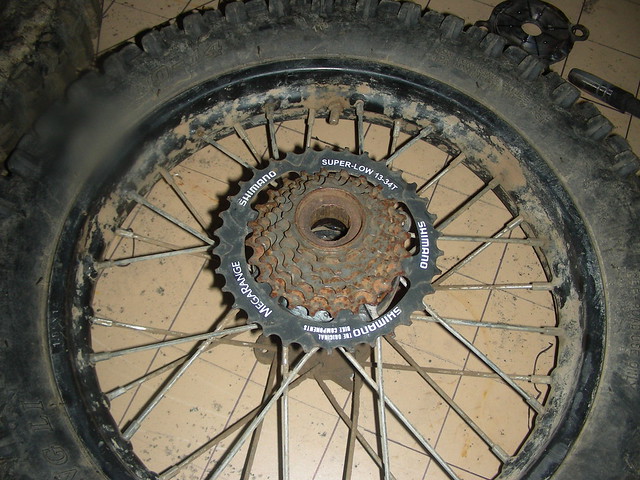
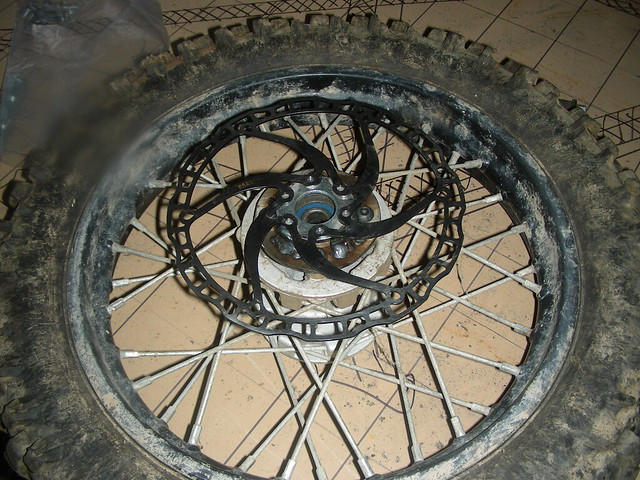
Mounted on the wheel:
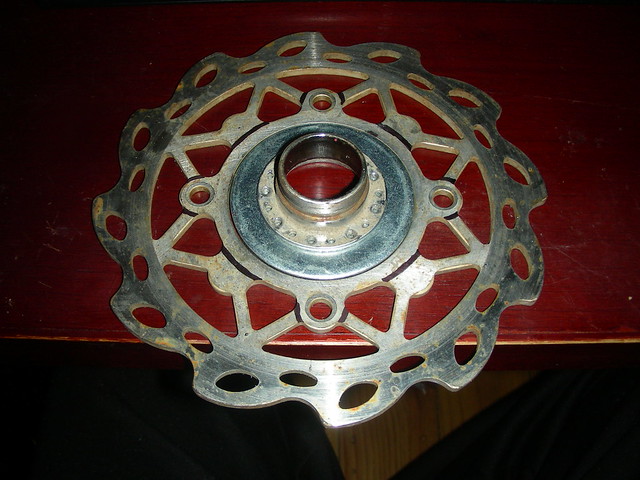
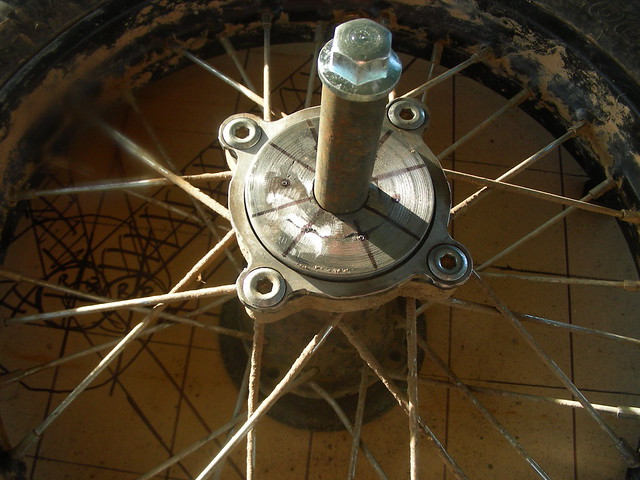
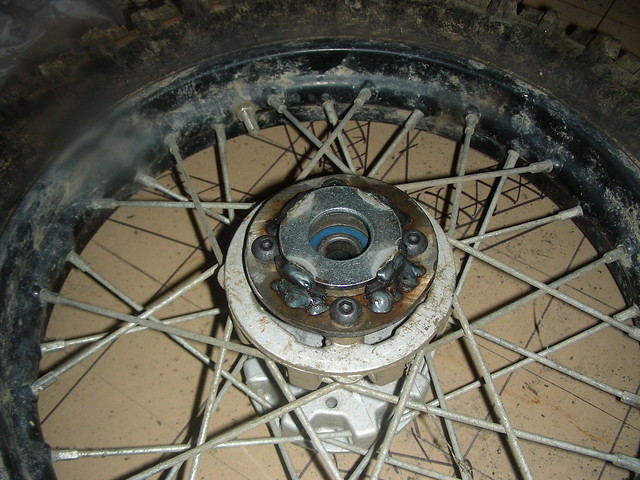
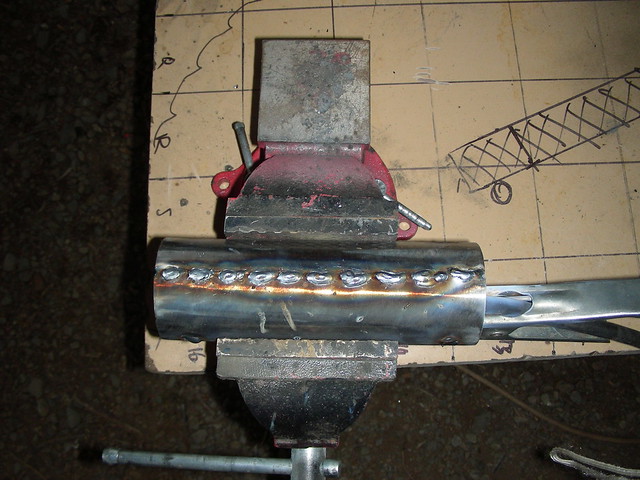
Then on to the drive side, the drive side had a slightly different bolt pattern, so I slotted the holes to allow it to fit, it still centres on the mounting spigot, so no worries about bolting it out of centre, then mounted it and welded it up:
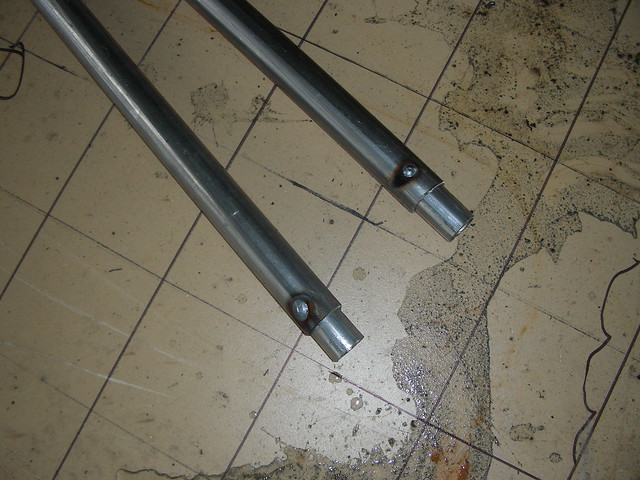
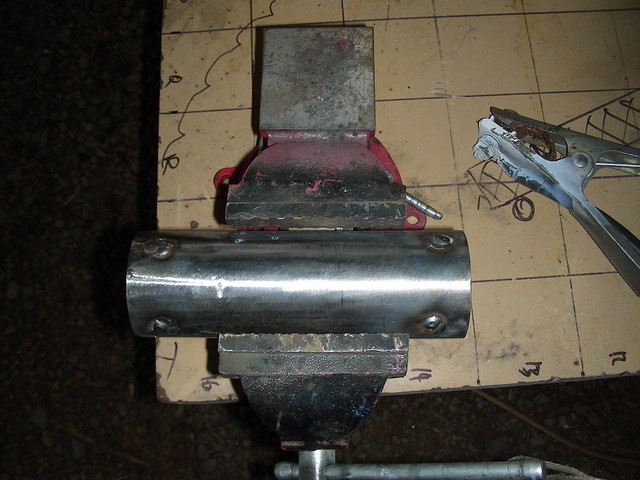
Then removed it from the hub and flipped it over to weld the threaded hub end on:
Mounted on the wheel:
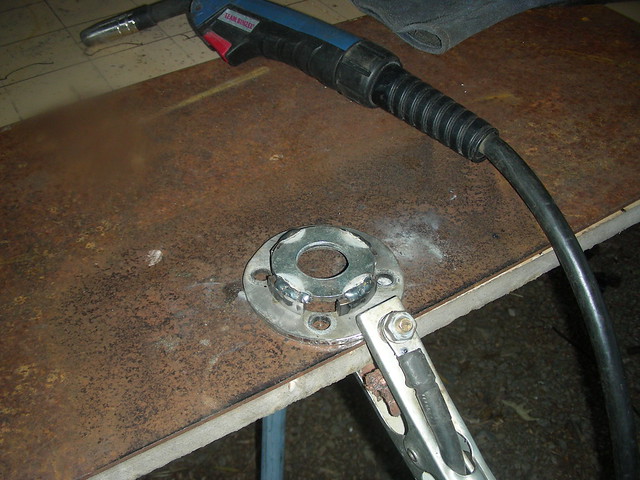
Next up was the front disc mount, started by welding the washer to the spacer pipe and then cutting out 4 slots to allow clearance for the mounting bolts:
Then bolted the mount to the hub and welded it up:
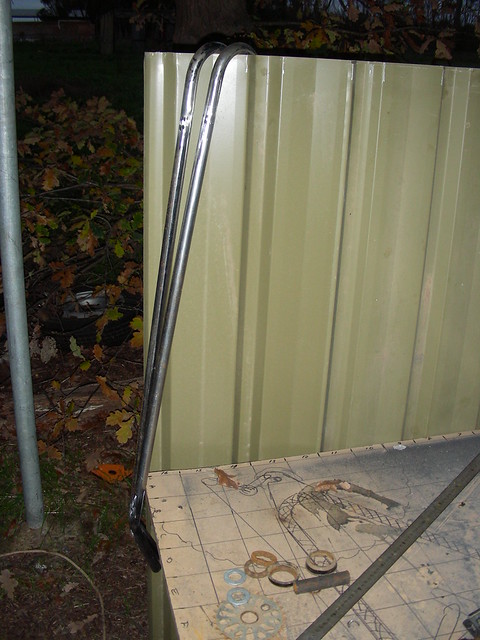
Here is how it will look when finished:
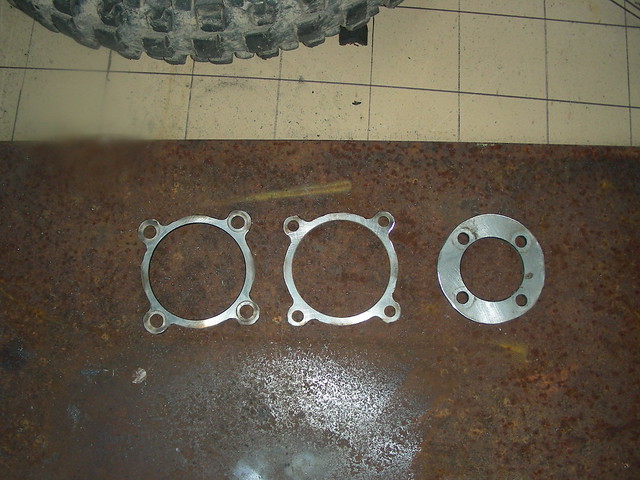
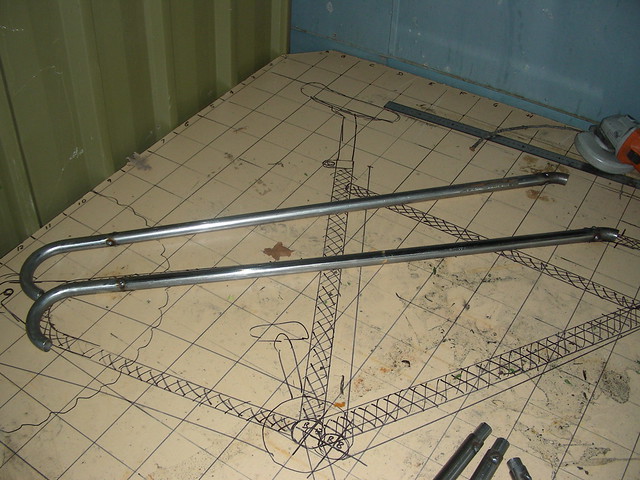
Here are the three adapters done for the day, I finally found my 5mm thread tap and matching drill as I was packing up, so these are not drilled and tapped yet:
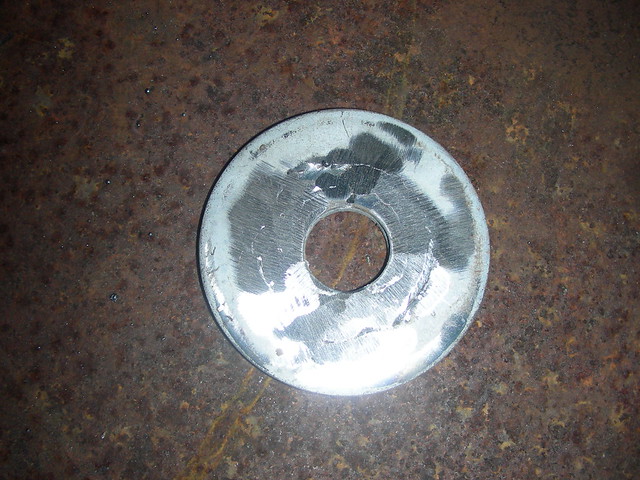
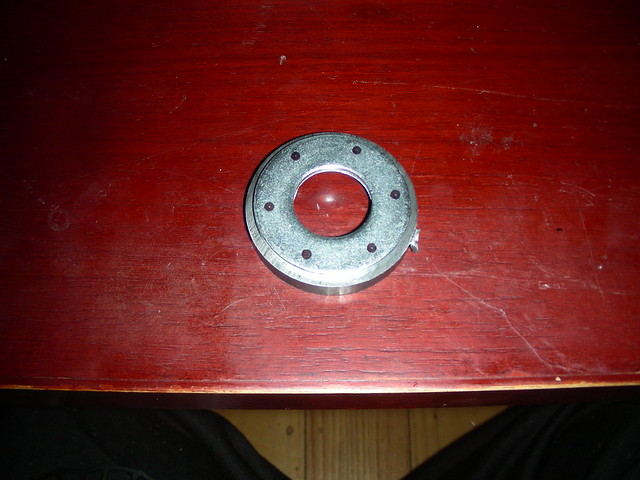
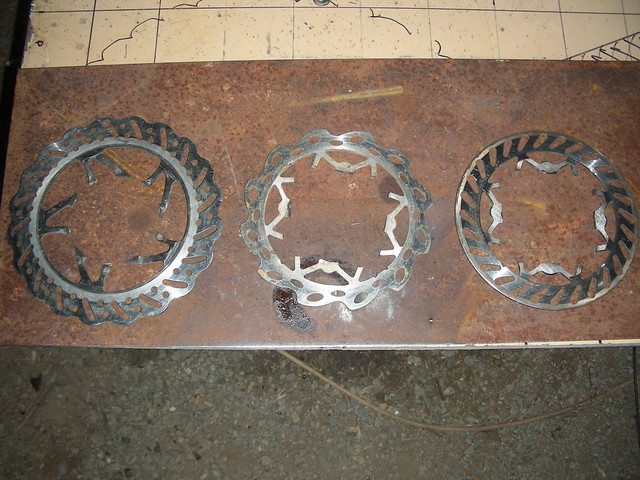
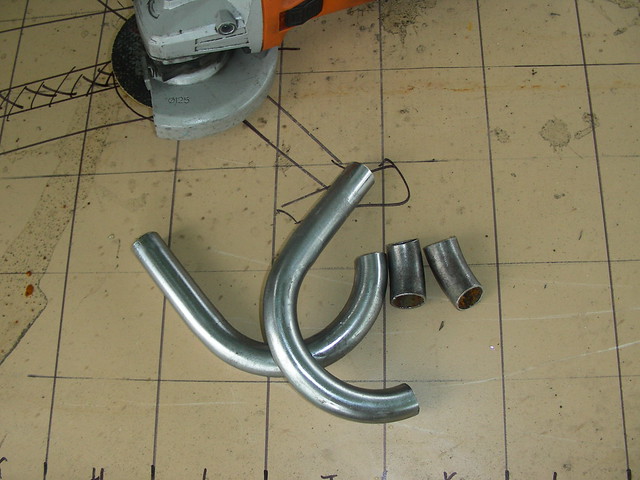
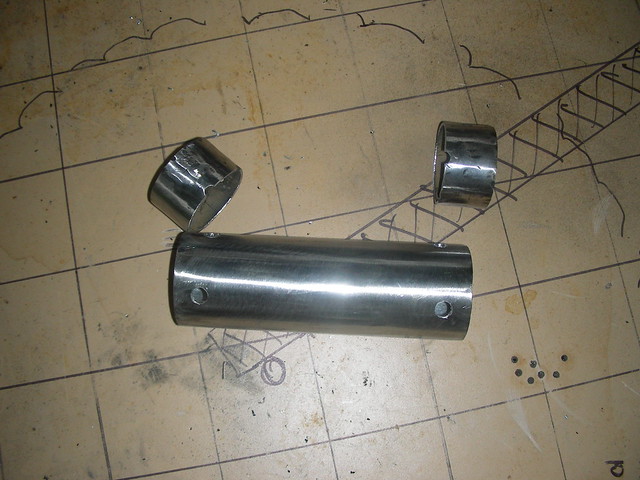
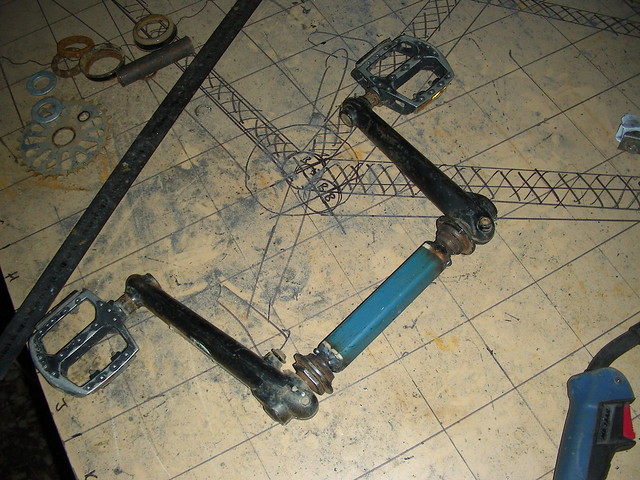
The remains of the discs:
Sitting here tapping threads before I go and have a shower, 3 down, 9 to go...
Luke.