Re: A/A ALTERED
finally a few up dates.
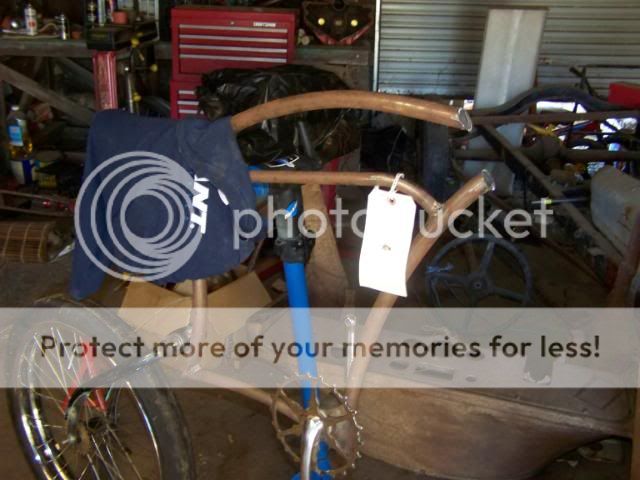
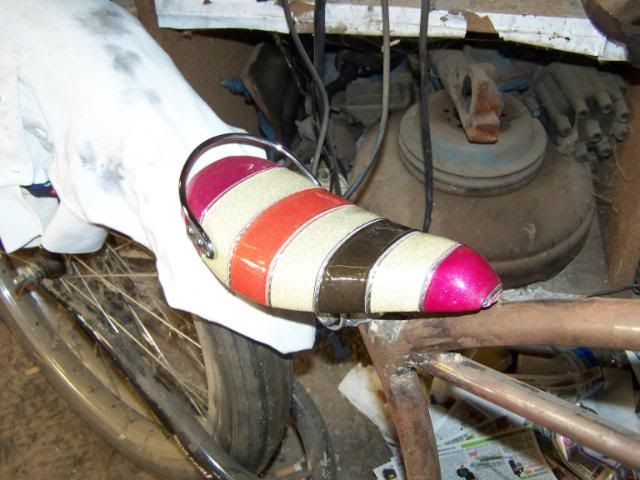
first is the way cool nos seat that i got off hooch. it is amazing although now i am not sure what color to paint the frame.
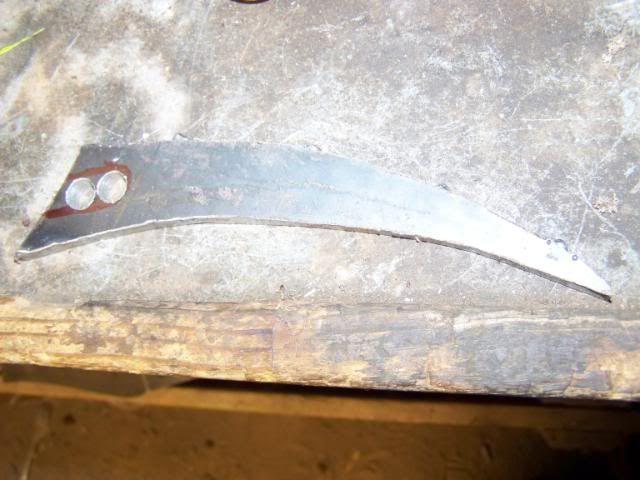
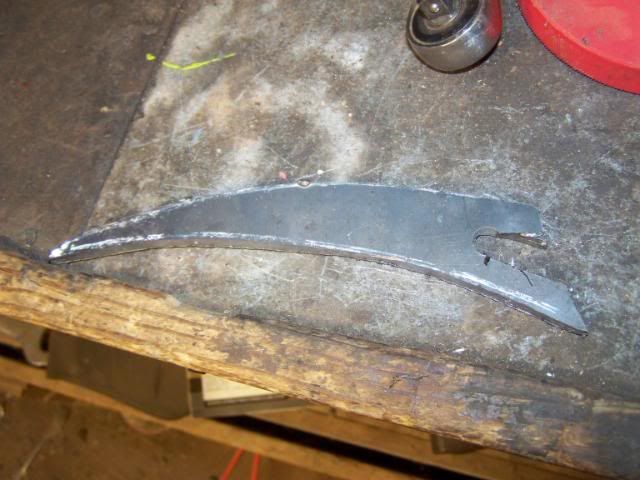
now onto the rear drop outs. i have not really seen a how to on this and since i have done it a few times before thought i would show a more detailed version. first find two pieces of metal that u want to use for both drop outs and tack weld them together. at this point they dont have to be the same size just close enough to tack together.
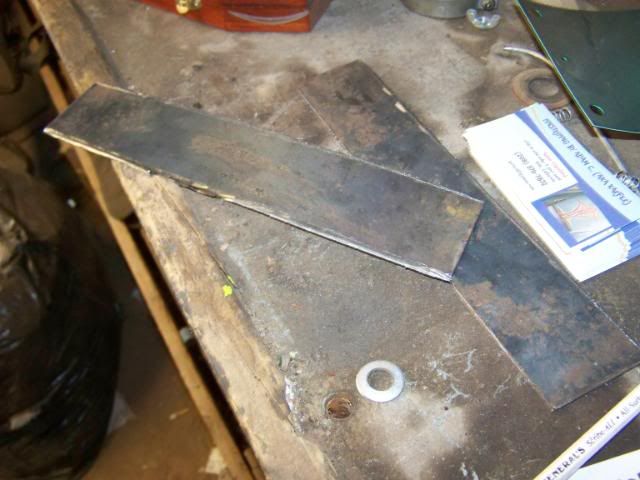
tack the metal on all four sides and trace the design on the metal. as a note i use thin cardboard for a temp let because i always have it laying around. once laid out get out the angle grinder with a thin cut off wheel and rough out the shape. as a rule i work one edge at a time and once that edge is done toss a few tack welds on as i move around the piece.
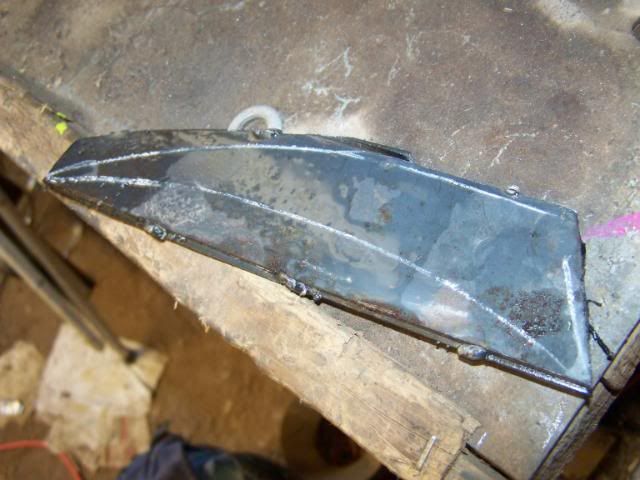
once u have the shape roughed out use a marker to design the axle drop out. this bike will have rear facing design similar to pre war bikes. once marked drill a hole for the inside end then more till as much of the material is removed. this makes cleaning it out much easier.
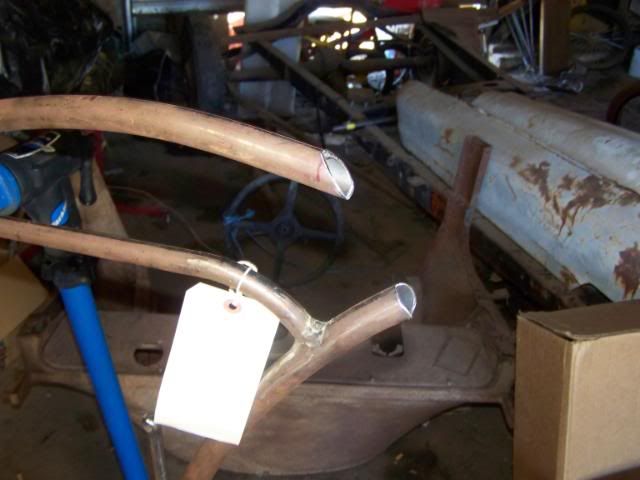
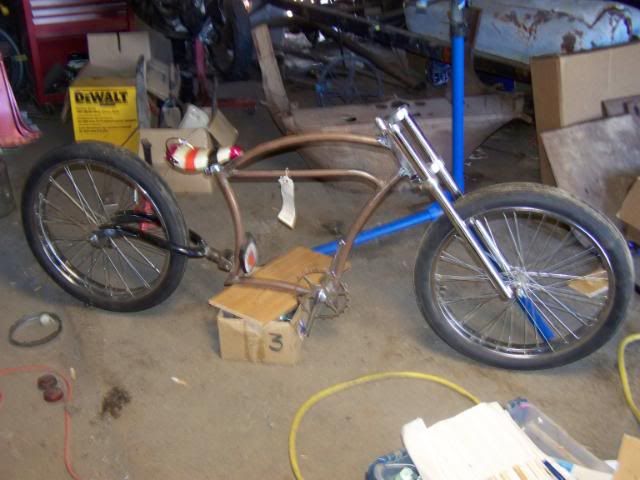
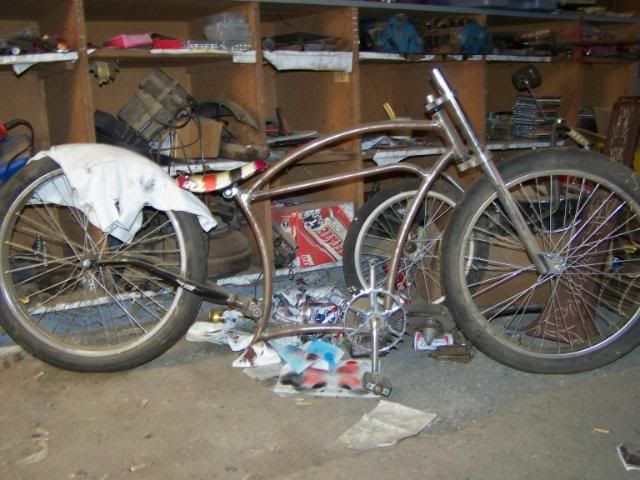
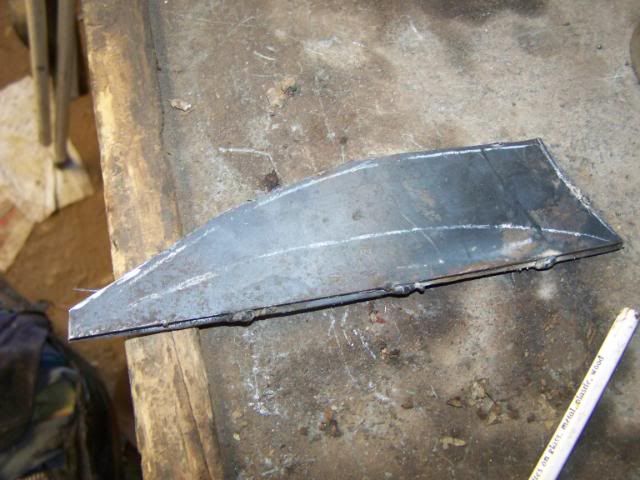
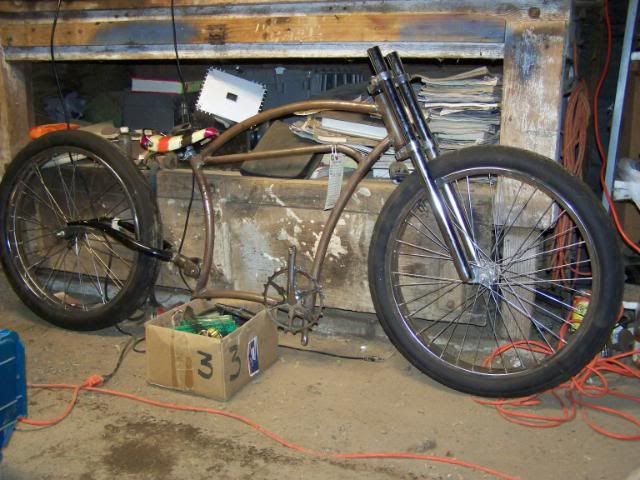
ok enough of that and back to the build i spent some time mocking them up and am still not sure if this is where i want them. but i had to move them back due to myself making an error on where the axle path was going to be
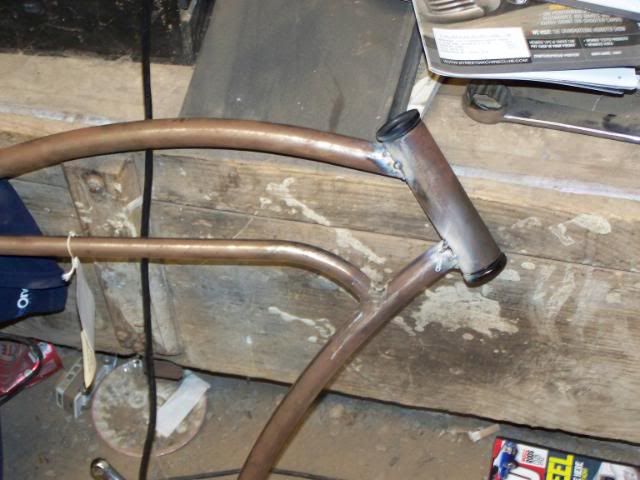
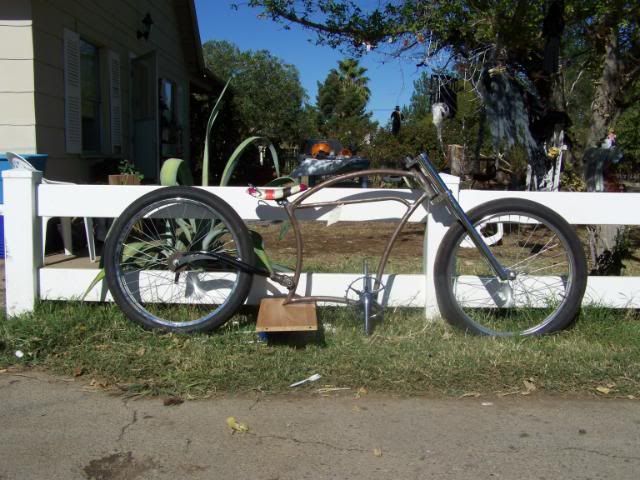
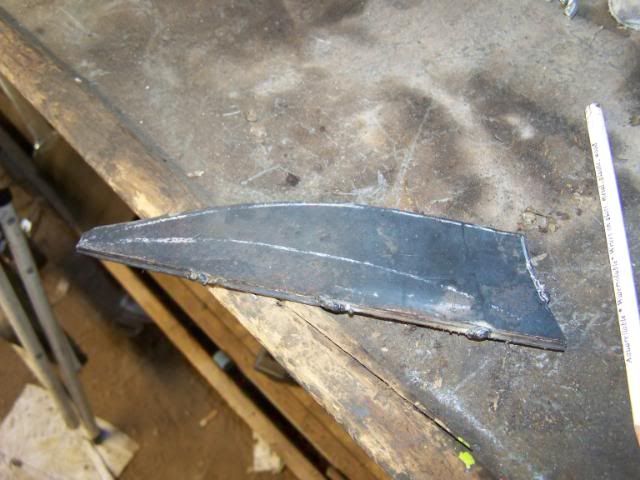
and this is how it will sit when done at least a bit closer to it
finally a few up dates.
first is the way cool nos seat that i got off hooch. it is amazing although now i am not sure what color to paint the frame.
now onto the rear drop outs. i have not really seen a how to on this and since i have done it a few times before thought i would show a more detailed version. first find two pieces of metal that u want to use for both drop outs and tack weld them together. at this point they dont have to be the same size just close enough to tack together.
tack the metal on all four sides and trace the design on the metal. as a note i use thin cardboard for a temp let because i always have it laying around. once laid out get out the angle grinder with a thin cut off wheel and rough out the shape. as a rule i work one edge at a time and once that edge is done toss a few tack welds on as i move around the piece.
once u have the shape roughed out use a marker to design the axle drop out. this bike will have rear facing design similar to pre war bikes. once marked drill a hole for the inside end then more till as much of the material is removed. this makes cleaning it out much easier.
ok enough of that and back to the build i spent some time mocking them up and am still not sure if this is where i want them. but i had to move them back due to myself making an error on where the axle path was going to be
and this is how it will sit when done at least a bit closer to it