


If you own a bike with a Model A hub and have needed to service it then you know that the web has few resources to help. Now to add a little bit to what else is out there here is the latest addition to the Udall Custom Bikes Hub Project.
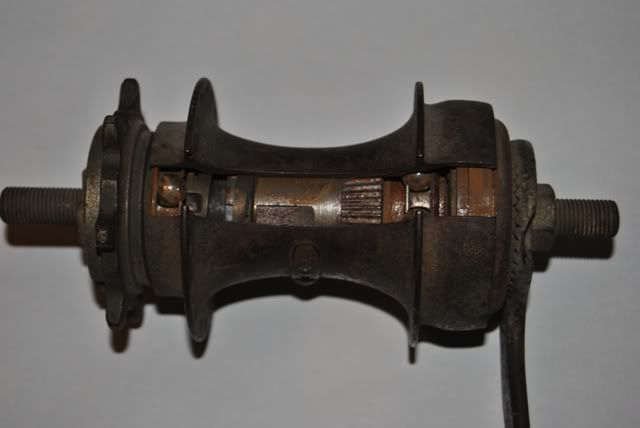
Since I only have the one I am not making my own cut-away. Member c.p.odom has a factory made Model A cut-away and I will include his picture here until I find my own.
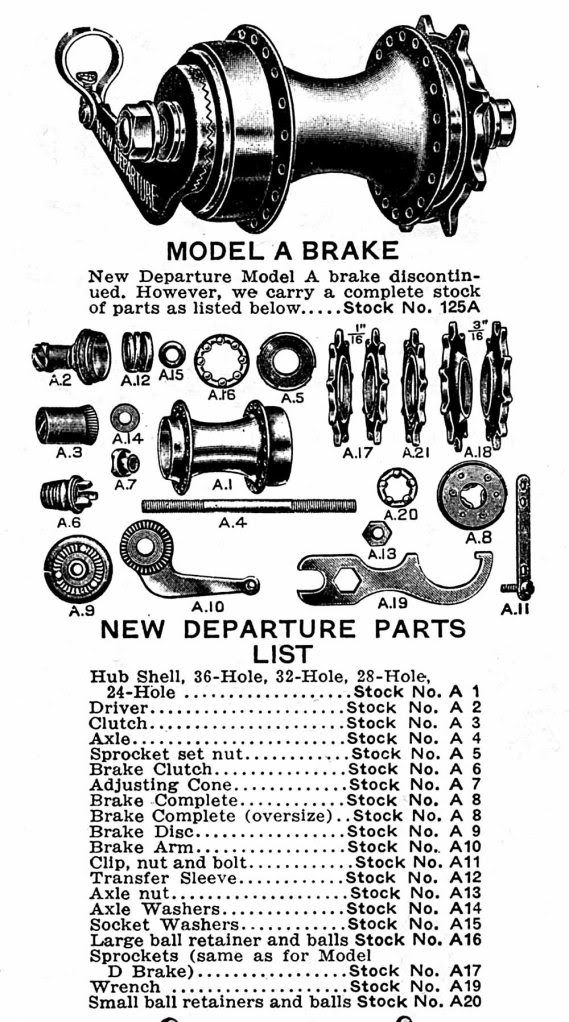
You can't start without the factory parts drawing
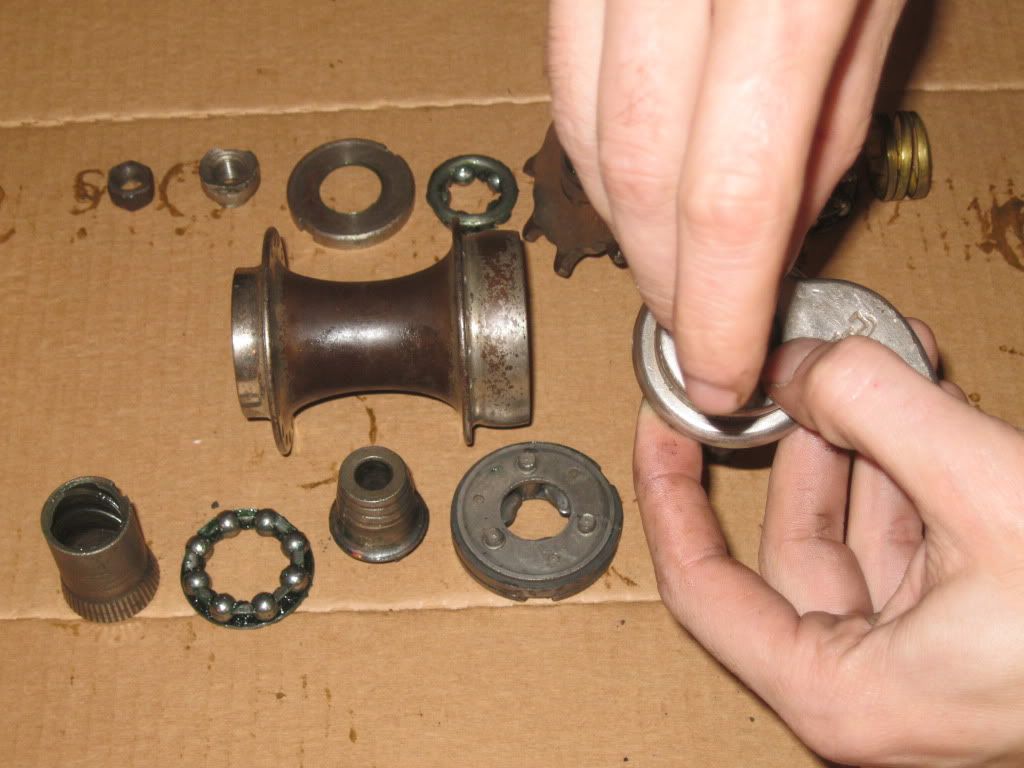
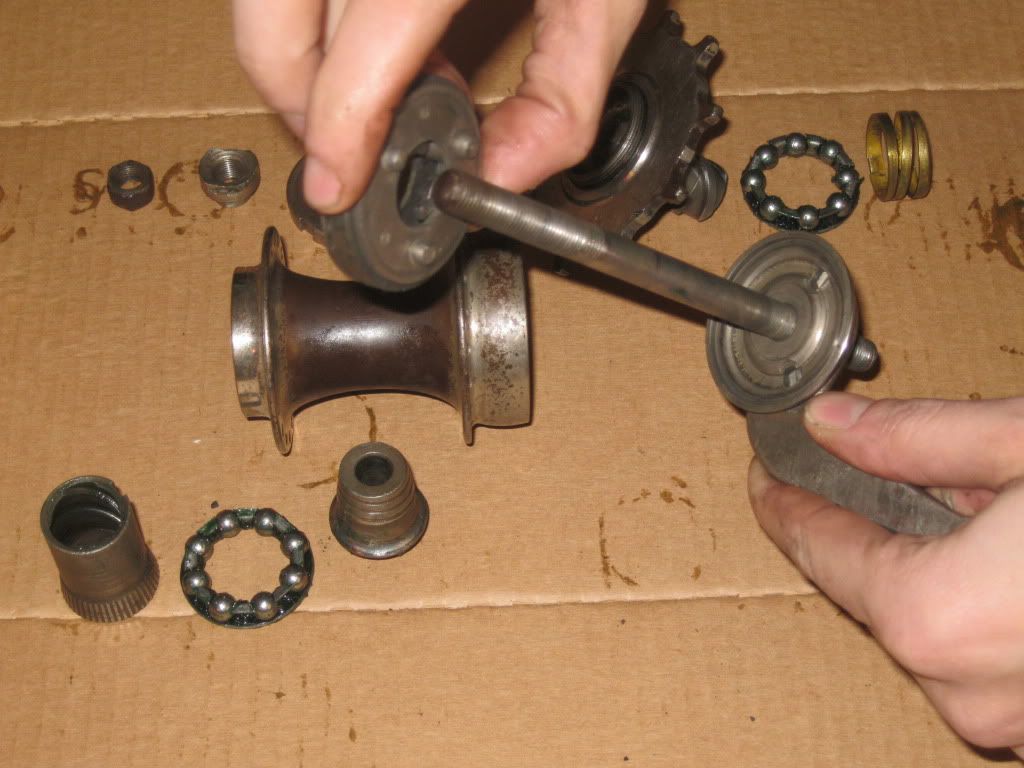
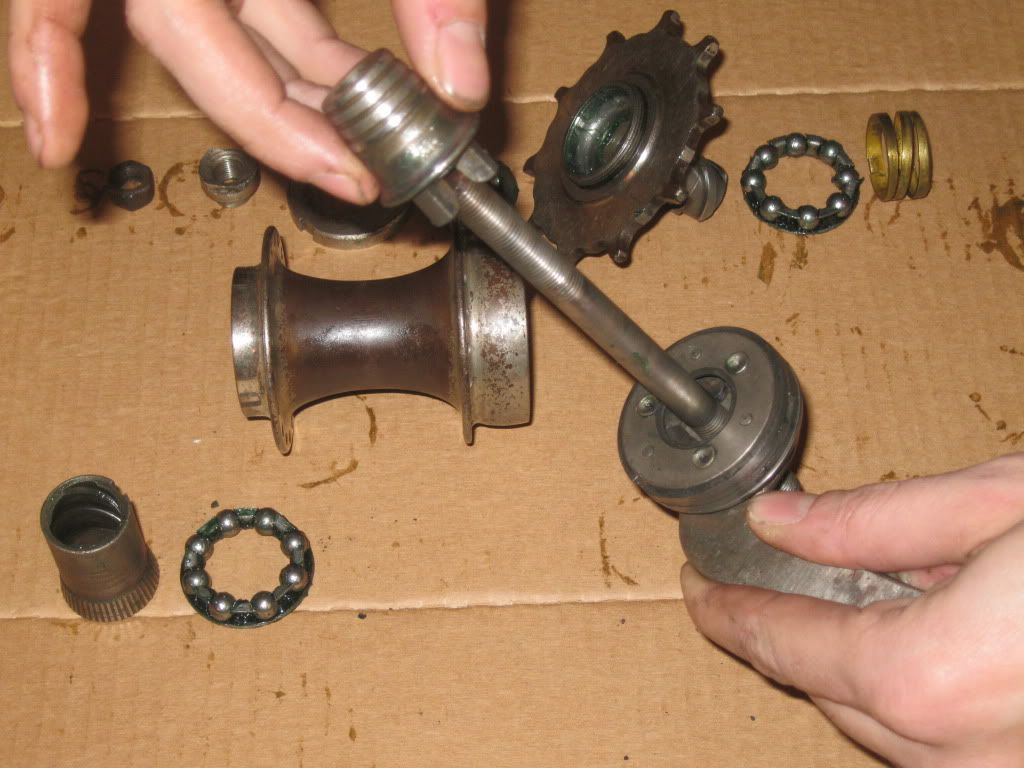
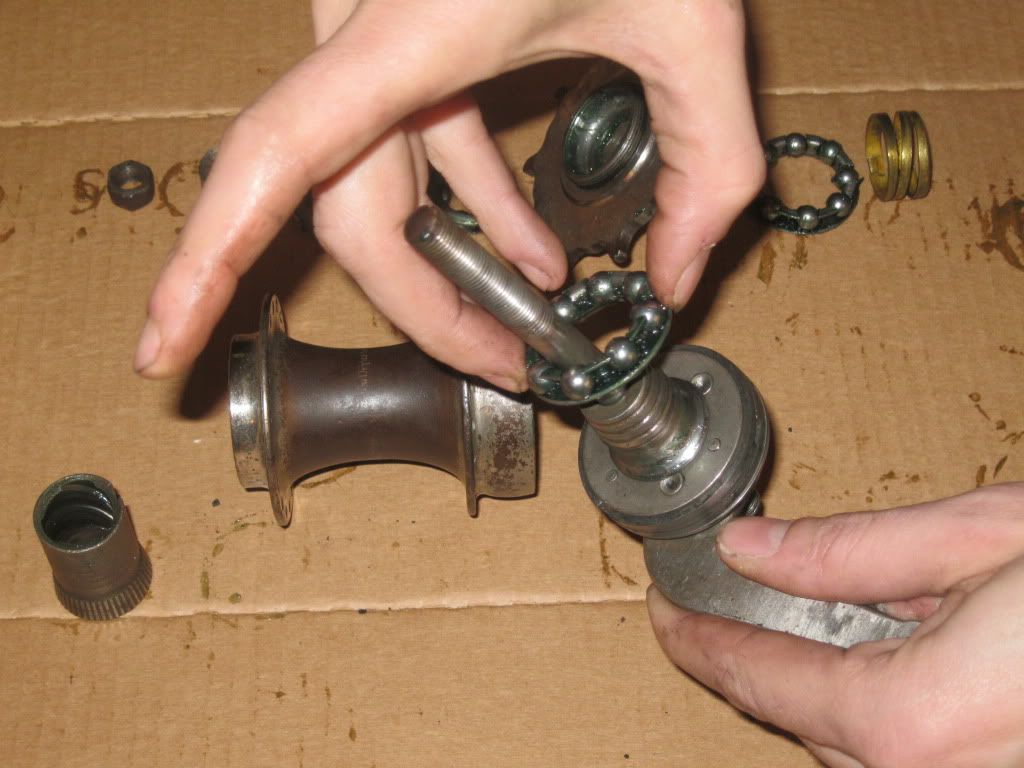
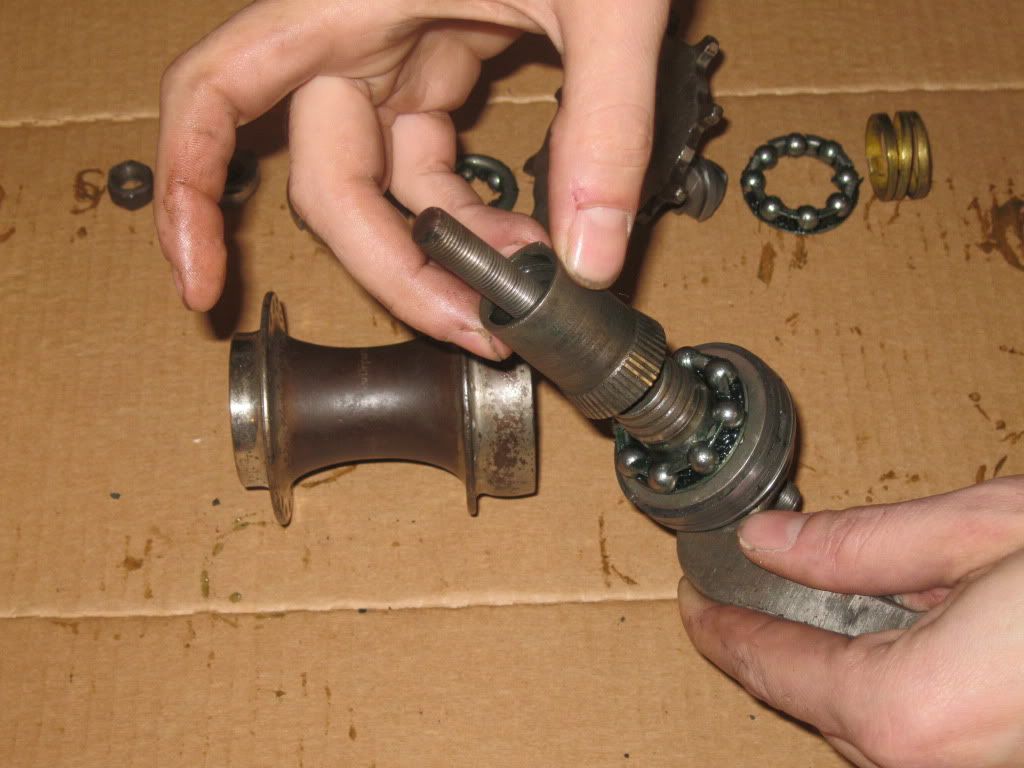
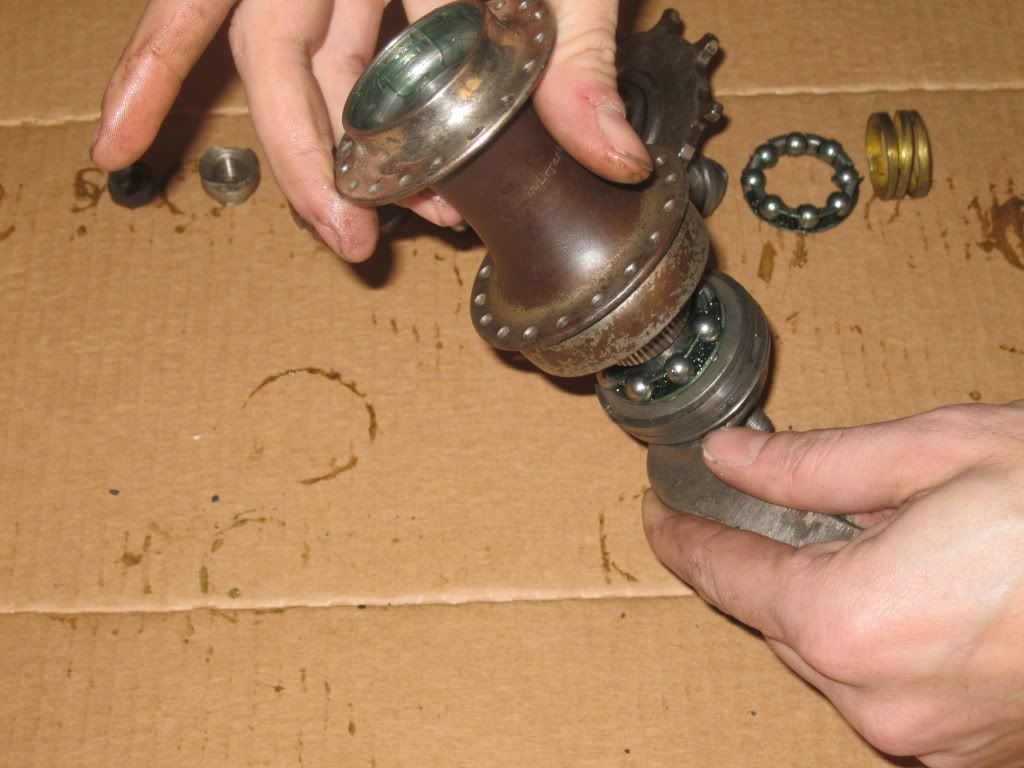
Now on to the hub. Begin disassembling the hub by first removing Sprocket Set Nut (A.5), it is left handed thread. Next remove the Adjusting cone nut (A.7). This will allow the Sprocket and Driver (A.2) to be removed. The Axle (A.4) can now be removed from the Hub Shell (A.1) and bring the brake components (A.6, A.8, A.9, A.10), the Clutch (A.3), and the Large bearing retainer (A.16). With the Axle out of the way you can remove the Transfer Sleeve (A.12) and the other Large bearing retainer (A.16). Once the hub is disassembled use the solvent of your choice to remove all the old grease, grime, and 80+ years of built up gunk. Inspect all parts for excessive wear or damage.
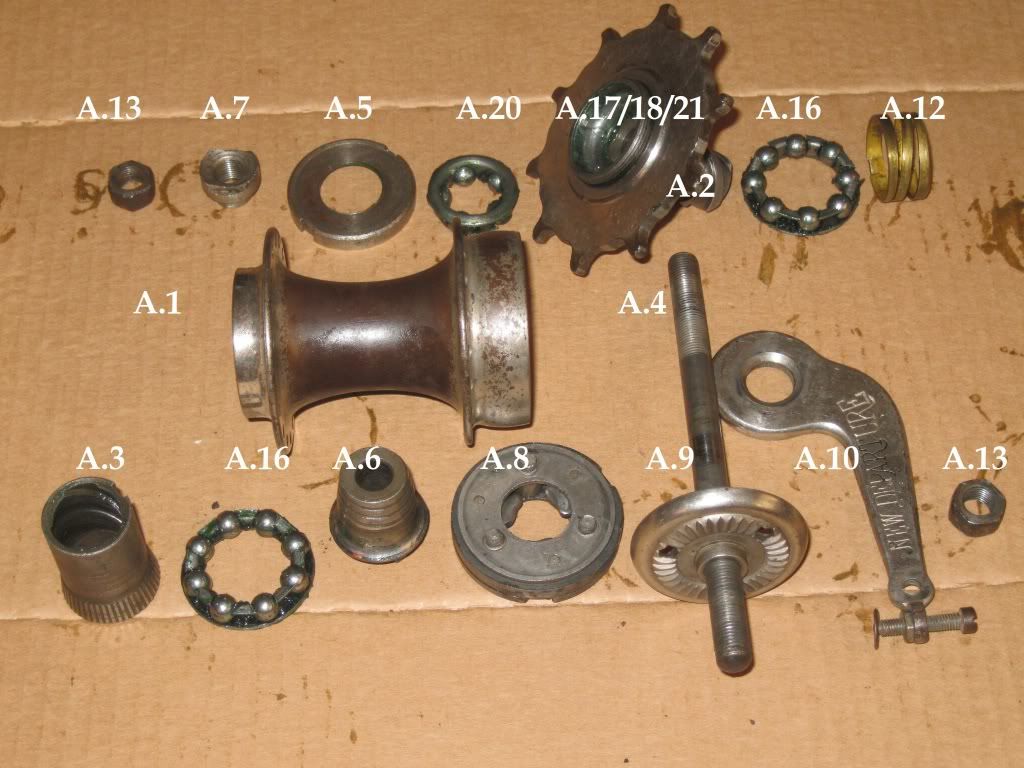
Now this is what you should be looking at. The top row of parts go in the Left side of the hub shell and the bottom row of parts go in the right side as pictured.
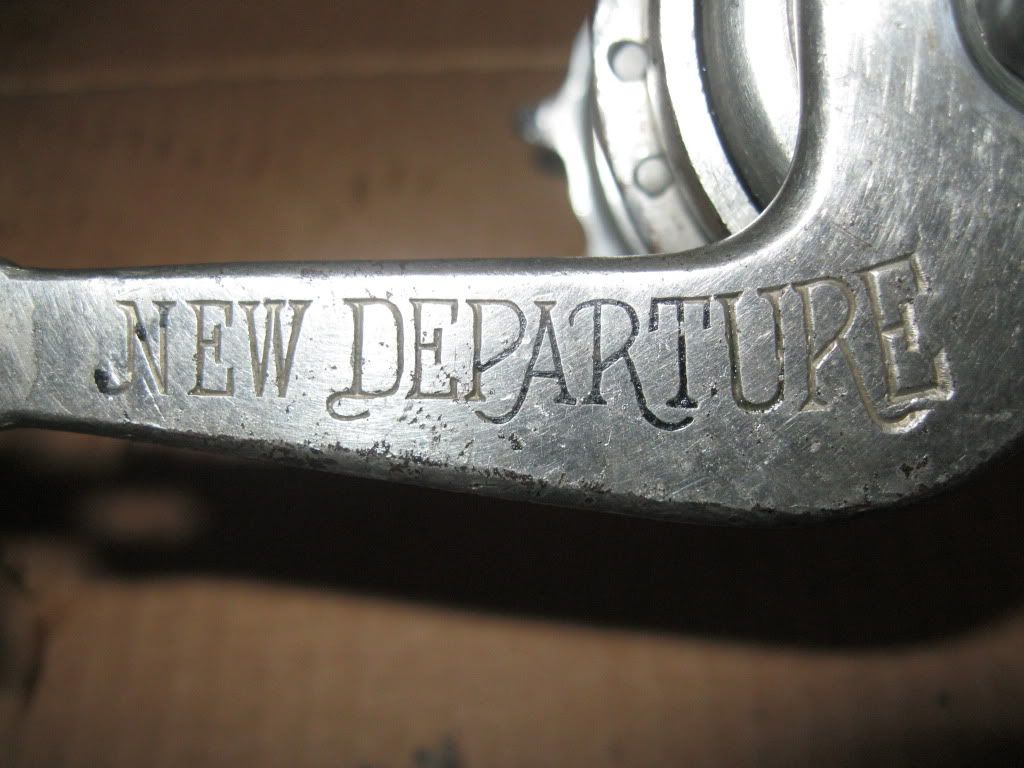
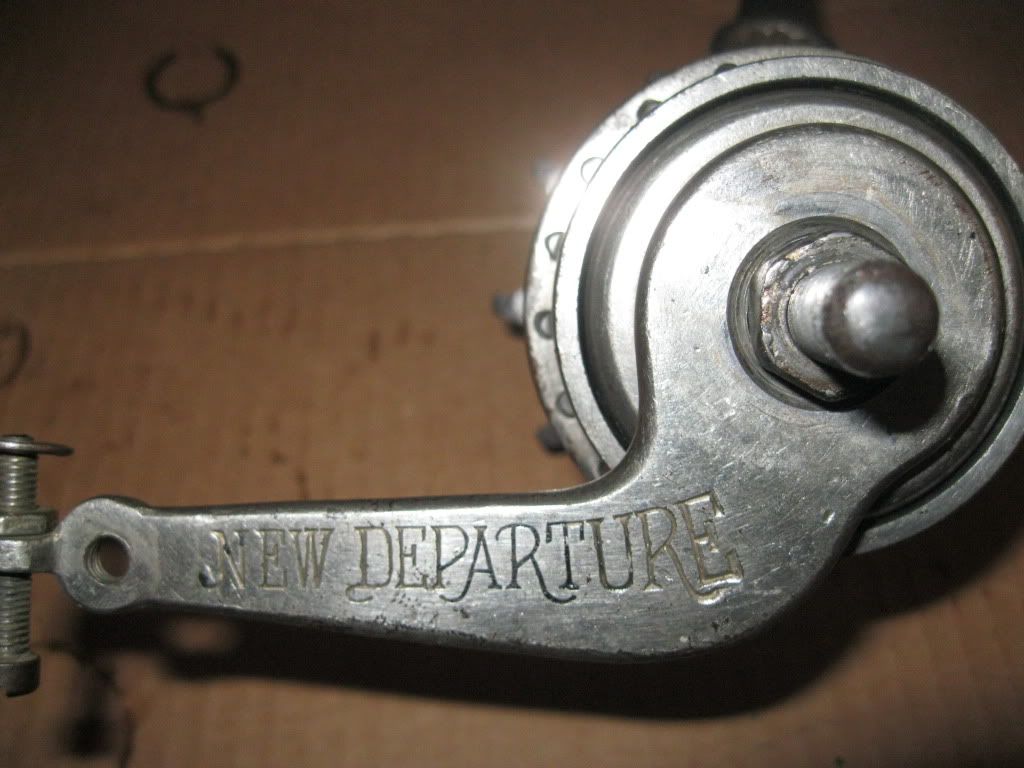
To begin assembly thread the Brake Disc (A.9) onto the Axle until you have between 1 1/8"-1 1/4" of the axle extending through the brake disc. Next slide the Brake Arm (A.10) on to the Axle and secure it with an Axle Nut (A.13).
Slide the Brake Assembly (A.8) onto the inside of the axle taking care to make sure the nubs on the brake assembly engages the holes in the brake disc. Lubricate the Brake assembly with the oil of your choice. I use 30wt motor oil.
This is followed by the Brake Clutch (A.6).
The greased Bearings in the Large retainer (A.16) can now be installed on the brake clutch. Pay attention to how you install the bearing so it isn't upside down.
Apply a thin coat of grease to both the inside and outside of the Clutch (A.3). The Clutch can now be slid over the Axle with the flared side toward the Brake Clutch.
Slide the Hub Shell (A.1) over the parts you have assembled so far. Half way done!
The Transfer Sleeve (A.12) gets a light coating of grease and then seat it into it's shoulder inside the hub. The transfer sleeve must be properly aligned with the clutch to seat properly.
Here you can see the transfer sleeve in place as I prepare to install the second large Bearing (A.16).
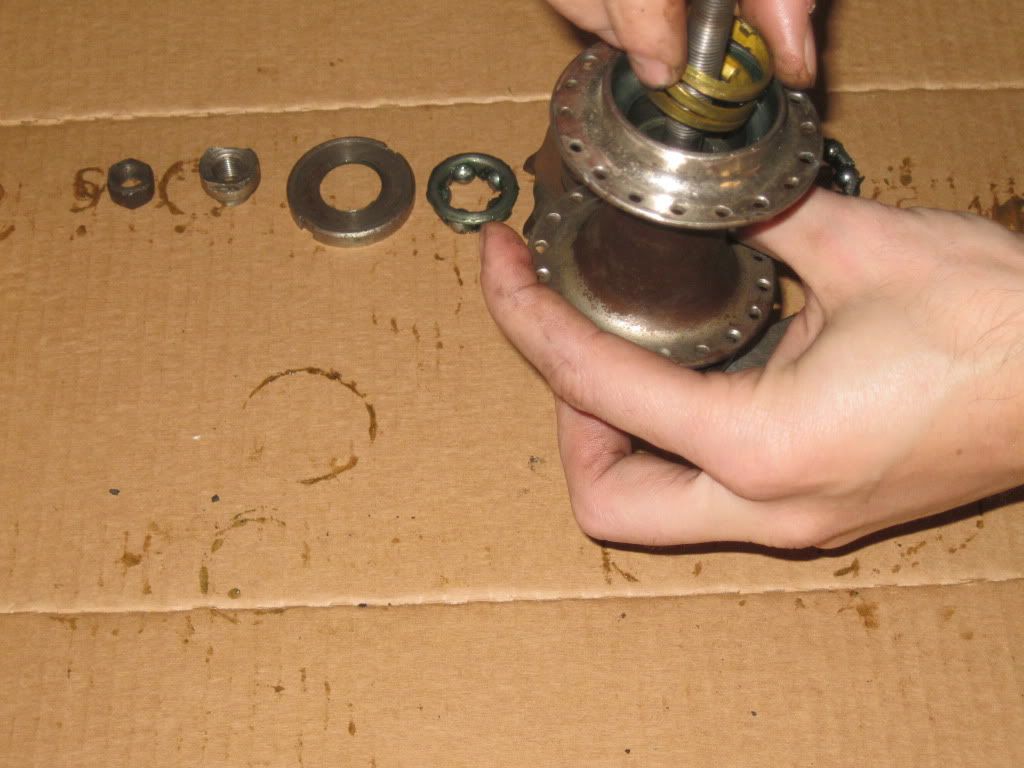
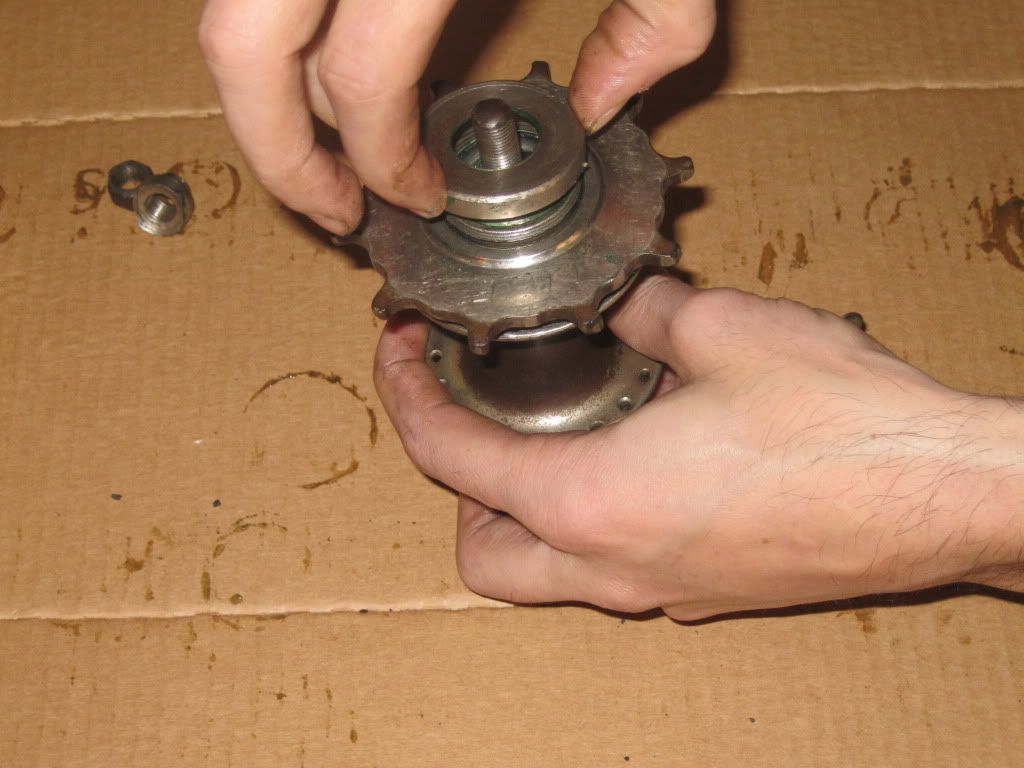
A light coating of grease on the outside of the driver and it can be installed and screwed into the clutch.
The Small bearing (A.20)is greased and installed into the driver.
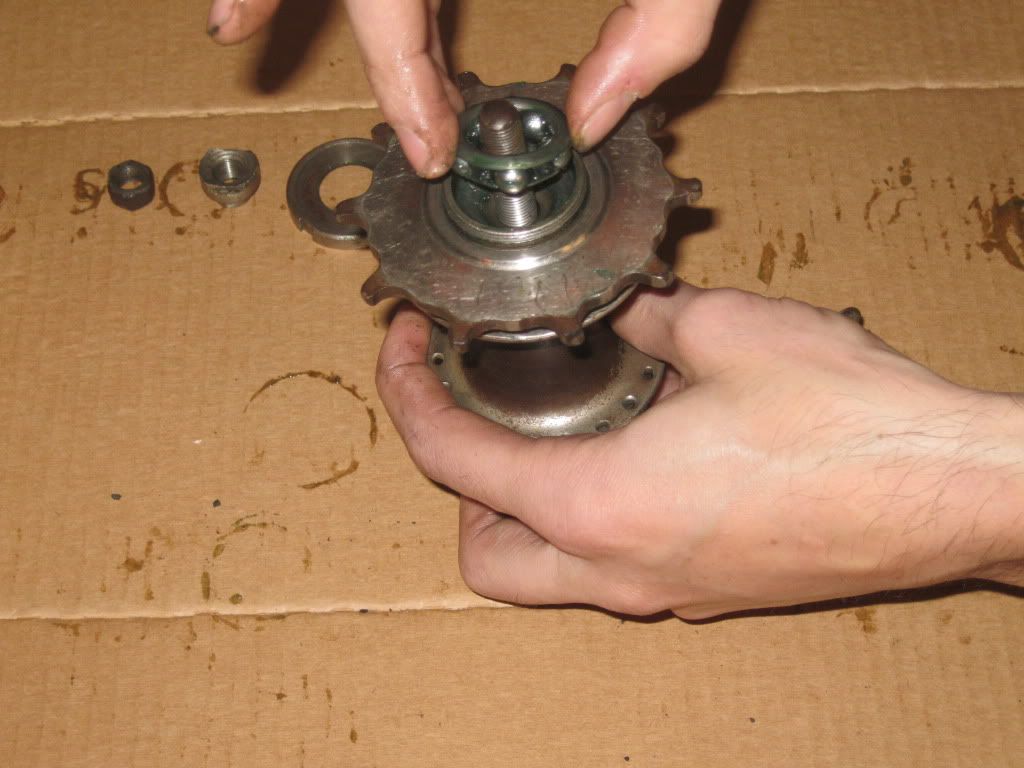
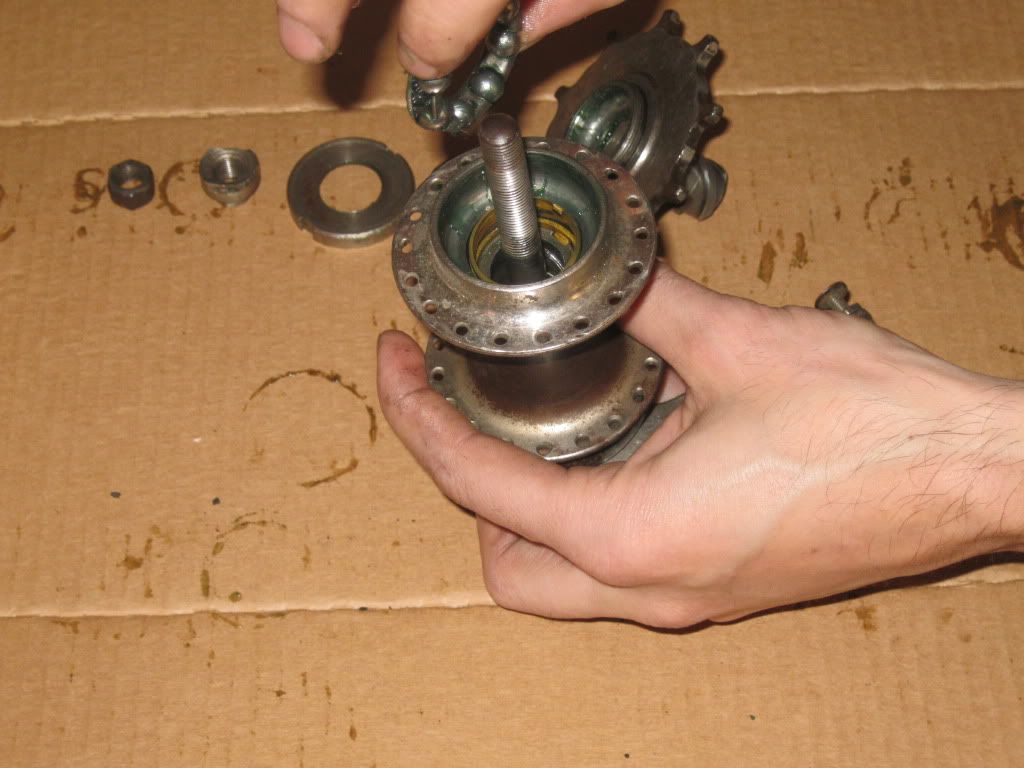
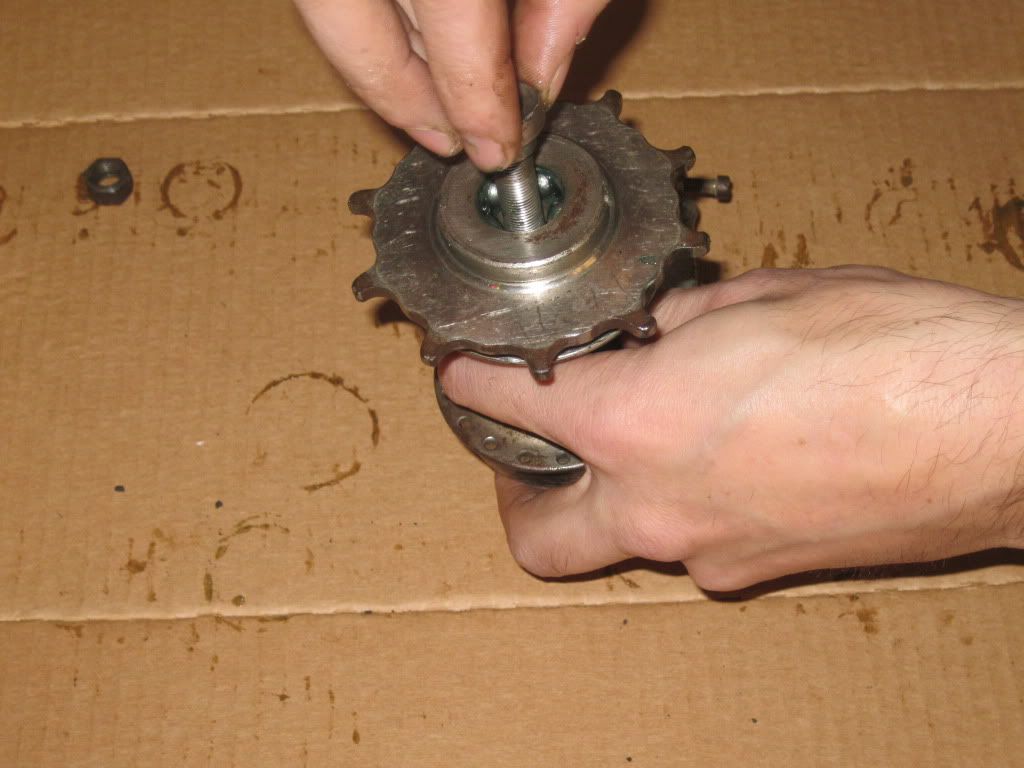
The Sprocket Set Nut (A.5) is re-installed to keep the small bearing retainer in place. Remember it is left handed thread!
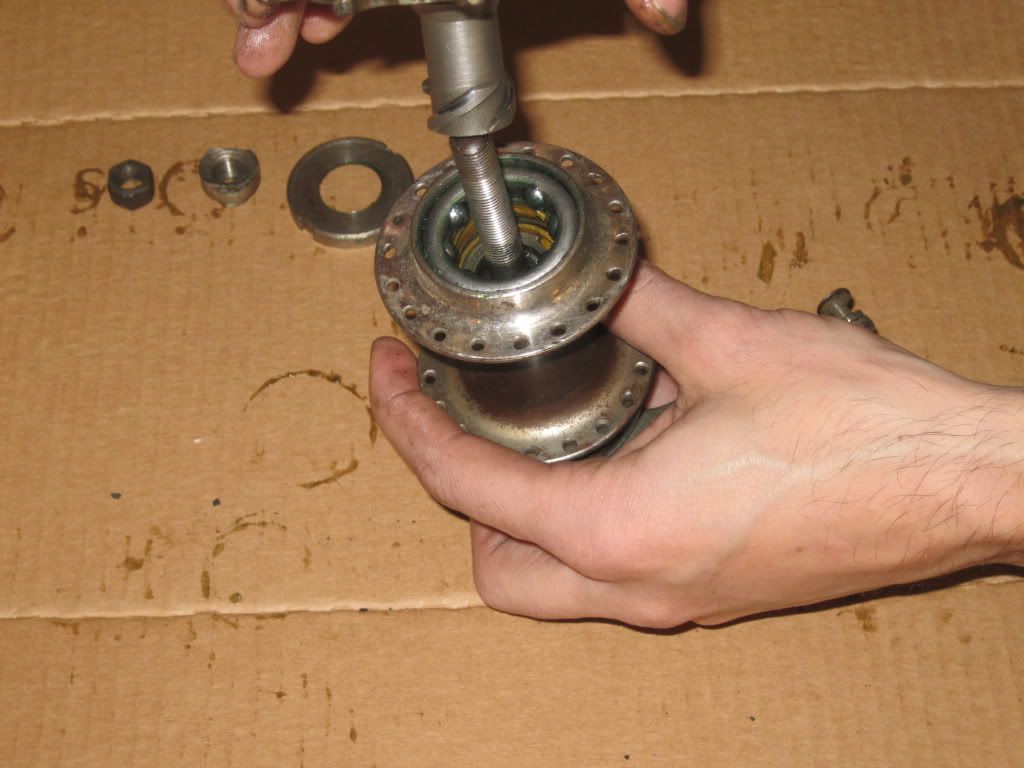
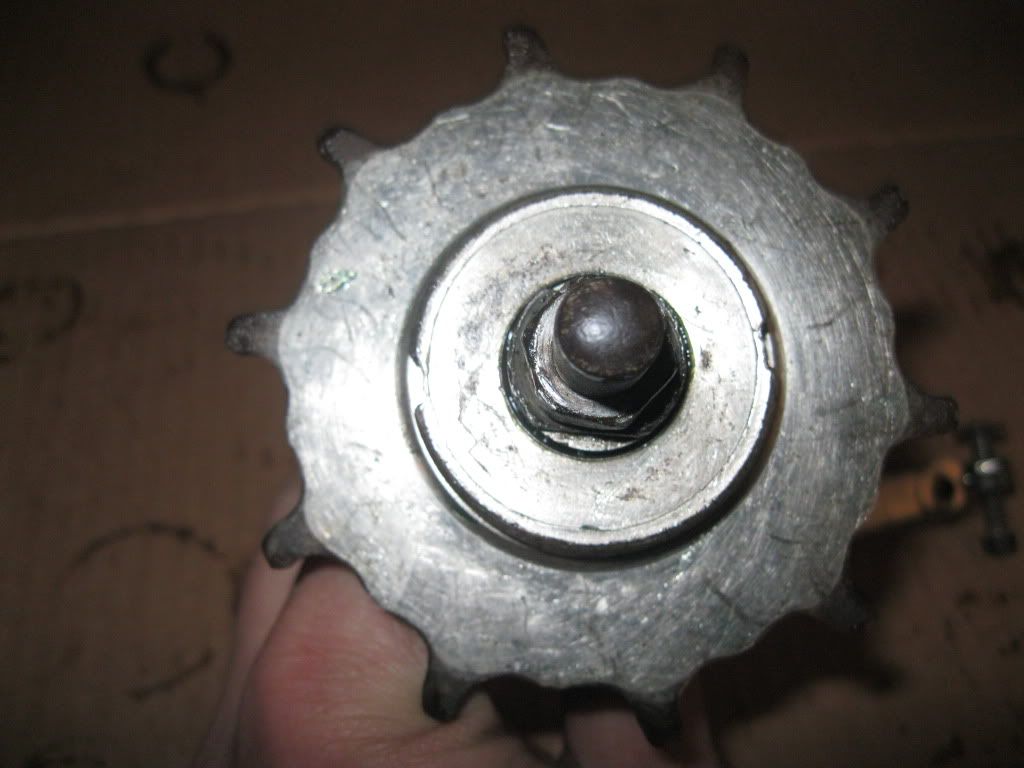
The Adjusting Cone Nut (A.7) is screwed down until it contacts the bearings. It may take some tweeking to get the cone nut set just right.
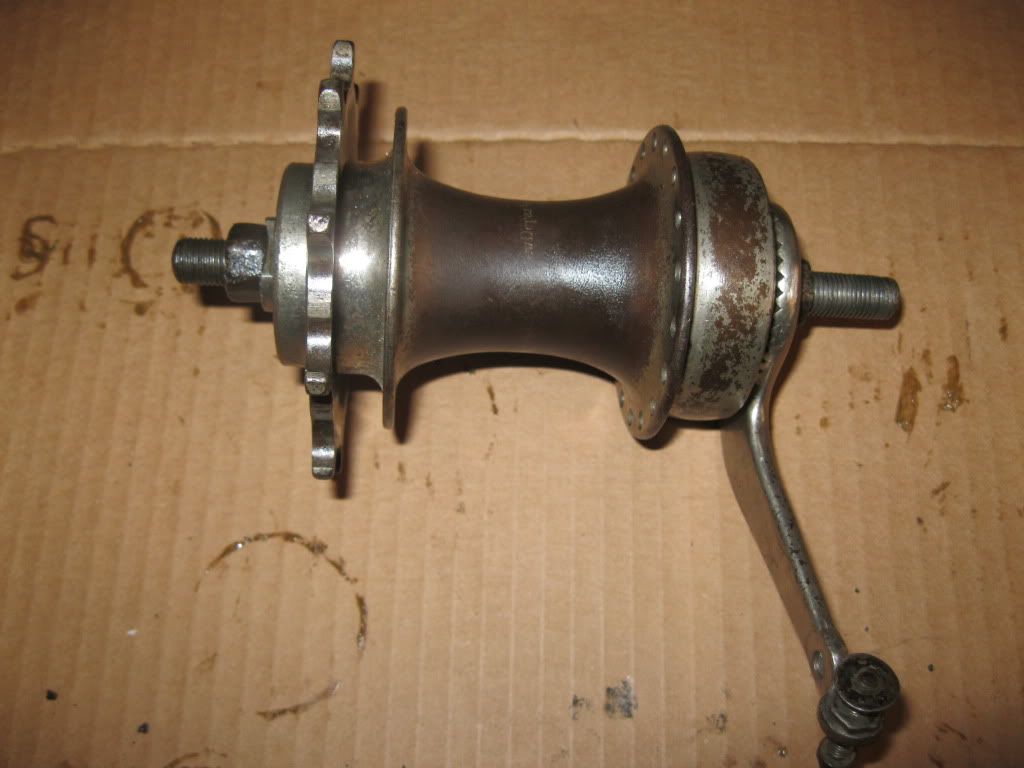
Hopefully your hub is laced up and you can go for a ride. I have to wait until I get a bike worthy of this hub.
Since I only have the one I am not making my own cut-away. Member c.p.odom has a factory made Model A cut-away and I will include his picture here until I find my own.
You can't start without the factory parts drawing
Now on to the hub. Begin disassembling the hub by first removing Sprocket Set Nut (A.5), it is left handed thread. Next remove the Adjusting cone nut (A.7). This will allow the Sprocket and Driver (A.2) to be removed. The Axle (A.4) can now be removed from the Hub Shell (A.1) and bring the brake components (A.6, A.8, A.9, A.10), the Clutch (A.3), and the Large bearing retainer (A.16). With the Axle out of the way you can remove the Transfer Sleeve (A.12) and the other Large bearing retainer (A.16). Once the hub is disassembled use the solvent of your choice to remove all the old grease, grime, and 80+ years of built up gunk. Inspect all parts for excessive wear or damage.
Now this is what you should be looking at. The top row of parts go in the Left side of the hub shell and the bottom row of parts go in the right side as pictured.
To begin assembly thread the Brake Disc (A.9) onto the Axle until you have between 1 1/8"-1 1/4" of the axle extending through the brake disc. Next slide the Brake Arm (A.10) on to the Axle and secure it with an Axle Nut (A.13).
Slide the Brake Assembly (A.8) onto the inside of the axle taking care to make sure the nubs on the brake assembly engages the holes in the brake disc. Lubricate the Brake assembly with the oil of your choice. I use 30wt motor oil.
This is followed by the Brake Clutch (A.6).
The greased Bearings in the Large retainer (A.16) can now be installed on the brake clutch. Pay attention to how you install the bearing so it isn't upside down.
Apply a thin coat of grease to both the inside and outside of the Clutch (A.3). The Clutch can now be slid over the Axle with the flared side toward the Brake Clutch.
Slide the Hub Shell (A.1) over the parts you have assembled so far. Half way done!
The Transfer Sleeve (A.12) gets a light coating of grease and then seat it into it's shoulder inside the hub. The transfer sleeve must be properly aligned with the clutch to seat properly.
Here you can see the transfer sleeve in place as I prepare to install the second large Bearing (A.16).
A light coating of grease on the outside of the driver and it can be installed and screwed into the clutch.
The Small bearing (A.20)is greased and installed into the driver.
The Sprocket Set Nut (A.5) is re-installed to keep the small bearing retainer in place. Remember it is left handed thread!
The Adjusting Cone Nut (A.7) is screwed down until it contacts the bearings. It may take some tweeking to get the cone nut set just right.
Hopefully your hub is laced up and you can go for a ride. I have to wait until I get a bike worthy of this hub.