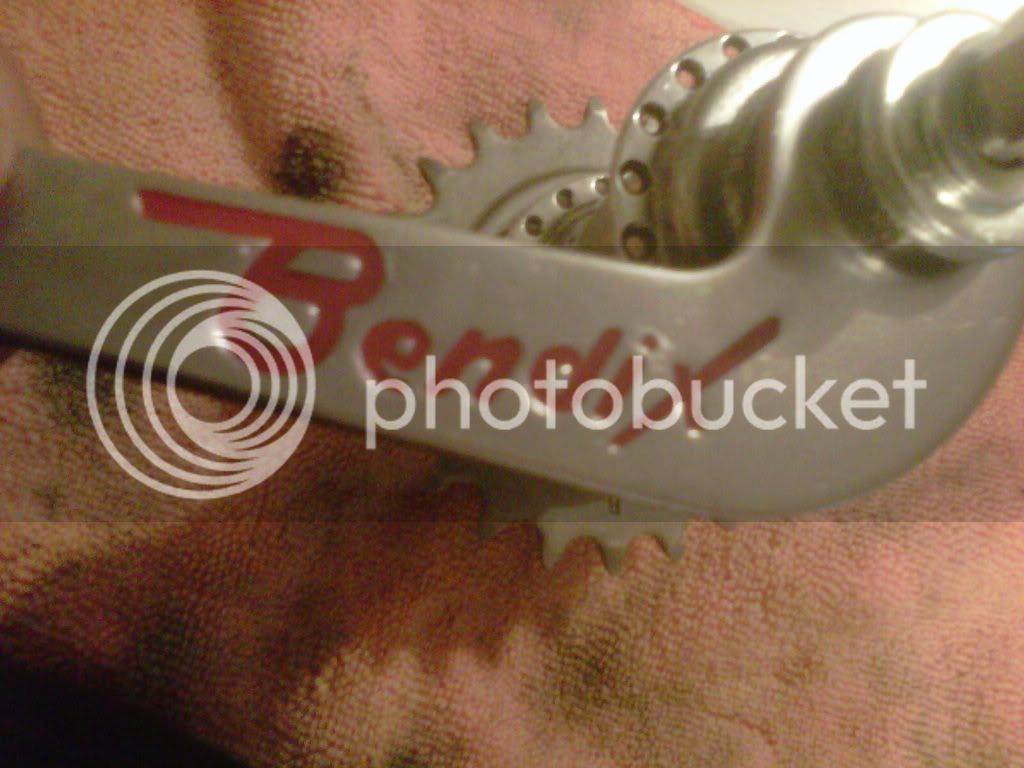
Today I decided to cover rebuilding a Bendix Original Coaster Brake hub. I have had this hub sitting on the bench, on shelves, in the hub parts drawer, etc for over a year now just waiting to be rebuilt. I kept waiting until I found the right project bike that it would go on. That bike still isn't here and I got bored today, so here it is.
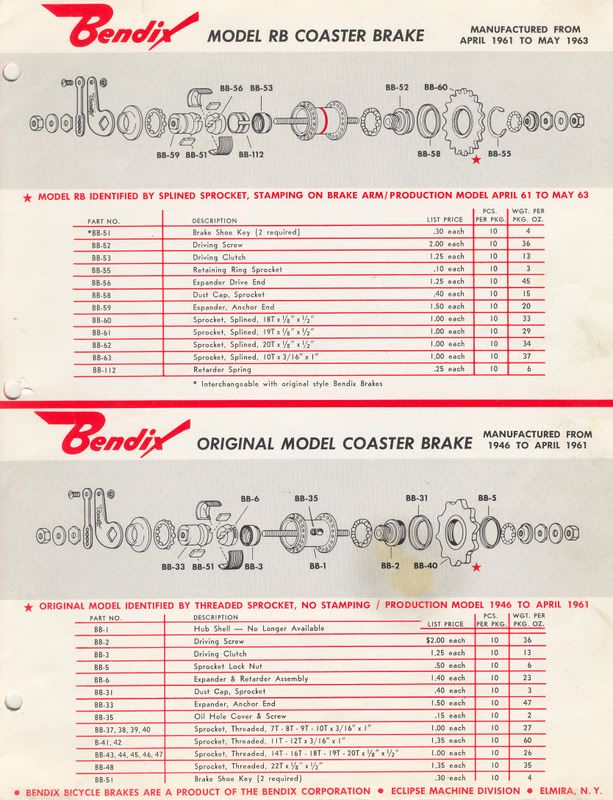
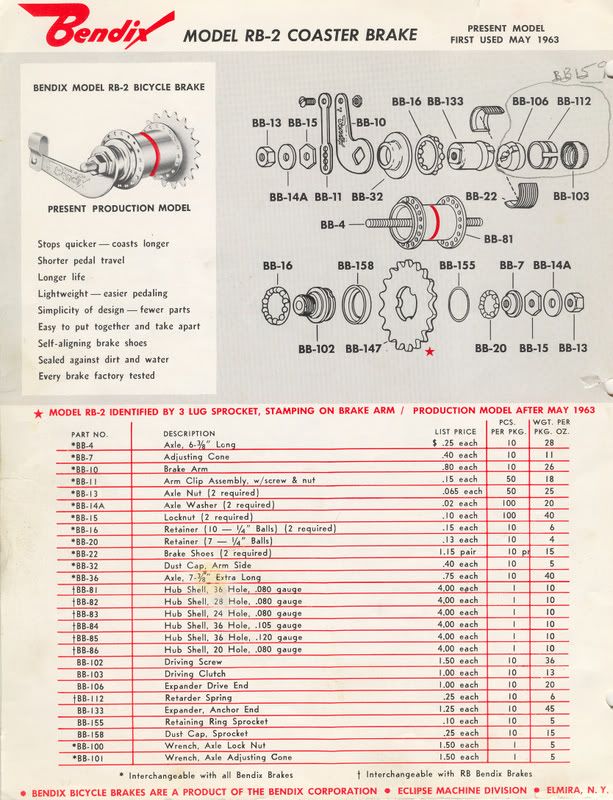
We will begin with the factory drawings so we can see what we are getting into. As you can see the Original coaster and the Red Band are very similar and this thread will help you with a rebuild on either. The RB2 hub has many similarities as well, the main difference you will find with the RB2 is they integrated the brake shoe keys into the expanders.
As with all my post in the UCB Hub Project this hub has been torn down, cleaned, and reassembled before I began the pictures so you can see all the parts clearly.

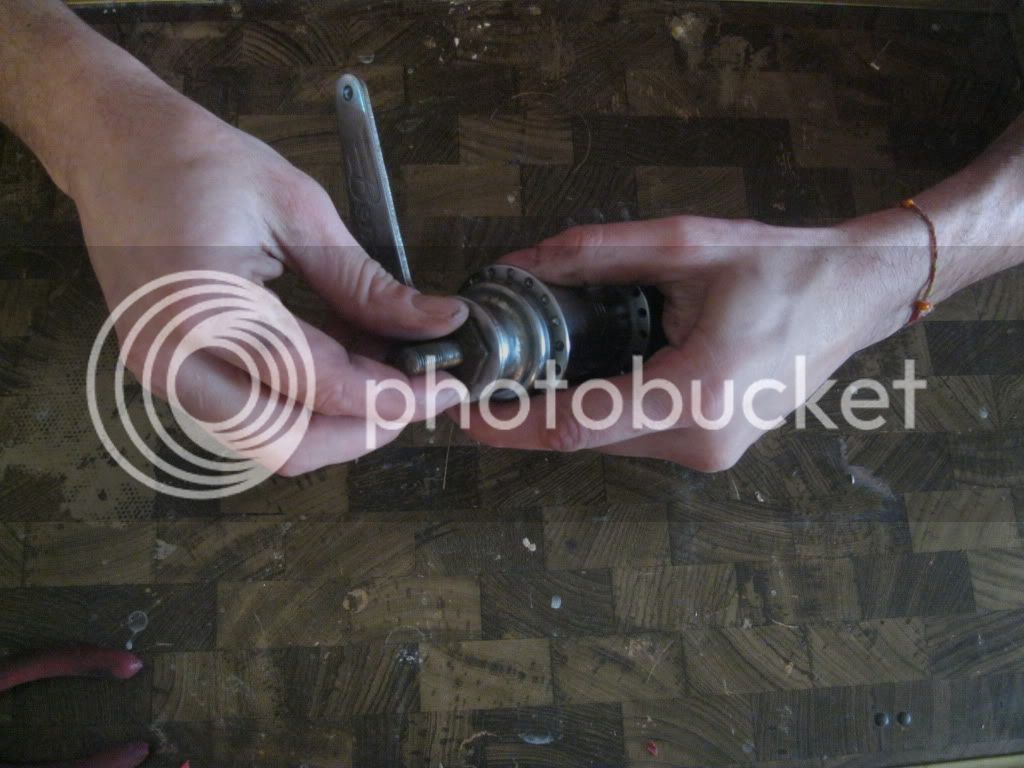
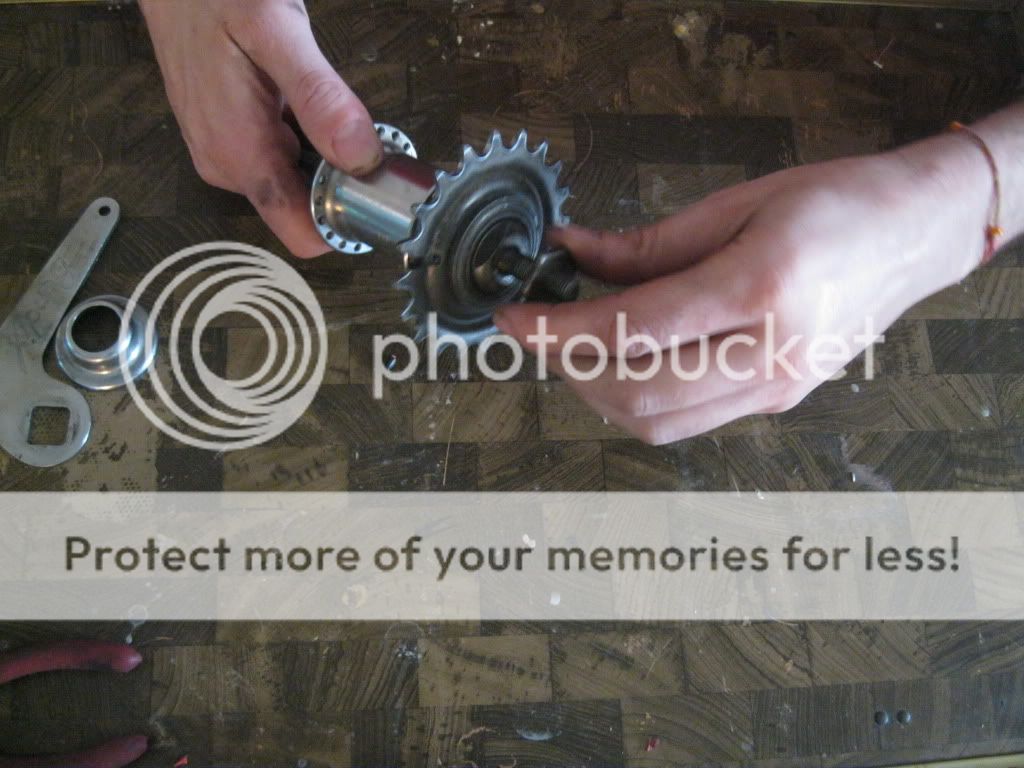
Begin by removing the lock nut on the on the brake arm side.
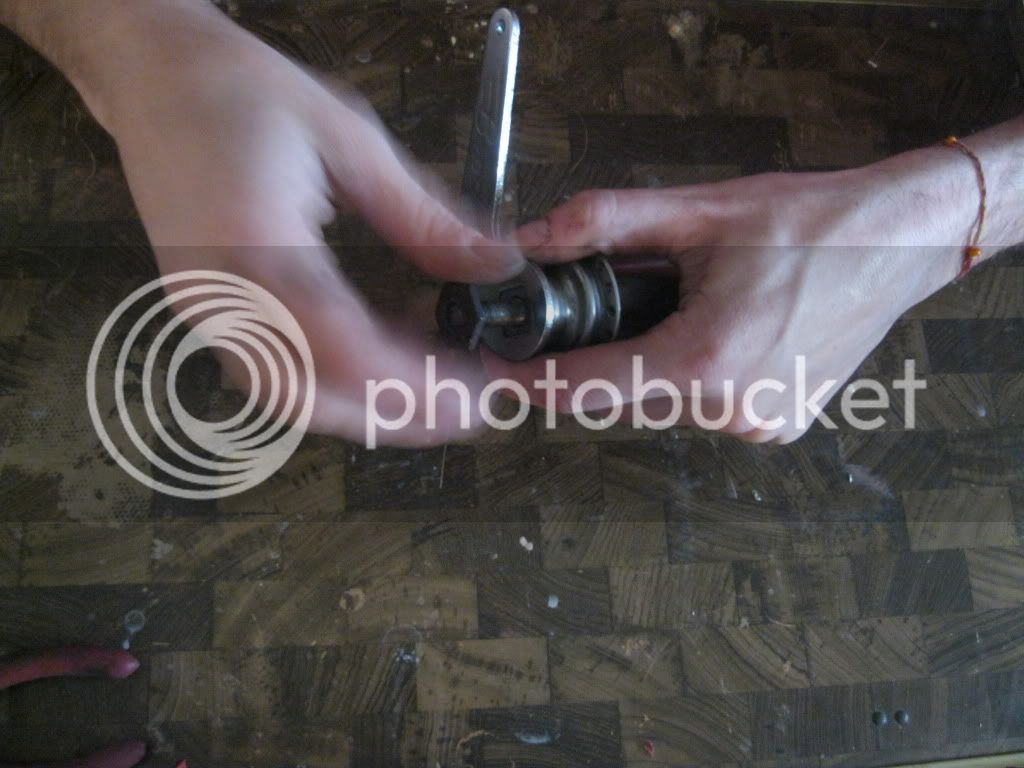
Remove the brake arm and the dust cover.
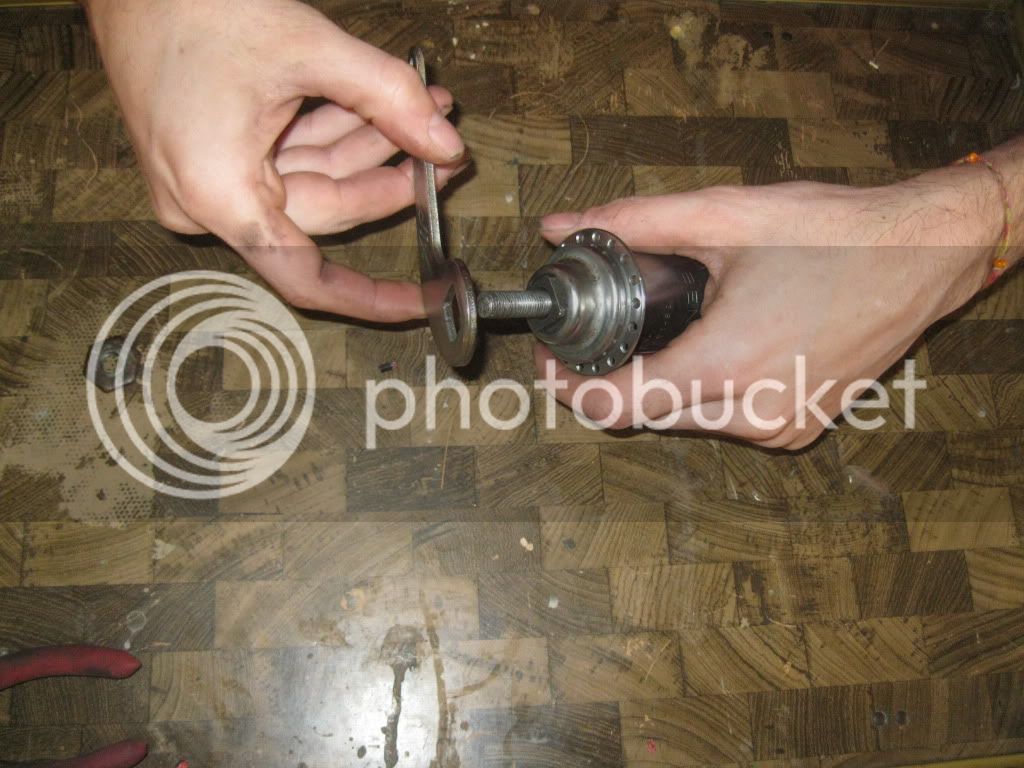
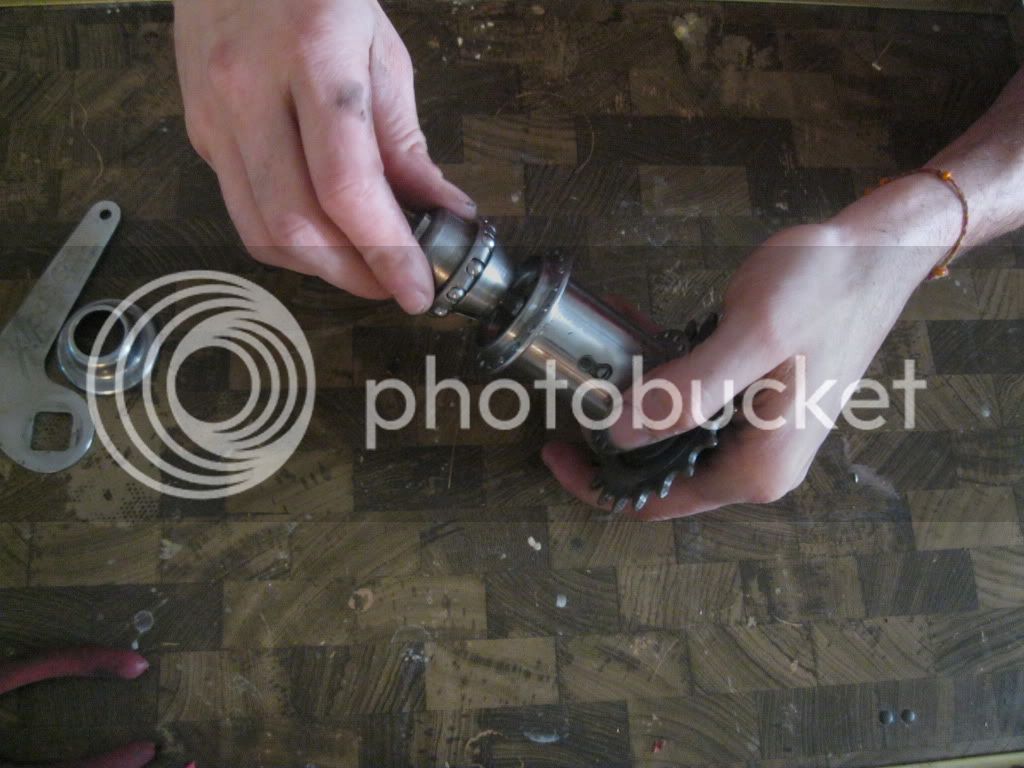
Next loosen the lock nut and cone nut on the drive side.
Once they have been loosened you can unscrew and remove the Anchor End Expander.
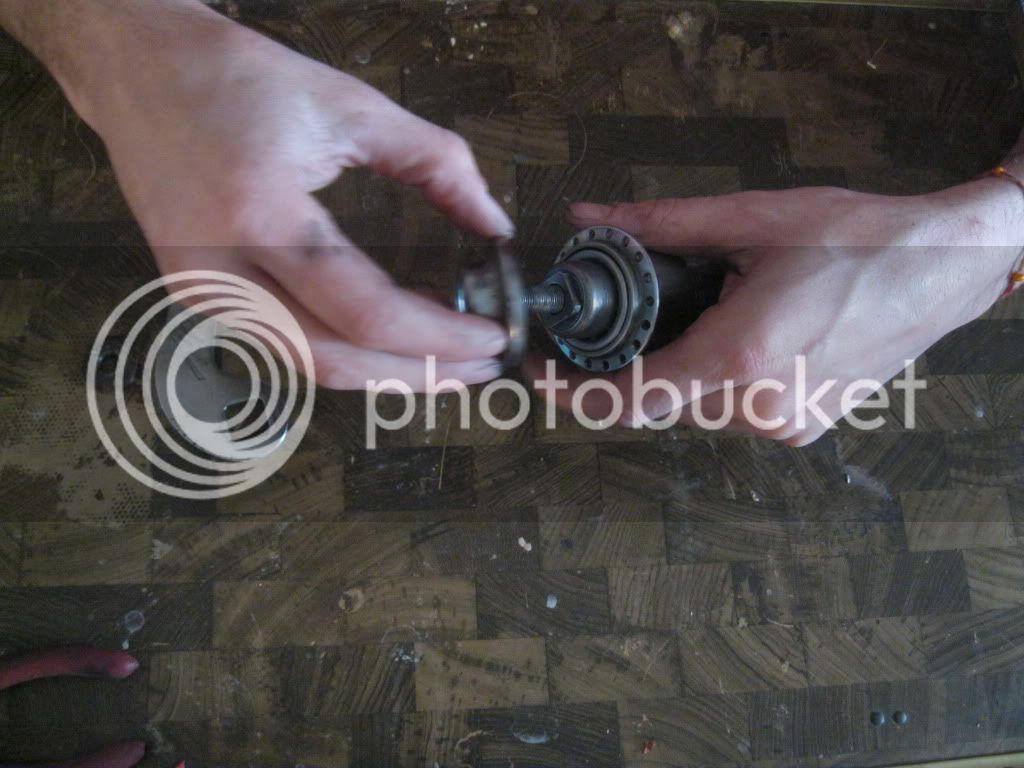
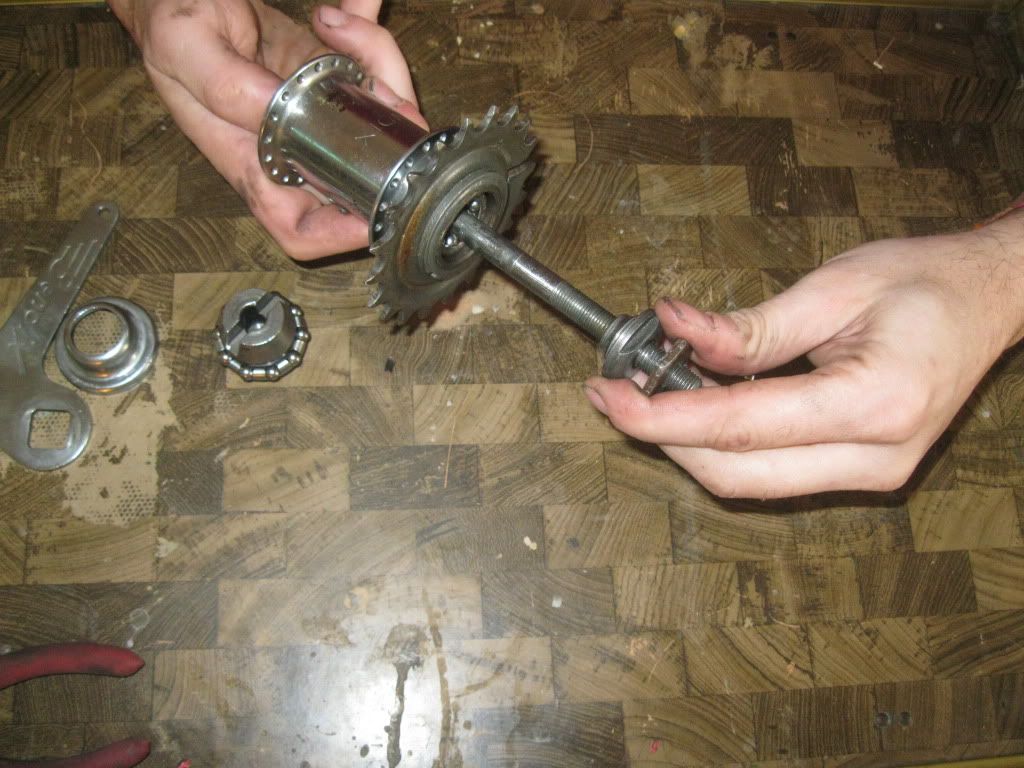
Remove the axle from the drive side of the hub.
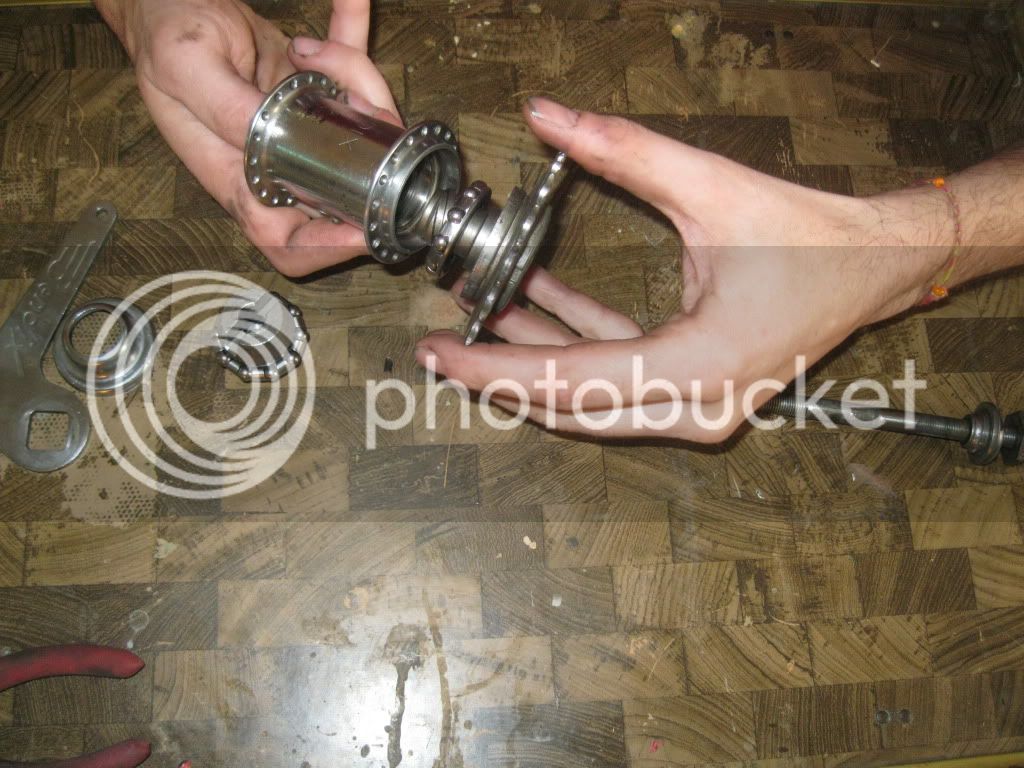
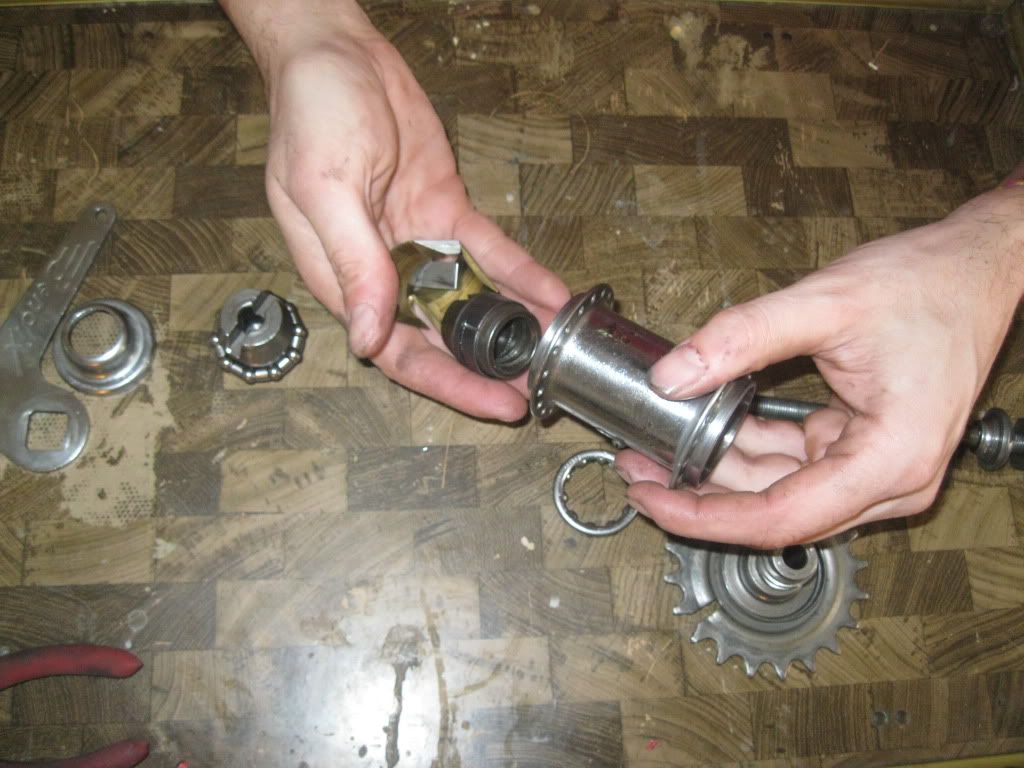
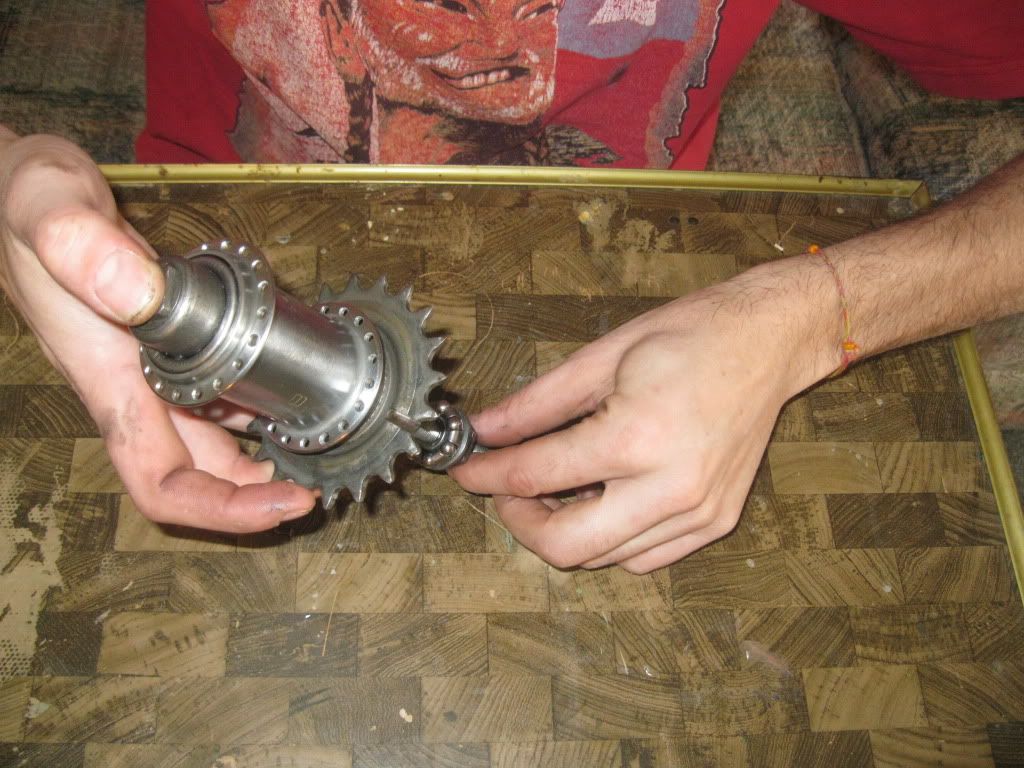
Turn the driver/sprocket assembly counter-clockwise to disengage the driver from the drive clutch and remove it.
The rest of the parts should now slide out of the hub shell.
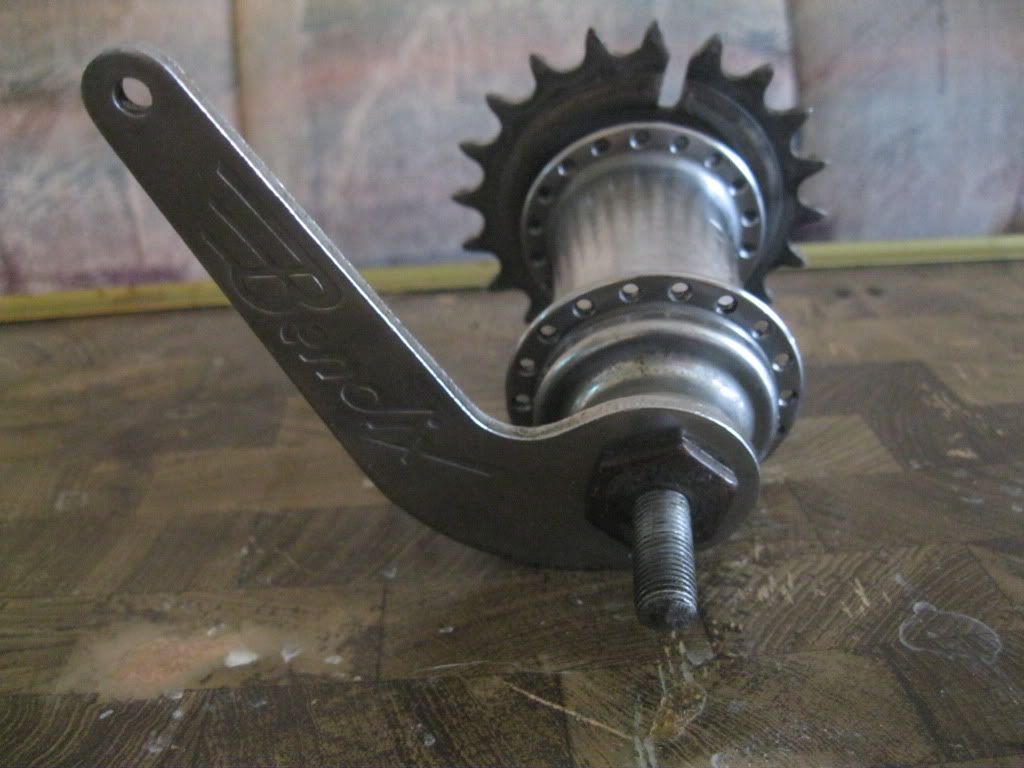
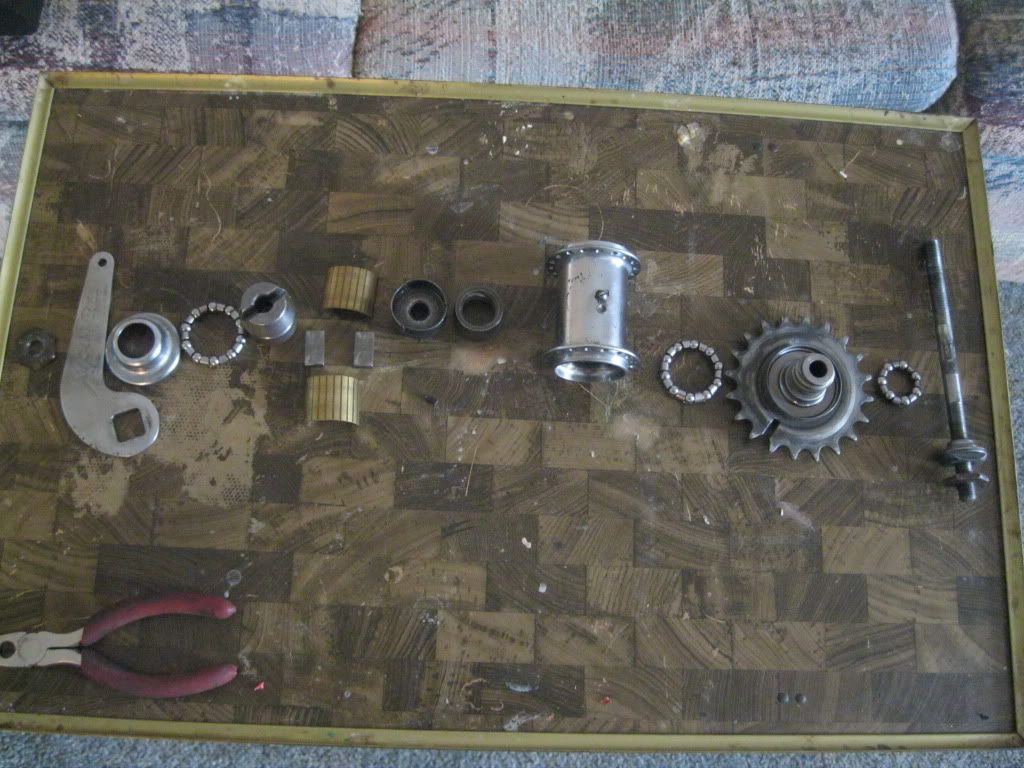
Here is what you be looking at now.
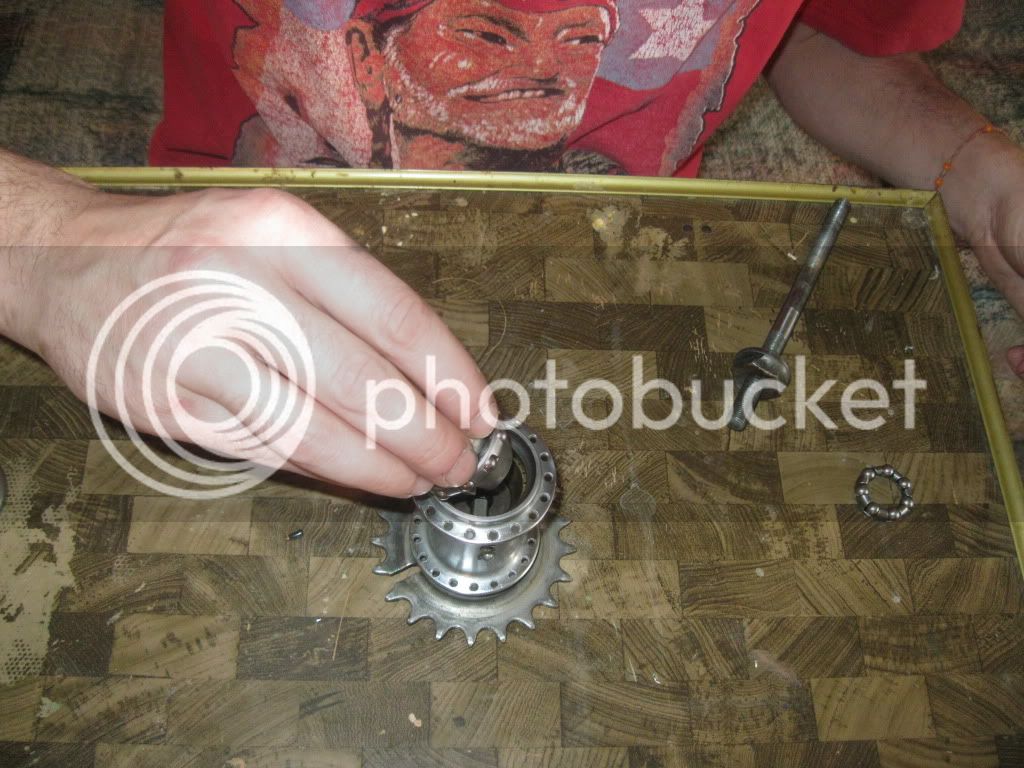
Once you have cleaned and inspected everything we can begin reassembly. Start by setting the driver/sprocket assembly on the bench and setting the hub on top.
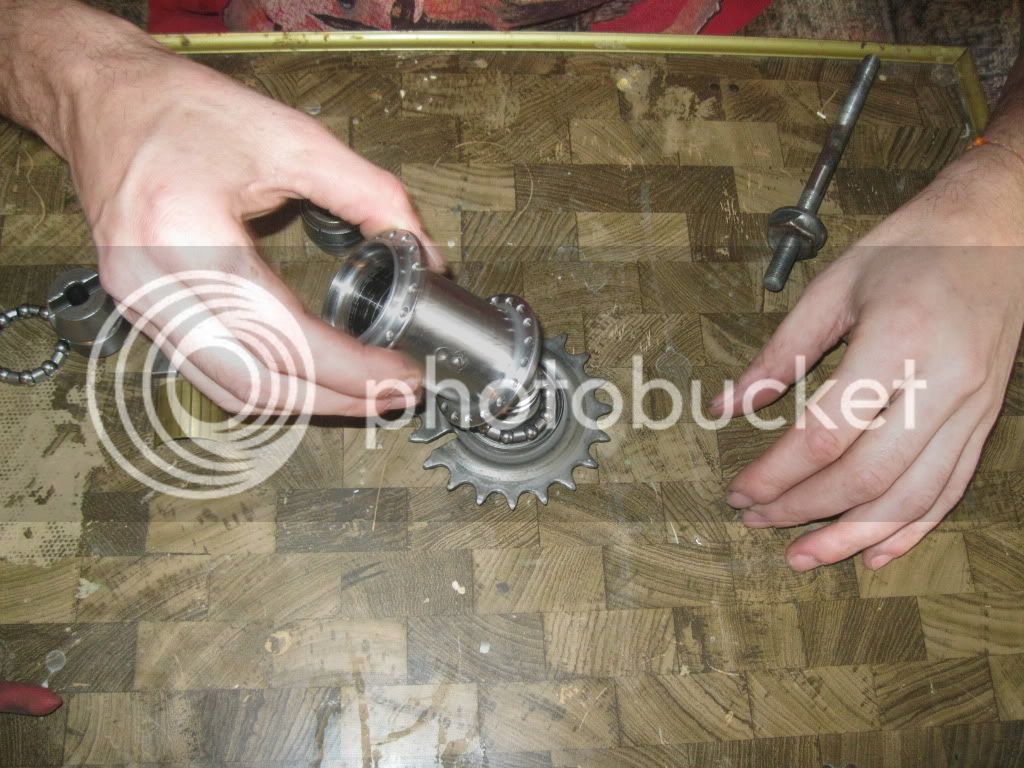
Drop the drive clutch/retarder/expander into the hub and screw it onto the driver.
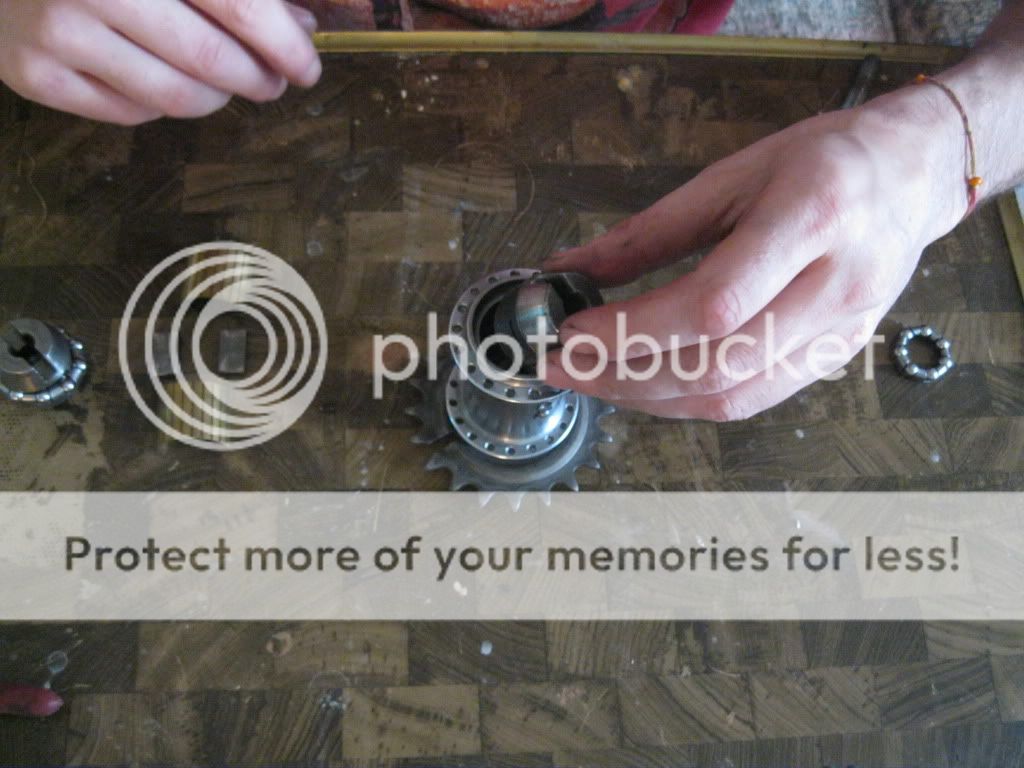
The two brake shoe keys will slip into their slots and the brake shoes will follow.

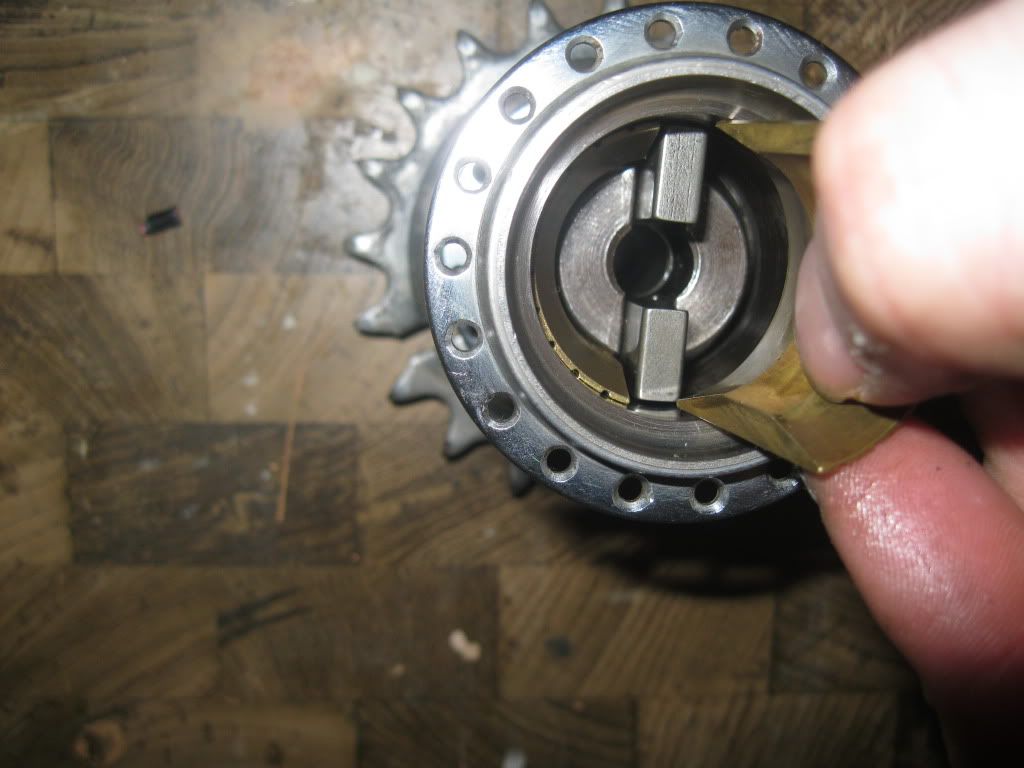
Slip the Anchor End Expander in so the brake keys slide into the slots in the Expander.
Pick up the hub assembly by lifting the sprocket. Carefully hold the hub while you slide the axle into the hub and screw it into the Anchor End Expander.
Now you can install the dust cap, brake arm and lock nut. Adjust the hub cones properly before snugging down the lock nuts.
We will begin with the factory drawings so we can see what we are getting into. As you can see the Original coaster and the Red Band are very similar and this thread will help you with a rebuild on either. The RB2 hub has many similarities as well, the main difference you will find with the RB2 is they integrated the brake shoe keys into the expanders.
As with all my post in the UCB Hub Project this hub has been torn down, cleaned, and reassembled before I began the pictures so you can see all the parts clearly.
Begin by removing the lock nut on the on the brake arm side.
Remove the brake arm and the dust cover.
Next loosen the lock nut and cone nut on the drive side.
Once they have been loosened you can unscrew and remove the Anchor End Expander.
Remove the axle from the drive side of the hub.
Turn the driver/sprocket assembly counter-clockwise to disengage the driver from the drive clutch and remove it.
The rest of the parts should now slide out of the hub shell.
Here is what you be looking at now.
Once you have cleaned and inspected everything we can begin reassembly. Start by setting the driver/sprocket assembly on the bench and setting the hub on top.
Drop the drive clutch/retarder/expander into the hub and screw it onto the driver.
The two brake shoe keys will slip into their slots and the brake shoes will follow.
Slip the Anchor End Expander in so the brake keys slide into the slots in the Expander.
Pick up the hub assembly by lifting the sprocket. Carefully hold the hub while you slide the axle into the hub and screw it into the Anchor End Expander.
Now you can install the dust cap, brake arm and lock nut. Adjust the hub cones properly before snugging down the lock nuts.