Tybee Siren

Rat Rod Bikes Bicycle Forum

Help Support Rat Rod Bikes Bicycle Forum:

This site may earn a commission from merchant affiliate links, including eBay, Amazon, and others.
you have inspired me to build my wife a new bike she found a Western flyer at the auction an fell in love with it so when the RBOB is done I'm going to start on this
042802_200000-1.jpg

thanks all inspiring wizard of RRB
 
Looks like a great bike to build out.
Let me know if you need any 'girlie' ideas for it, my last two bikes have been for 'my ladies', I've done a TON of research on 'cute' accesories :mrgreen:

Cheers,
Dr. T
 
will do my wife looks over my shoulder while I'm on here an she has a lot of ideas already she likes your chain guard with the fancy script :D I've had old cars an motorcycles in the past an she never got as intrested in them like she has this
 
I was flippin through here and saw your rack and thought it was a tank. Kinda reminded me of Roland last year.

Looking good Tank.
 
I know what you mean about the rear rack, I remember 'Roland', it's one of my favorite bikes from last year.

I worked on it a little more today, had to fill some more of the pitting. I was unable to pick up the frame over the weekend, but my good friend DonOne is gonna grab it, my chopper frame and some other stuff in the next couple of days.

I'm transitioning from Rustoleum etching and filling primer to Krylon color coats with a coat of Krylon white primer, but the can I had stunk, the paint was like water. Gonna try another can this week.

Cheers,
Dr. T

Sent from my SCH-R720 using Tapatalk 2
 
hey Doc, My lacing job ended too long,too. I bought a bag of #10-32 nuts from fastenal for $1.25, and used the nuts as a spacer between the nipples and rim. dogdart told me about doing it. It worked well. I ran a piece of heavy friction tape, then a rim-strip. hasnt hurt the tube yet......It may never be a problem, and easier to do than cutting and rethreading all 36 spokes.
 
Al, thanks for the tip! That idea beats cutting and threading them. Question did the 10-32s thread on or just slide over the spoke?

Slight progress made tonight, got the frame back from sandblasting (DonOne, thanks again for picking it up my friend!). For $25, I would have spent more than that in stripper, wire wheels and sandpaper. Plus it looks like this!

DSCF3489.jpg

DSCF3492.jpg

DSCF3491.jpg


Hard to tell from my horrible photography, but she is pitted head to toe, as you can see by her first layer of 'makeup' (a.k.a. glazing putty :roll: )

DSCF3495.jpg

DSCF3496.jpg

DSCF3497.jpg


I'll let her dry overnight and hit it with some sandpaper tomorrow and see where we are, I'm new to bodywork, but hopeful to get a nice smooth finish.

Until primer.......

Cheers,
Dr. T
 
Well, continued addressing the pitting today, its gonna be fine.
DSCF3501.jpg

DSCF3498.jpg

DSCF3500.jpg

DSCF3499.jpg


FINALLY got some color on the rear rack and chainguard today too.
First coat of ivory, sanded out the 'oops', will apply a second coat tomorrow and let it bake in sun. Then, I'll mask it off and apply the aqua
DSCF3504.jpg


The aqua is nice and creamy looking. I'll fix the 'oops' tomorrow and do the opposite of the rack. Mask it off and add the ivory accent.
DSCF3503.jpg


Gonna run to Home Depot in the morning and get another can of etching primer for the frame, hopefully I'll get it into filler primer this weekend too! Gotta make a tank decision before laying out the paint design on the frame.

Stay tuned....

Cheers,
Dr. T
 
Made some progress this weekend.
Got the frame into etching primer, then the first coat of filler primer. sorry no pic of that. :oops:

the rack is coming along nicely.
Before:
IMG_1460.jpg

IMG_1459.jpg


During:
DSCF3358.jpg

IMG_20120518_075204.jpg


Almost done:
DSCF3522.jpg

DSCF3523.jpg

DSCF3524.jpg


chainguard is close too, got an area where it bled through, but should be an easy fix
Before (wish I has the tank too :cry: ):
DSCF0546.jpg


During:
DSCF3358.jpg

DSCF3357.jpg


Almost done:
DSCF3525.jpg

DSCF3526.jpg

DSCF3527.jpg


I still need to clear coat and wet sand, add a little orange pinstriping, but the color scheme is what she expected so far.

Having a new deck put on, so I don't expect much progress this week.

Til' then...stay tuned.

Cheers,
Dr. T
 
Sweet looking paint job!!!
 
Al,
Thanks for the info, I'll remember that as an option.

Does anyone know the tpi on spokes? I'm still going to explore the possibility of cutting and rethreading them, got extras if I screw up. :grin:

kf.
Thanks bud, wish I could do more than look at it for the next few days.

Best of all, the 'customer' likes it and that is no small feat! :lol:

Cheers,
Dr. T

Sent from my SCH-R720 using Tapatalk 2
 
Sorry, only one pic in this update and it's from the eBay auction.. :oops:

Picked up this cream colored Delta Rocket repop light, the color matches the Krylon Ivory almost perfectly. I may add some pinstriping to it to tie it in with the rest of the bike.
KGrHqVikE7CphSMm6BPPcsqdEpQ60_57.jpg


I've also started the paint on the fenders and frame, but my home remodeling (and I ran out of ivory paint) is slowing me down a bit.

Hopefully, I play the 'Father's Day' card this weekend and get some time to get full color on the fenders. Since I've lost my 'steady hand' over the years, I ordered some 'custom' pinstripe decals for the frame, just waiting for them to come in. They will separate the ivory from the blue and will bring in the 'accent' color.

Then I will address the 800 lb gorilla in the room and figure out the wheelset.

Stay tuned...

Cheers,
Dr. T
 
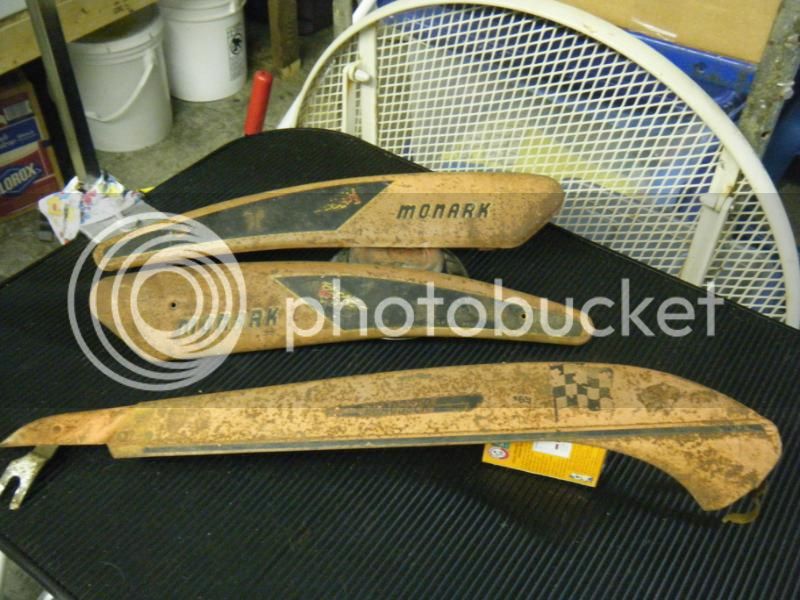
Thanks Josh, she picked the colors, it's definitely getting that classic 50's hot rod/show car look. Like inspirational these beauties..

IMG_5245.JPG


tumblr_lqayslChFX1qg01l2o1_500.jpg


PG160-1940-international-depot-hack-hotrod.JPG


1957-Chevrolet-Aqua-Hardtop-sy-1152x864.jpg


The paint is coming out better than expected, I've learned a lot about metal work on this build, which should make MY next bike even better! :mrgreen:

WARNING: Horrible cell phone pics ahead!

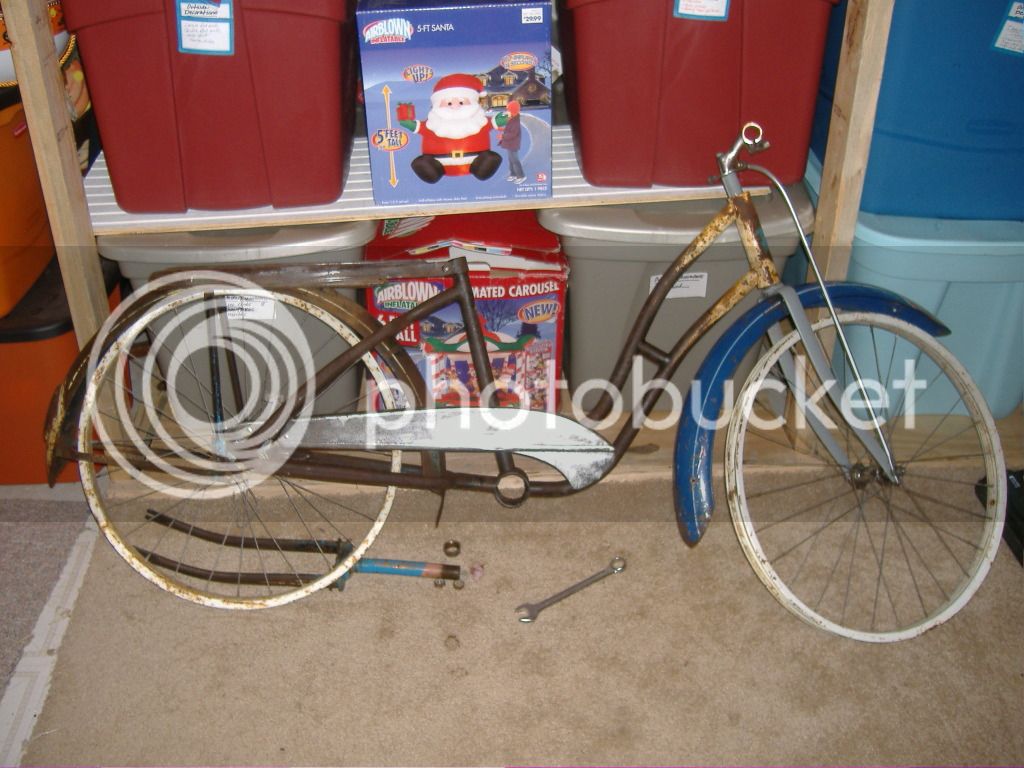
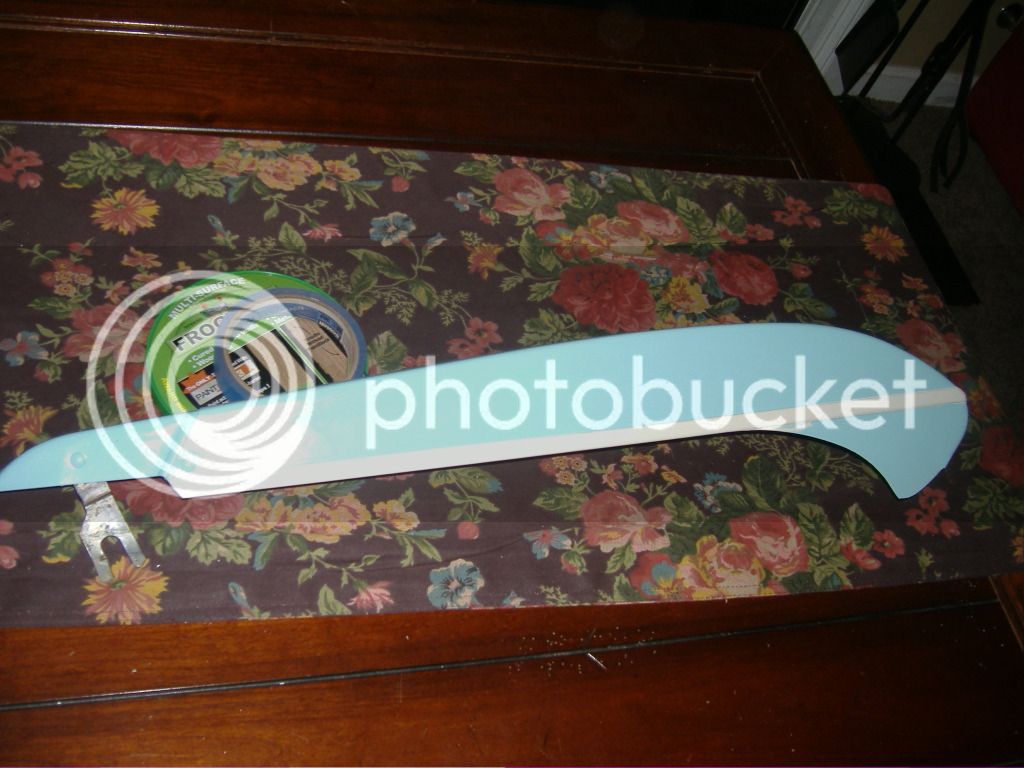
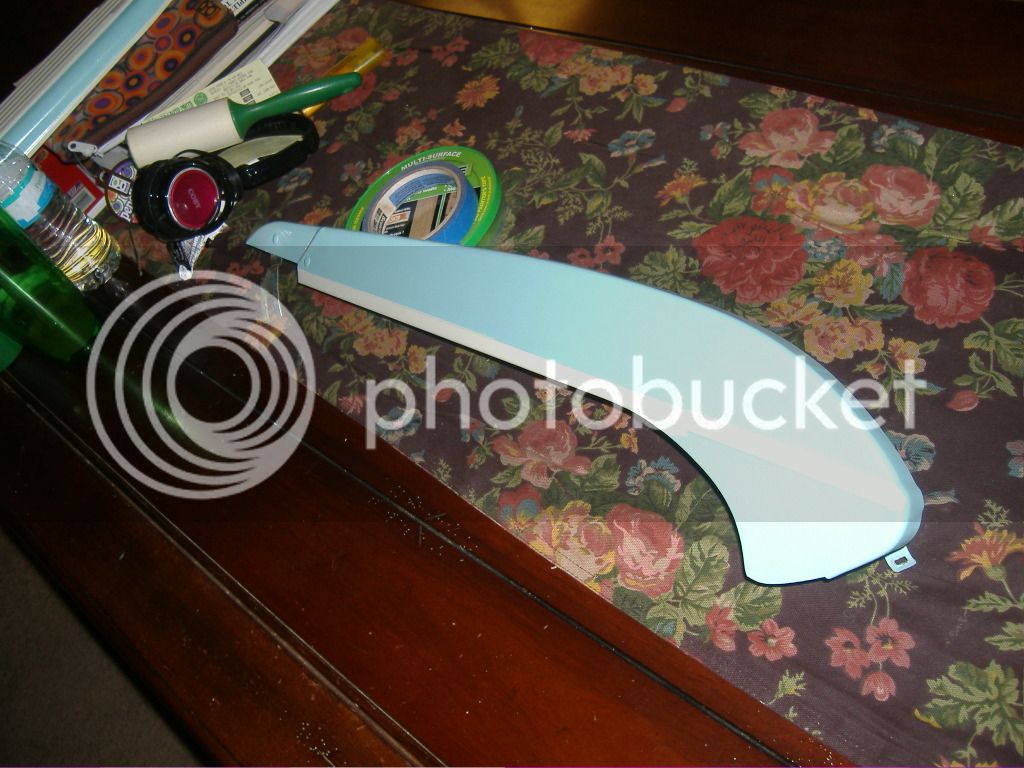
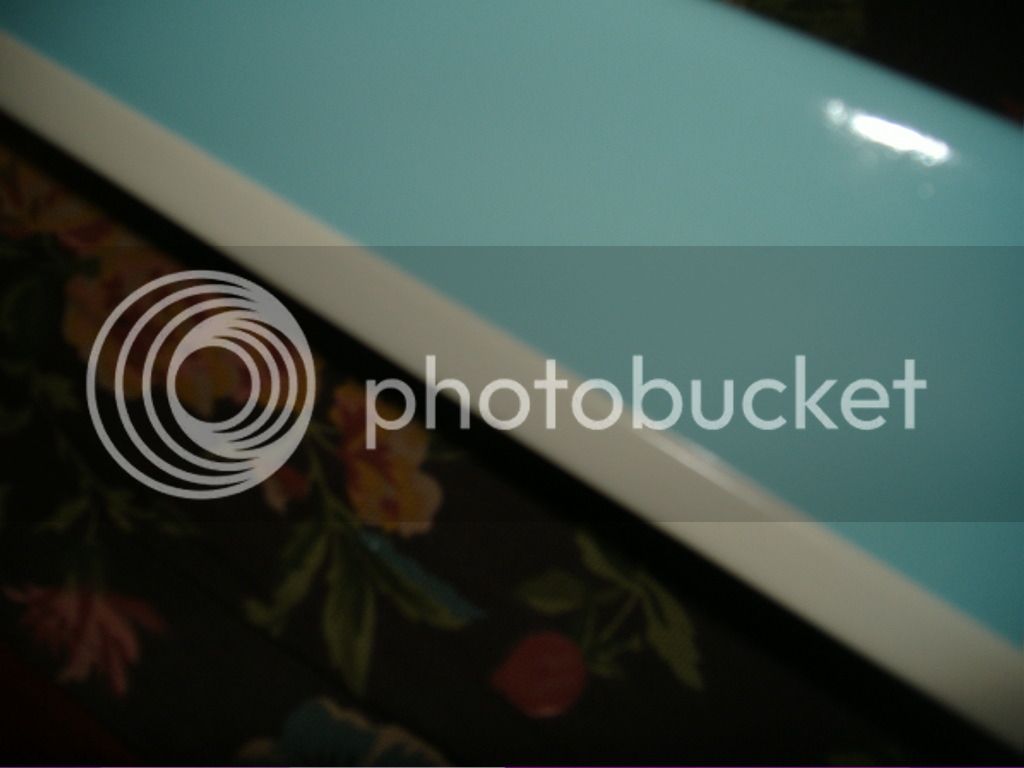
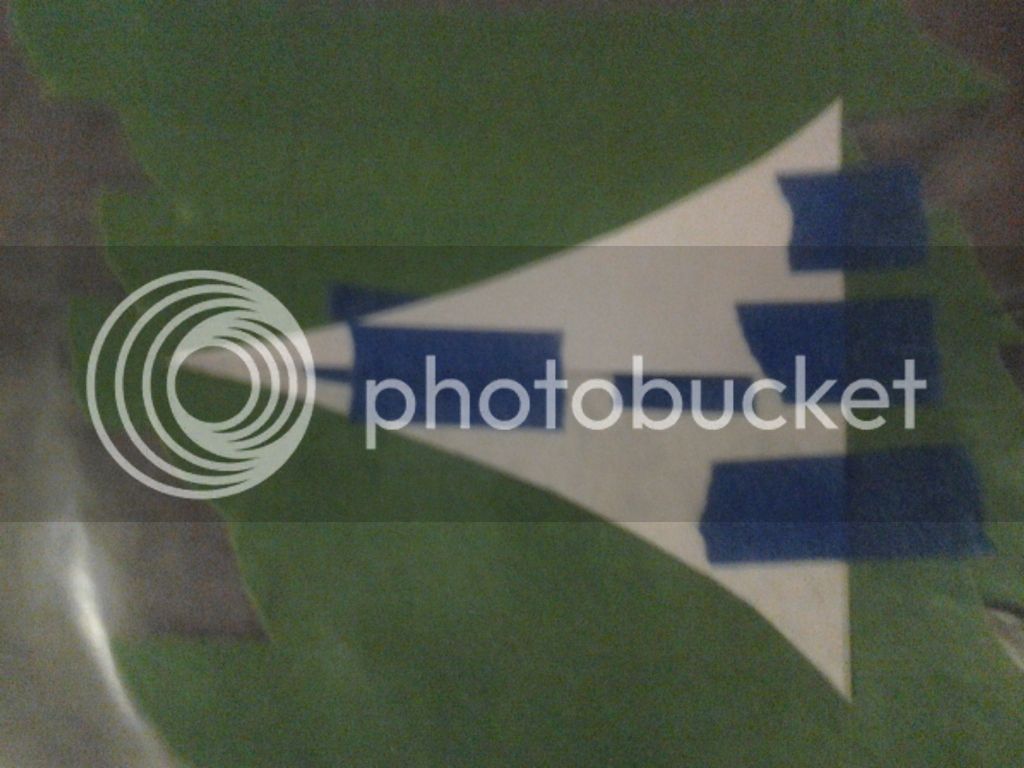
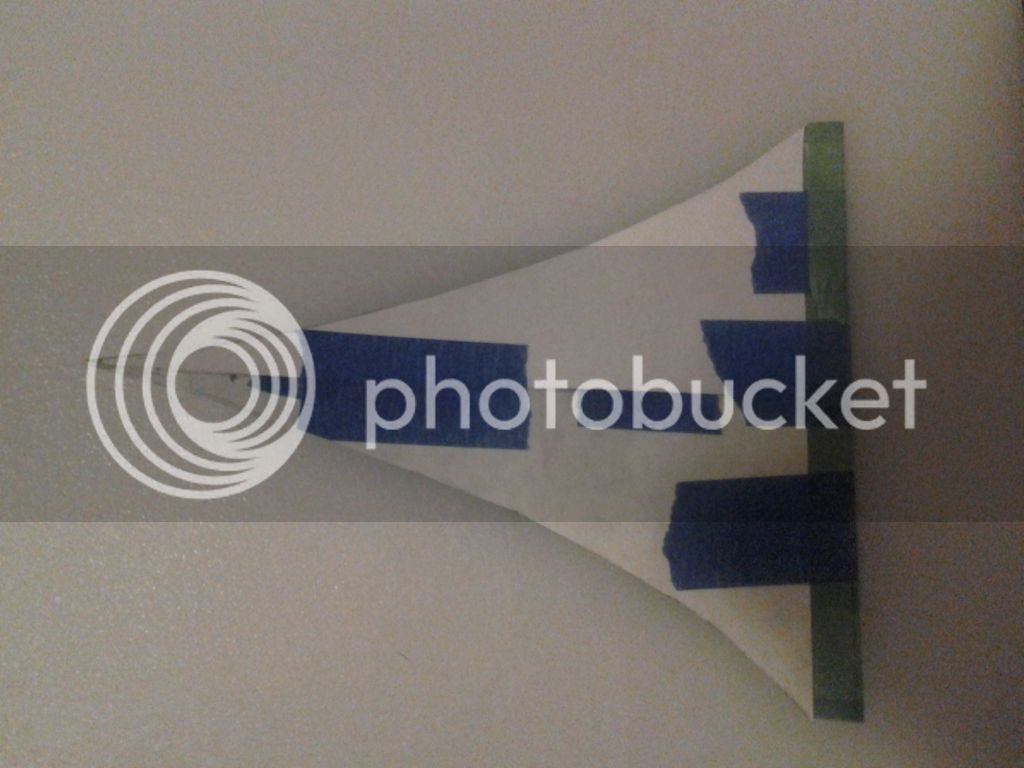
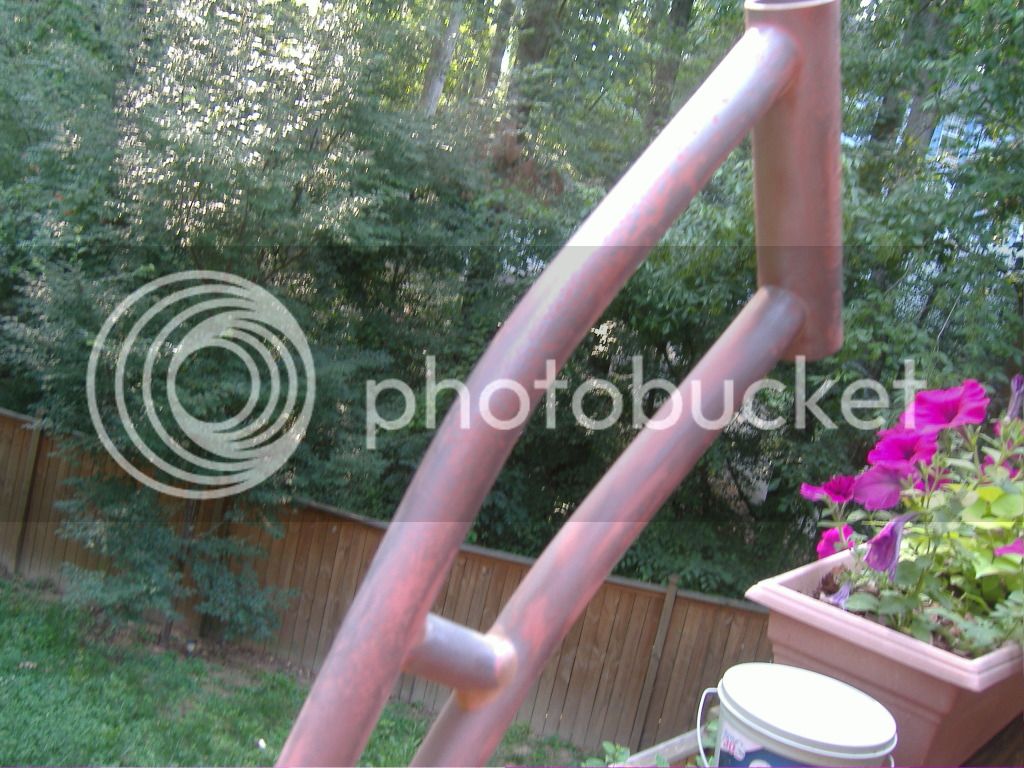
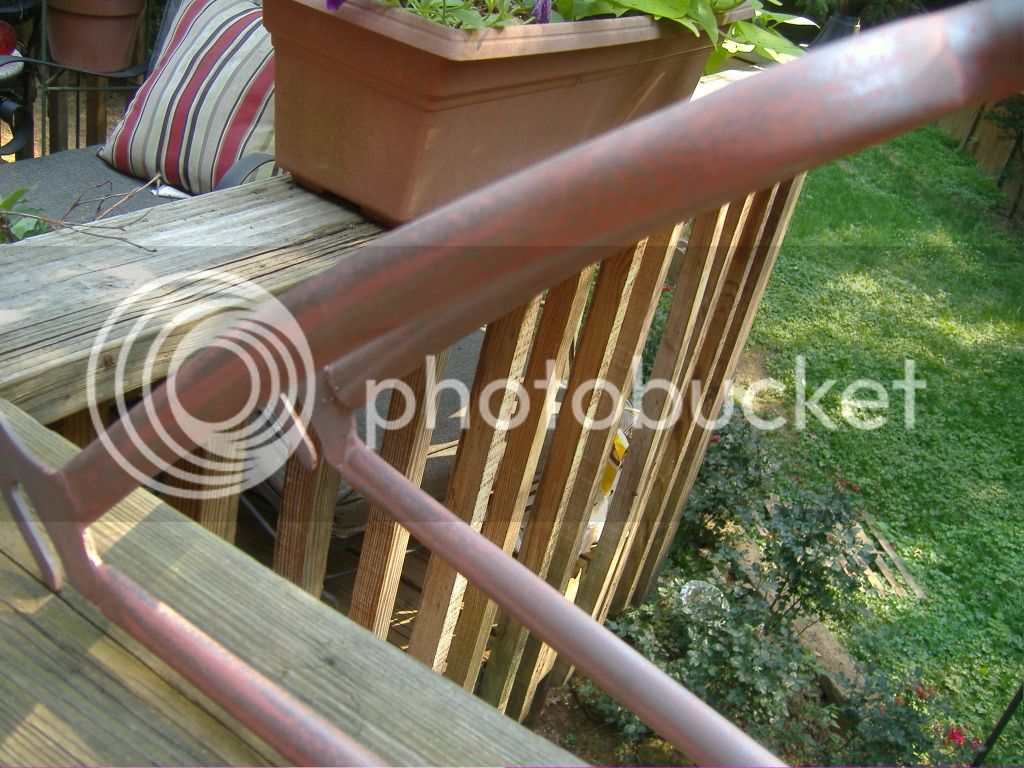
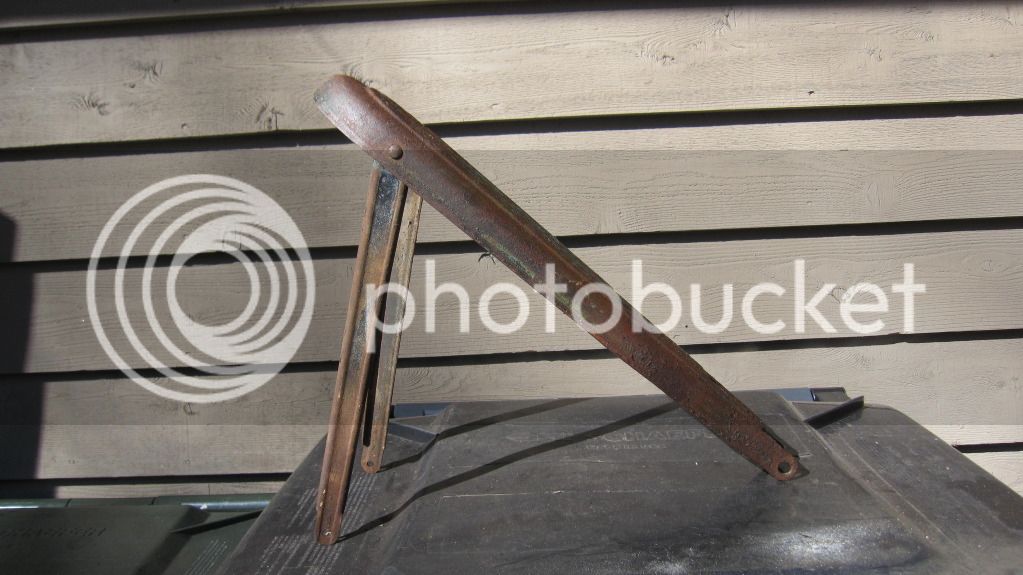
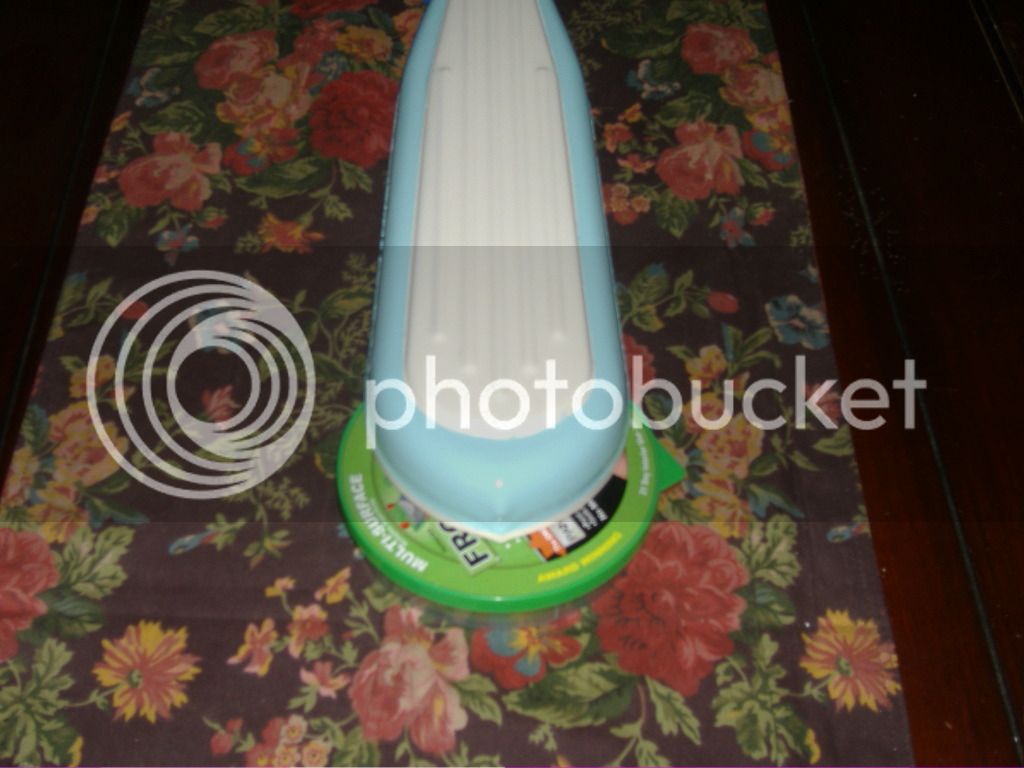
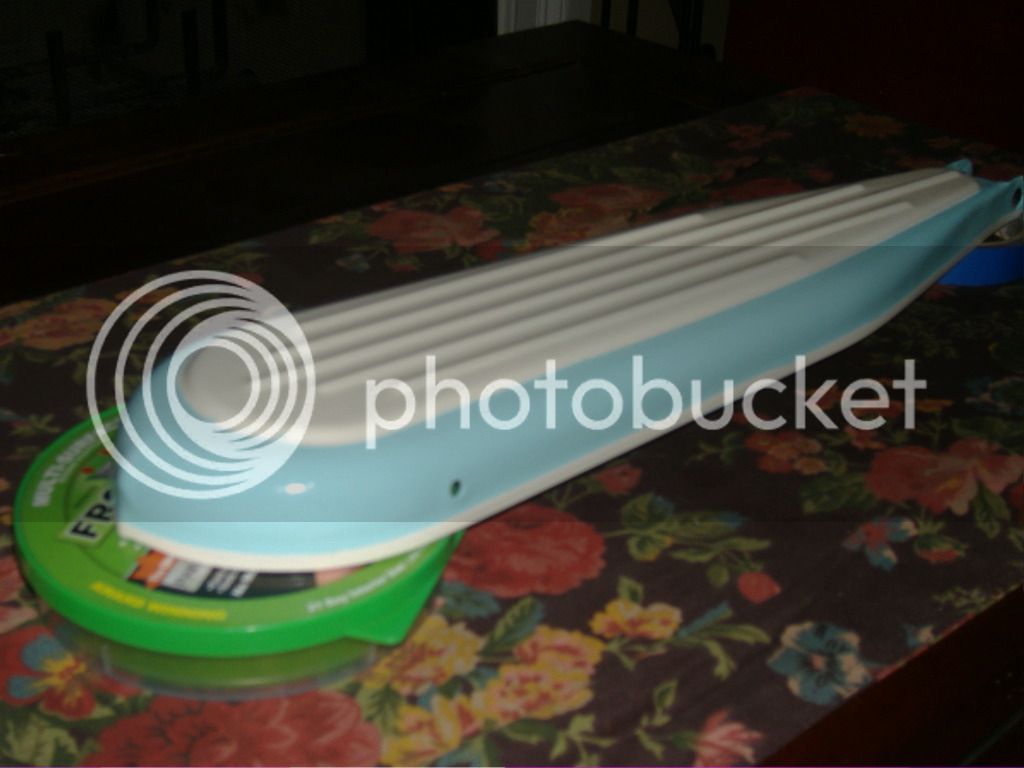
I made progress last night, shot the rack, chainguard and fork with some clear coat, got color on the rack supports and made these paint masks for the fender ends.
IMG_20120619_213041.jpg


IMG_20120619_214006.jpg


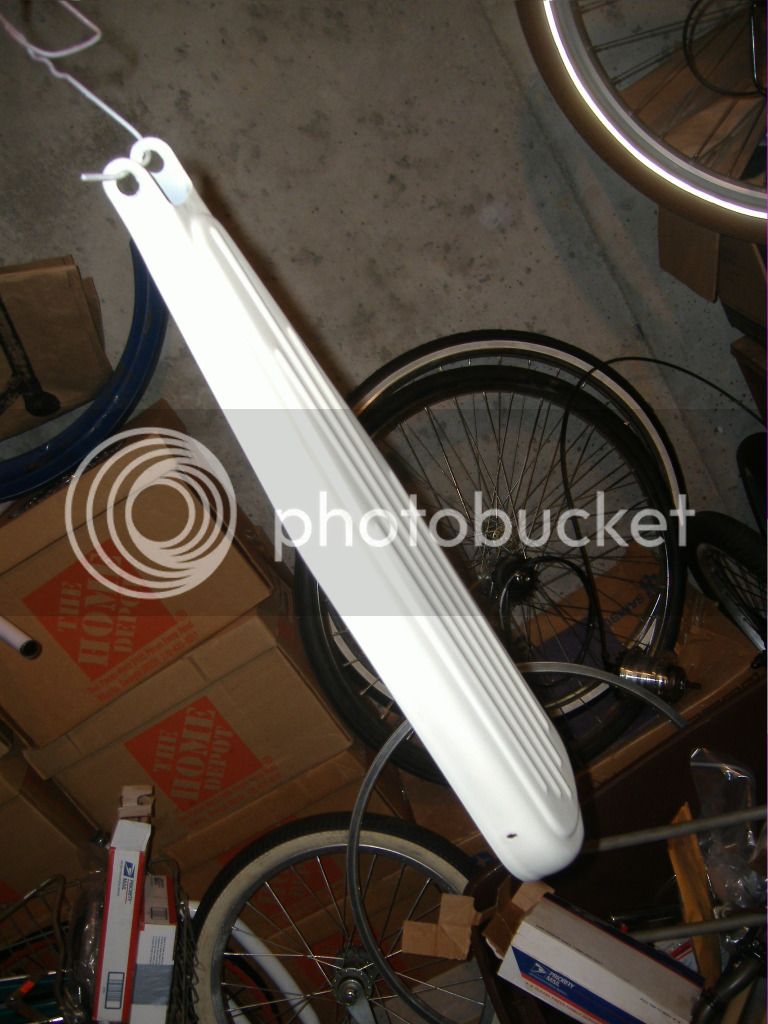
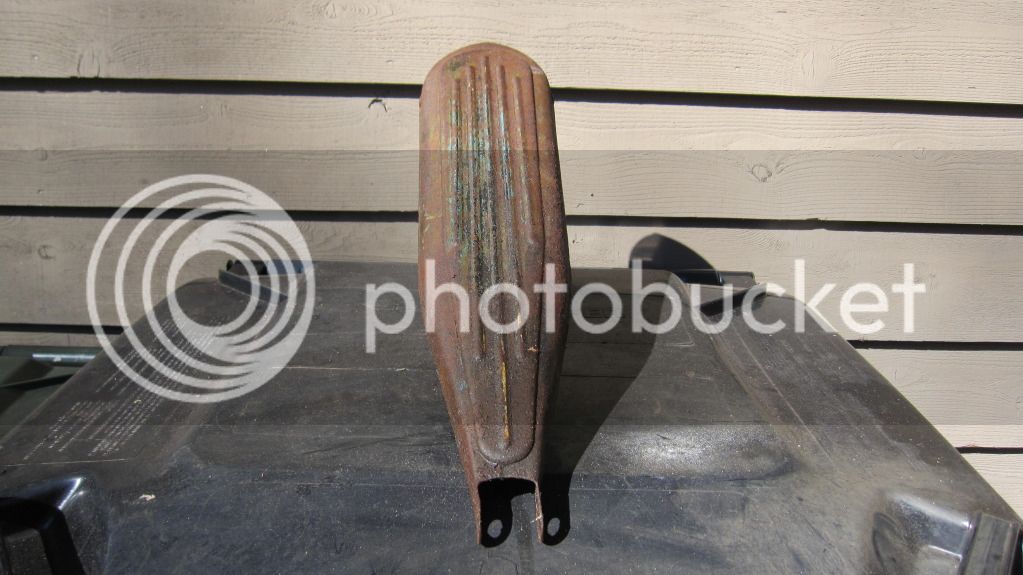
I applied the rear and shot it with clear coat to 'seal' it. The front fender is giving me a fight, but I'll prevail. :roll:

Fenders are my 'pain' part on bikes, I like the way they look, understand their 'function', but they always give me fits. I probably have 15 hours in these, from dent removal (most of them) and straightening (as best I could) and paint. Oh well....... :mrgreen:

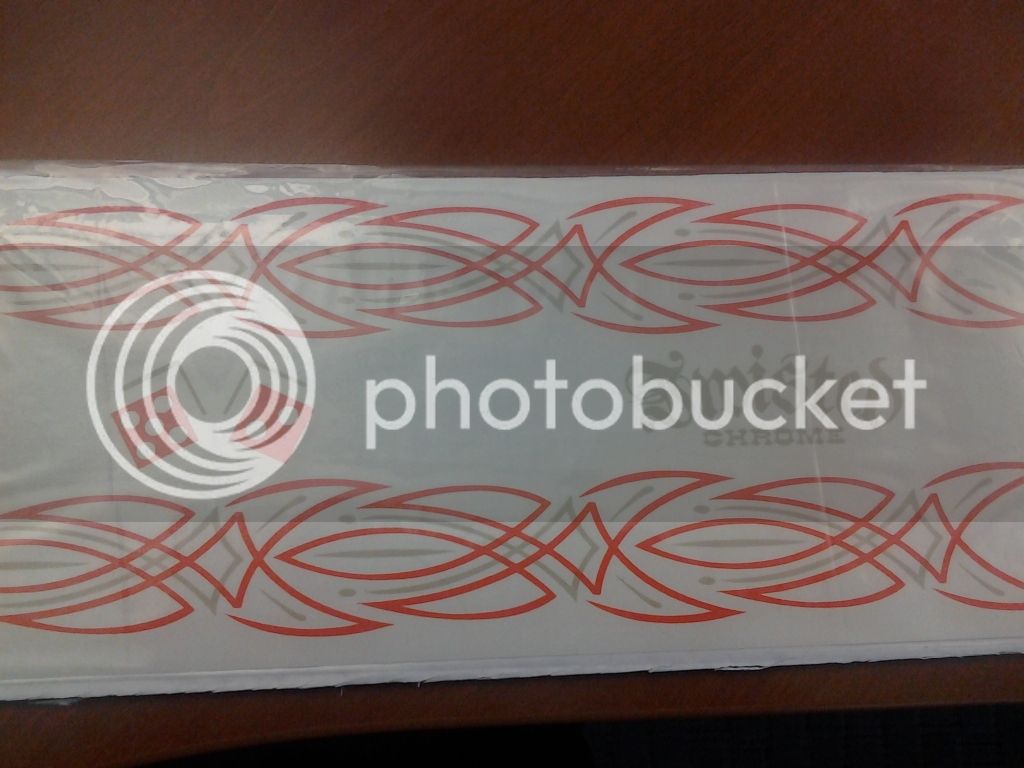
In other news, I received the custom pinstripe decals today, they were the only thing stopping me from laying out the paint on the frame.
They look great, the 'beige' color can out a little dark, but it's workable.
IMG_20120620_091800.jpg


I plan to cut them up for frame 'darts' and possibly seatpost artwork or chainguard embellishment, I'll fall off that bridge when I get there.

Hopefully, after I fix a leak at the house tonight, I'll be able to work on the paint some more.

Cheers,
Dr. T
 
Tank, love the decals.

I don't know what color your wife's hair is, but Coastal Empire Beer Co. just released a new beer "Tybee Island Blonde"

This might make a cool headbadge or fender decal.

CEBC_TB_Badge350H.png
 
kf,
That's AWESOME! I'll show it the Mrs. tonight, maybe I'll get jesusjonz to make me a headbadge. Although, I do have the original Monark one.... i wonder if i contact Coastal Empire if they'd send me a label or two... :roll:

DN,
Thanks bud, this one is shaping up to be even better than my Build-off bike last year. I can't wait til the day she gets to ride it.

Cheers,
Dr. T
 

Latest posts

Back
Top