You are using an out of date browser. It may not display this or other websites correctly.
You should upgrade or use an alternative browser.
You should upgrade or use an alternative browser.
Tribute to our friends
- Thread starter Fireproof
- Start date


Help Support Rat Rod Bikes Bicycle Forum:
This site may earn a commission from merchant affiliate
links, including eBay, Amazon, and others.
naw she would be fine i think we will make anyone who wants vote for the classes this year that way we can enter too lol. this bike is just sick i am a total sucker for details and this one is loaded. i have seen slick's paint work mark u cant go wrong with him. oh and if you need some lines laid down on her let me know i owe you anyways.
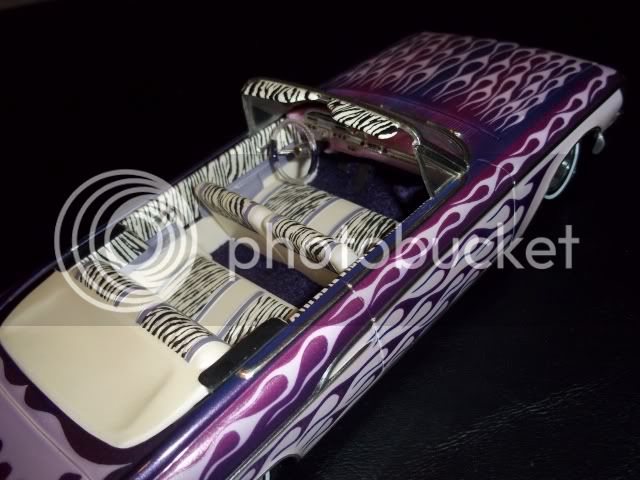
Maybe tomorrow i'll throw a teaser picture up of some of the purple paint i have over here..........HMMM...............  Actually, maybe we should keep it top secret til it's a finished bike!!!! LOL!!!!!
Actually, maybe we should keep it top secret til it's a finished bike!!!! LOL!!!!!- Joined
- Mar 10, 2009
- Messages
- 1,465
- Reaction score
- 1
skillsthebarber said:If I need a part fabricated for my bike, can I hire you to do it?
Not until ALL her homework is finished! :lol:HotRodJen said:DITTO!!!!!!!!!
- Joined
- Mar 10, 2009
- Messages
- 1,465
- Reaction score
- 1
Too late, Slick. I think someone has read this by now, so the secret will be out! :lol:slick said:. . . maybe we should keep it top secret til it's a finished bike!!!! LOL!!!!!
How about two-tone with flames?slick said:. . . throw a teaser picture up of some of the purple paint . . .
- Joined
- Mar 10, 2009
- Messages
- 1,465
- Reaction score
- 1
On a serious note, and I’m speaking for my daughter as well, thanks so very much for all the kind, encouraging words and offers of help. It is really difficult to put into words how much it means to us. The comradery on RatRodBikes sets this forum apart from anything else on the web and we feel privileged to be a part of it!
That paint scheme wouldn't be hard at all. THat purple is actually pretty close to what I have over here. I actually have a 50's pink also. It's an exact match to those pink sky king art deco repop trycycles with the full fenders on them. I can lighten it up to make it more pale like the car and less straining on the eyes.
Greg didn't tell me? I just thought that purple I had over here would look sick on there. Lucky guess I guess? I'll dig through my stash and see what else I have in there. I have 2 6' tall fireproof (no pun intended) paint cabinets full of leftovers from old jobs i've done in the past.
- Joined
- Mar 10, 2009
- Messages
- 1,465
- Reaction score
- 1
Merci pour le compliment champx!champx said:it's awesome!!
like your work!
can i take your idea of the top bar opening?
Nous avons mis nos idées ici sur RatRodBikes afin que vous puissiez les utiliser.
«L'imitation est la forme la plus sincère de flatterie" :wink:
Nous sommes impatients de voir votre création moto unique!
- Joined
- Mar 10, 2009
- Messages
- 1,465
- Reaction score
- 1
Findin' a home for "Lampy"
Thank you all again for all the compliments! I honestly appreciate it about as much as I can, which is a whole lot.
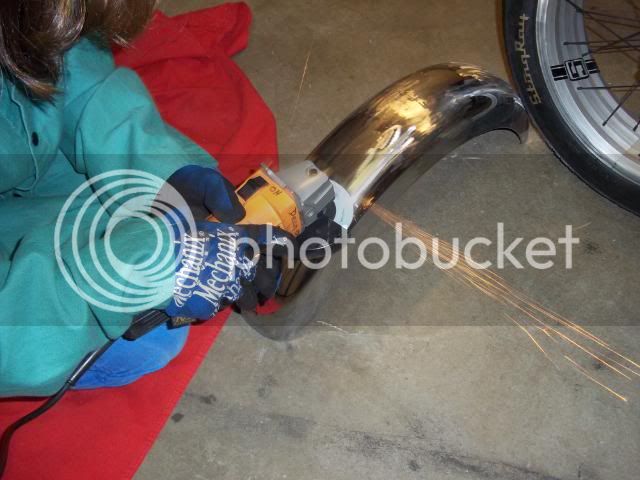
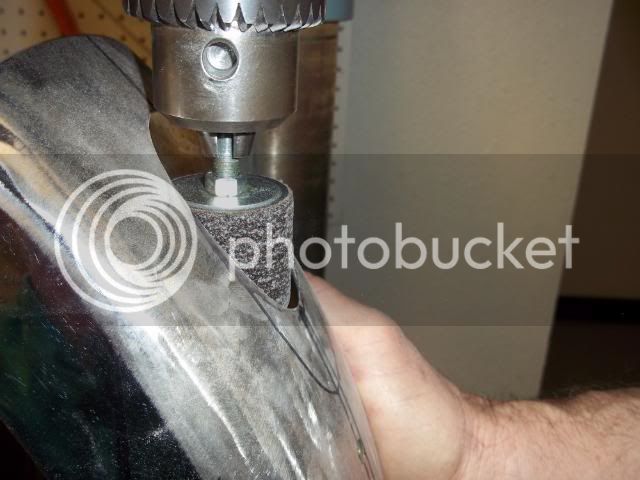
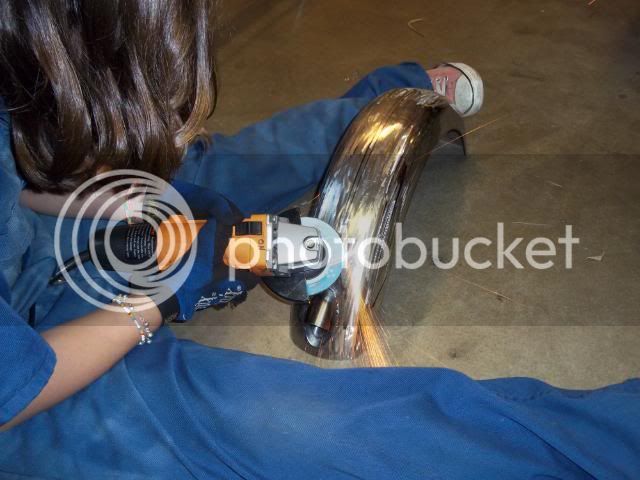
Now, onto the topic of bikes! Here I am sanding the pretty chrome off my fender to prepare it for the next step . . . the addition of a taillight!
Here is where my dad cut a couple holes in the fender on the drill press. Notice the two sharpie lines in the middle. The fender is ‘bout 5" wide so we sat the sharpie on top of a 2 1/4" block, sat the fender on its side, and drew a line. Next we flipped the fender and repeated the process. This gave us the approximate center line for our cutout.
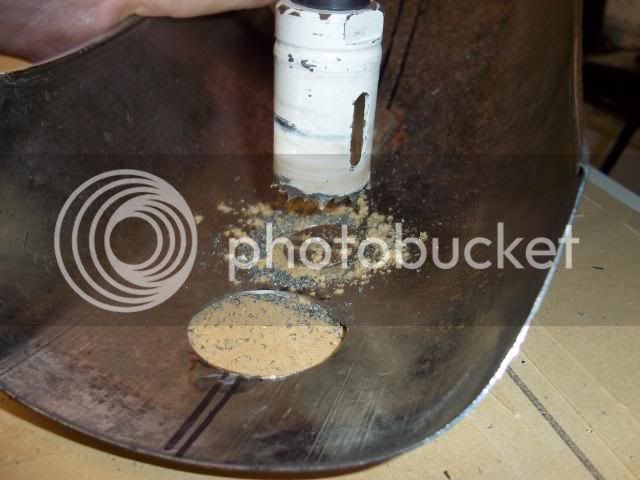
Next a Dremel with a cutoff wheel was used to cut out the areas between the two holes. Then, a drum sander in the drum press was used for finishing shaping the cutout.
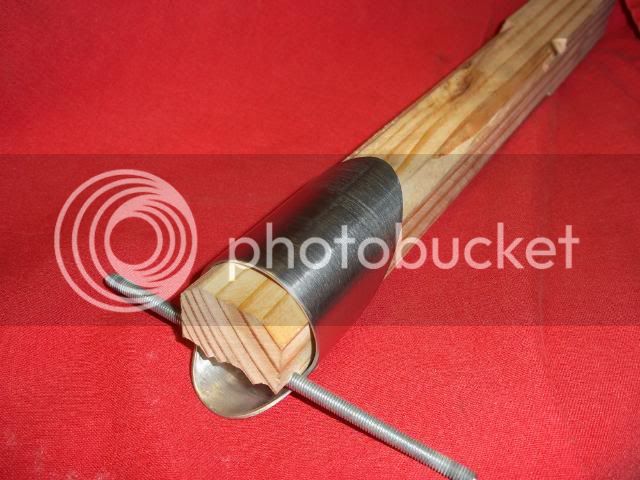
Here is our handy dandy alignment tool we used to hold the taillight housing while tack welding it to the fender! It is a piece of wood that was cut to fit snugly inside this tubing. The 4 40 screws in the taillight housing were used to clamp it to the wood. Sorry we don’t have a picture of it in the fender . . . At the end there is an arrow in directly the middle of the stick that will be placed in between the two sharpie lines. It helped us position it in three directions: left and right, up and down, and side to side.
Next my nice daddy Mig welded the housing to my fender . . .
Here I am smoothing down the welds with a flapper wheel.
Thank you all again for all the compliments! I honestly appreciate it about as much as I can, which is a whole lot.
Now, onto the topic of bikes! Here I am sanding the pretty chrome off my fender to prepare it for the next step . . . the addition of a taillight!
Here is where my dad cut a couple holes in the fender on the drill press. Notice the two sharpie lines in the middle. The fender is ‘bout 5" wide so we sat the sharpie on top of a 2 1/4" block, sat the fender on its side, and drew a line. Next we flipped the fender and repeated the process. This gave us the approximate center line for our cutout.
Next a Dremel with a cutoff wheel was used to cut out the areas between the two holes. Then, a drum sander in the drum press was used for finishing shaping the cutout.
Here is our handy dandy alignment tool we used to hold the taillight housing while tack welding it to the fender! It is a piece of wood that was cut to fit snugly inside this tubing. The 4 40 screws in the taillight housing were used to clamp it to the wood. Sorry we don’t have a picture of it in the fender . . . At the end there is an arrow in directly the middle of the stick that will be placed in between the two sharpie lines. It helped us position it in three directions: left and right, up and down, and side to side.
Next my nice daddy Mig welded the housing to my fender . . .
Here I am smoothing down the welds with a flapper wheel.
- Joined
- Mar 10, 2009
- Messages
- 1,465
- Reaction score
- 1
Lampy's new home!
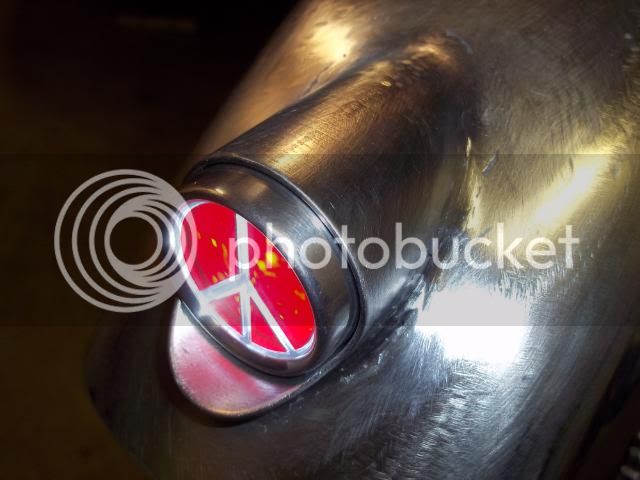
After grinding down the weld, we test fit the actual taillight.
It looks as snug as a bug in a rug! :wink:
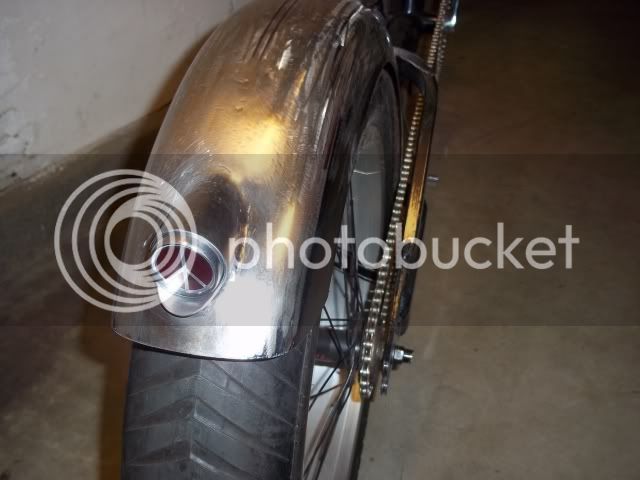
Lampy beaming with happiness! I am too! :mrgreen:
After grinding down the weld, we test fit the actual taillight.
It looks as snug as a bug in a rug! :wink:
Lampy beaming with happiness!
I am too! :mrgreen:
Excessively awsome!
REALLY?!....... :shock: ...........REALLY?!........
you two are out of control....... I'm calling the police :lol:
you two are out of control....... I'm calling the police :lol:
you two are killing me. killing me I tell you. wow.
This is the bestest father/child project ever!
Great job on the build so far. It's great to check back each day and see what progress has been made. I can't wait to see you sitting on the finished bike!
I do have a question, though. How to you turn Lampy on? :?:
Do you just reach up under the fender and push the button? Or did you rig up some sort of switch to turn it on?
Knowing how creative you have been with everything so far I can imagine some custom tubing welded to the underside of the fender with wiring running through it - leading up to a switch somewhere. But maybe you went old style and you just reach under there and hit the button on the flashlight to turn it on.
Keep up the good work. This one is going to look great when you are done!