Tribute to our friends

Rat Rod Bikes Bicycle Forum

Help Support Rat Rod Bikes Bicycle Forum:

This site may earn a commission from merchant affiliate links, including eBay, Amazon, and others.
I'm sure this time it will be heavily guarded by ALL OF US! No use for a lock when you have to go through lots of guys to get close to it. Fort Knox don't have nothing on the protection this bike will get now. :D
 
slick said:
I'm sure this time it will be heavily guarded by ALL OF US! No use for a lock when you have to go through lots of guys to get close to it. Fort Knox don't have nothing on the protection this bike will get now. :D

Right on! Bike thieves are scum.
 
No saturday update? Sheesh, what are you doing with your weekend if you aren't building this bike? :wink:
 
Thanks for all the words of encouragement!
Also, thanks to Rat Rod for putting us on the homepage! I am very flattered. My dad got teary upon seeing it for the first time. Now, for our first matter of business . . .yesterday I accompanied my dad to his work to get some things accomplished, although I could not operate some of the machines for lack of proper training and insurance regs. :( . . . We are going to work on it now and we will post an update with pics ASAP!
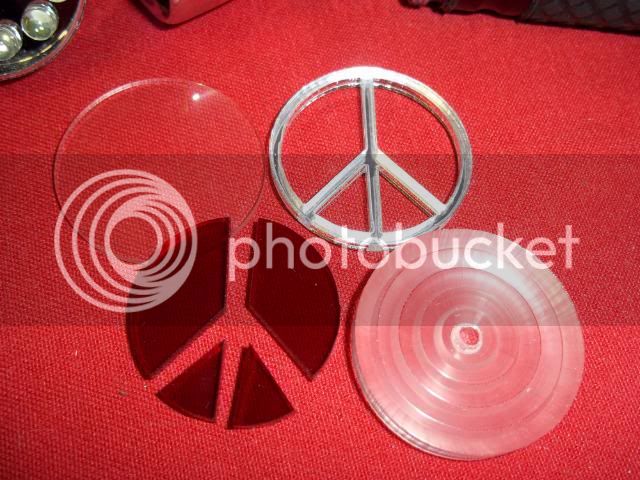
 
My dad gave me a Valentine’s Day present, a LED flashlight, and said we could make a new lens for it, paste it onto the fender with some duct tape, and use it as a taillight. We’ll see about that. :p
18030330.jpg
 
Fireproof said:
My dad gave me a Valentine’s Day present, a LED flashlight, and said we could make a new lens for it, paste it onto the fender with some duct tape, and use it as a taillight. We’ll see about that. :p
Duct tape fixes everything doesn't it? :roll: still watchin to see what comes next
 
Taillight Work

First step was put the flashlight into the lathe and turn the knurling off the sides. (knurling is that textured stuff)
T-LFenderWork036.jpg


Next, we disassembled the flashlight to measure the diameter of the original lens and made this jigsaw puzzle using the laser. The material used is acrylic . . . clear .062", transparent red and mirror, both 1/8", and clear 1/4" that was turned in the lathe.
T-LFenderWork046.jpg


Here’s how it looks when the puzzle is put together . . .
T-LFenderWork052.jpg

This taillight is going to tie in with the theme of the bike, by the way. 8)
 
Taillight work and Grrness

OH NO! We’re fresh out of duct tape! :cry:
We’ll have to figure something else out now . . . Fortunately we had an old fence post laying around. We cut a 6" long piece off the end and put it in the lathe and turned it down to get rid of the galvanized coating.
T-LFenderWork010.jpg
 
Fixin' a fence post

Duct tape? We don't need no stinkin' duct tape!!!!!! :lol:

We made a rough sketch to use as a reference, and then marked the piece with a Sharpie pen. I’m scribing a couple lines where the tube is to be cut.
T-LFenderWork011.jpg


A hole saw in the mill cut through both sides of the tube like it was butter! :eek: 
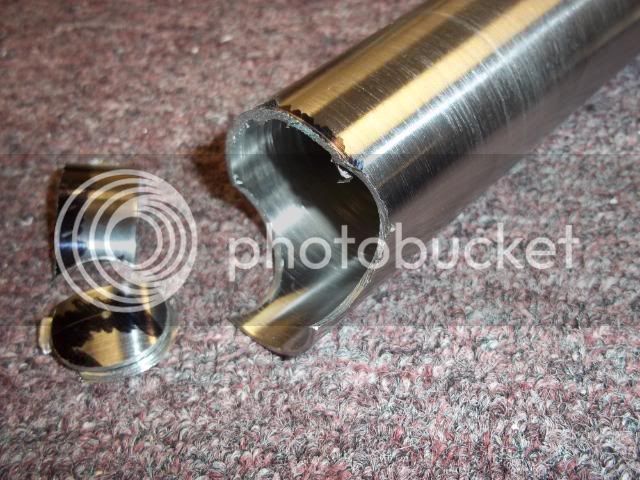
Note our pine “V” block in the vise.
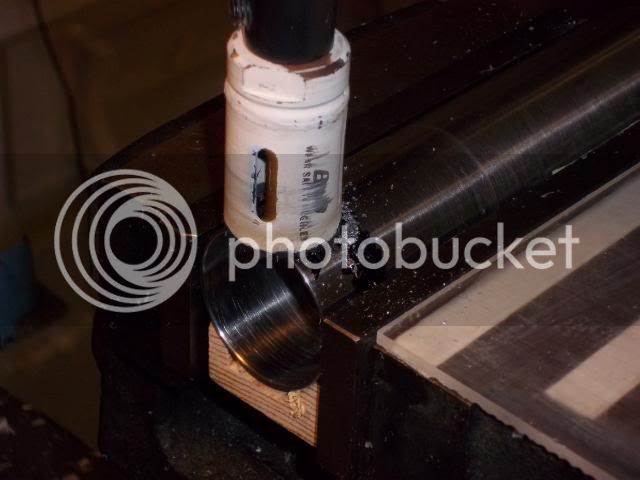
T-LFenderWork013.jpg


A hack saw took care of the rest of the cut.
T-LFenderWork014.jpg


The belt sander made quick work of smoothing the edges.
T-LFenderWork015.jpg


Drilled and tapped a couple of holes. Those 4-40 screws will clamp the taillight in place.
T-LFenderWork031.jpg


The angle grinder with a cut-off wheel was used to finish the trimming.
T-LFenderWork061.jpg


Next, we will find a new home for this unusual-looking bike part. :wink:

BTW, no actual fences were harmed in the making of this taillight mount. :p
 
This is very, very, very nice bike. Actually more piece of art than a bike. I can't wait to see the pictures when it's finished.
 

Latest posts

Back
Top