- Joined
- Mar 10, 2009
- Messages
- 1,465
- Reaction score
- 1
My dad (Fireproof) and I are building a new OCC chopper to replace my bike that was stolen after this year's Rat Bike Rodeo. Look here for some background info . . . viewtopic.php?f=1&t=31862
We had some frames and parts kicked down to us by RRB forum members Kuttnhack and davethecreep to get us started . . . THANKS GUYS!
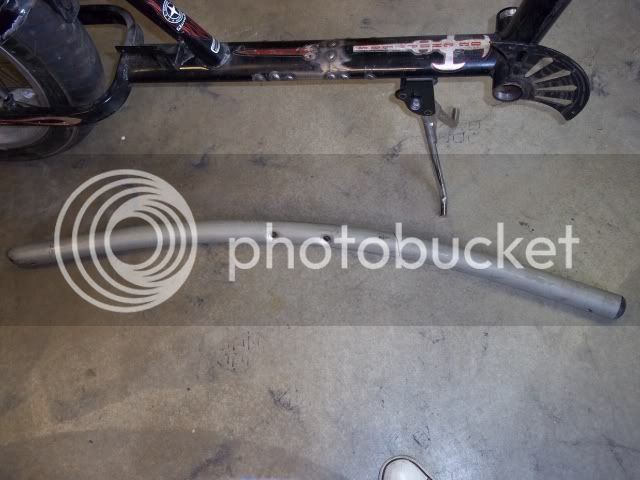
I decided that since I’m getting taller, I better make this bike a bigger one . . . and thus, my new, stretched OCC chopper was born. The first step was to take measurements from my dad’s Schwinn Spoiler and from a stock OCC bike and then compare them. I then decided that while the difference was about nine inches, I would stretch it two thirds of the way towards the Spoiler . . . six inches.
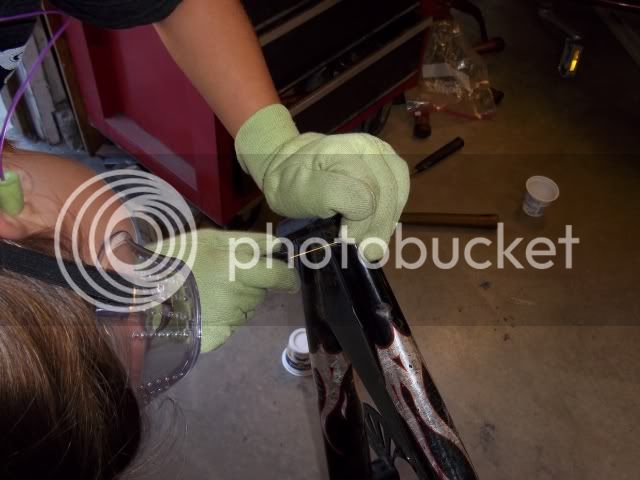
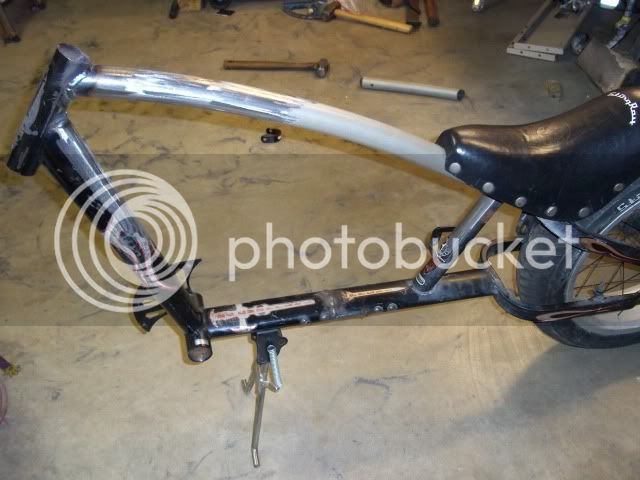
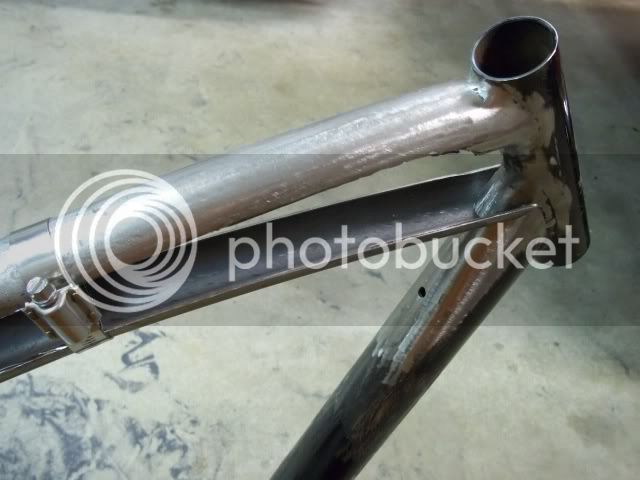
Here it is after its been stretched . . .
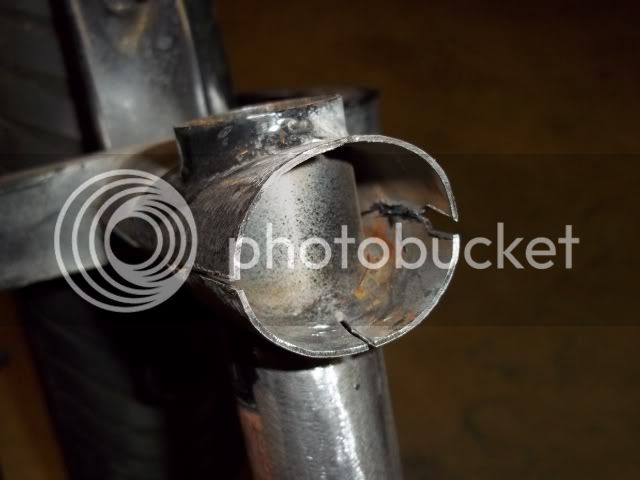
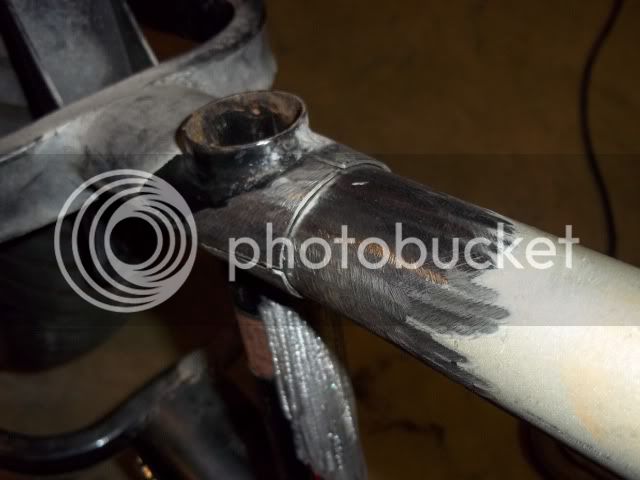
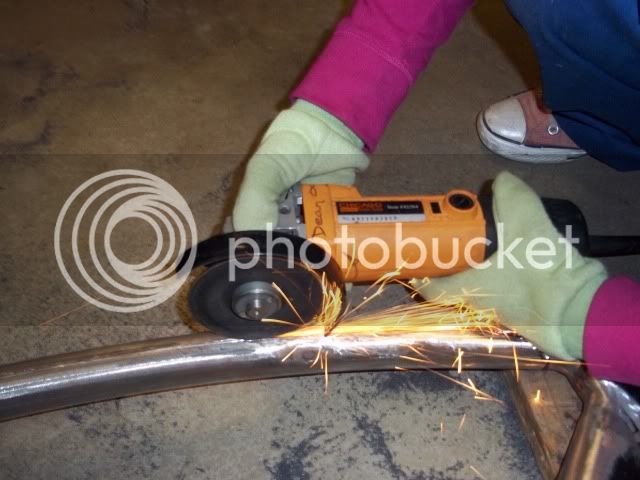
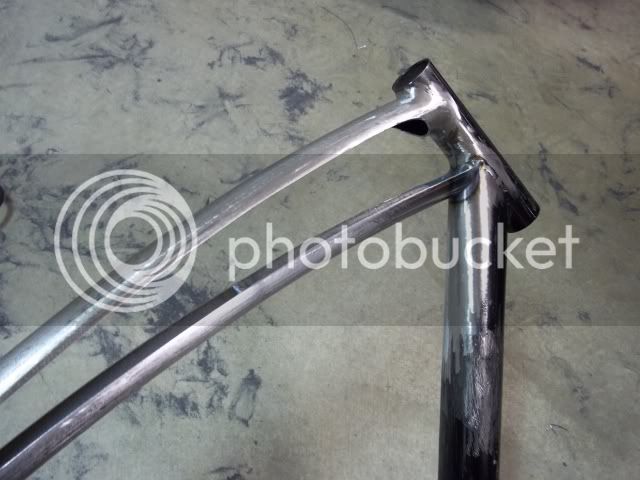
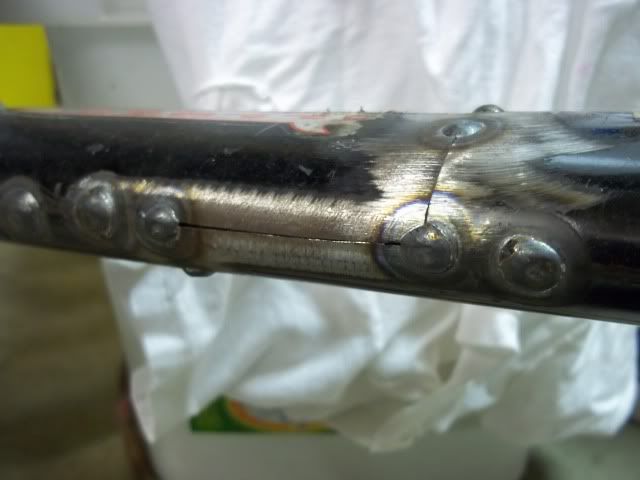
That's where the cut was made and tack welded . . .
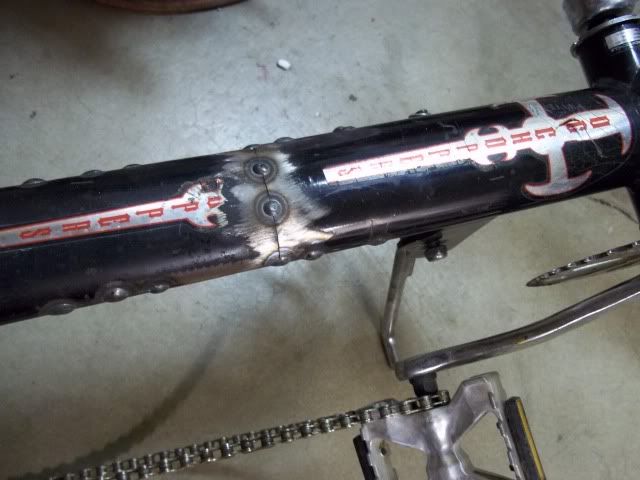
Here's a close-up. Those spots on either side of the seam are plug welds where we inserted tubing to reinforce the joint.
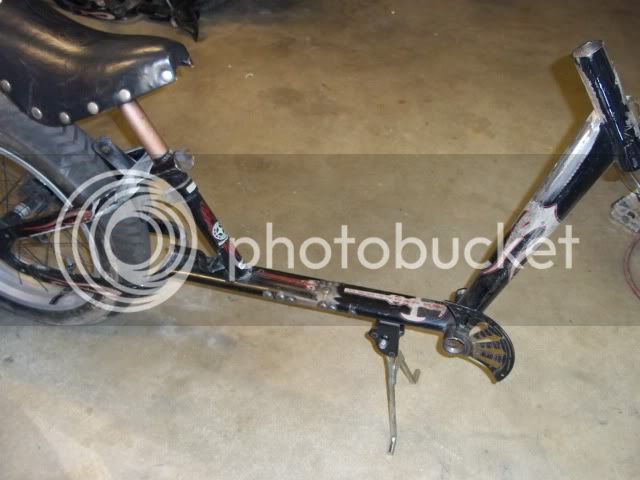
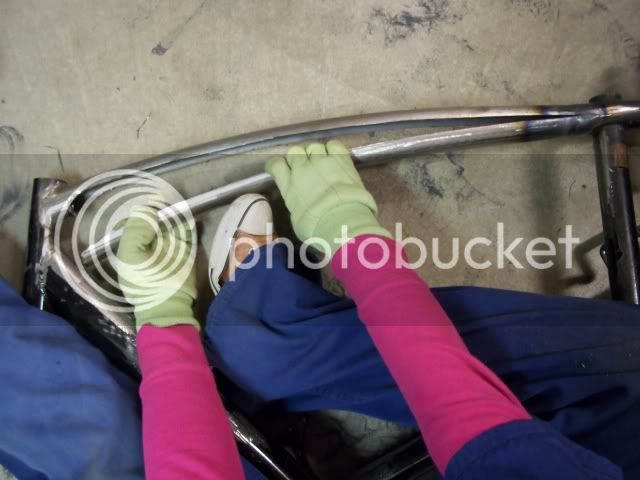
Note in the first photo how the top tubes don't line up, but that won't be a problem much longer . . . we plan to fix that! We tacked that short piece of square tubing in betwen the top tubes so that I could take it for a test ride to see if I liked how much I stretched it. But before this could take place, I learned how to use a chain breaker tool to extend the chain to fit the bike's new length.
We had some frames and parts kicked down to us by RRB forum members Kuttnhack and davethecreep to get us started . . . THANKS GUYS!
I decided that since I’m getting taller, I better make this bike a bigger one . . . and thus, my new, stretched OCC chopper was born. The first step was to take measurements from my dad’s Schwinn Spoiler and from a stock OCC bike and then compare them. I then decided that while the difference was about nine inches, I would stretch it two thirds of the way towards the Spoiler . . . six inches.
Here it is after its been stretched . . .
That's where the cut was made and tack welded . . .
Here's a close-up. Those spots on either side of the seam are plug welds where we inserted tubing to reinforce the joint.
Note in the first photo how the top tubes don't line up, but that won't be a problem much longer . . . we plan to fix that! We tacked that short piece of square tubing in betwen the top tubes so that I could take it for a test ride to see if I liked how much I stretched it. But before this could take place, I learned how to use a chain breaker tool to extend the chain to fit the bike's new length.
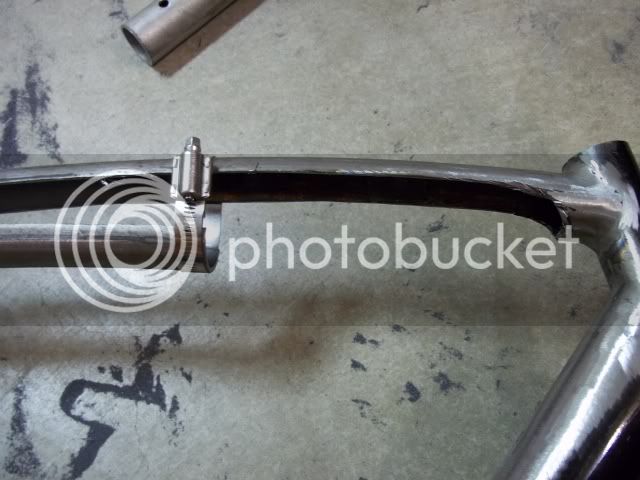
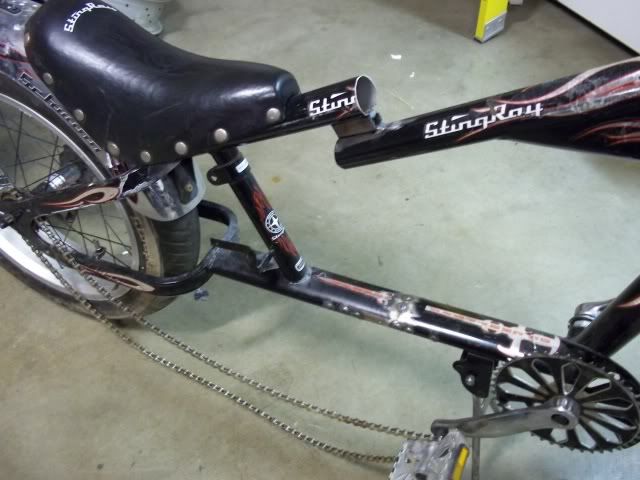
 After measuring the bike, we realized that we actually only stretched it about 5 3/4" as opposed to 6. But, we are going to have the opportunity to move the seat back an inch or so . . . and the longer frame will permit the seat to be slammed down to the frame which will add to the looks . . . but first, to take care of that scary lookin' top bar!