SPACELINER CONVERTIBLE (A Non-Invasive Sex Reassignment)

Rat Rod Bikes Bicycle Forum

Help Support Rat Rod Bikes Bicycle Forum:

This site may earn a commission from merchant affiliate links, including eBay, Amazon, and others.
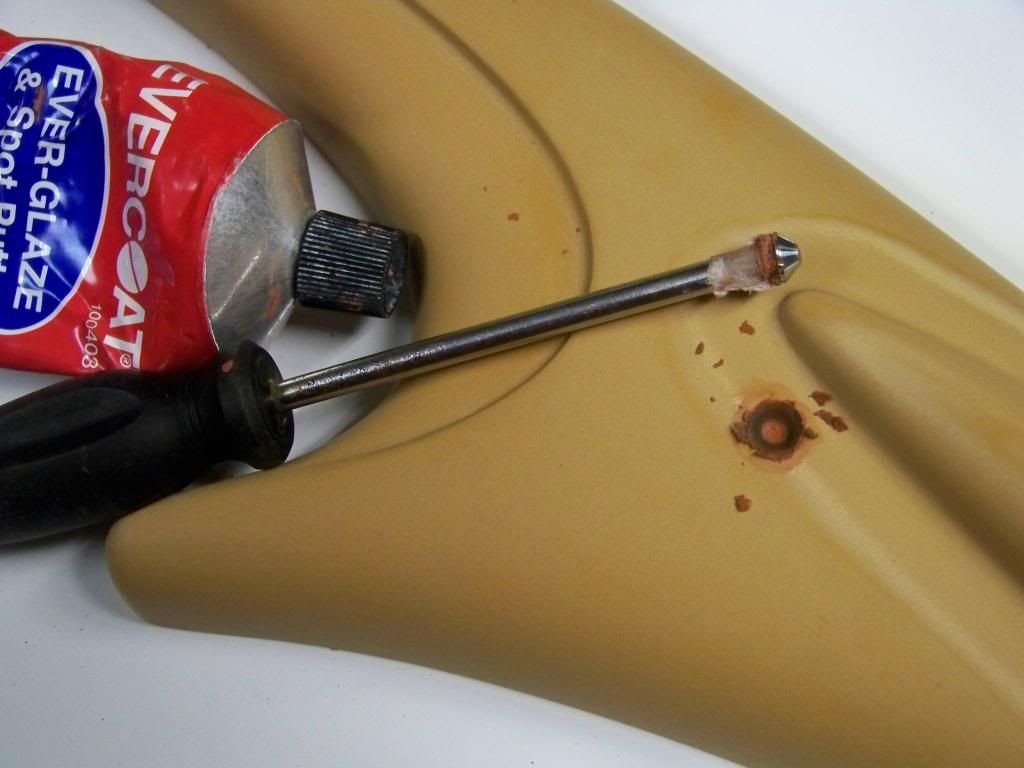
Hopefully the slight undercut is fixed.:banghead:
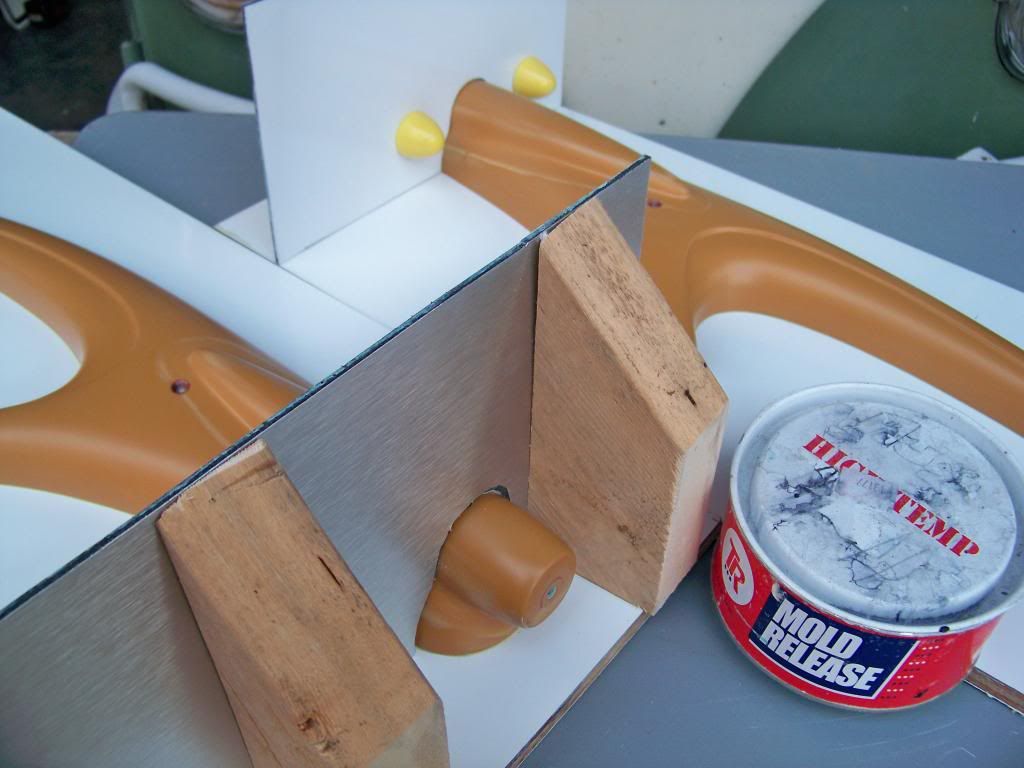
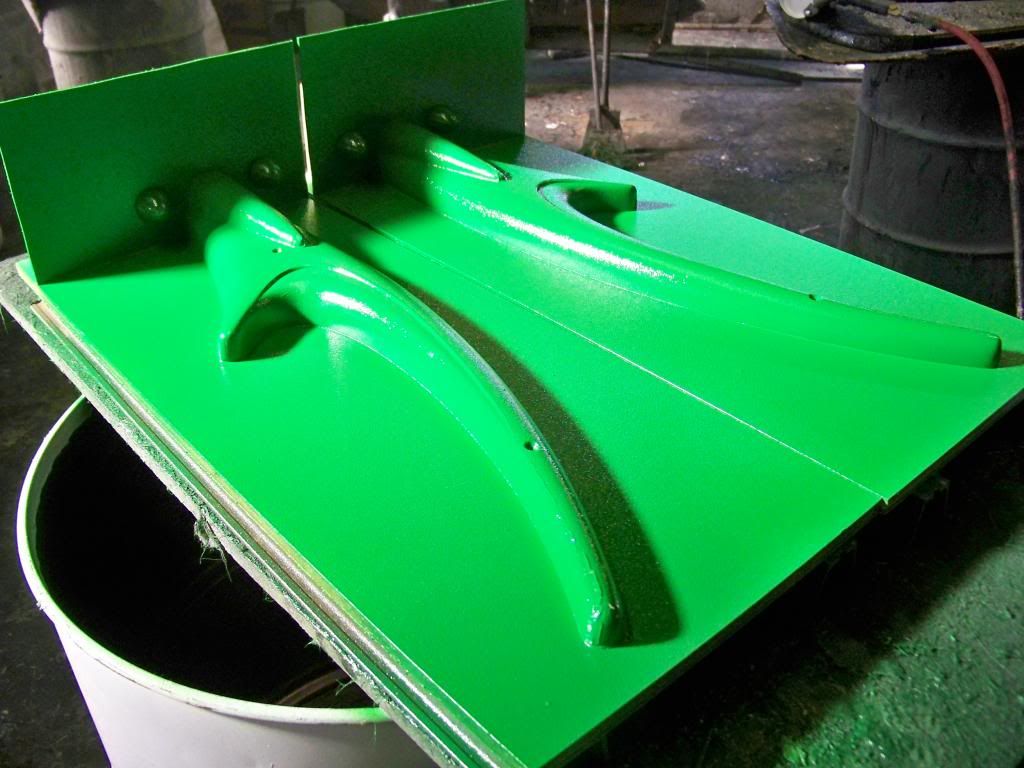
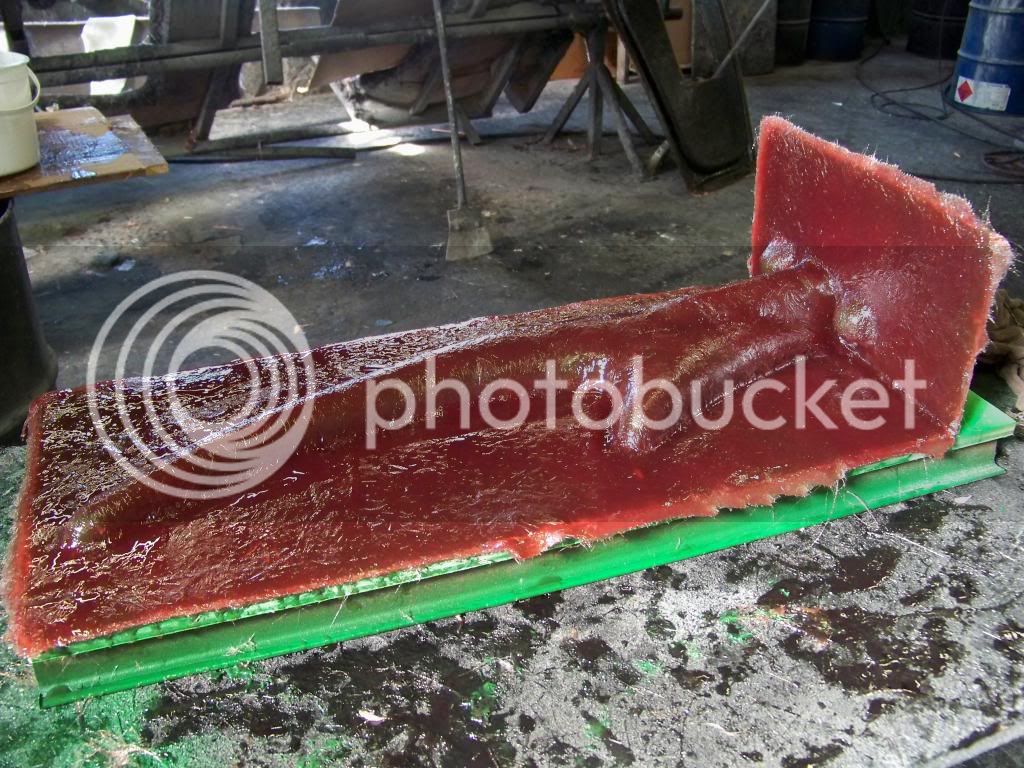
I finished wet sanding the glazing putty this weekend and took everything back to Johnson's for a final coat of primer. Maybe I'm finally back on track to get started on the molds this week!

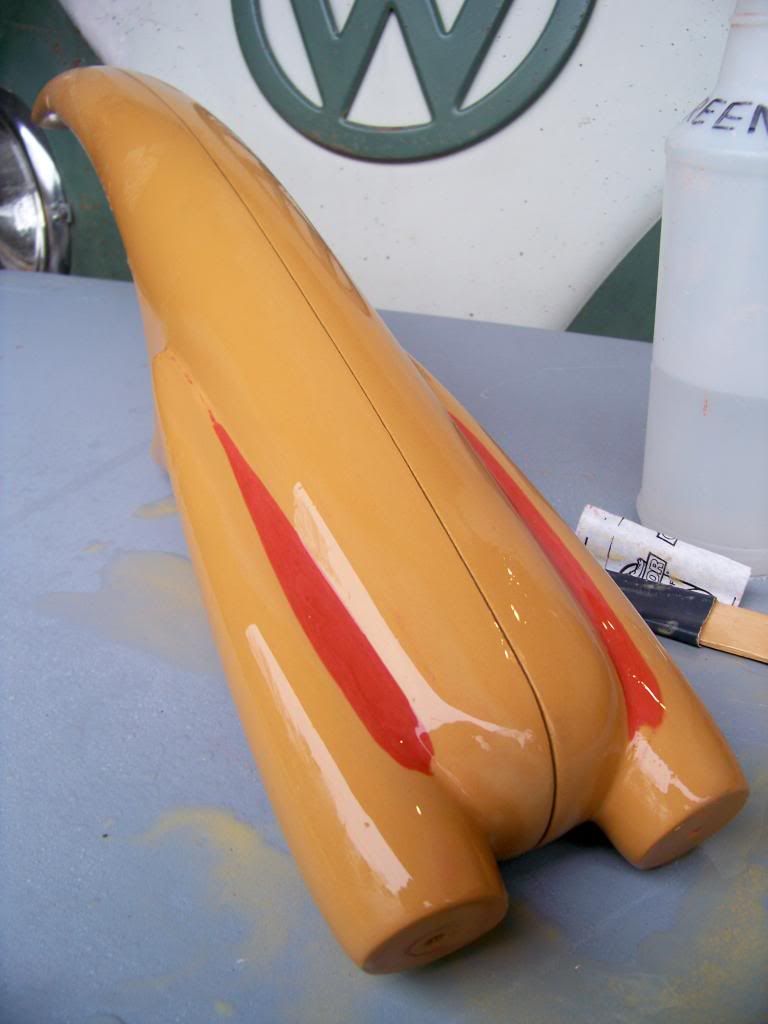
Here's a picture taken while wet sanding...
100_6557_zps80e5105a.jpg
 
Bootiful! Good luck!
 
Due to work and other things, I've hardly been able to make any progress on the tank over the last couple of weeks. This weekend I'm hoping to finally finish everything to the point of being ready to actually start making the molds.:happy:

The countersunk holes needed some work before I can start waxing, so I cut the head off of a screw and taped it to a screw driver for burnishing some glazing putty to the exact profile. This solution worked out very well. I'll let this completely cure overnight and clean up the edges tomorrow before starting the waxing.

100_6574_zps6486b418.jpg
 
Got the temporary dams in place and nine coats of mold release wax applied.

Should finally get the gel coat and first layer of glass on them tomorrow!!!:banana:
100_6578_zps01a809b3.jpg


The yellow plastic Easter eggs on the dam will serve as locating keys for realignment of the mold halves.
 
I must say this is way more involved than I ever imagined.

Same here. That's why I'm not finished yet! I tend to under estimate everything.

The waxing alone took over eight hours! Each coat took around 1 hour (including drying and curing).:43:
 
This might wind up in the "How To" section. This is a really great example of how to do it the RIGHT way! :cool2:
When I get it finished, I could do that in the How To section (so that it's not so strung out) if other people are interested too.
 
There's no turning back now! The gel coat is on!

This is a bit nerve-racking hoping that everything is right at this point. If it's not, it's too late.

100_6597_zps5603690b.jpg
 
Last edited:
He's doing a two-piece mold (per side) Notice how the light pod has an overhang? He has to make a separate mold section to pull off the front to accommodate that.
 
He's doing a two-piece mold (per side) Notice how the light pod has an overhang? He has to make a separate mold section to pull off the front to accommodate that.
That is what I figured, but mostly asked for those that may not understand the need for that.
 
Yes, the mold has to be made in two sections otherwise it would be impossible to remove the part from the mold where it extends under the nose section. This will become more obvious as things progress.

Here's a progress picture from day 2 of the mold fabrication...

100_6598_zpsafa868d4.jpg
 
Last edited:
Yes, the mold has to be made in two sections otherwise it would be impossible to remove the part from the mold where it extends under the nose section. This will become more obvious as things progress.

Here's a progress picture from day 2 of the mold fabrication...

100_6598_zpsafa868d4.jpg
Will you add bracing at the separation point so the 90 degree joint area doesn't break off?
 
Will you add bracing at the separation point so the 90 degree joint area doesn't break off?
It probably won't need it when it's finished, but if it seems weak then yes. I made the dam much taller than necessary (better too much than too little) so that it can be trimmed down later after both sides are done. There will however be something added to the other end so that when it's flipped over it will stand level on its own.
 

Latest posts

Back
Top