- Joined
- Jul 15, 2016
- Messages
- 72
- Reaction score
- 77
Hey u can get a PZ19 carb with filter for 20 bucks off Amazon. I've them on two Briggs and a Honda gx100. They work great!
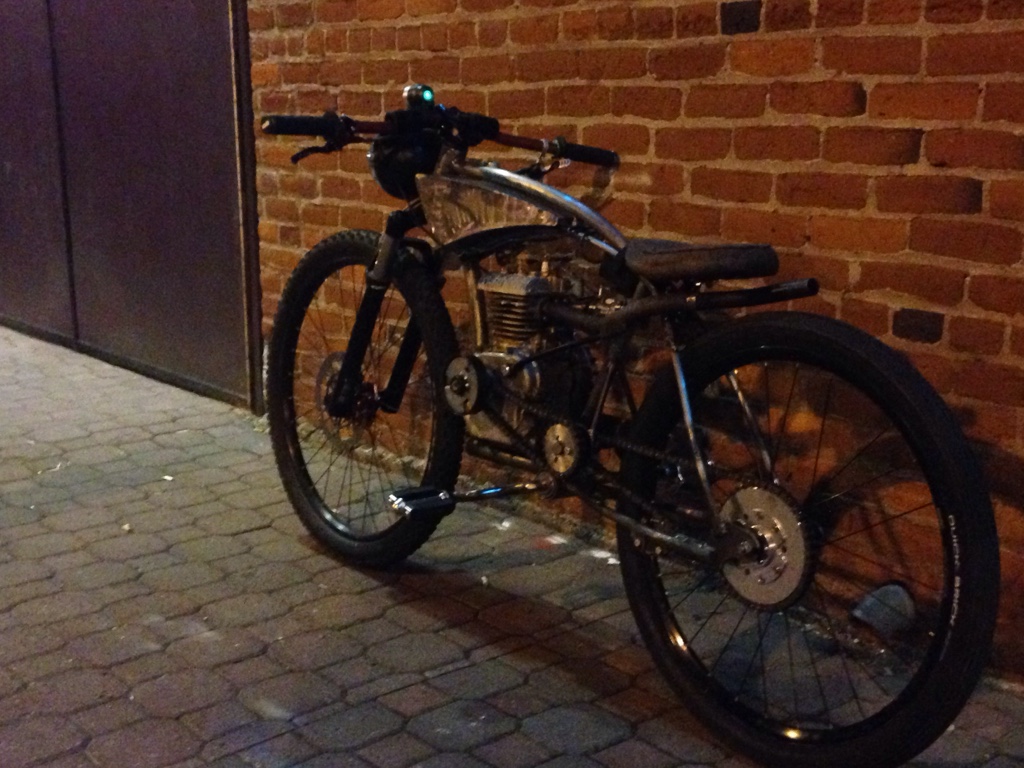
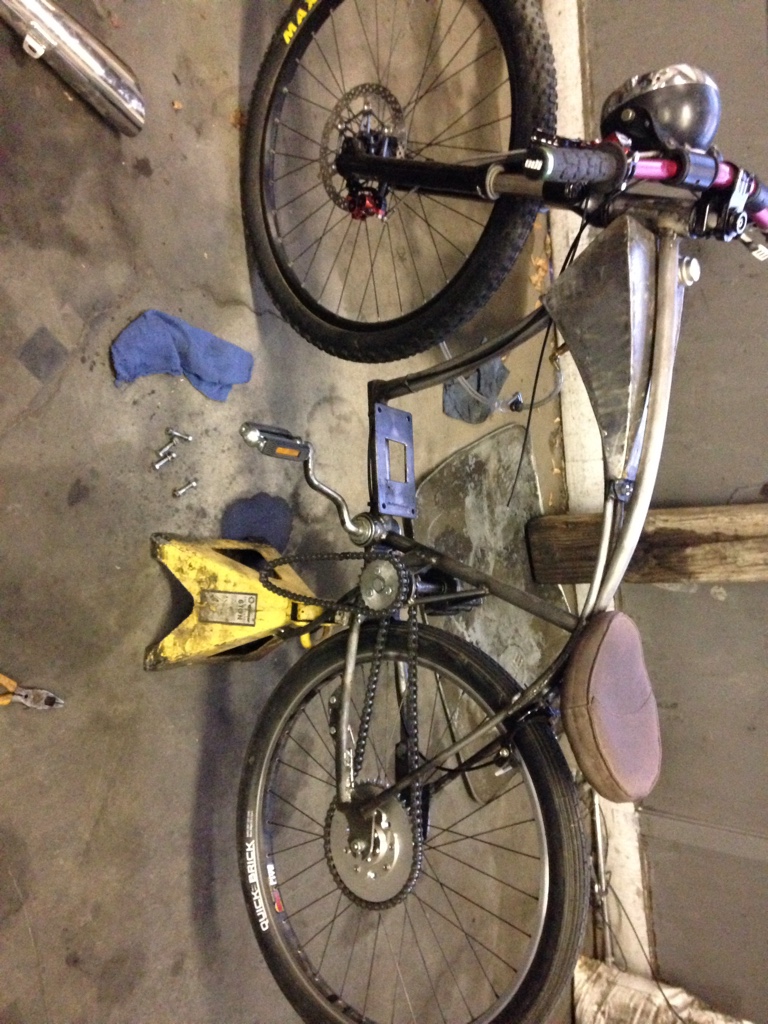
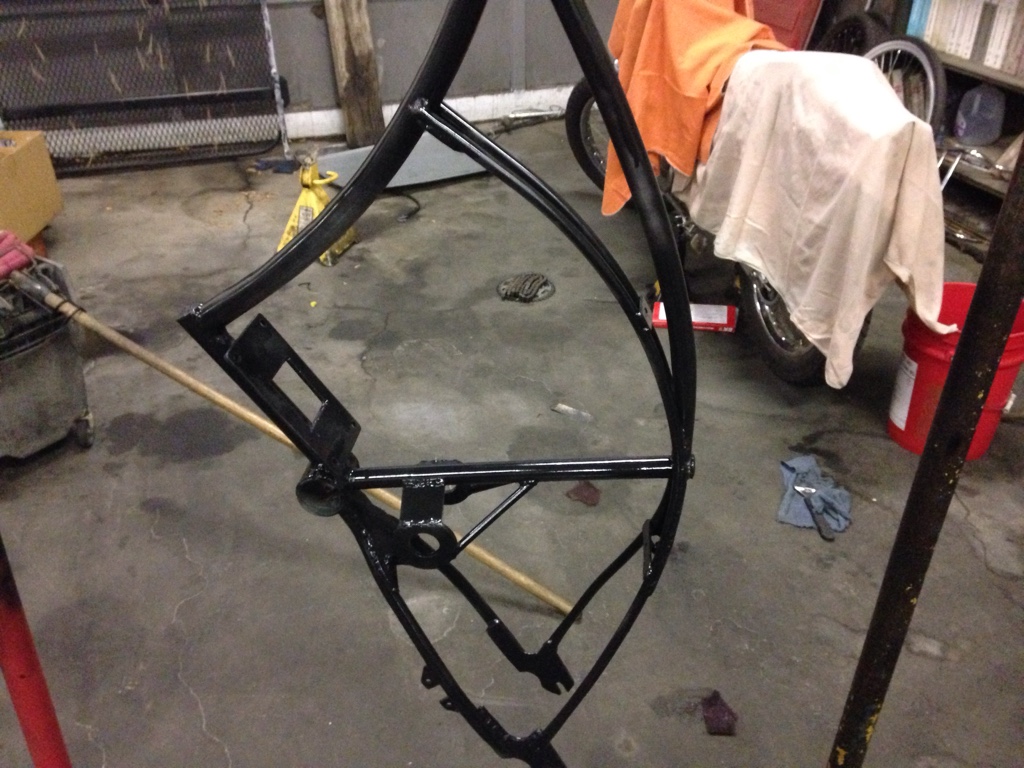
I don't have that carb model. Plus, if I didn't build it, it would not be my style