We took Stacy's Savage over to her moms and I could tell she mighta been a little jealous... Haha! She even took it for a spin and seemed to enjoy it. On the drive home it was decided that I'd build up another old ladies bike for her mom. The more I got to thinking about it, the more I liked the idea of finding another Savage (or identical HP Snyder frame) so they'd have almost the same bike. So the search was on!!
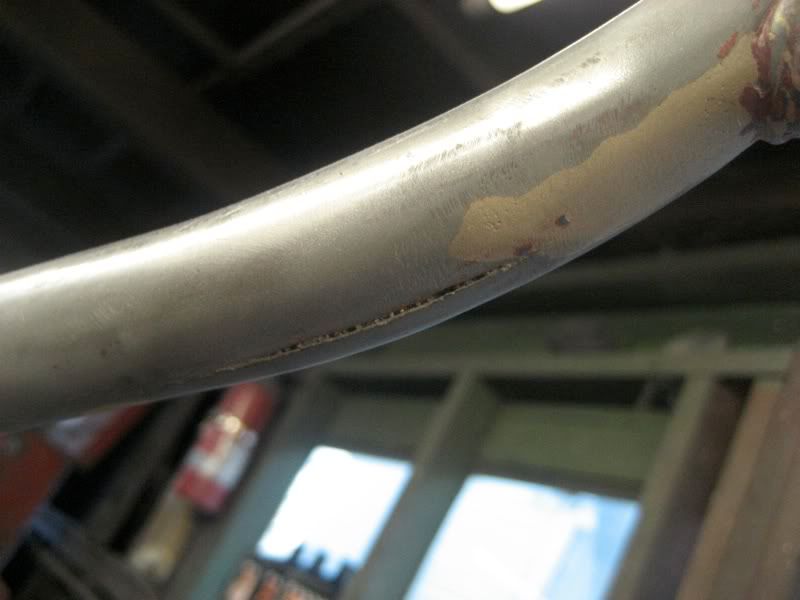
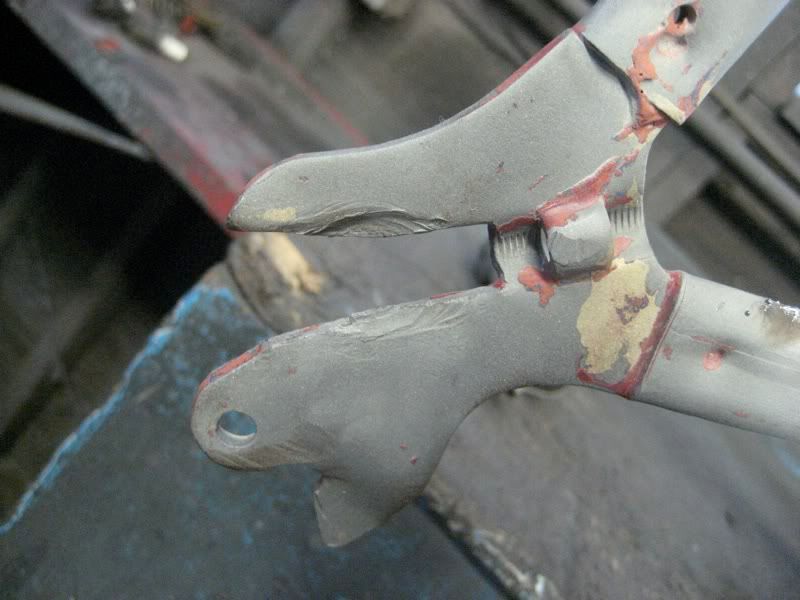
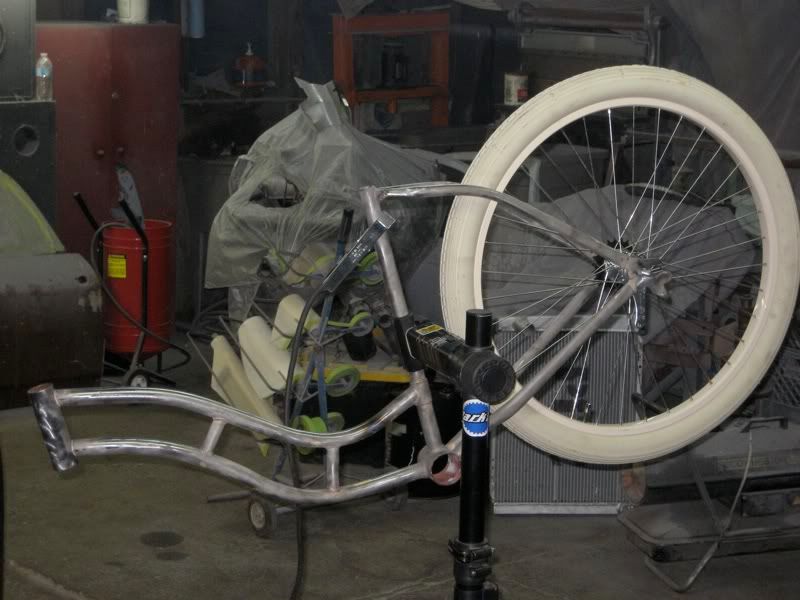
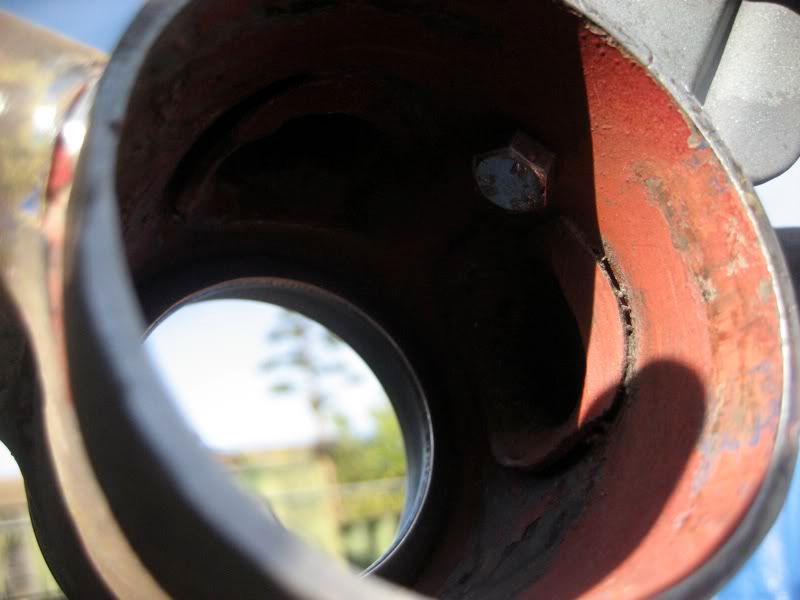
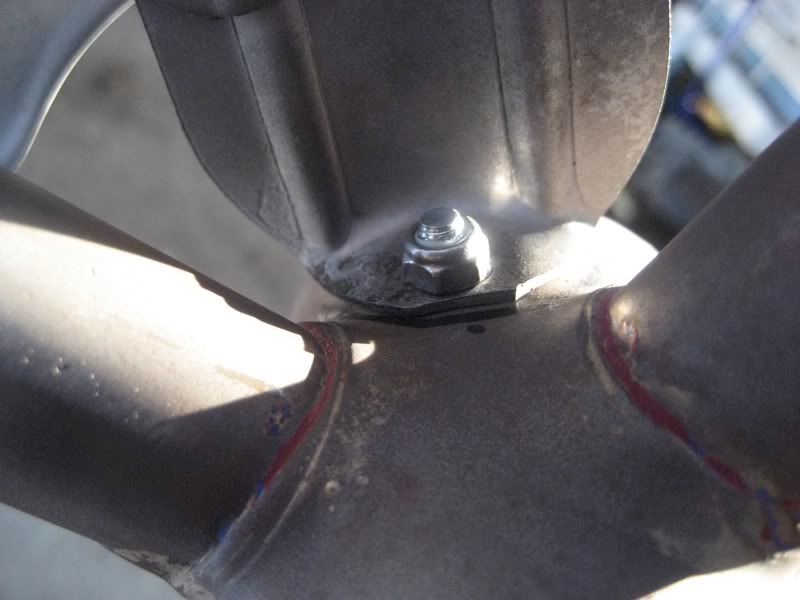
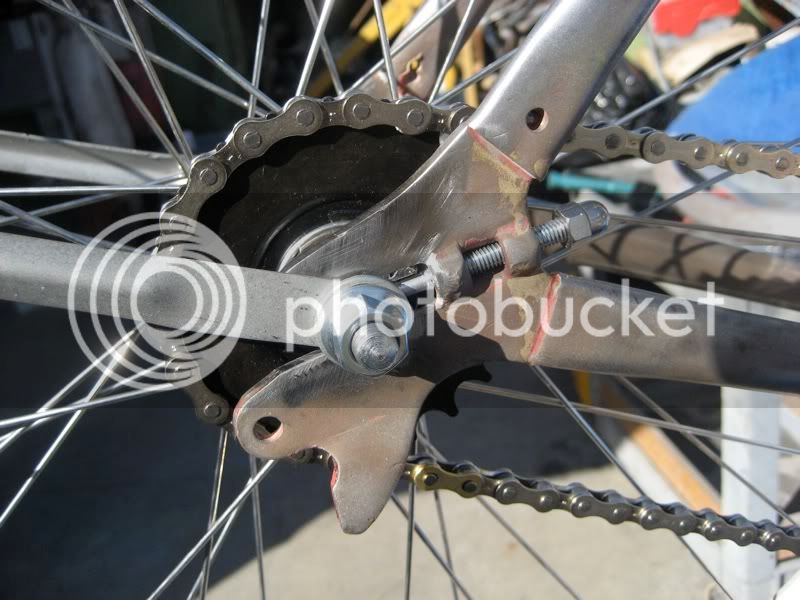
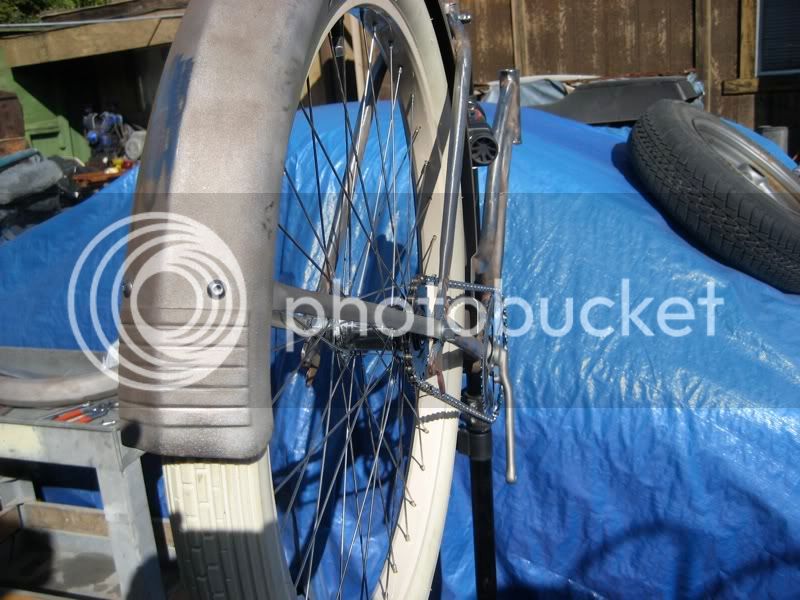
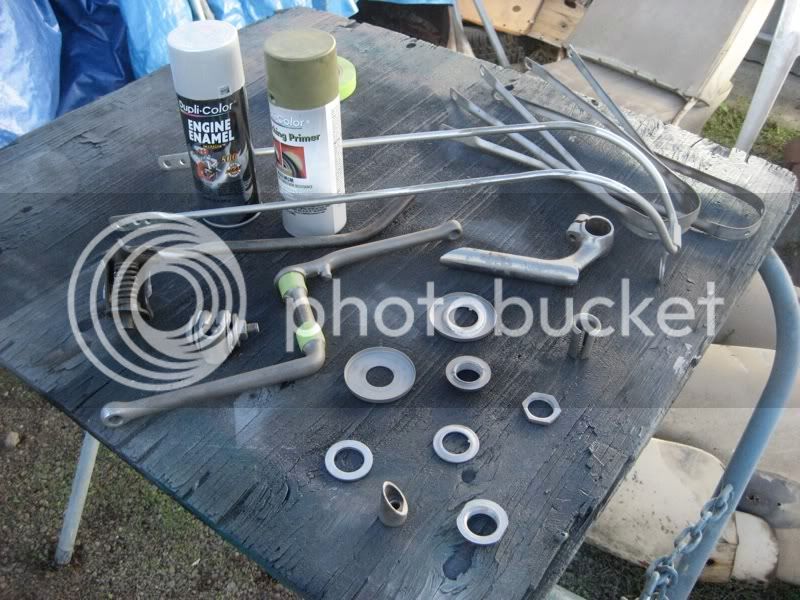
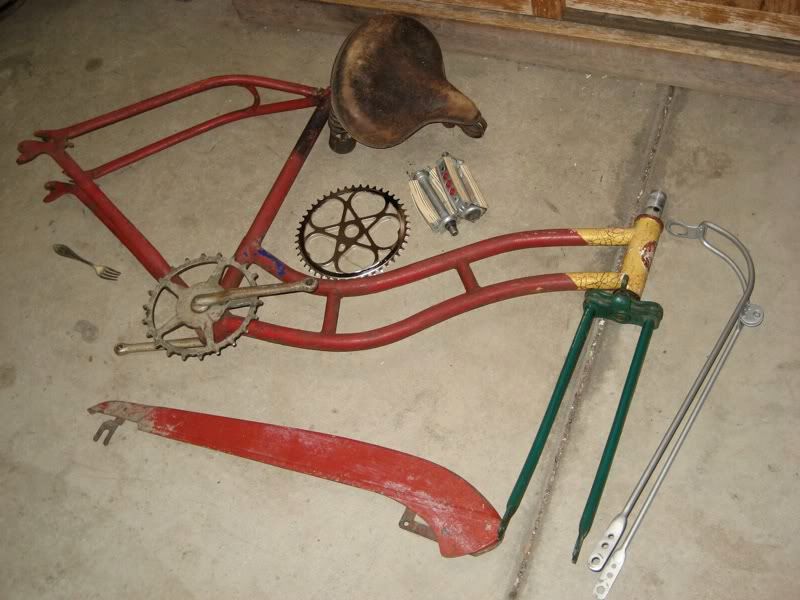
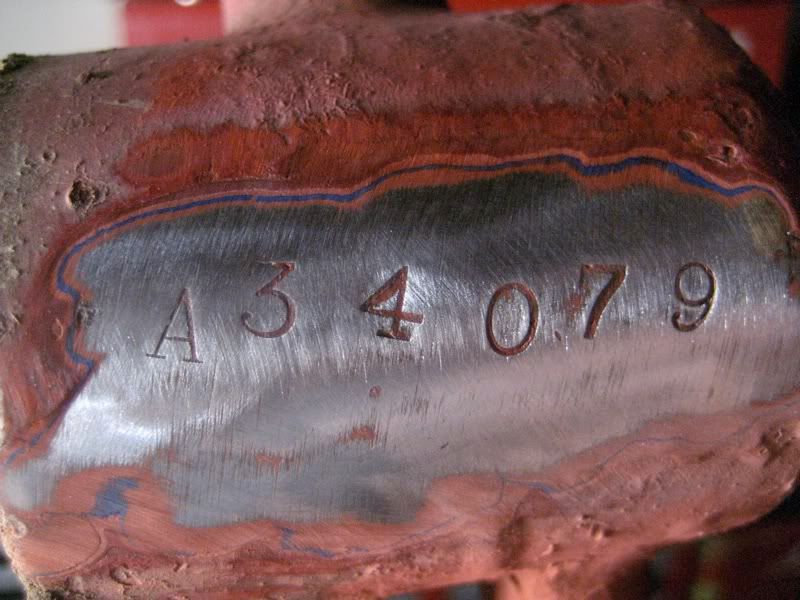
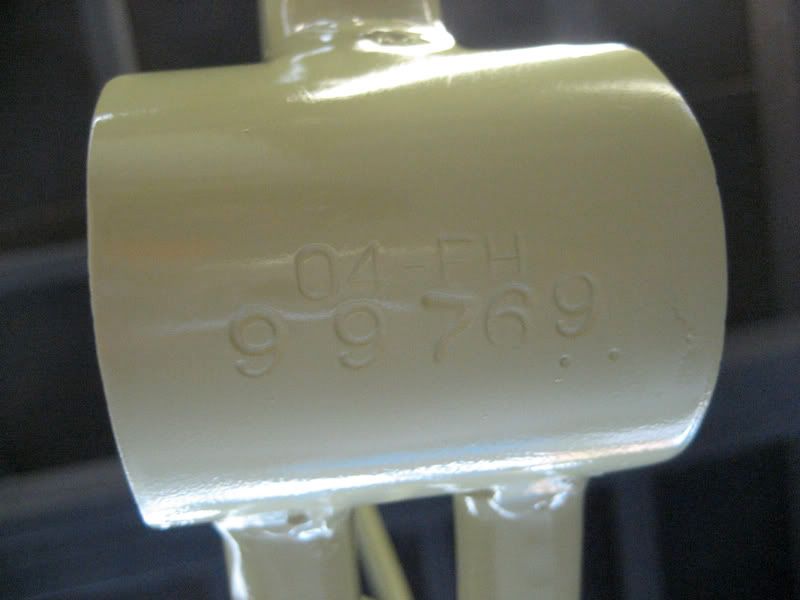
I found a frame on eBay, however it wasnt listed as a Savage. It didn't have the cool Savage head badge, but everything about the frame was identical to Stacy's Savage. Even the mark from where the head badge had been was the same diameter. When I first got Stacy's Savage, it was about 75% complete bike and all the little parts were there. This frame did come with a complete skip-tooth sprocket/dog-leg crank and bottom bracket, so I'm thankful for that. But NOTHIG else... Once again, the search is on. I've been collecting parts now for a few weeks and I'm getting there:
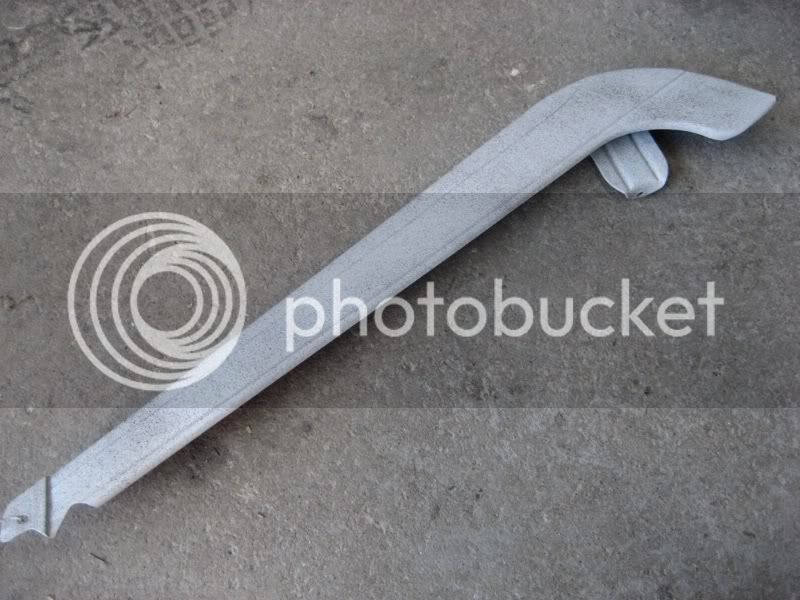
- Unknown model chainguard
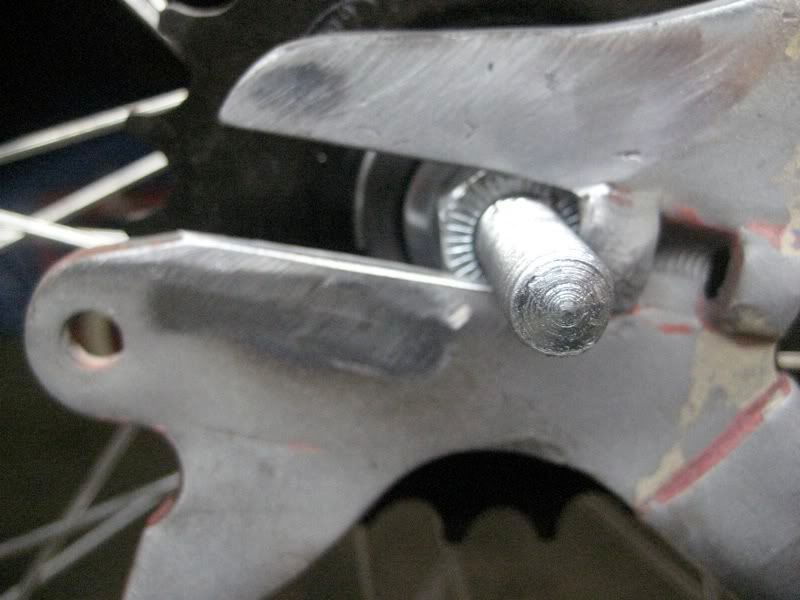
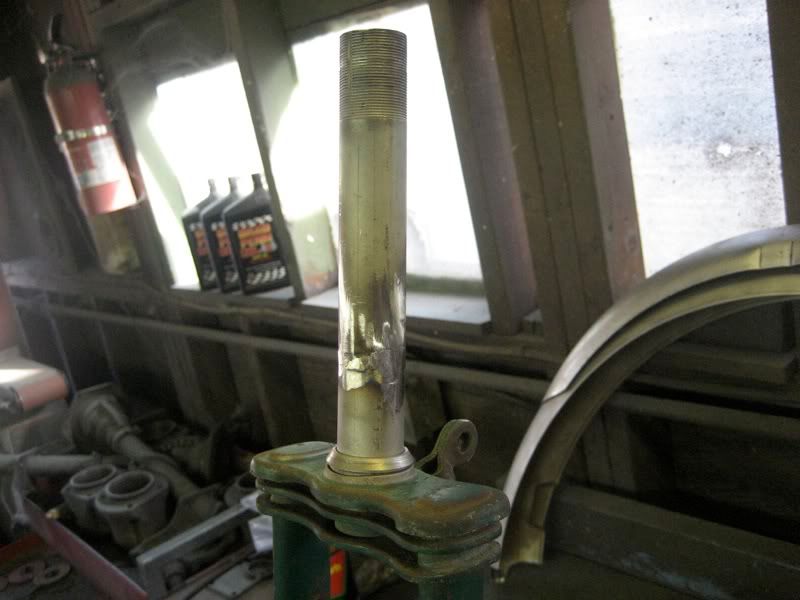
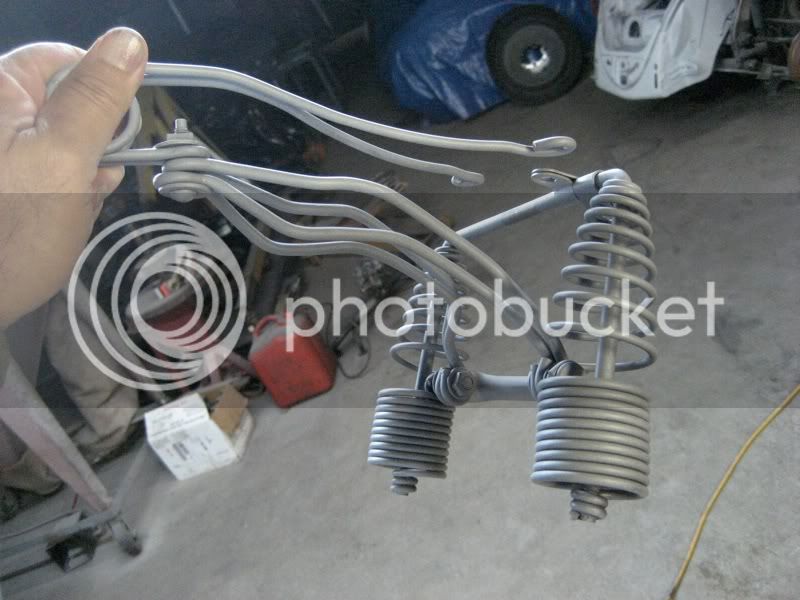
- Early Hawthorne forks (with the long steer tube... so it'll have to be shortened)
- Sweetheart sprocket
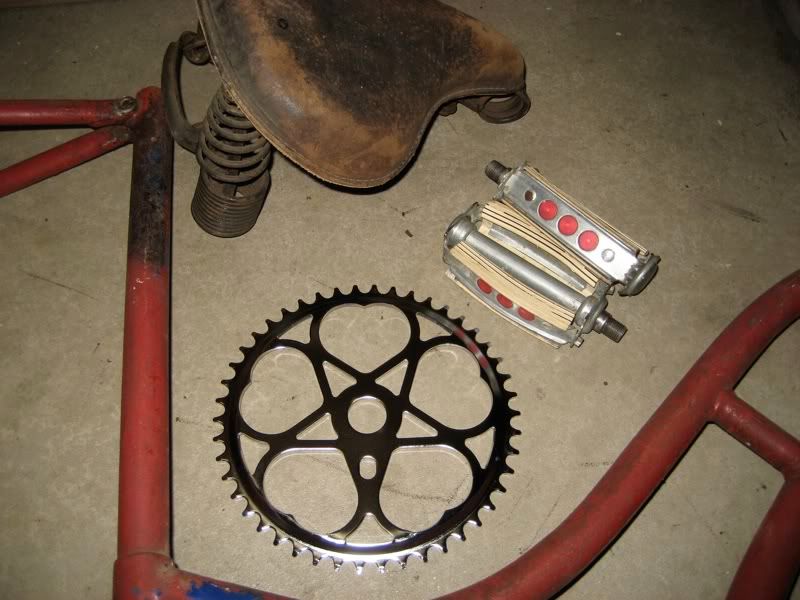
- 1930's Troxel
- Some cool bow pedals off an older build
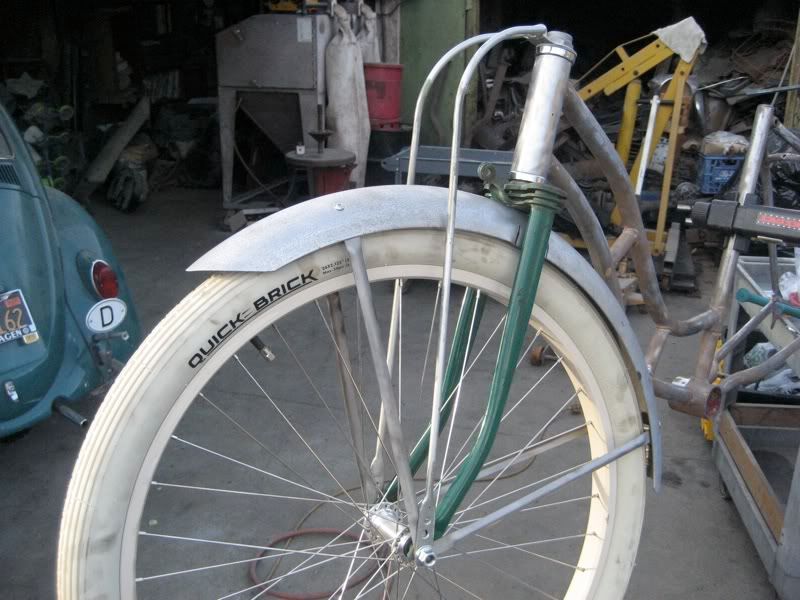
- Fenders off a 53 Roadmaster (thanks to Npence)
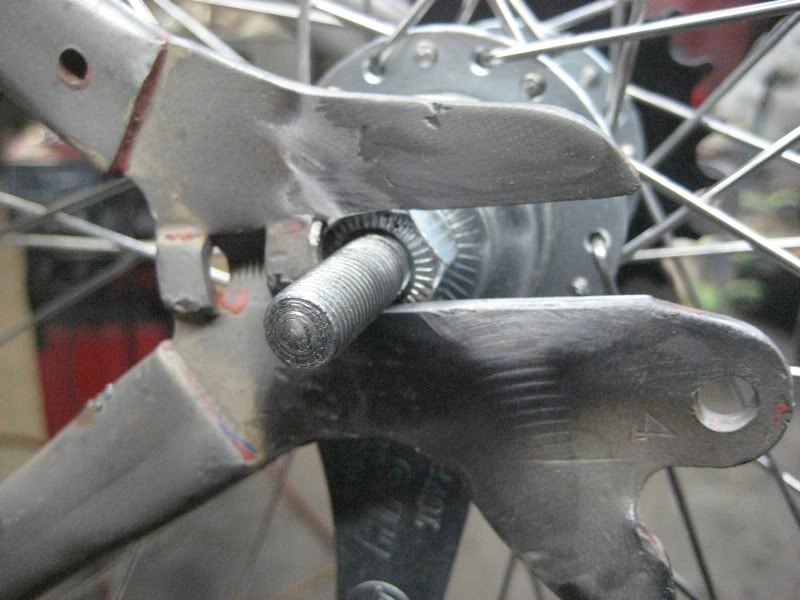
- New Nirve aluminum creme painted aluminum rims already built. I learned my lesson on Stacy's Savage... Building a set of wheels is too pricey for me :shock:
- Creme Quick Bricks
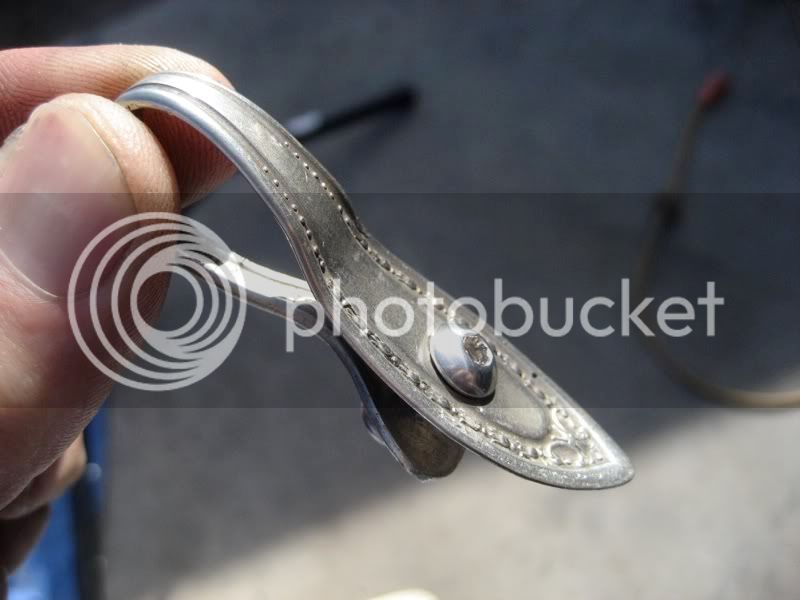
- Hmmm, what's the old dinner fork for??
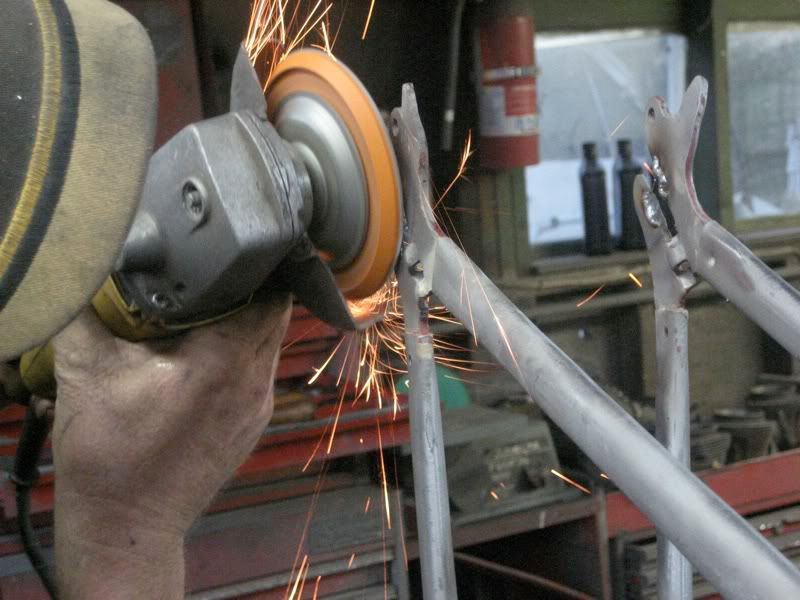
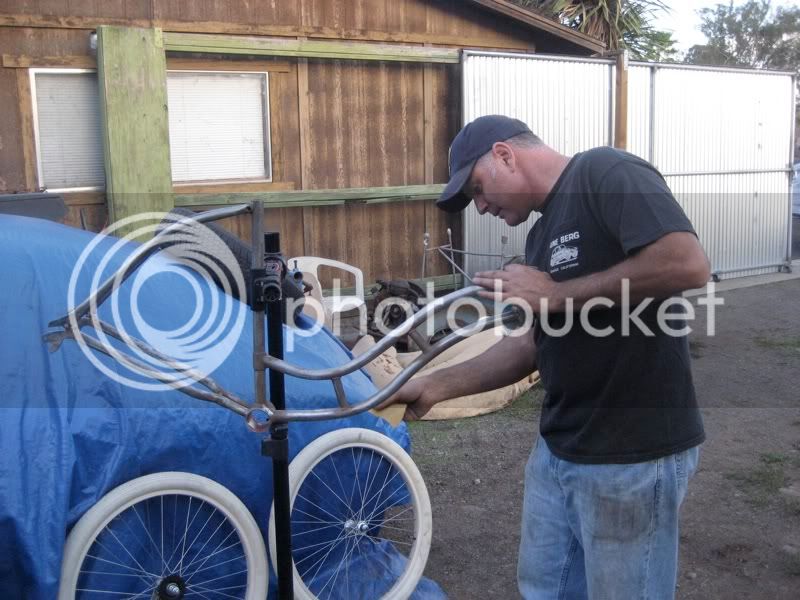
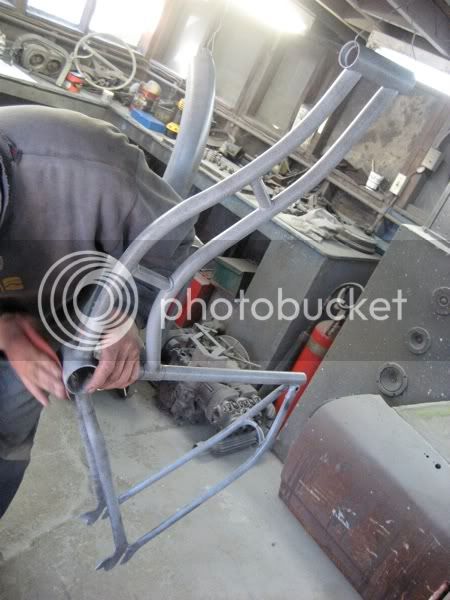
The bike will be painted "Guards Red" (Porsche color). Its a gorgeous bright red. With the creme wheels and some creme accents, it'll be real nice. Now I need to get to stripping, sand blasting and mocking it up. The chain guard and fenders will need some love to fit nicely to this frame.
I found a frame on eBay, however it wasnt listed as a Savage. It didn't have the cool Savage head badge, but everything about the frame was identical to Stacy's Savage. Even the mark from where the head badge had been was the same diameter. When I first got Stacy's Savage, it was about 75% complete bike and all the little parts were there. This frame did come with a complete skip-tooth sprocket/dog-leg crank and bottom bracket, so I'm thankful for that. But NOTHIG else... Once again, the search is on. I've been collecting parts now for a few weeks and I'm getting there:
- Unknown model chainguard
- Early Hawthorne forks (with the long steer tube... so it'll have to be shortened)
- Sweetheart sprocket
- 1930's Troxel
- Some cool bow pedals off an older build
- Fenders off a 53 Roadmaster (thanks to Npence)
- New Nirve aluminum creme painted aluminum rims already built. I learned my lesson on Stacy's Savage... Building a set of wheels is too pricey for me :shock:
- Creme Quick Bricks
- Hmmm, what's the old dinner fork for??
The bike will be painted "Guards Red" (Porsche color). Its a gorgeous bright red. With the creme wheels and some creme accents, it'll be real nice. Now I need to get to stripping, sand blasting and mocking it up. The chain guard and fenders will need some love to fit nicely to this frame.
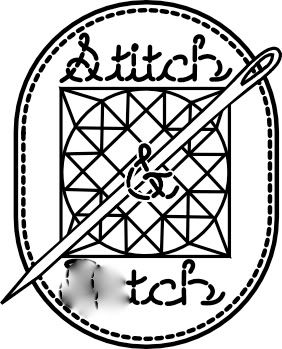
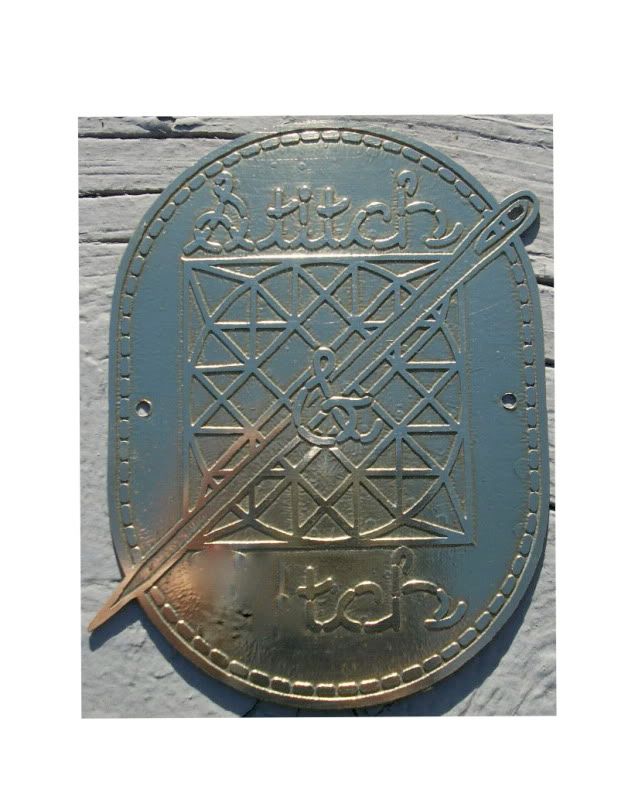
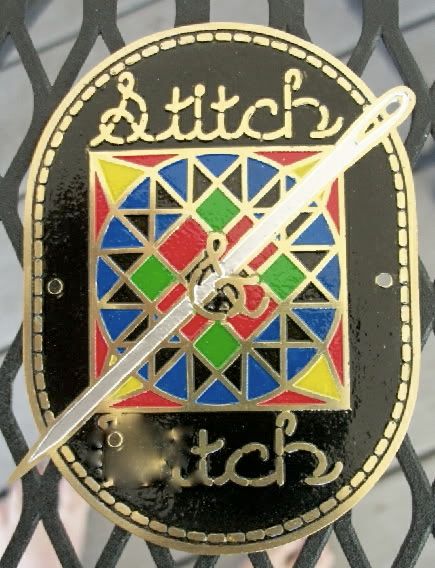
 ). So anyway, I couldn't be more impressed with the badge we came up with. Here it is: