RRBBO - Montgomery Ward's "Iron Ghost"

Rat Rod Bikes Bicycle Forum

Help Support Rat Rod Bikes Bicycle Forum:

This site may earn a commission from merchant affiliate links, including eBay, Amazon, and others.
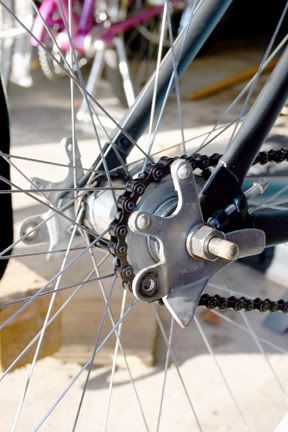
I got a lot done today and monday. I had the chain sitting in a jug of this stuff called Marvel Mystery Oil, and it really brought it back to life. After scrubbing on the chain, I re-greased all the bearings on the bike.

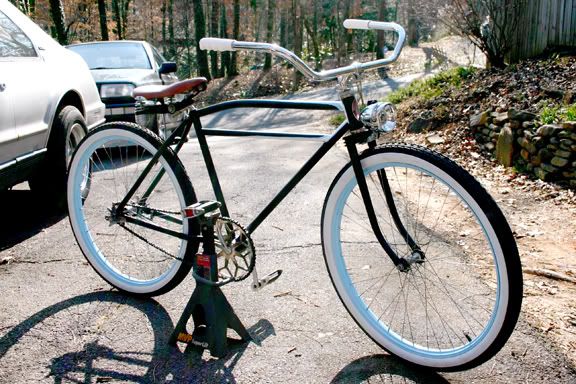
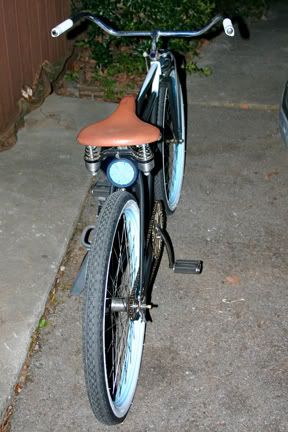
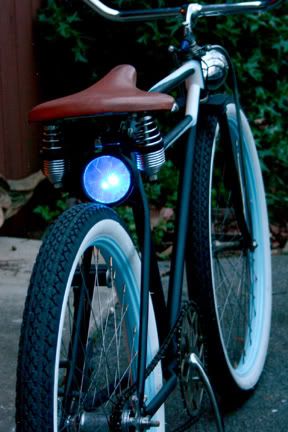
Finally got everything painted. I still need to do some touch up paint and some pin striping.
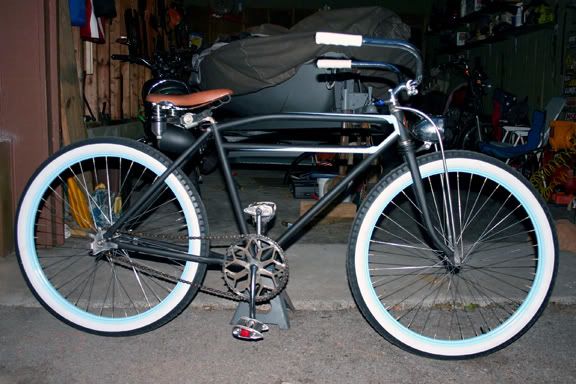
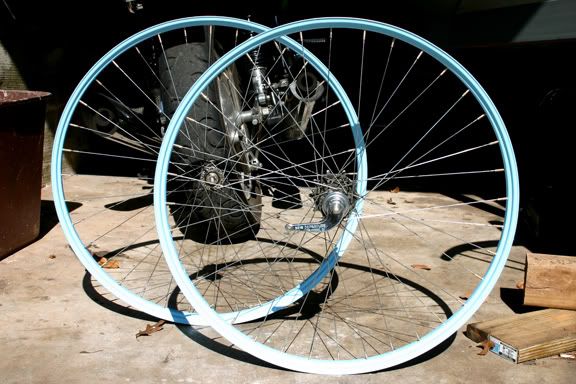
Le rims
rim6.jpg

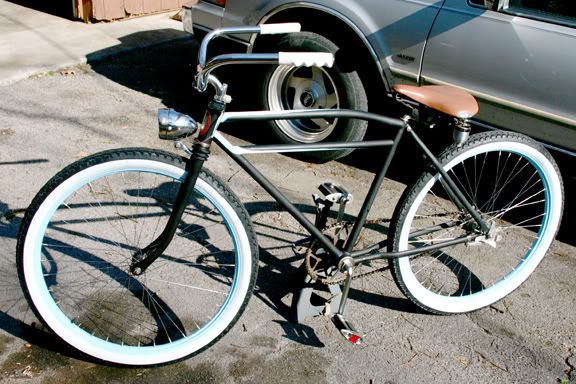
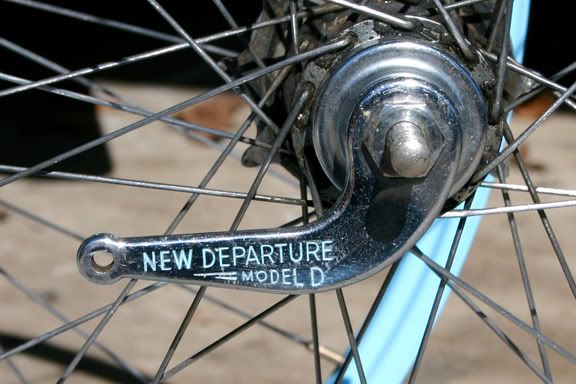
I took some of that blue paint and painted the coaster brake arm, then wiped away the surface before it started to dry.
rim5.jpg

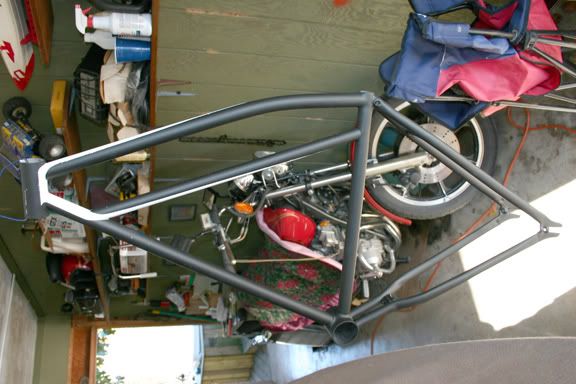
heres the frame. I'm going to stripe the white areas with the blue.
frame1.jpg


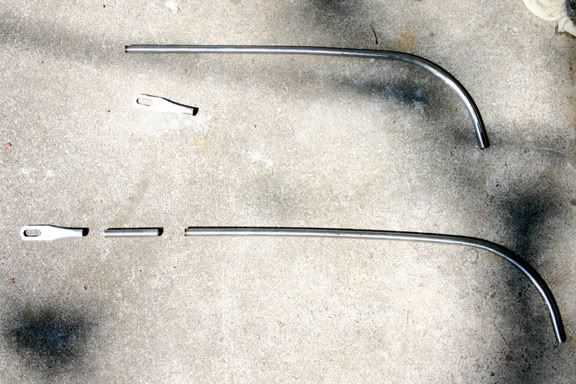
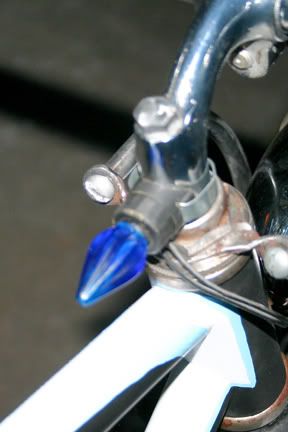
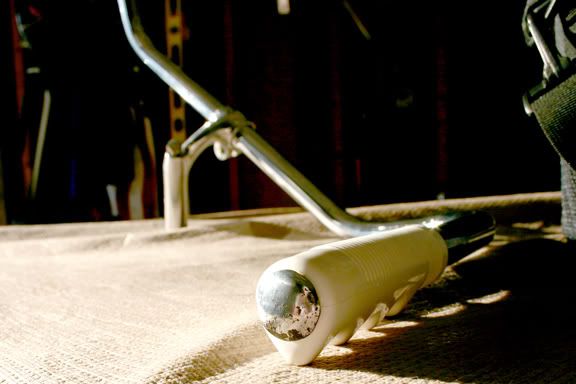
I found some cool chrome handlebar plugs from the bars that I chopped up. Found a way to use them.
handle5.jpg
 
thanks for all the comments guys... and I can't wait either! I can't even remember the last time I saw this thing put together. I have been working on this bike for quite a while. This was my first bike that I totally disassembled (i didn't take apart the internal parts in the brake hub), so its been a learning experience, definitely on such an old bike.

But, I should have this beast back together soon, so I can show some more interesting pictures.
 
So i finally got enough done on the bike to be able to put everything together. I am really excited about this bike now, it looks so much better than what I was expecting. I still have some things to do, so more coming soon.

I have a before picture on a different camera, but here is what I am doing with the truss rods. These came from DD, and they were way too long for my bike. After I sanded off the old paint and rust, I cut out some sections so it will be short enough for my fork. I have them set up with some more JB Weld to connect the sections.
rods1.jpg


I lined the white paint on the frame with blue. Which didn't work out as well as I hoped, but it will do. I'm pretty sure I am going to go sans fenders too.
But here it is, should have the tail light and truss rods done this week.
mockup2.jpg

mockup3.jpg

This thing rides like a dream now! It rolls very smoothly now with everything re greased and cleaned. The coolest thing is that you can faintly hear the skiptooth chain tapping on that big crank sprocket and everything else is dead silent.

thanks for all the inspiration guys.... this bike has definitely been influenced by ratrodbikes.com
 
R.B.R.

that is very Sharp!
I love the Blue/Black Combo / The Chainring / The Rims...
....very nice...and The Scallops look great on the Top Tubes!

It sure feels good to ride it doesn't it?

and I bet you will ride that for the rest of your life and NEVER see another
pair of Pedals like that!

I can't wait to see the Strut Rods..that will finish it off NICE!

peace,
Kev.
 
Clothespin "n" said:
and I bet you will ride that for the rest of your life and NEVER see another
pair of Pedals like that!

Those pedals are the best. They are really really smooth too, they will spin forever.
 
Beautiful bike man!!! I love those fricken peddals i want some.
 
That bike is very sweet...love the frame.

I think you need a light blue or a white seat.

Wonder if you could recover the seat that is on there....love that style.
 
progress:

finished the truss rods, and the tail light. The JB Weld worked out ok on the rods, even though I predict that I will have to redo them later. Here is an overall view of the bike with the rods, and the tail light.
mockup4.jpg


here is a before pic of the truss rods. its kinda ironic that the paint would've matched the old house paint on the bike before. flat black is much better
rods2.jpg


I finished and mounted the homemade tail light. I bought a 4 c-battery case from radioshack, which wasn't more than 3 bucks. Used a couple of LED bulbs, and a push button switch. All of the parts inside were put assembled with just some hot glue, and was solid since it was all plastic. Once it is all wired up, it basically can be mounted in lots of different ways. Since I have the perfect spot underneath the seat, I used a brace attached to the top of the light.

here are the guts:
tailight7.jpg


I cut out a round card with reflective tape on it to surround the LEDs
tailight8.jpg


Here is how the light looks on the bike: the picture on the right was taken with the LEDs turned on (and no camera flash)
tailight6.jpg
tailight5.jpg


I did a cool little dressup with the horn button. While working in the basement I found a vintage christmas light cap. It fitted perfectly on the button, and it matches the bike. (right picture) I really liked the look of the fender brackets that were on the bike. So when I knew I wasn't going to use them, I just cut and grinded off the supports bolted on the cool brackets.
hornlight2.jpg
rear.jpg
 
Nice job! You nailed the hot rod look for this bike perfectly.

Your eerily blue tailight has a real steampunk vibe to it (that's a good thing)

Now I wonder if you could work this bike into your portfolio somehow?

-Mp
 

Latest posts

Back
Top