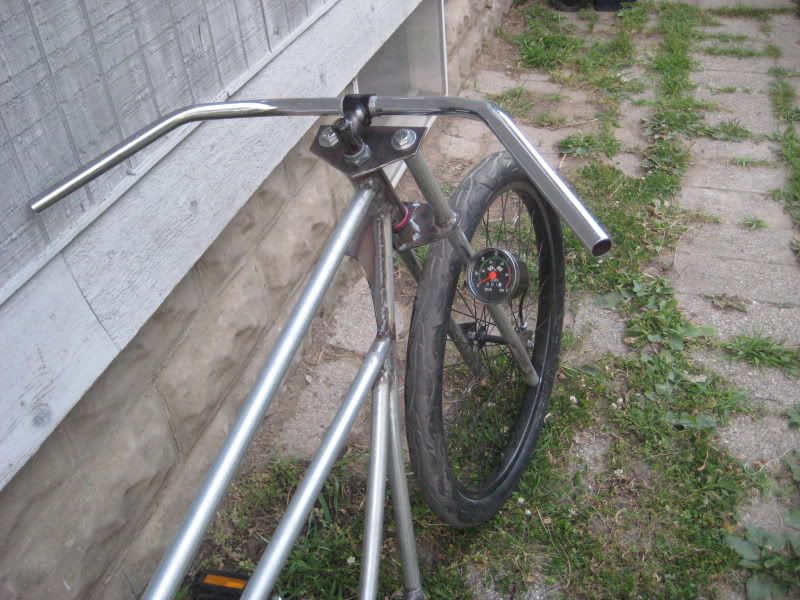
this all started with the talks about getting new equipment at work. I cook for living and the restaurant i work for had very old stoves on the hot line. On the top portion of one of them there was a 'sally' or salamander, like a broiler with a shelf that could be raised or lowered with a gear shift like handle. Being a scavenger i knew that when it became time to get rid of this equipment i would have to get the 'shifter' for use on a bike, the perfect jockey shifter.
i began thinking about using a standard cruiser frame, and after some time i wanted to stretch it some. I found some old frames that woud be fine if i didn't know their age (turns out i had a '57 and '67Schwinn) i wasn't about to cut them up. after a bunch of head scratching and reading on here i figured i would just dive in and do full scratch built frame. I have never done this, i'm rather new to welding (1.5 years tinkering) i have built 3 bikes prior only the last one had any real fabrication to do.
since i was unsure if this would actually work out i did i want to spend too much on the materials. i have read that Atomic Zombie used electrical conduit tubing for it lightweight, cheap, strong enough qualities so figured for the first time around i would go this route to save cash. Only problem is conduit is galvanised and welding galvanized metals produces fumes that can be hazardous to your health. i decided to do much of the welding outside to remedy this, and used a fan blowing away from me directly behind where i was working. when i needed to work inside i had a second fan blowing air towards me as well. It probably wasn't worth the cost savings to take days off my life, but oh well.
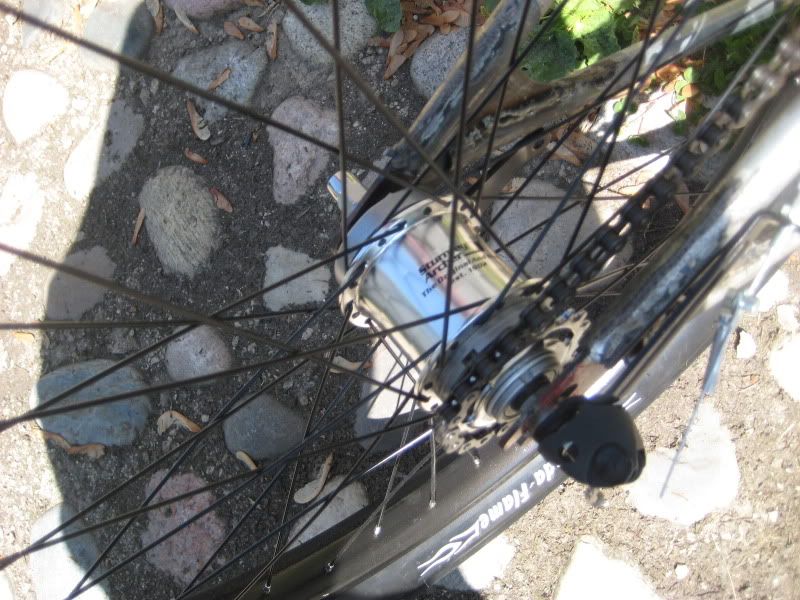
since the begining there has not only been a plan for a jockey shifter but a coaster brake to keep the handle bars clean and free of any cables, levers etc. i decided to use a Sturmey archer 3 speed with coaster. first i tried to use a salvaged one i found at a local bike shop. but it turned out to be no good and i had no shifter for it anyway. i bought a new hub with everything including a grip-shifter witch made things a littler easier.
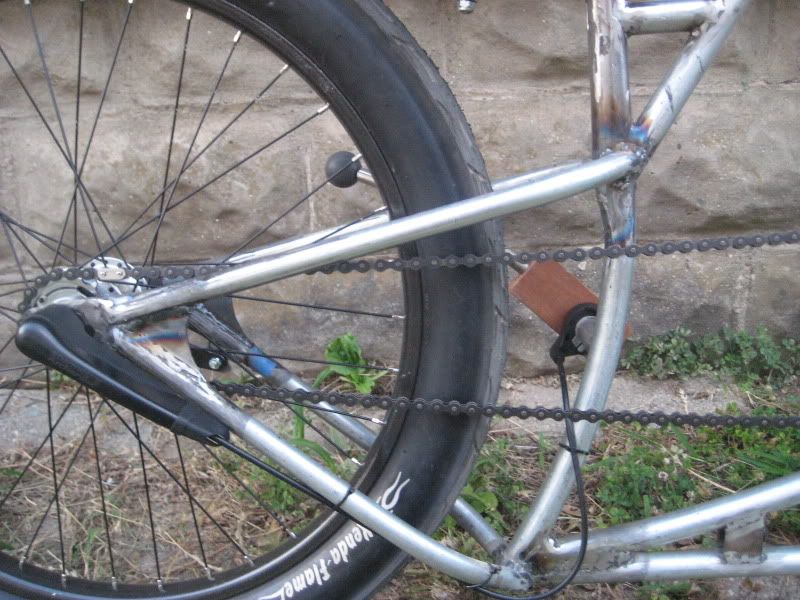
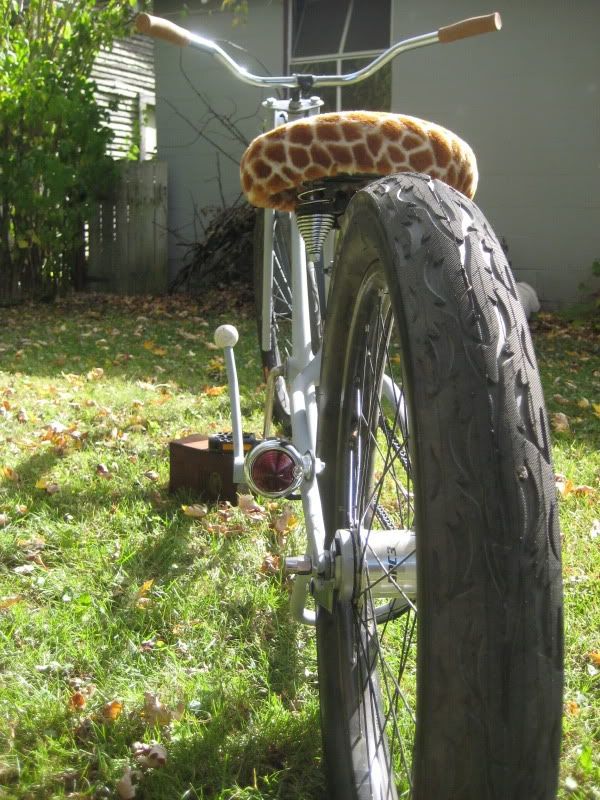
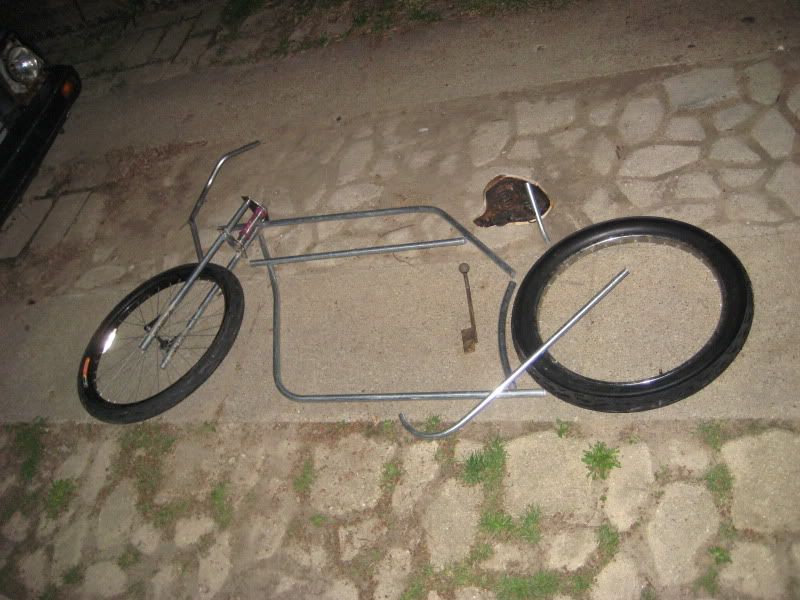
i knew that the rear wheel must be 24" and the front 26" to fit the bobber/chopper theme (i also had these spare rims) and when i went to look for some white wall ballo0n tires, i also found the Kenda flames which are way too ...... to pass up, especially with a 24x3.0 and 26x2.125 option fitting a chopper perfectly i had to build the rear wheel my self to get the hub/wheel size i wanted but it was another thing i needed to learn how to do for the first time, took some figuring out and reading on Sheldon Brown's site but it turned out nice
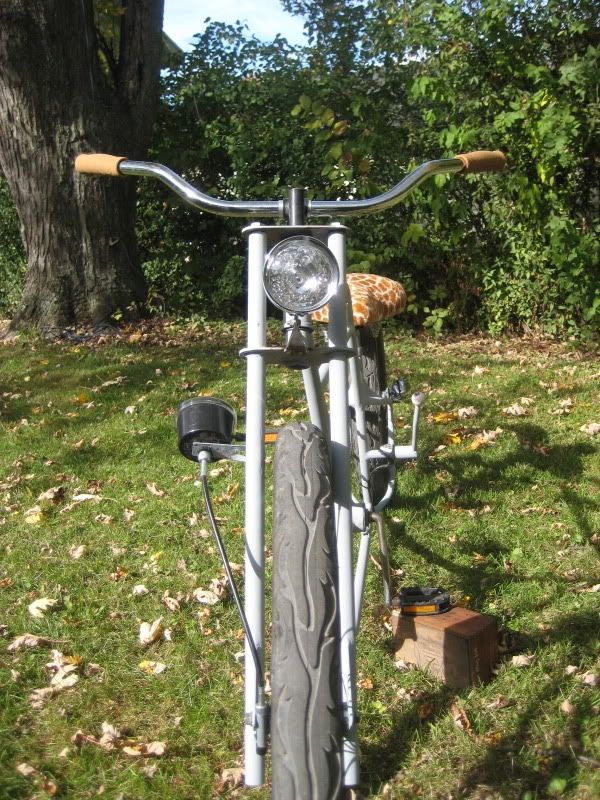
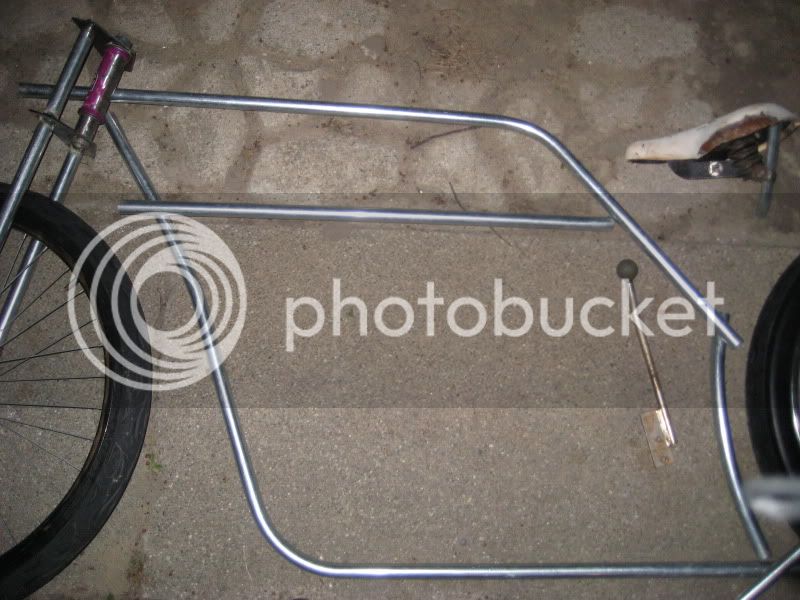
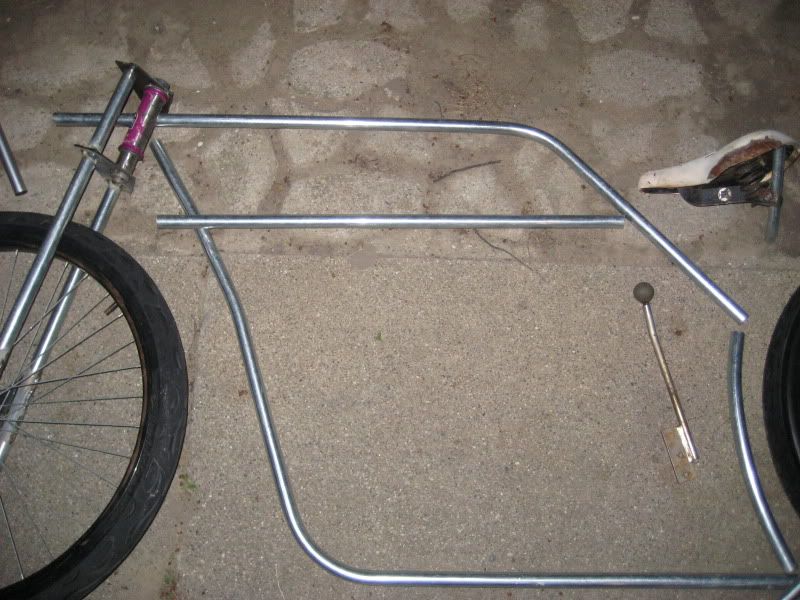
i began to bend tube (with regular old conduit bender) to fit the tires, the bike was getting to look like something

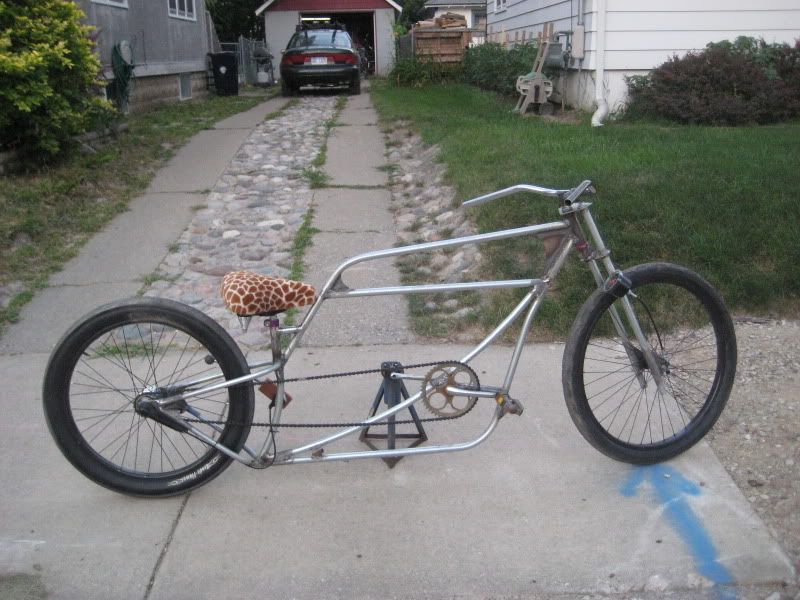
the seat i got was kinda worn, but it was free, so i recovered it, originally i was gonna be fake suede but i saw this fir at the fabric store, just kinda spoke to me.
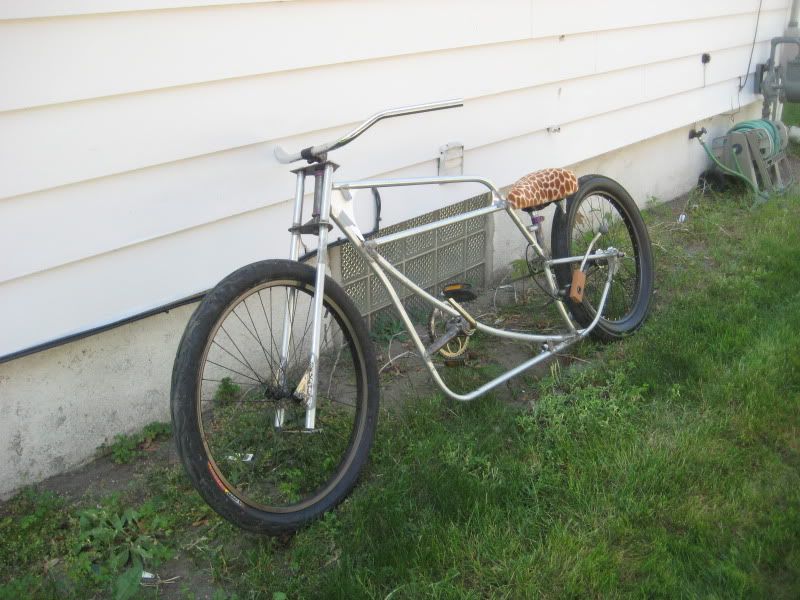
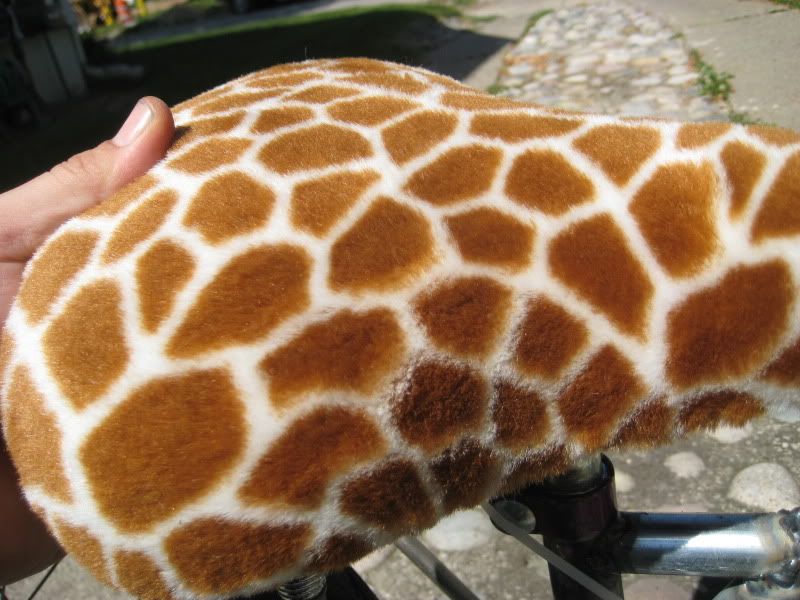 ive seen lots of cheetah and leopard seats but no giraffe. although giraffe should be on a tallbike, it really fits better than i had intended as the head tube and long backbone is kinda like a girafe drinking from a river
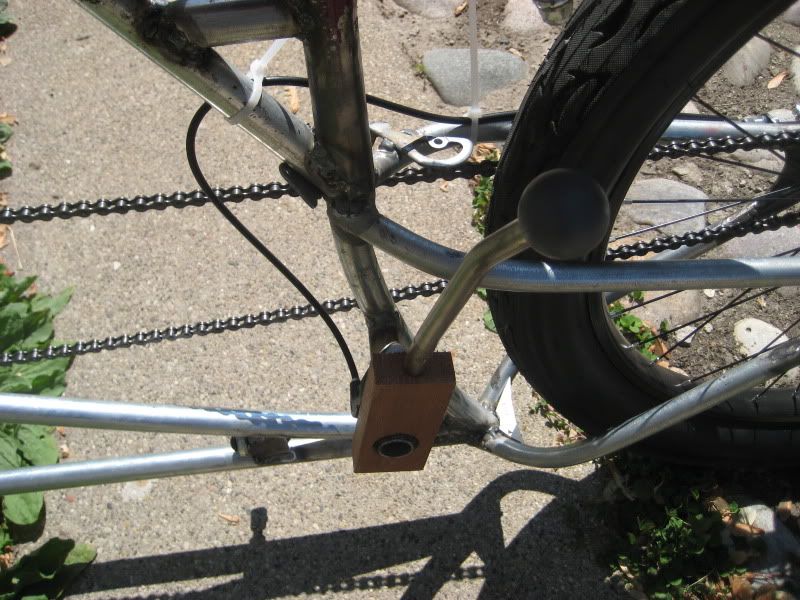
i have been planing on a side car from the beginning but wanted to make it detachable and leaning. i had thought about a fixed one for some time just for simplicty's sake but leaning is just so cool and better performing. the flexi side car seemed like the hot setup except it made for a wider rig, i wanted to still be able to get through the center-post gates on my bike path. so i decided on the fixed outrigger wheel with a pivot on the bike, the bike leans the side cars stays level and the wheel is always upright. i read about this on a motorcycle site, and there where links to a German site with tons of pictures. whats important is that the from pivot is higher than the rear one making the outrigger wheel toe in on left turns and toe out on right turns just slightly steering it, so it won't scrub the tire. sounds complicated but really very simple, Germans are so smart that way.
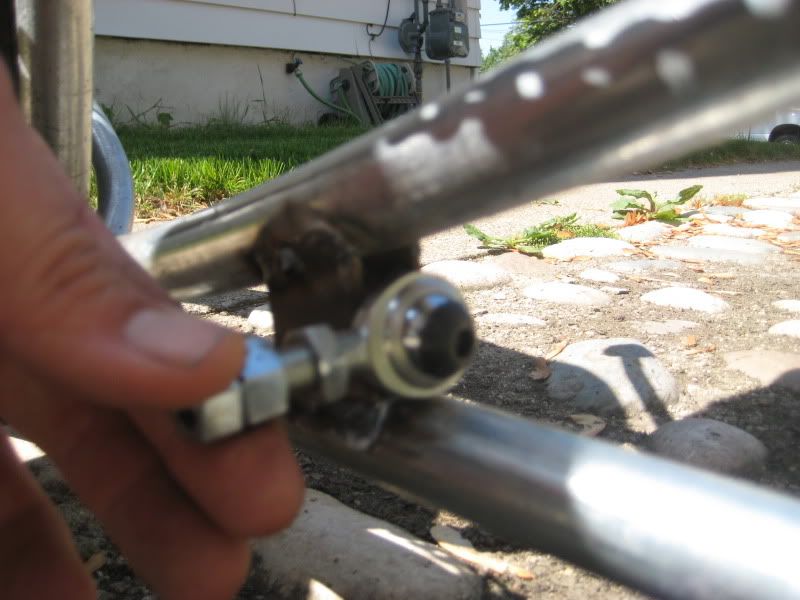
i have most of the sub-frame bent up but haven't started to weld as i need to make more room in the garage first.
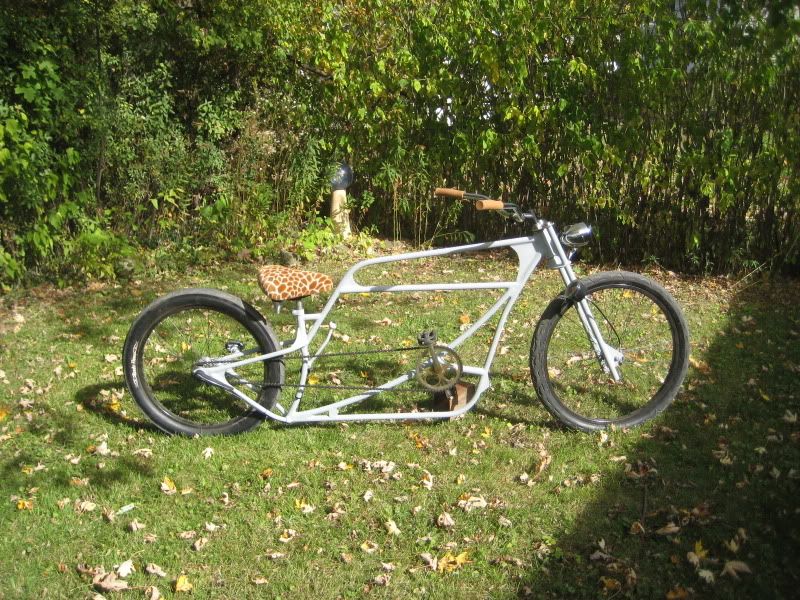
just need to get some gussets made and on to paint, i think it will be tan frame with black on the dropout/track ends and head tube, forks might be black or silver and black
jockey sifter will be finhed nicely when i figure it out, i might end up making the "shifty ......." part
i began thinking about using a standard cruiser frame, and after some time i wanted to stretch it some. I found some old frames that woud be fine if i didn't know their age (turns out i had a '57 and '67Schwinn) i wasn't about to cut them up. after a bunch of head scratching and reading on here i figured i would just dive in and do full scratch built frame. I have never done this, i'm rather new to welding (1.5 years tinkering) i have built 3 bikes prior only the last one had any real fabrication to do.
since i was unsure if this would actually work out i did i want to spend too much on the materials. i have read that Atomic Zombie used electrical conduit tubing for it lightweight, cheap, strong enough qualities so figured for the first time around i would go this route to save cash. Only problem is conduit is galvanised and welding galvanized metals produces fumes that can be hazardous to your health. i decided to do much of the welding outside to remedy this, and used a fan blowing away from me directly behind where i was working. when i needed to work inside i had a second fan blowing air towards me as well. It probably wasn't worth the cost savings to take days off my life, but oh well.
since the begining there has not only been a plan for a jockey shifter but a coaster brake to keep the handle bars clean and free of any cables, levers etc. i decided to use a Sturmey archer 3 speed with coaster. first i tried to use a salvaged one i found at a local bike shop. but it turned out to be no good and i had no shifter for it anyway. i bought a new hub with everything including a grip-shifter witch made things a littler easier.
i knew that the rear wheel must be 24" and the front 26" to fit the bobber/chopper theme (i also had these spare rims) and when i went to look for some white wall ballo0n tires, i also found the Kenda flames which are way too ...... to pass up, especially with a 24x3.0 and 26x2.125 option fitting a chopper perfectly i had to build the rear wheel my self to get the hub/wheel size i wanted but it was another thing i needed to learn how to do for the first time, took some figuring out and reading on Sheldon Brown's site but it turned out nice
i began to bend tube (with regular old conduit bender) to fit the tires, the bike was getting to look like something
the seat i got was kinda worn, but it was free, so i recovered it, originally i was gonna be fake suede but i saw this fir at the fabric store, just kinda spoke to me.
i have been planing on a side car from the beginning but wanted to make it detachable and leaning. i had thought about a fixed one for some time just for simplicty's sake but leaning is just so cool and better performing. the flexi side car seemed like the hot setup except it made for a wider rig, i wanted to still be able to get through the center-post gates on my bike path. so i decided on the fixed outrigger wheel with a pivot on the bike, the bike leans the side cars stays level and the wheel is always upright. i read about this on a motorcycle site, and there where links to a German site with tons of pictures. whats important is that the from pivot is higher than the rear one making the outrigger wheel toe in on left turns and toe out on right turns just slightly steering it, so it won't scrub the tire. sounds complicated but really very simple, Germans are so smart that way.
i have most of the sub-frame bent up but haven't started to weld as i need to make more room in the garage first.
just need to get some gussets made and on to paint, i think it will be tan frame with black on the dropout/track ends and head tube, forks might be black or silver and black
jockey sifter will be finhed nicely when i figure it out, i might end up making the "shifty ......." part
 Really looking forward to seeing that sidecar construction! Cool build!