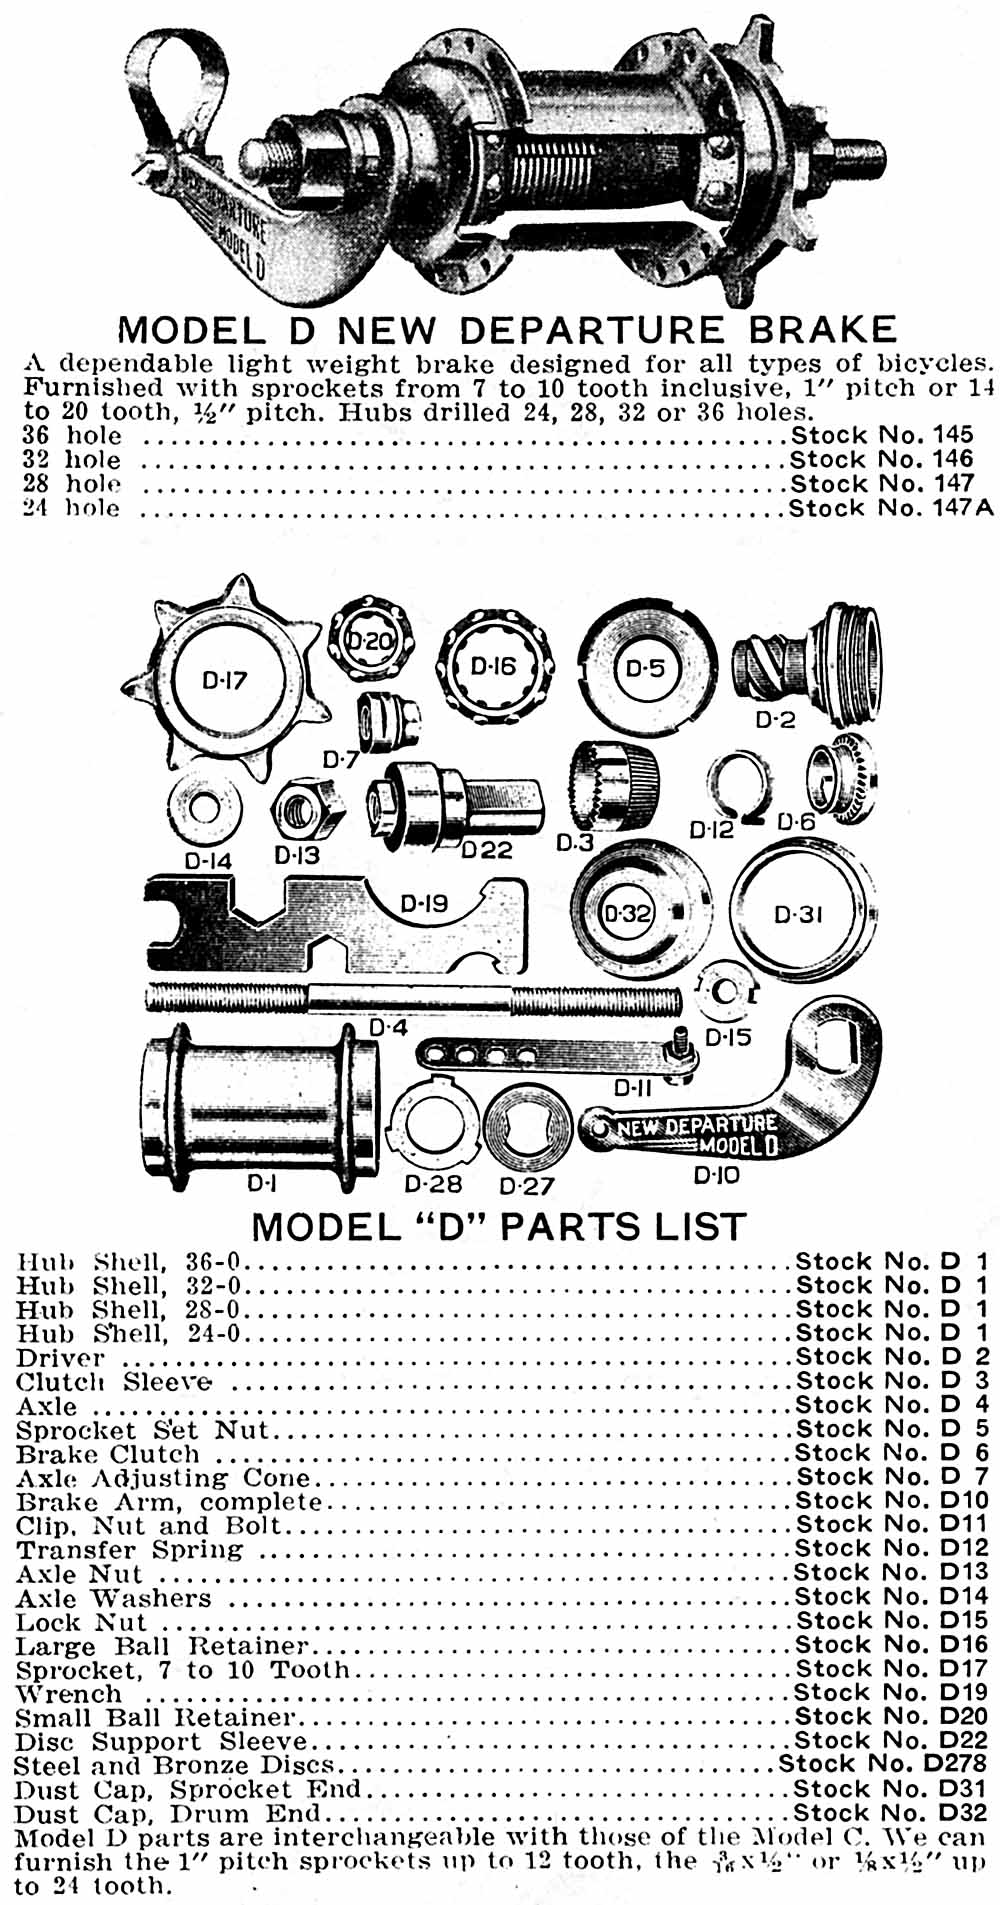
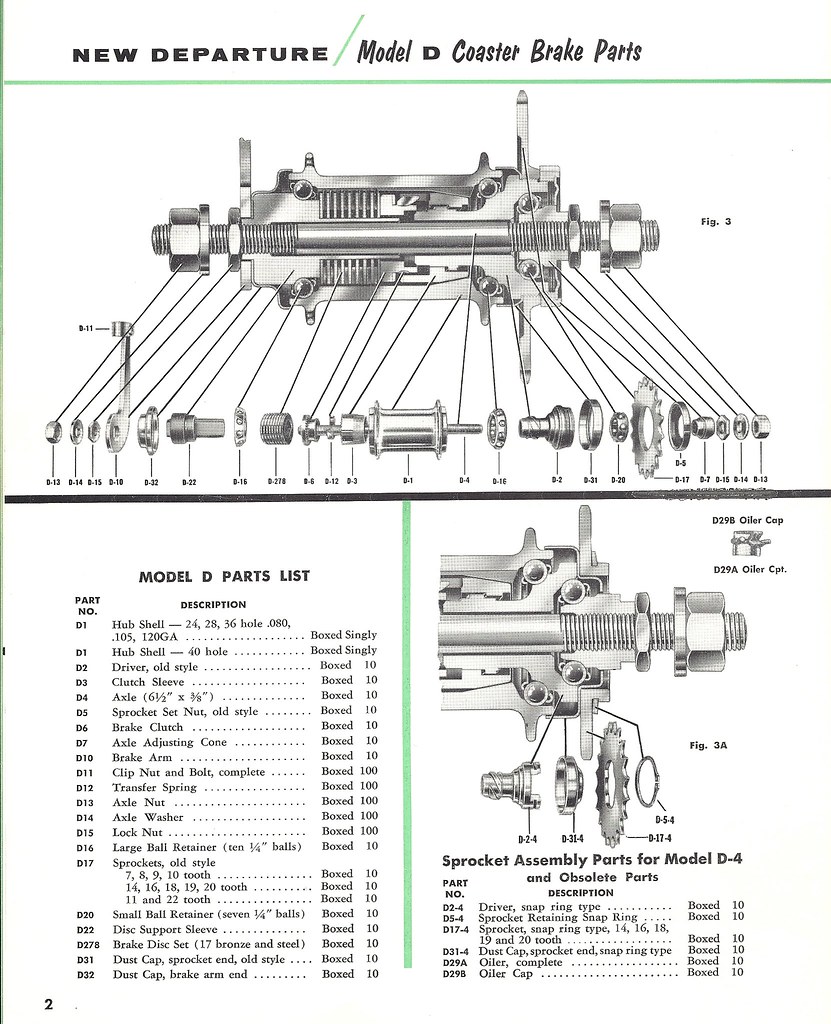
Before I took any pics I tore the hub down and cleaned it up. More photogenic that way! Here is a parts drawing to help you on your way.
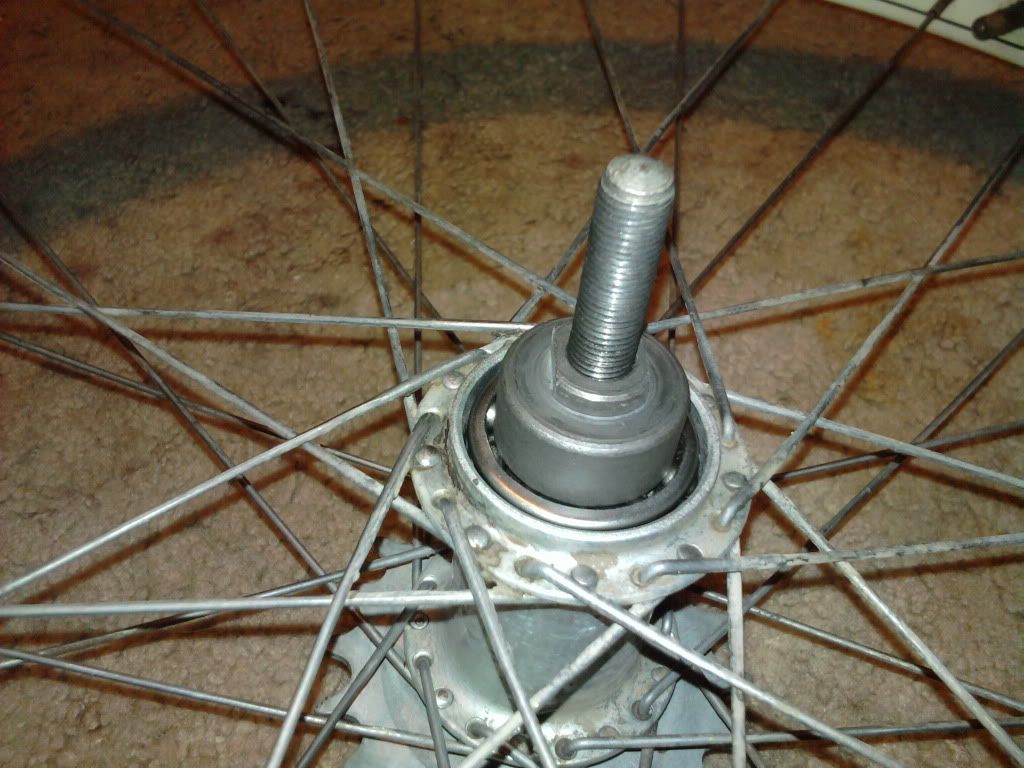
Start by removing the lock nut on the brake arm side
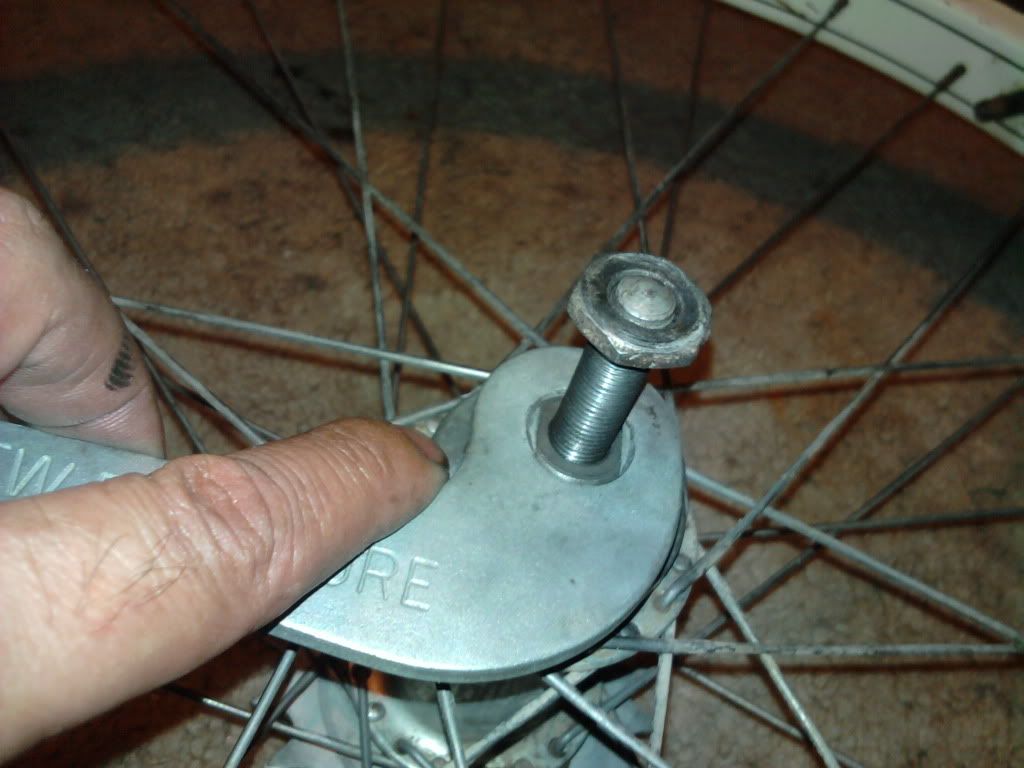
Remove the brake arm and dust cover
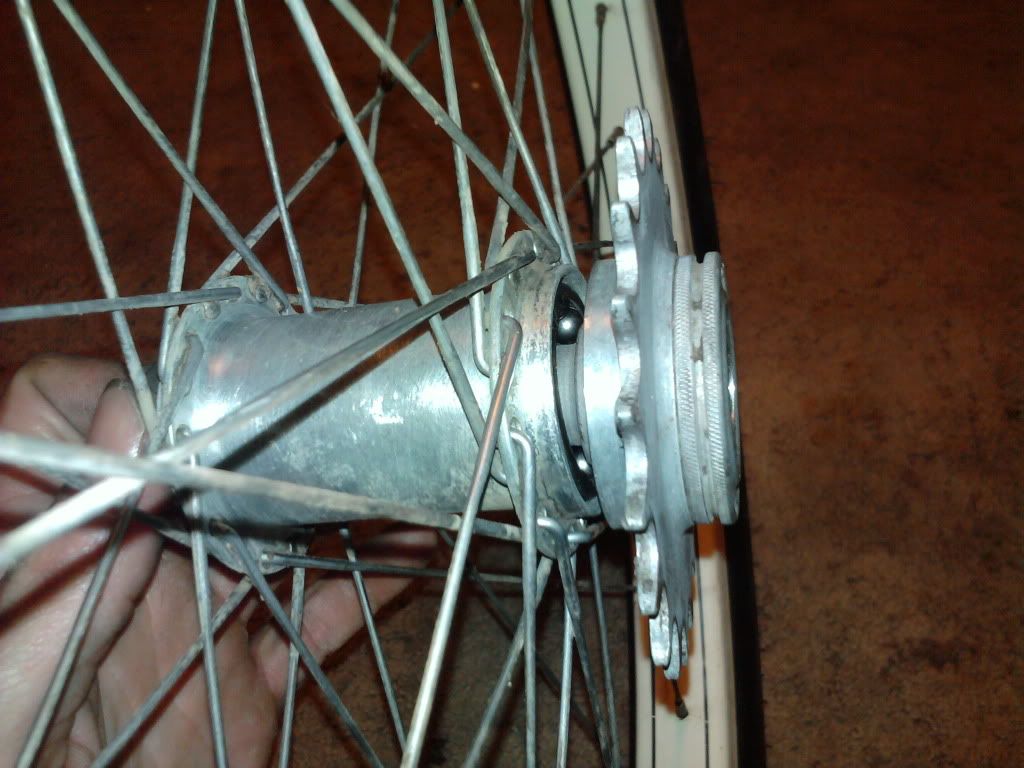
While holding the disc support sleeve, unscrew the axle from the drive side of the hub.

Once the axle has been removed, turn the sprocket counterclockwise to remove the driver.
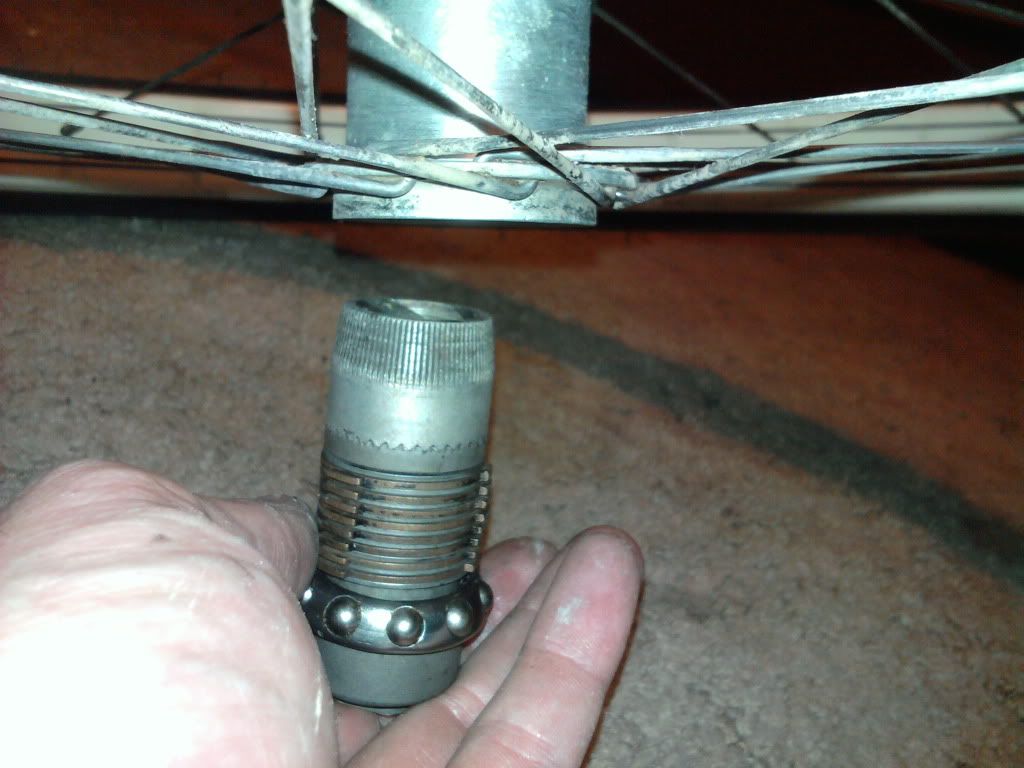
Now, support the disc support sleeve and turn that side of the wheel down to slide the remaining components out.
Take all of your parts and separate the individual pieces. Drop 'em all into a container of your solvent of choice. Pop open a frosty beverage and start scrubbing the hub shell if it is still laced to the wheel.
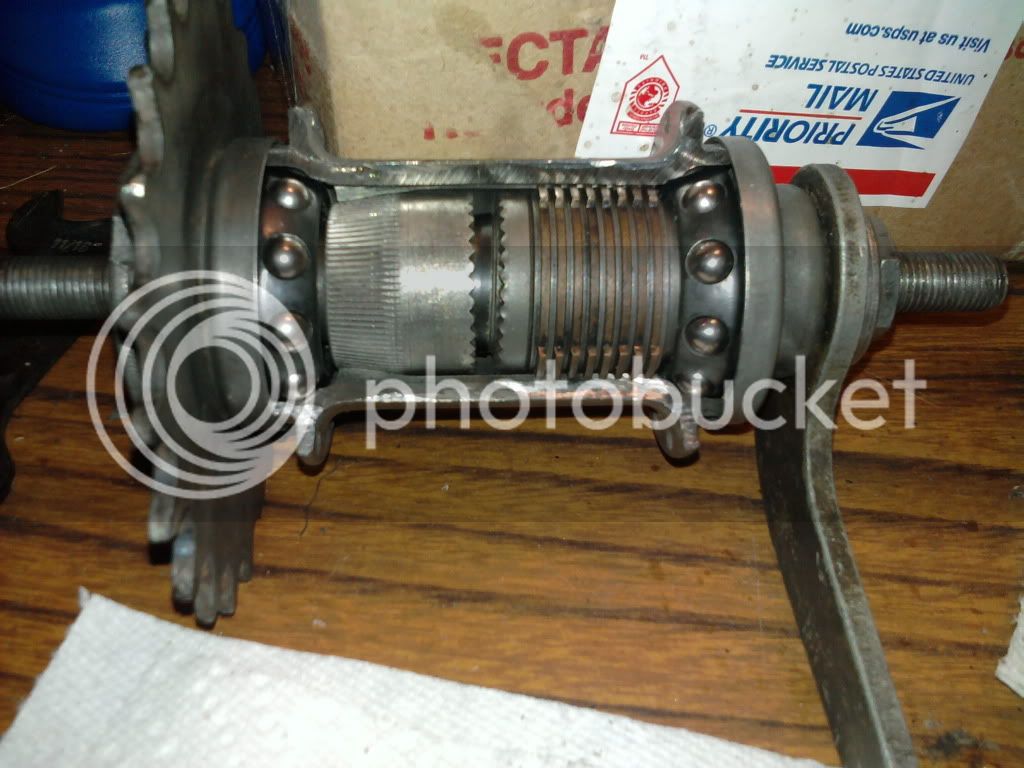
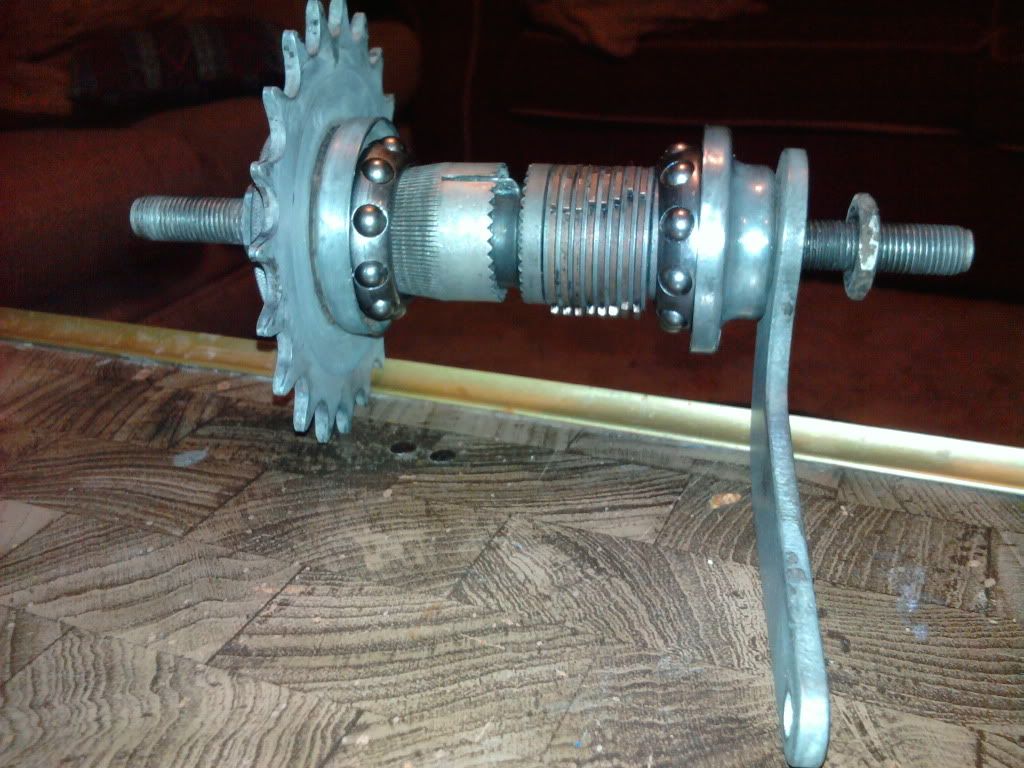
Once you have everything clean it should look like this
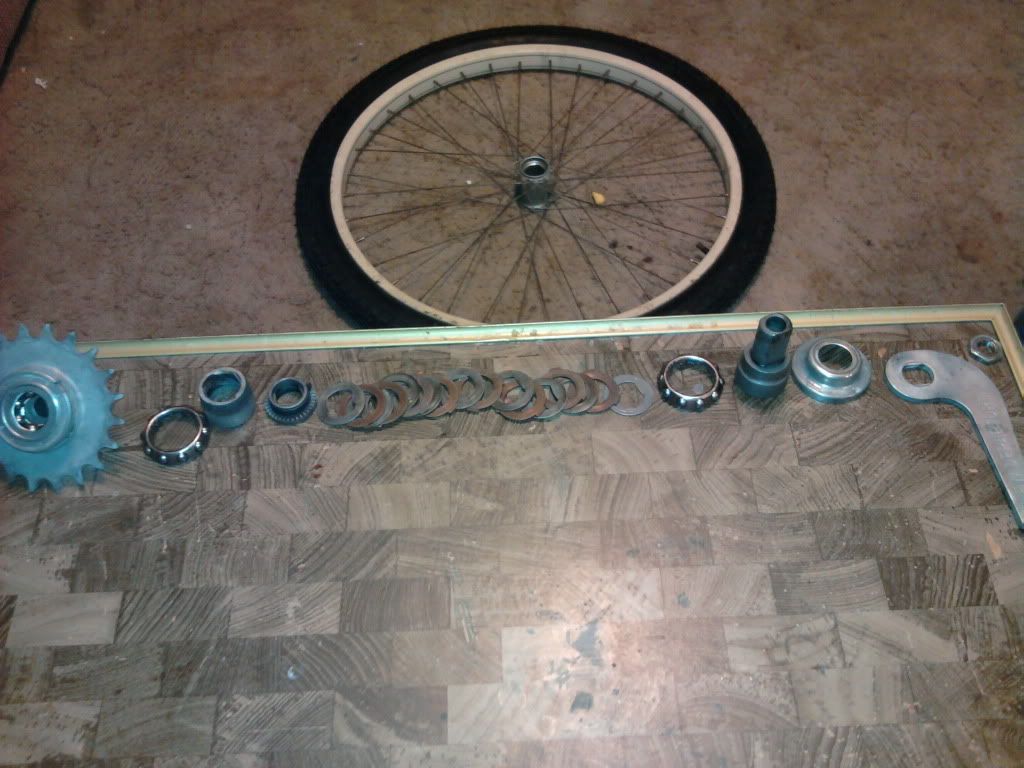
And this is the order it should be arranged in once it is assembled
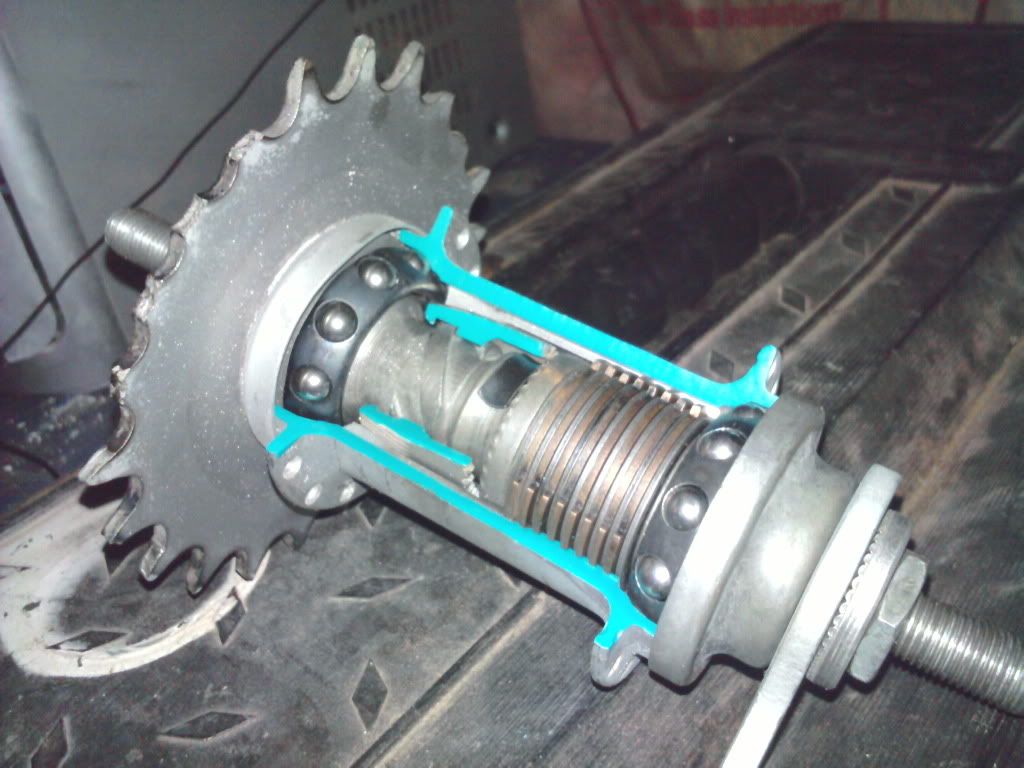
To start putting it back together, begin by assembling the brake clutch, transfer spring, and clutch sleeve. Grease well and drop into the hub (clutch sleeve first). Next stack your steel and bronze disc. The stack should have a steel disc on top and bottom when done. Oil the stack with some clean motor oil and align the tabs on the bronze discs. I found the easiest way to get the stack into the hub was to split it in half. After you get the stack into the hub, grease your bearing and set it in the race. Grease the disc support sleeve and slowly twist it through the stack of disc. Twisting it will align the steel discs as it drops in. Now stand the wheel up and install the well greased driver and sprocket assembly with the bearing into the opposite side of the hub. Reinstall the axle until it is snug. Put the dust cap, brake arm and lock nut back into place. Pop another frosty beverage, Mount the wheel on the bike and let's go for a ride!
Start by removing the lock nut on the brake arm side
Remove the brake arm and dust cover
While holding the disc support sleeve, unscrew the axle from the drive side of the hub.
Once the axle has been removed, turn the sprocket counterclockwise to remove the driver.
Now, support the disc support sleeve and turn that side of the wheel down to slide the remaining components out.
Take all of your parts and separate the individual pieces. Drop 'em all into a container of your solvent of choice. Pop open a frosty beverage and start scrubbing the hub shell if it is still laced to the wheel.
Once you have everything clean it should look like this
And this is the order it should be arranged in once it is assembled
To start putting it back together, begin by assembling the brake clutch, transfer spring, and clutch sleeve. Grease well and drop into the hub (clutch sleeve first). Next stack your steel and bronze disc. The stack should have a steel disc on top and bottom when done. Oil the stack with some clean motor oil and align the tabs on the bronze discs. I found the easiest way to get the stack into the hub was to split it in half. After you get the stack into the hub, grease your bearing and set it in the race. Grease the disc support sleeve and slowly twist it through the stack of disc. Twisting it will align the steel discs as it drops in. Now stand the wheel up and install the well greased driver and sprocket assembly with the bearing into the opposite side of the hub. Reinstall the axle until it is snug. Put the dust cap, brake arm and lock nut back into place. Pop another frosty beverage, Mount the wheel on the bike and let's go for a ride!

 Thanks for the link deorman.