


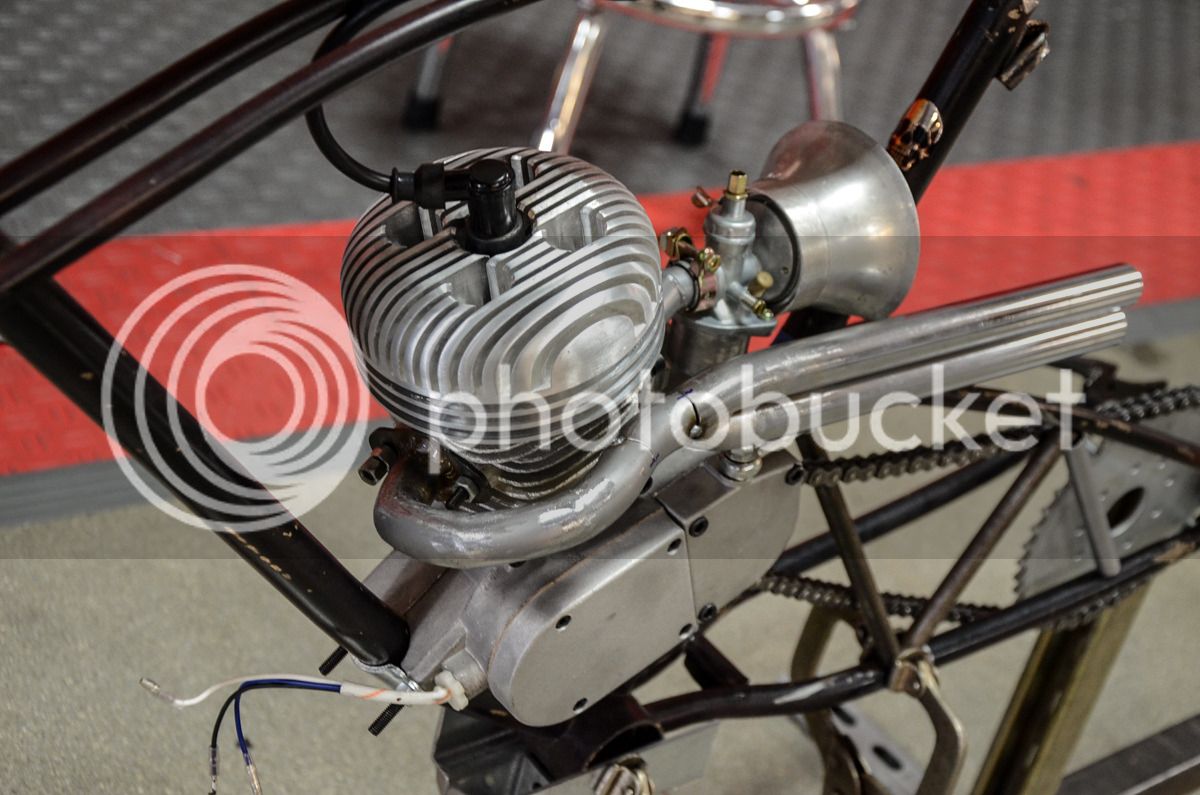
I didn't get much time to work on the bike today, but I did get a cool high compression cnc head in the mail from gasbike.net. Ive never tried one of these before but it was only $60 bucks and looks really cool imo...
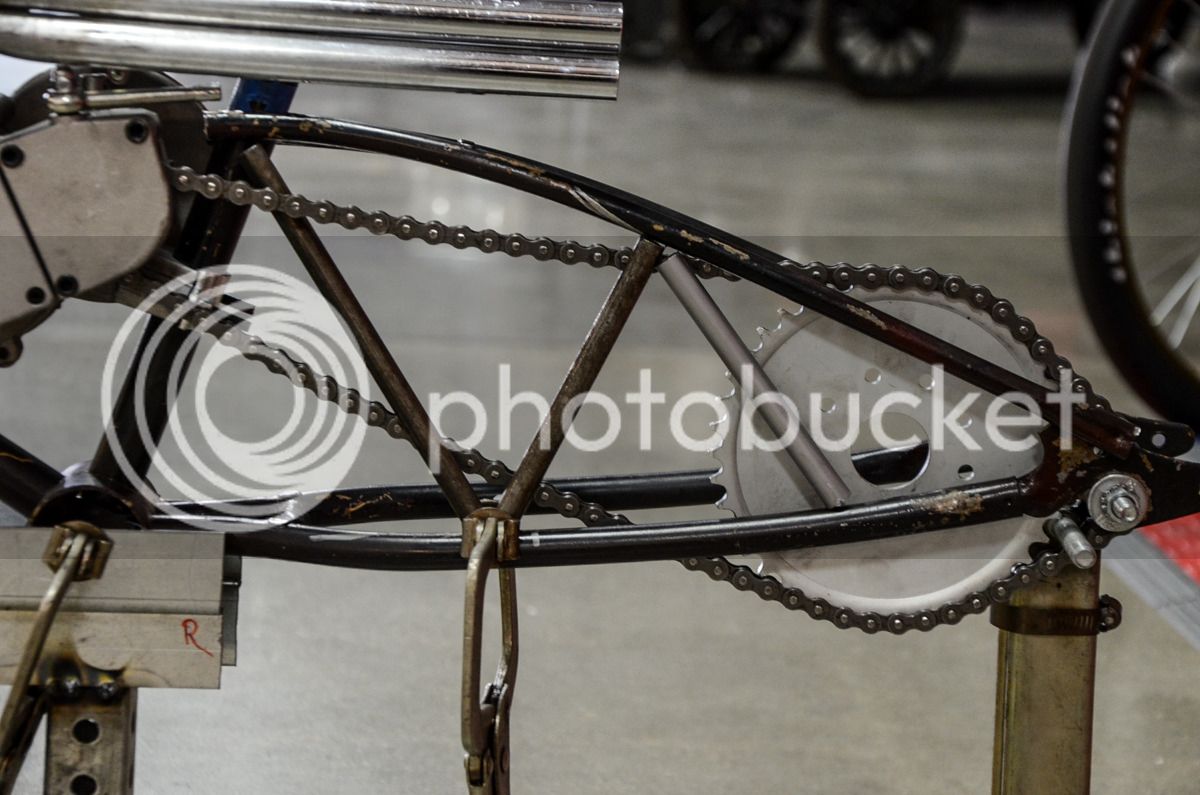
Back to the rear stays, I kind of messed up with the frame jig and I didnt think about being able to get a rear sprocket on it, so I kind of shoved it in and got a close idea of where the chan will be. But I was able to align it to the front drive sprocket and because of the curvature of the top stays there are no clearance issues at all
 . All I had time to do after that was cut up a small piece of scrap tube and do a quick mock up. I got a few options that wont interfere with the chain, and I was going to make a little idler sprocket anyway, so everything is looking good!
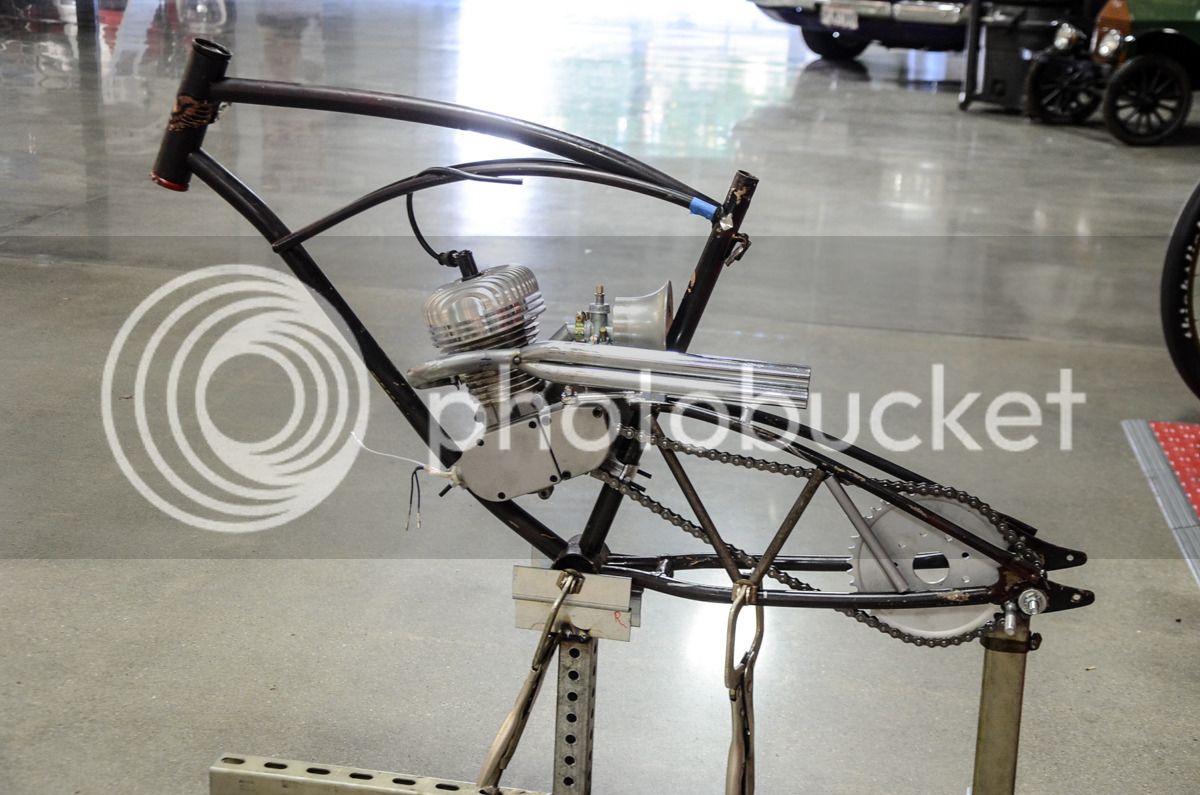
I think I'll make the dropouts and weld the top stays to the down tube before I start the trellis. But at least I know im good to go.
Thanks for looking!")

Back to the rear stays, I kind of messed up with the frame jig and I didnt think about being able to get a rear sprocket on it, so I kind of shoved it in and got a close idea of where the chan will be. But I was able to align it to the front drive sprocket and because of the curvature of the top stays there are no clearance
issues at all. All I had time to do after that was cut up a small piece of scrap tube and do a quick mock up. I got a few options that wont interfere with the chain, and I was going to make a little idler sprocket anyway, so everything is looking good!
I think I'll make the dropouts and weld the top stays to the down tube before I start the trellis. But at least I know im good to go.

Thanks for looking!
Last edited:
 I definitely didn't expect that, and I was prepared for more chopping. I love it when things just fall into place


