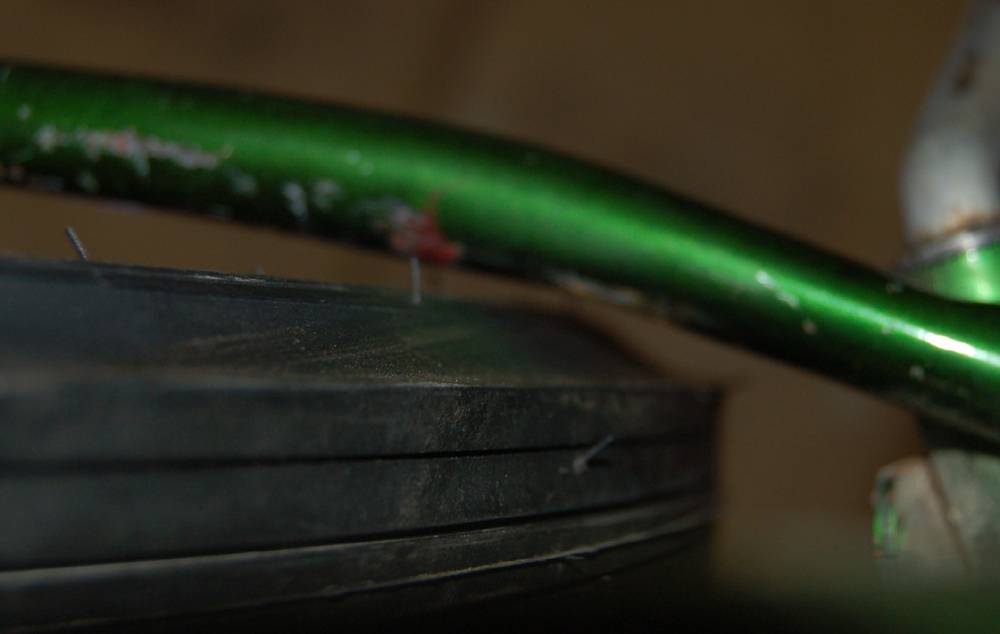
Monster-Ray

Rat Rod Bikes Bicycle Forum

Help Support Rat Rod Bikes Bicycle Forum:

This site may earn a commission from merchant affiliate links, including eBay, Amazon, and others.
CRASH said:
r3p8.jpg
Wow, I now see what you mean, CRASH; that chain stay is really close to the bottom bracket weld points.

Would it be possible to make one of your spreader tools to work in reverse to place a compression load on the weld points to relive the outward forces acted upon them?
 
ZygoteLittle said:
Would it be possible to make one of your spreader tools to work in reverse to place a compression load on the weld points to relive the outward forces acted upon them?

I second that. Even a C clamp at the weld point would help relieve stress.
 
Those Harbor Freight strut compressors are sold as a pair, right? I think you might have more clearance, and better luck, if you swapped the parts around so there's a single claw on each side. The kickstand mount/brace is working against you, as well. You may eventually discover that the entire rear triangle needs to be spread, the frame blocked where the tire rubs, and the dropouts re-compressed back to the spacing they require--a dicey proposition keeping everything aligned. Fingers crossed that the situation will all work out because I'm really amped over this project!
 
ZygoteLittle said:
Would it be possible to make one of your spreader tools to work in reverse to place a compression load on the weld points to relive the outward forces acted upon them?
Not sure I'm following you. Do you mean I need to spread it right where the stays are welded into the bottom bracket?
 
I believe Zygote meant to place a clamp, outboard, near the BB welds to prevent any undesired spreading or stress damage near the crank. Question: Do you have TWO of these spreaders? (I know Harbor Freight sells them as a pair.) If so, can the parts be reassembled to create a spreader with two single-prong heads on it? That arrangement would fit much better and allow the spreader to nestle down deeper into the chain stay crotch...where the spreading force needs to be concentrated.
 
You can do it, CRASH!! 8) Can't wait to see how this comes out :wink:
 
RustySprockets said:
I believe Zygote meant to place a clamp, outboard, near the BB welds to prevent any undesired spreading or stress damage near the crank.


Exactly! Thank you RustySprokets!

CRASH, the point we’re making is when the outward forces are applied to the stays nearest the BB weld points (if they are not stabilized first) then the possibility of breaking the welds might occur. By compressing them first, it’ll act as a counter force to outward forces applied to the chain stays.

A synopsis of Newton’s Third Law: For every action there is an equal and opposite reaction. In this application, we want to isolate the Bottom Bracket/Chain Stay welding points from either of these reaction forces.
 
Ahhh, gotcha. Well, I didn't do that, but next time I will.

To answer the question on the spreader, yes it comes with 2, but parts from the second are required to make spread. That double claw looking piece is key, because as you turn, the nuts inside it make it move down the bolt. The single claw is held in place by two locked in nuts (the one I cut) and I put so e washers there to allow it to spin easier. So, it is what it is, but a lot better than nothing.
 
Understood. I mistakenly believed that both jaws were movable, which would have been ideal. Were you able to achieve the clearance you need? I'm planning to start my own fat tire build later this week and will apply what I've learned from watching you. If successful, I'll publish a tutorial on modifying that tool to perform the job. Good luck with the Monster-Ray build...I'm really Jonesin' over that frame!
 
SUCCESS!!

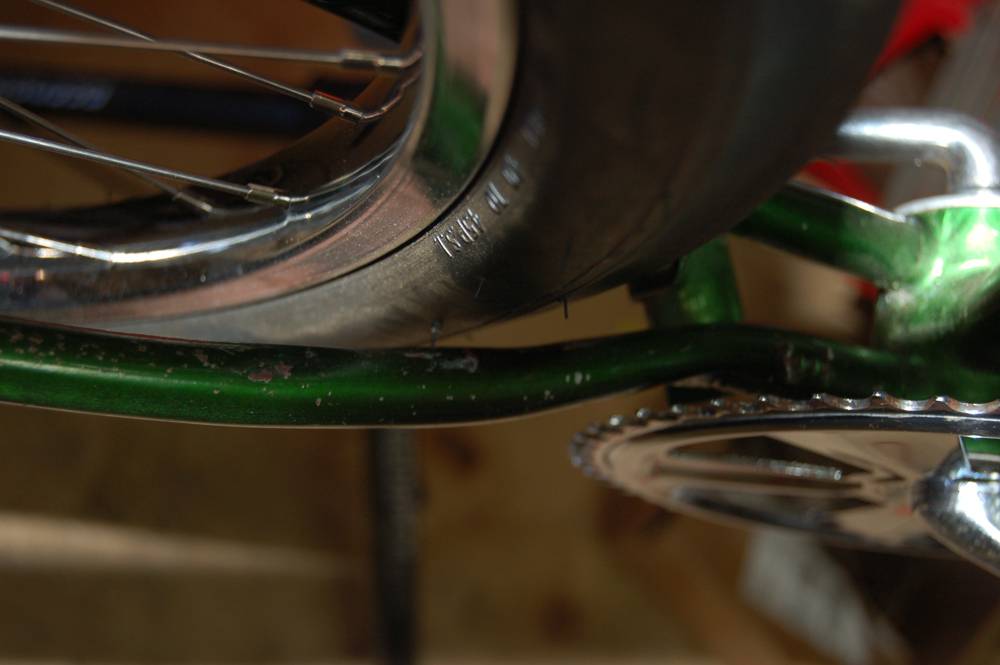
It's not a lot of clearance, but it's enough. I'm just hoping if I really crank on the bike and tweak the frame a little that it won't rub. But, this will be more of a cruising bike.

kofw.jpg


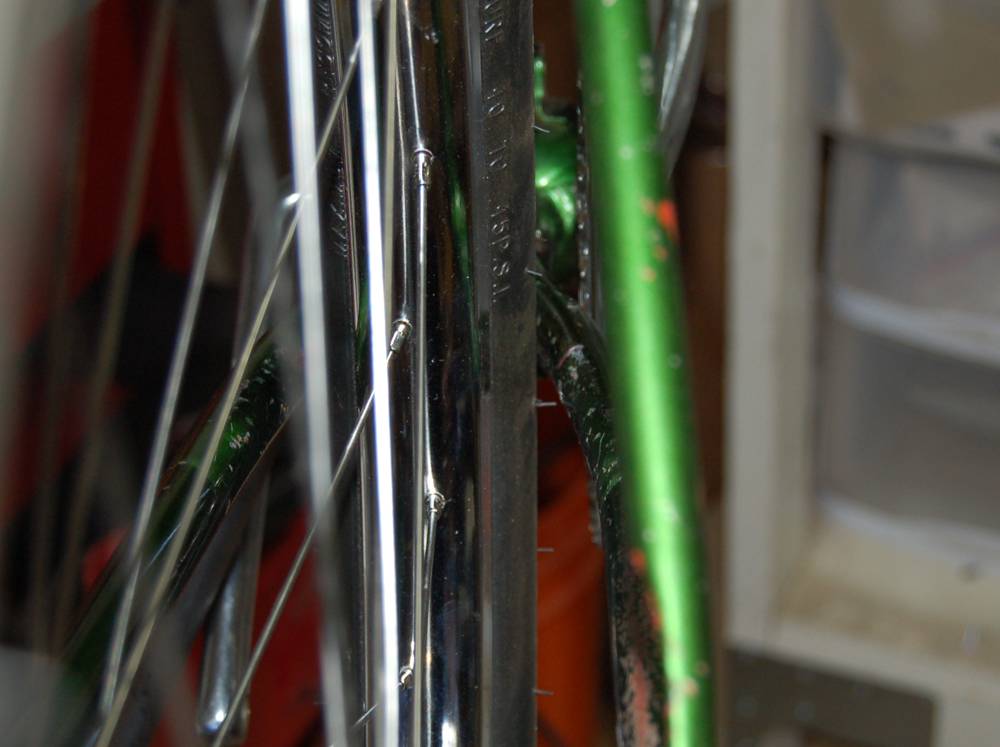
Less on this side, but that's because I need to straighten the wheel.
tl11.jpg


h96c.jpg


fx6p.jpg


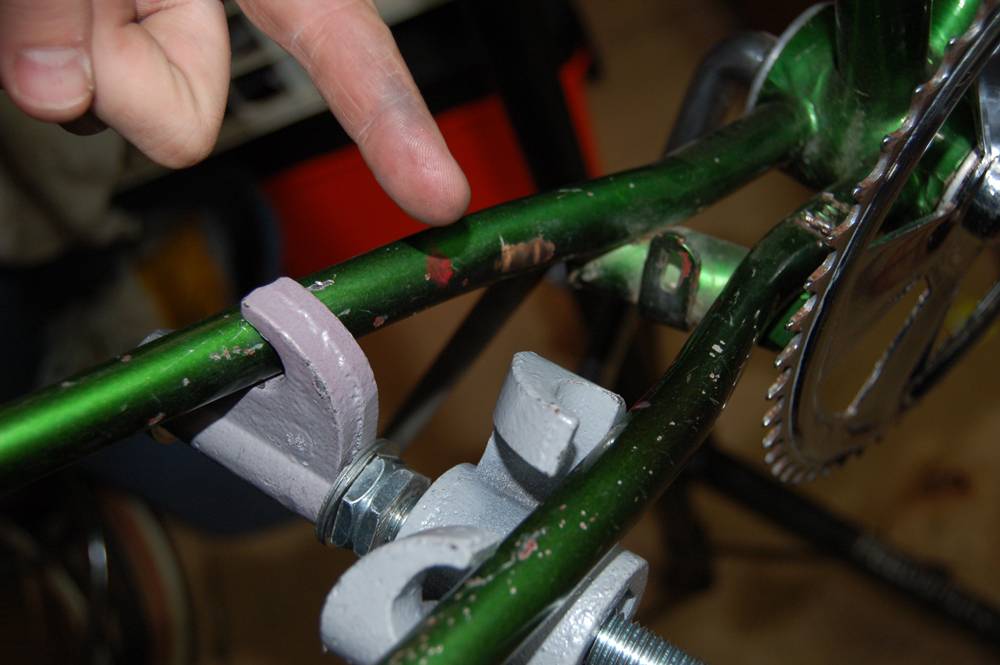
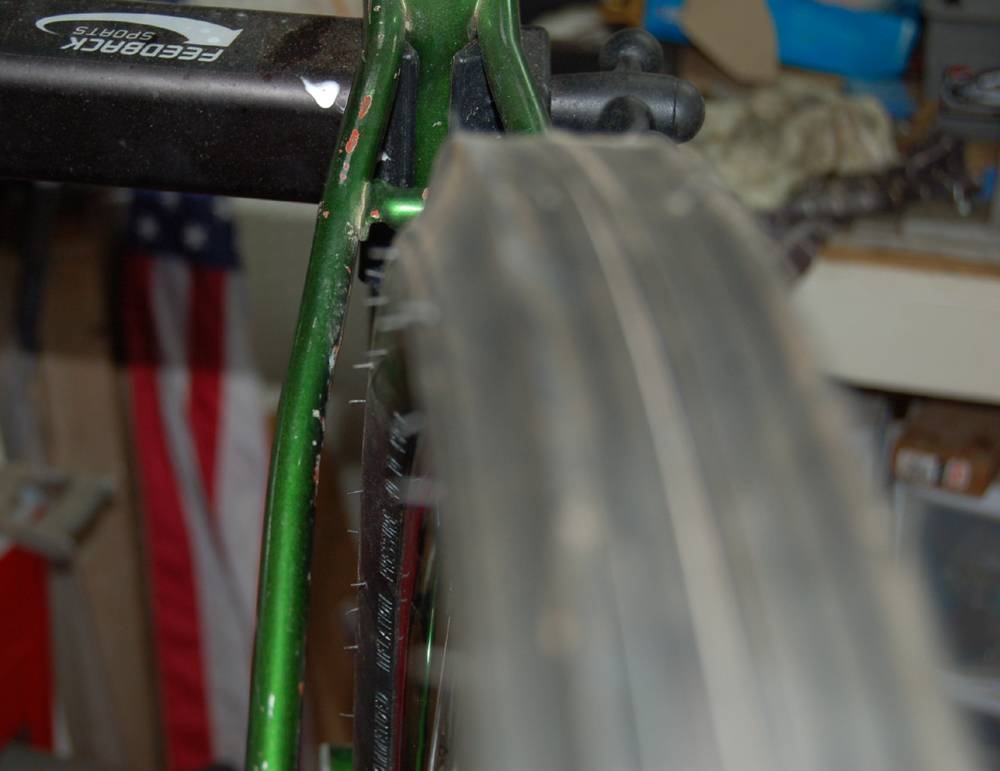
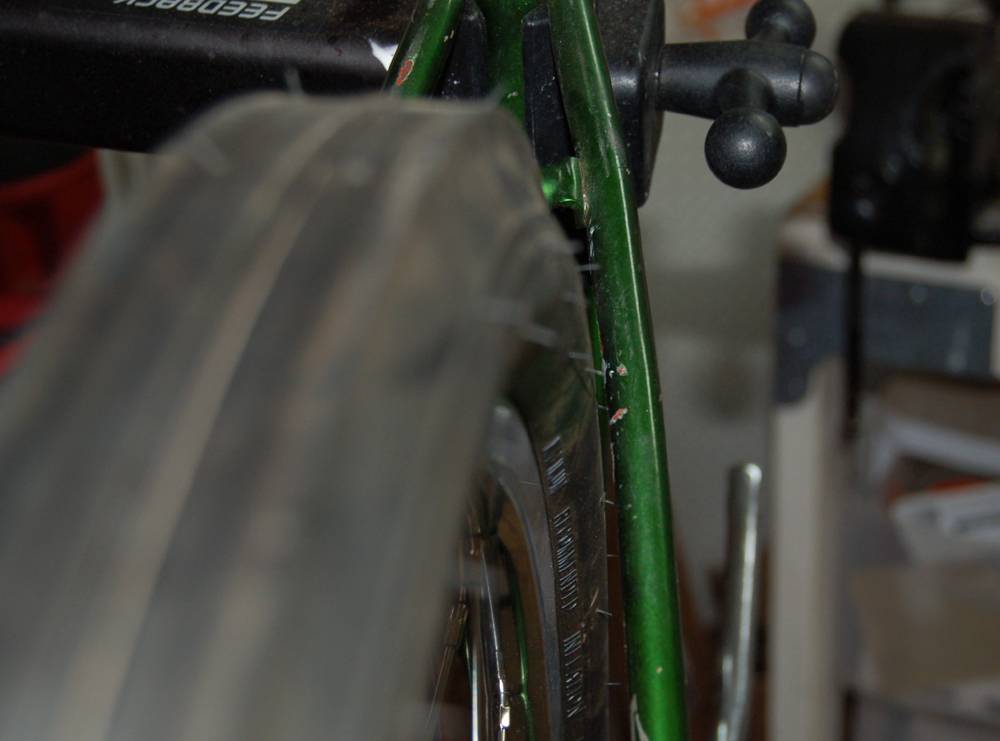
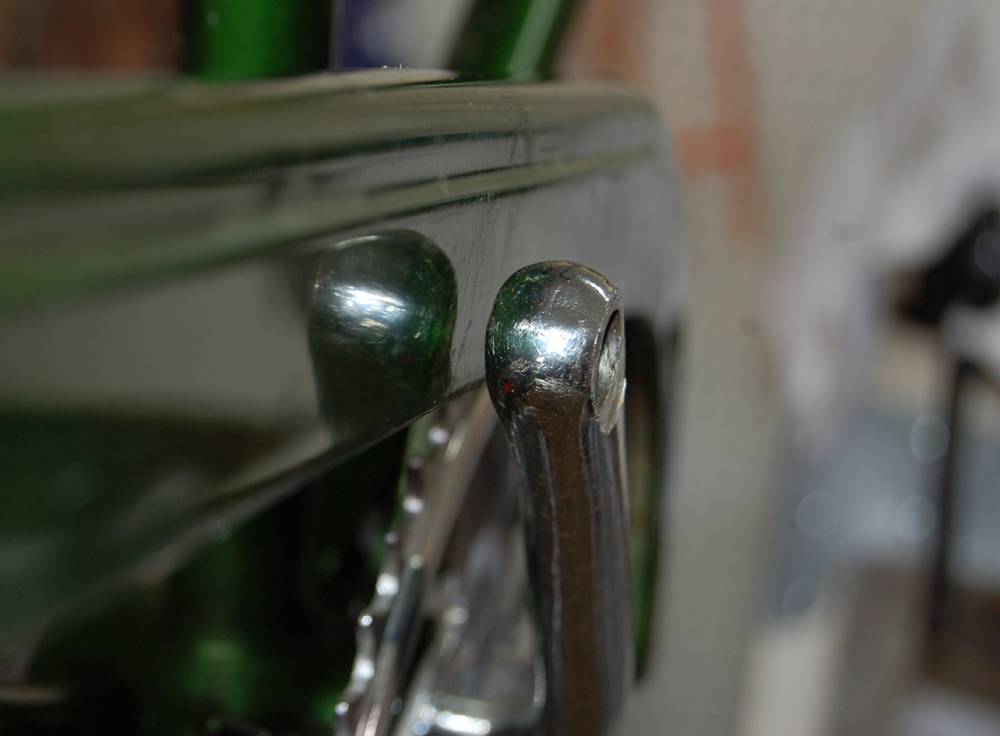
I cranked open the seat stays as well. But I over cranked the left one, and it bowed out a little too far. I'm sure no one but me will notice.
77u6.jpg


This left a little less clearance on the right side. After this mock up I went back and opened the right out a little more.
bf94.jpg


So I mocked up the chain guard to make sure it fit. It does, and I forgot to take a pic of the overall bike with the ring and the guard on it. However, I did find that the crank was in a little too much and hitting the guard, so I shimmed it out a bit more and it clears better. But the ring was out too far, so I had to adjust the guard. I also found out the the ring wasn't true, so I worked on straightening it. It's not perfect, but better. I hope it doesn't affect the chain or I will have to work it more. I suspect that I might need to adjust the shim too, but I'll play with it once it's built to see.

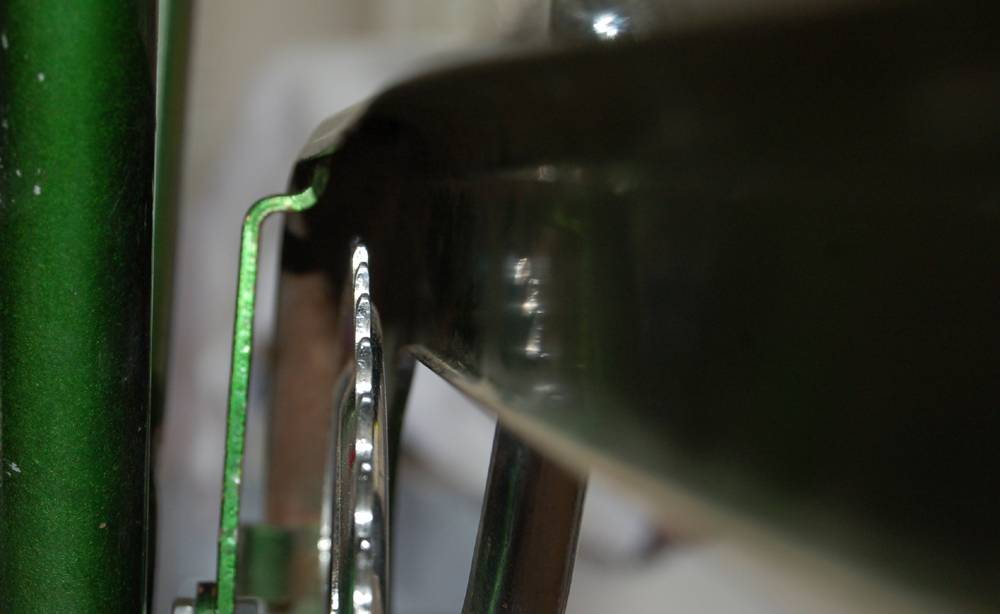
Inside the guard to show clearance for the chain.
07o8.jpg


Clearance for the crank that had been hitting at that point prior to shimming. So twisting of the guard was also required to get a balance between chain clearance in the guard, and crank clearance outside.
lwqu.jpg


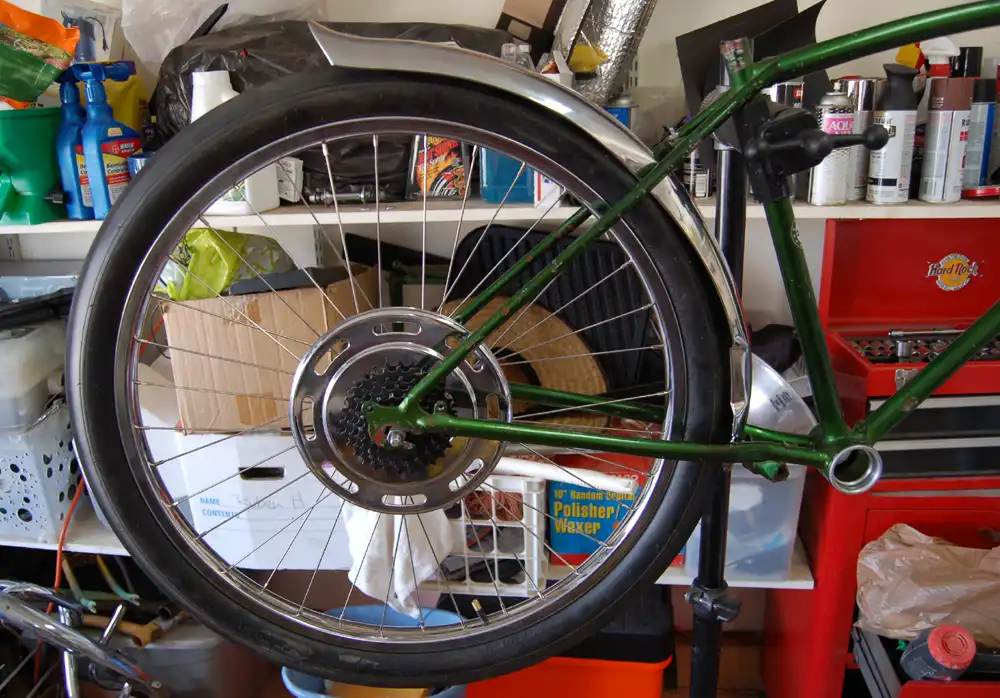
Then I took off the crank and guard and worked on the rear fender. This mock up showed me I need a spacer in the lower stays to achieve the right angle. Plus I need to get the right hardware for it too. I didn't mock the brake, and maybe I should have. I will after I get the spacer. Also, I hate that huge spoke protector that came with the Collegiate. So I'm buying a regular Schwinn one from a 5-speed Sting Ray. It will make the wheel look bigger, but it won't look like I'm trying to bake a pizza either.
48jn.jpg


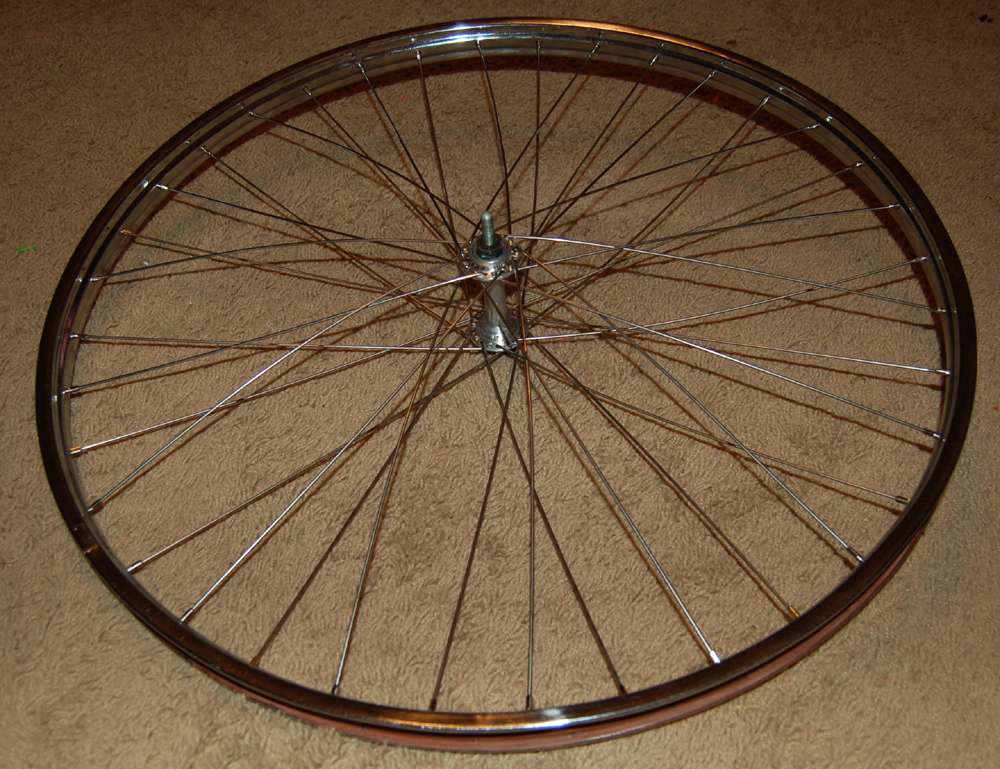
The next major step is building the front wheel. In the meantime, I think I'm going to put the front end together and probably start building the whole thing to make sure it works right. I've found a solid green NOS Person's seat for it. Wasn't my first choice, but will work, and I'm getting it for a good price. Once the whole thing is done, I'm going to have to make a major decision about the paint. It's in much worse shape than I want from OG paint. So I may bite the bullet and get the rattle can kit from Hyper-formance. But I'm worried about my ability to paint it. I guess painting the Renegade 5 with rattle cans will give me some good experience.
 
+1 awesome job, Crash, keep-up the good work!
 
Daaaaaaaaaaaaaaang Crash! You trying to make the rest of us fold this early in the game? :)
Seriously, that's coming along nicely. Looking good!
 
That is one slick looking beast! I never have that much luck with a stay stretch! Great work!! :shock:
 
Well crap. I'm using an original rim for the front wheel. Re-laced because I like fresh spokes. Obviously I had 2 rim to choose from, so I chose the best looking one, which was the rear. So I laced it, and tensioned it, and was trying it. There was a flat spot I couldn't true out. A bend in the rim. Ugh

So I in-laced it, and pulled out the other rim. Cleaned the corrosion in the well and primered it. Then I've got to clean up the outside best I can and polish it. Then lace this one up. Hopefully it's not bent as well.

Can anyone point me to some polishing tips and product? My Turtle Wax chrome stuff ain't cutting it.
 
Here's the newly laced "other" front rim. After much cleaning, the flaws are still there, but it still looks good. I tensioned it, but won't be able to true it till tomorrow. I'm crossing my fingers it isn't flat-spotted like the other. :?

s5bl.jpg
 
Front wheel is true! :)

Saw a pic of a Campus Green Fast Back and the chain guard was partially chrome. Liking that look, I stopped by the chrome shop to see how much.

:shock: :shock: :shock:

Needless to say, I'll be sticking with solid green. :shock:
 

Latest posts

Back
Top