First Build - Briggs Thing

Rat Rod Bikes Bicycle Forum

Help Support Rat Rod Bikes Bicycle Forum:

This site may earn a commission from merchant affiliate links, including eBay, Amazon, and others.
Joined
Aug 12, 2011
Messages
56
Reaction score
0
Rating - 0%
0   0   0
Hi, this is the first real motored build i have done. I tried and failed with a whipper snipper bike and decided if i was going to do it i might as well do it properly. So i pulled an old 5hp Briggs out from down the back of the shed, grabbed a cool frame my uncle had sitting in his garden, and got building. I intend to a torque converter primary belt to jackshaft, then to a transmission sheave on the rear wheel. I have a Honda motorbike carb which i will run in the Briggs for better performance. Hopefully it works... :D
loueedafly

loueedafly

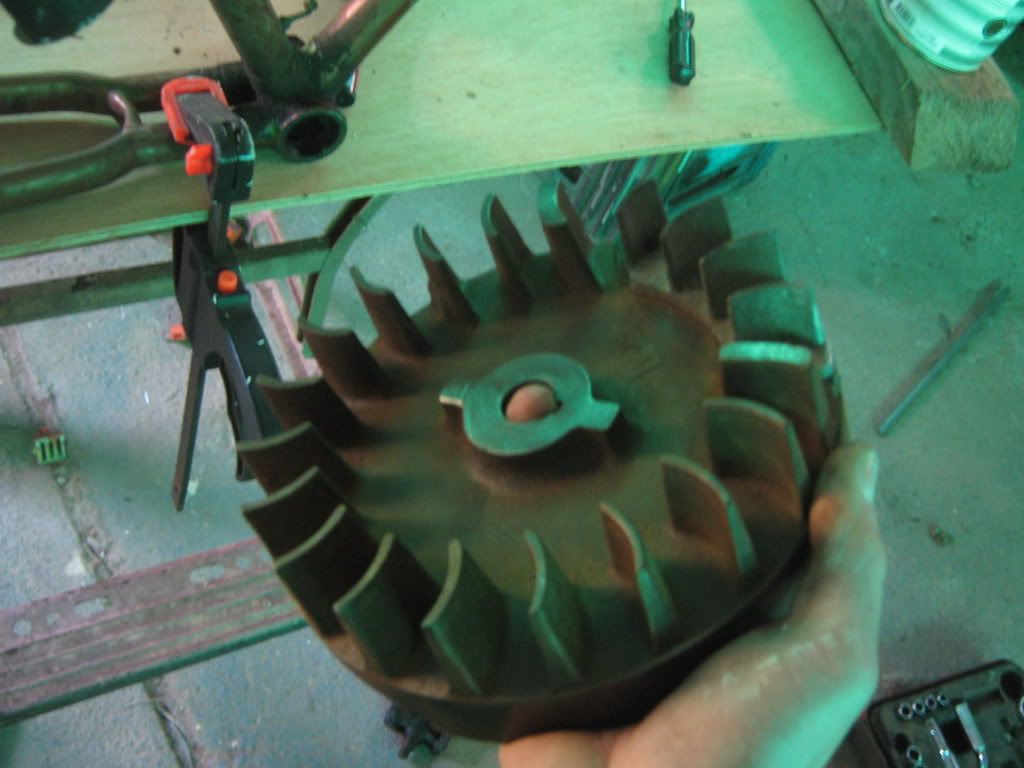
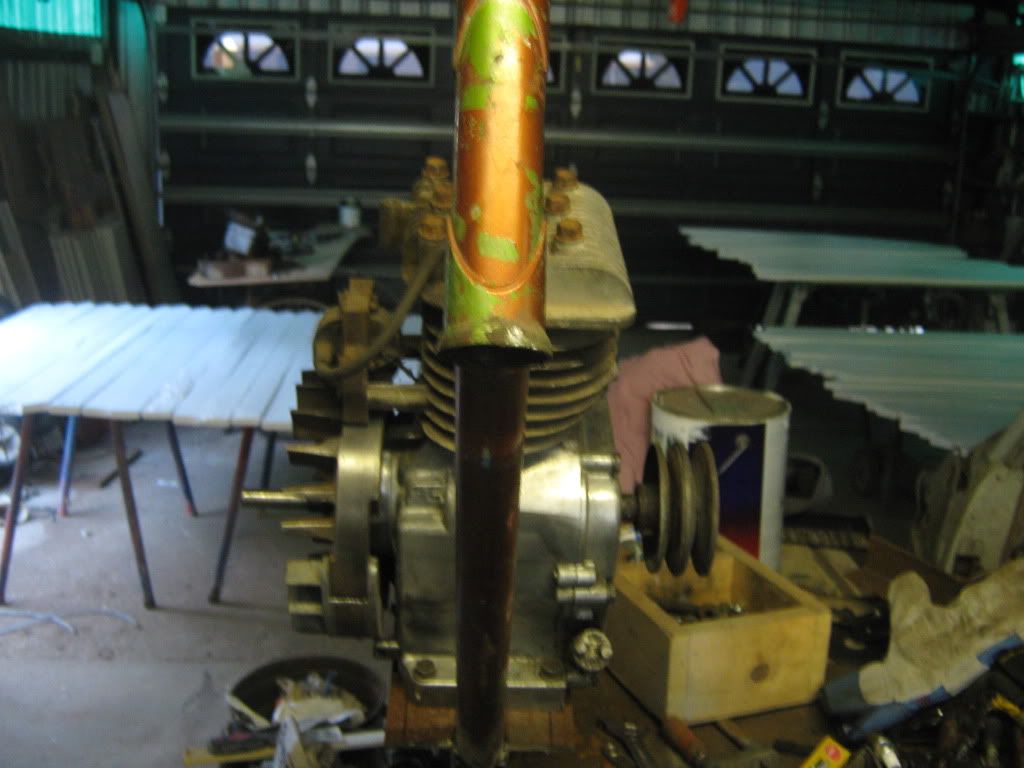
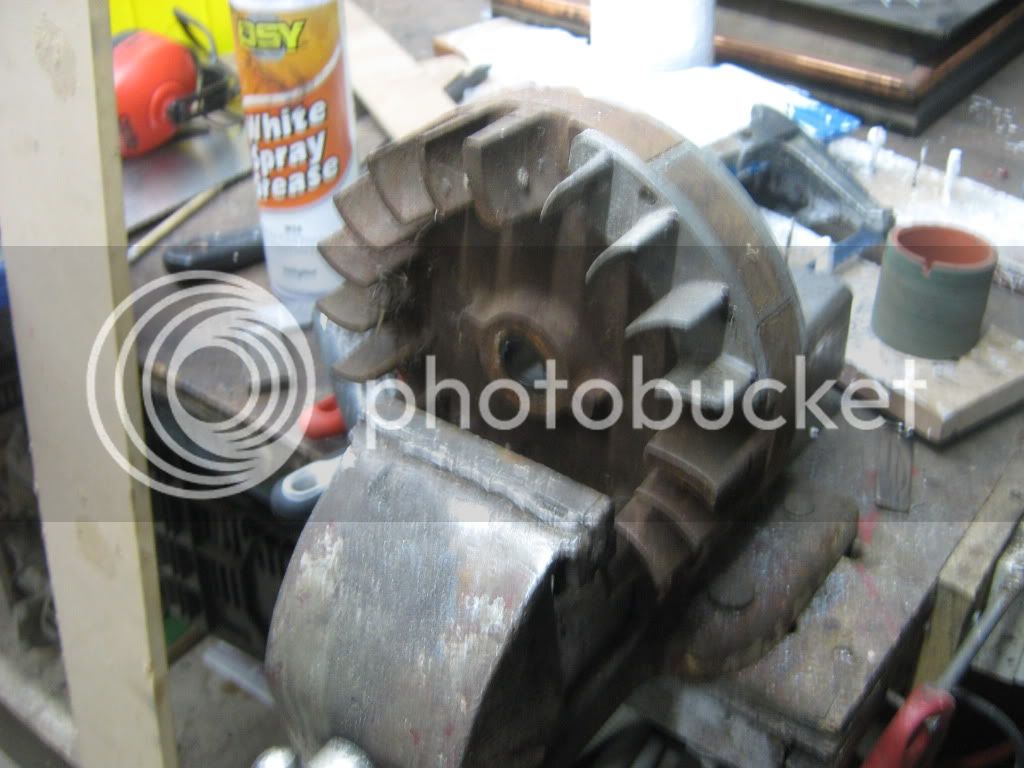
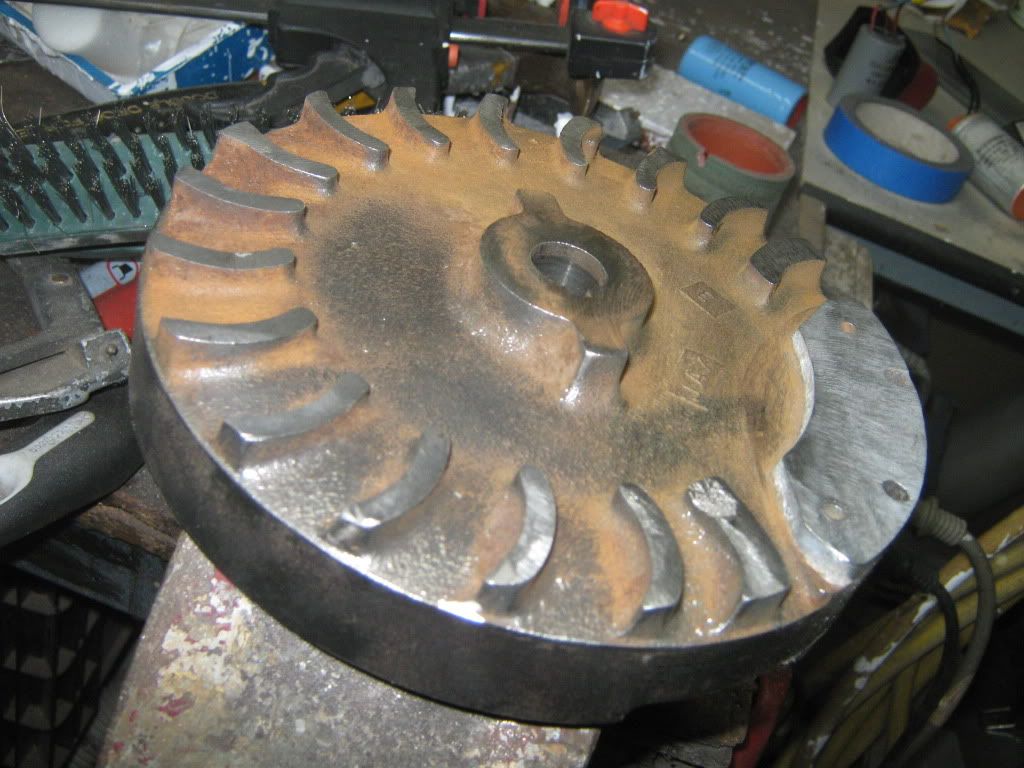
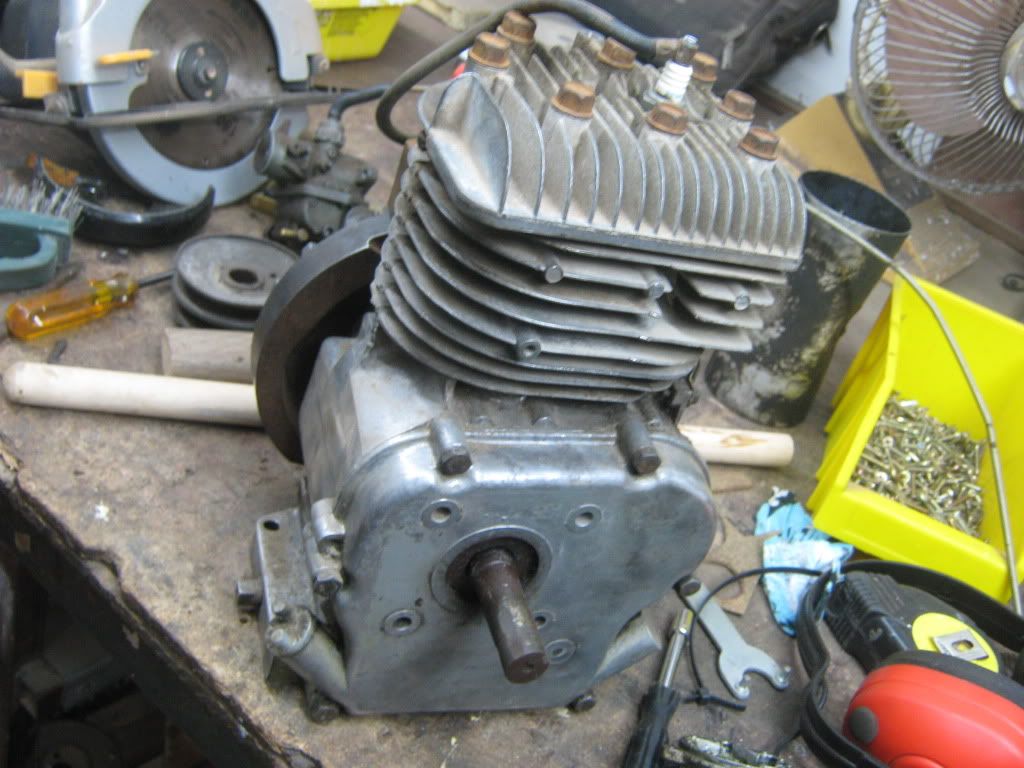
Will hopefully break the fins off this and grind it down, make it purty....
loueedafly

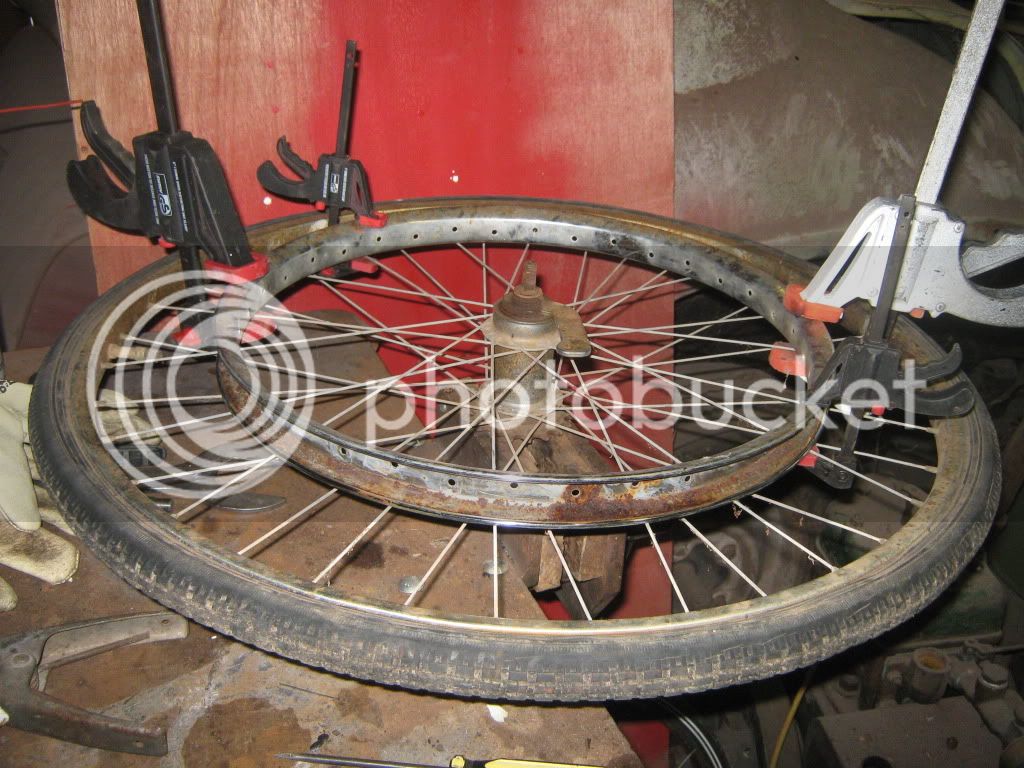
Sturmey Archer coaster hub wheel i scored free :D
loueedafly

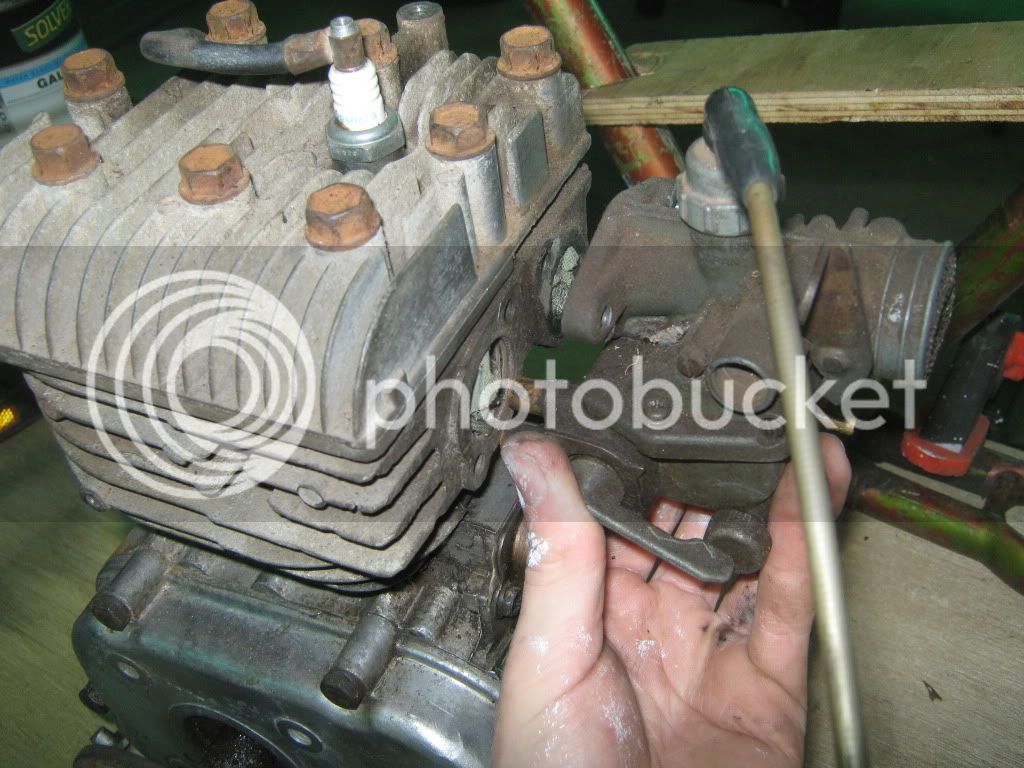
The carby i hope to use.
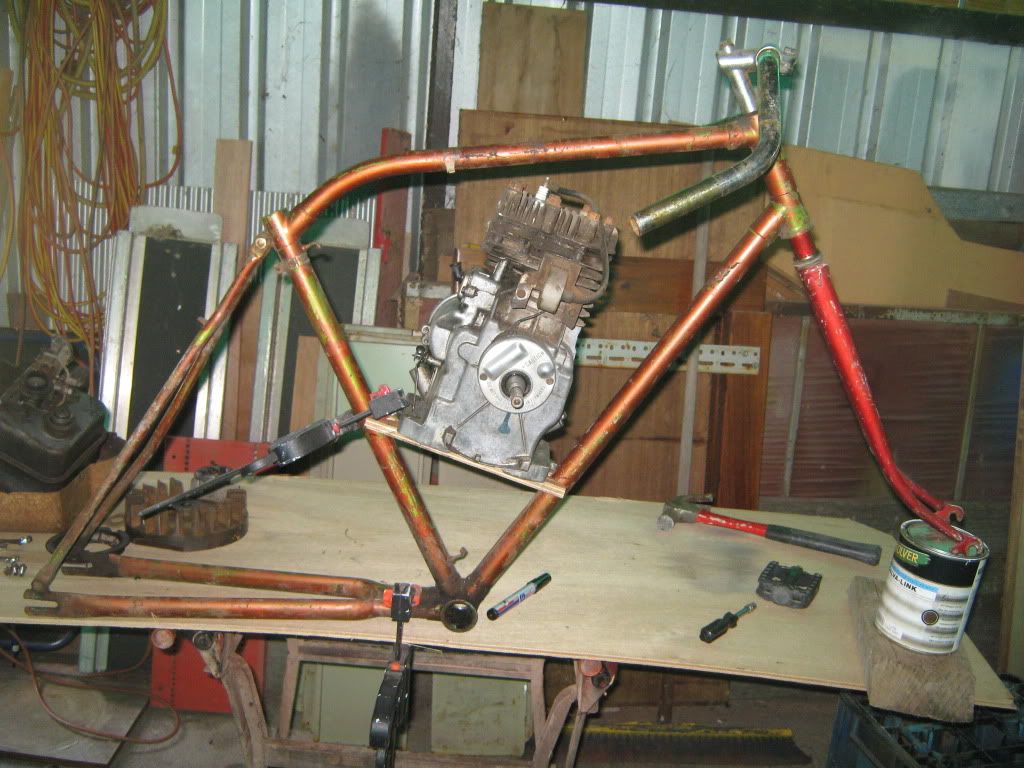
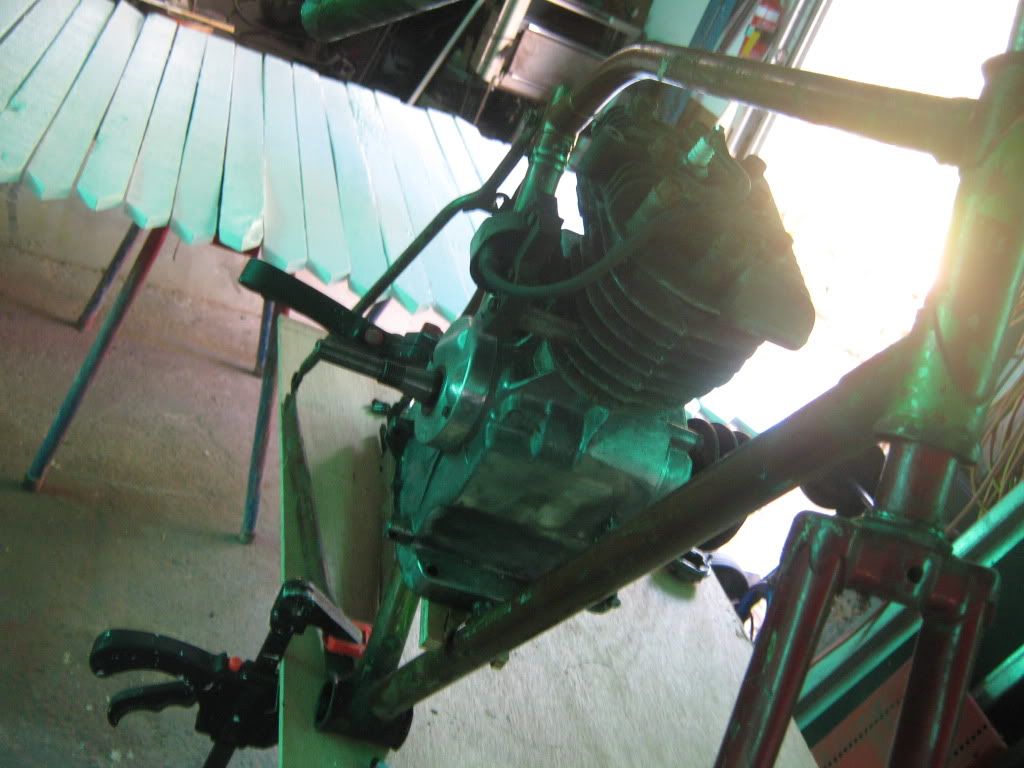
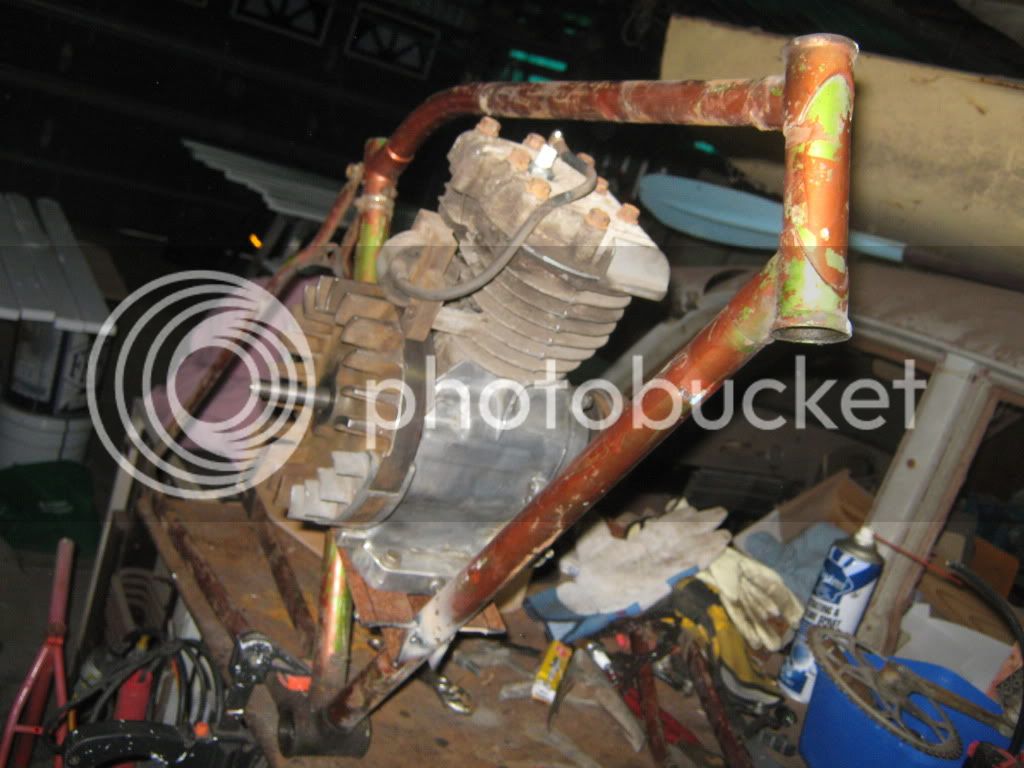
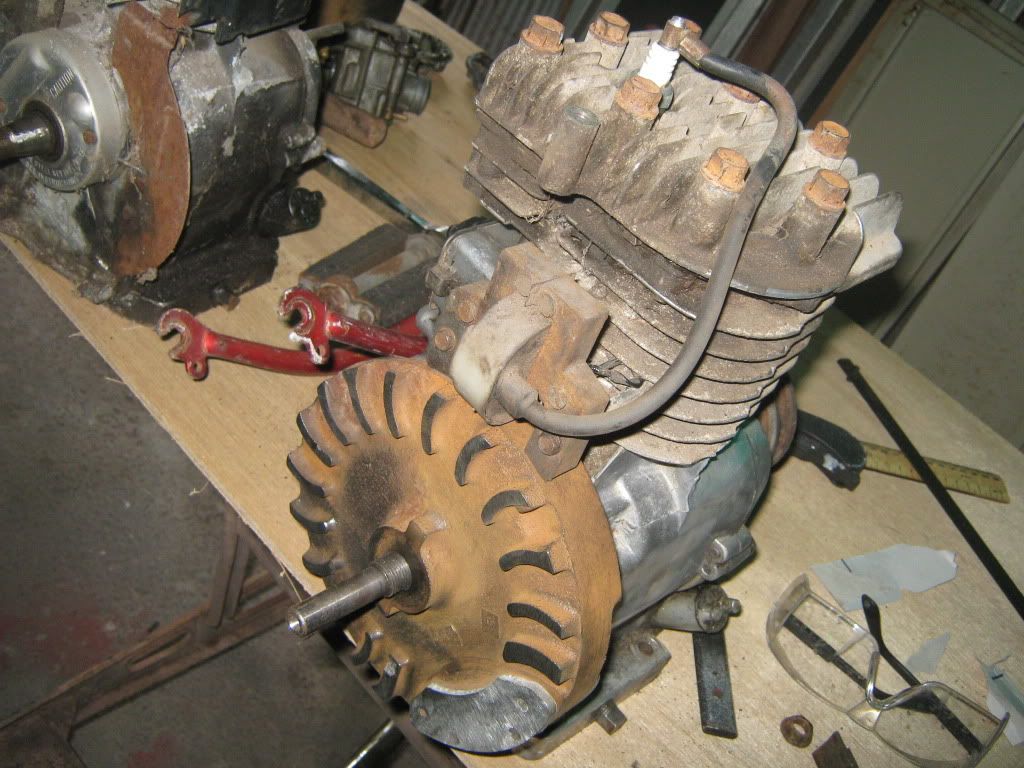
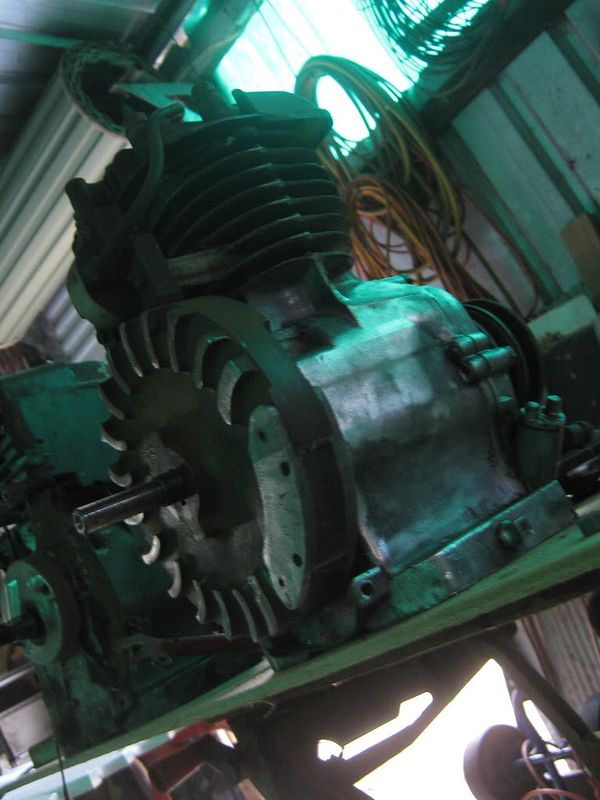
loueedafly

Engine mock-up.
loueedafly

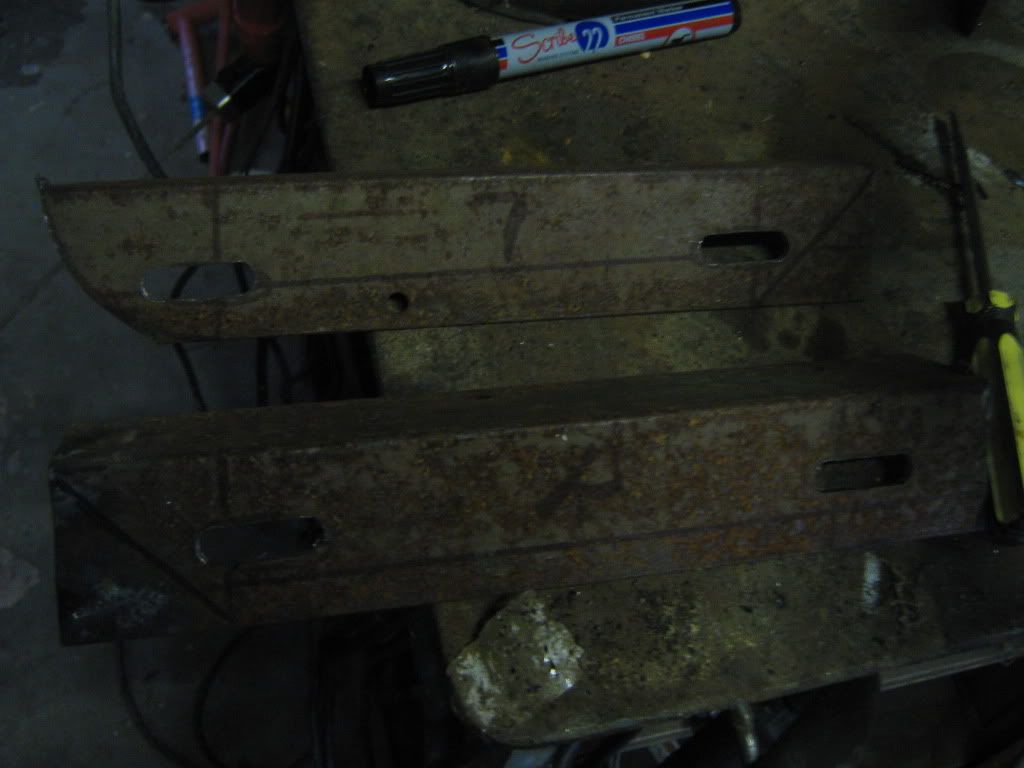
Engine mounts are tacked on, ill use my uncle gassed MIG to weld them solid as i have a cheapy gasless. :(
loueedafly

I actually got it centered! :shock:
Well, any tips and stuff will be appreciated, Cheers
 
Dang it, what did i do wrong? Its my first post... lol. Uh, i just click "img" when i was making the post then pasted the URL in between the two Lots of brackets, my photos are on photobucket. Is that how you do it?
 
Welcome, and we would love to see your pics, this site has slowed a little lately as far as new builds. It would be great to have another build to follow. Sounds like a nice start. Good luck
 
Thanks for the help AKB, and thanks Harry, ill do my best with this build, not making any promises as its my first :p
Here are some pics (Assuming they work this time)
The engine mocked up.
IMG_0027.jpg

IMG_0029.jpg

Hope to break the fins off this, and get someone to clean it up with a lathe...
IMG_0030.jpg

Sturmey Archer coaster-brake wheel.
IMG_0031.jpg

Honda CT carby that i should be able to use, should make the engine a little more responsive and reliable.
IMG_0037.jpg

Engine tacked in for now, i will weld it with my uncles gas MIG.
IMG_0041.jpg

Centered! :shock:
IMG_0043.jpg

Hope it works.....
 
Thanks alot guys. Sometime after school im hoping to start working on a sheave so i can see if it will fit in the rear triangle without modification... Im aiming to use brackets like yours Harry, just needa find some appropriate steel.
 
Well i got some stuff done today after school, not much, but its a step... :p
I put some slots in my engine brackets so that i can slide the engine to tension the primary belt. (Sorry if the picture is a little dark, but the lights in the shed suck. :p
IMG_0046.jpg

I also unlaced a wheel to use as my sheave, and got it clamped into the centre. All i need is some flatbar to bend up some brackets and weld it on.
IMG_0045.jpg

Now, the sheave and wheel dont fit into the frame together, so my dad thinks i should cut off the bottom of the triangle, and bend up some tube that goes straight rather than going inwards towards the lower frame from the rear axle. We dont have a pipe bender, only a flatbar bender so this will have to wait till i can get to my uncles to bend, while im there i will weld the engine brackets back on properly and weld this new piece of triangle in.
This is the part i will replace, for a wider one that will alow the sheave to fit in, and i will make new brace that go up to the top of the seat tube.
IMG_0047.jpg
 
Got some stuff done today after school, i bit the bullet and cut the fins off the flywheel with a grinder, it went surprisingly well. Here is some pics, im happy with it.
IMG_0048.jpg

IMG_0050.jpg

IMG_0052.jpg

IMG_0054.jpg

IMG_0056.jpg

Hopefully ill get some more done on the weekend.
 
Looking forward to seeing that belt drive. The flywheel looks great.
 
Haha, man, im looking frward to seeing the belt drive :p Im kinda just hoping it will work... Imquite happy with the flywheel, better than all the fins anyways.
 
Hey man, really nice job on the flywheel and you did a really nice job on improving the looks of the motor by rounding the head and fins. :D :D :D

I noticed you said you were going to do similar brackets to mine, just wondering what size rim/sheave are you using? because the gap between the rim and the sheave look a lot bigger then mine. the smaller that distance the stronger and easier the job will be. So if it is a small sheave, maybe you could find a bigger rim?

You were talking about modifying the frame, another easy way ive seen it done (even on early motorcycles) was to simply cut a small section from the upper and lower rear triangle where the sheave would rub the frame, and place it out far enough to clear, and weld in flat bar. Or heres how i did mine, if that helps


Picture205.jpg


I also noticed the carb you are using has a built in tap, which is great, but in the picture it looks like the tap will be in the way of the exhaust?
 
Thanks AKB, doing my best :p
Harry, thanks alot for your interest, info and photo. I actually didnt do anything to the actual motor's fins. They were already rounded, it a 5hp Briggs from Milwaukee and it has points igntion so im guessing its of some age. I dunno, maybe they just felt like making this one pretty, I am pretty happy with how the flywheel turned out though, thought it would go a little more pear-shaped than that.
The rim is 26", Sturmey, and the sheave is a 20"? Its off and old Raleigh unisex bike from the 80's. Think maybe i should have a look for a 24" sheave? And with regards to the frame, what did you weld in place? Just some round bar? It looks like a good idea, might give it a go....
The tap on the carby will not be in the way of the exhaust as i will make a manifold to get the carb out and away from it, that was just a mock up to give you a general idea. The exhaust will also bend away from it.
Thanks alot for your help man, its really appreciated. :)
 
Yeah i see now the original castings on your head/barrell, i had to do a lot of grinding/filing to achieve that look, saves you a bit of work.

As far as the sheave i used a 26" rim and a 20" sheave/rim, you may wish to measure the sheave as not all 20" rims are actually 20". Mine was actually 460mm (18.11")..... so im sure your 20" rim will be fine. It just looked like a big gap in between.

As far as my rear section to clear the sheave, ill tell you what i did, but im not sure its the best......... anyway i simply had the wheel bolted into the dropouts with sheave fitted. I then cut the rear triangle away and simply cut v's into the rear triangle to get my angles and then re-welded it, and then i had some slightly larger tubing that slid over the triangle to weld the 2 completely cut parts of the rear triangle together.
 
Thanks Cobrafreak, you think it has potential? I will just be happy if it goes :p
Im glad i dont have to grind it down to achieve a good look, i wasnt keen on altering the cooling fins on the head and barrel.
I will be doing some building tomorrow, because today i have a high school band festival :roll: So tomorrow i will measure that rim and take into consideration the length of my brackets. I may look for a bigger rim...
The way you did your rear triangle sounds great. i have seen your Villiers Cruiser and its a really nice bike, so i wont hesitate in using your advice. Thanks
 
My bike might look nice, but im certainly no engineer Louis, i never really asked anyone if it would be strong enough as ill be the only one riding it and will be checking for any cracking of any kind, and my Villiers doesnt have anywhere near the power yours will produce. So be weary.

When i notched and rewelded the frame i made sure to get a good weld, ive heard people say you need to plug the tubes, and ive heard welders say it isnt necessary. Anyone have an idea???? Im no expert and dont wanna get others hurt.
 

Latest posts

Back
Top