The Renaissance Man
__CERTIFIED DIVER__ (Open Water & Open Dumpster)
Staff member
Moderator
Pro Member
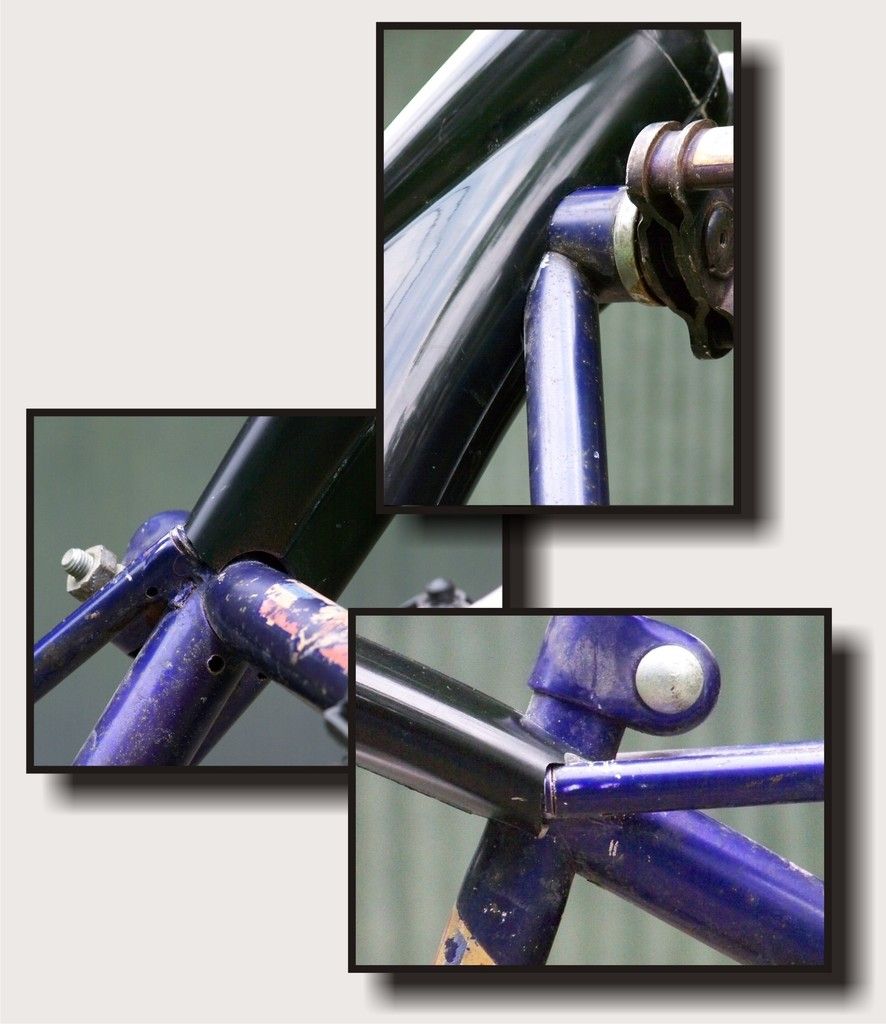
Thanks for the heads up. I'll do that.RM....I put one of those 3-bolt cup converters in my 37 Shelby. I had no size issues. Maybe the shell is a bit small on that particular frame.... FYI, the Shelby developed a nasty creak yesterday on a long ride, and I found the three long screws holding the cups in the shell worked loose. Make sure you locktite them during the install..(post-grindoff)
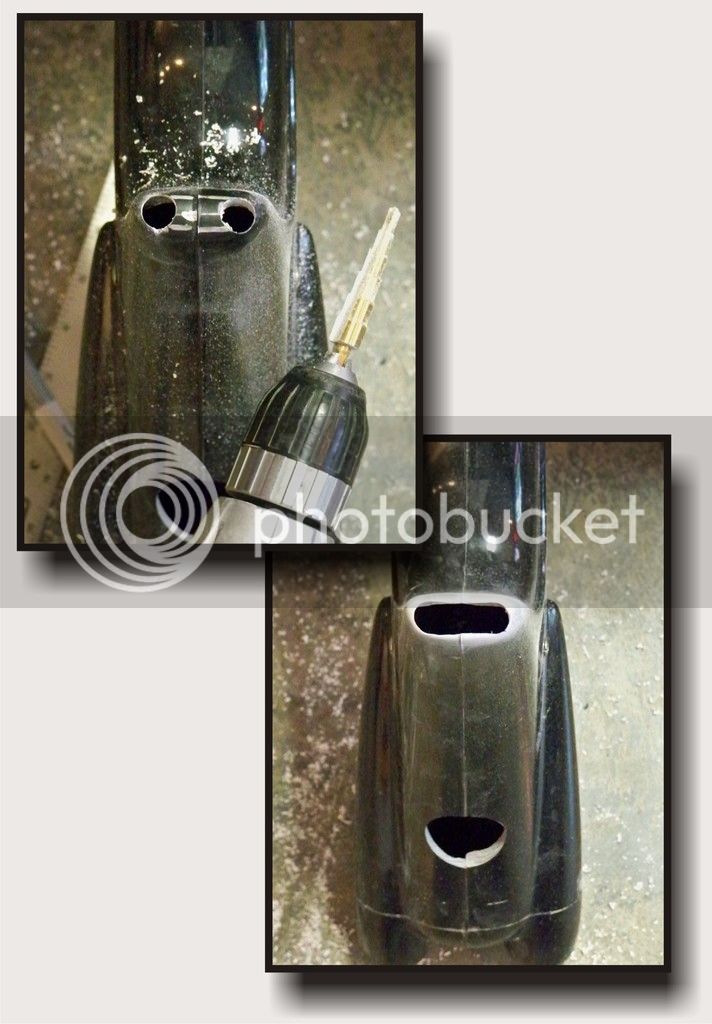
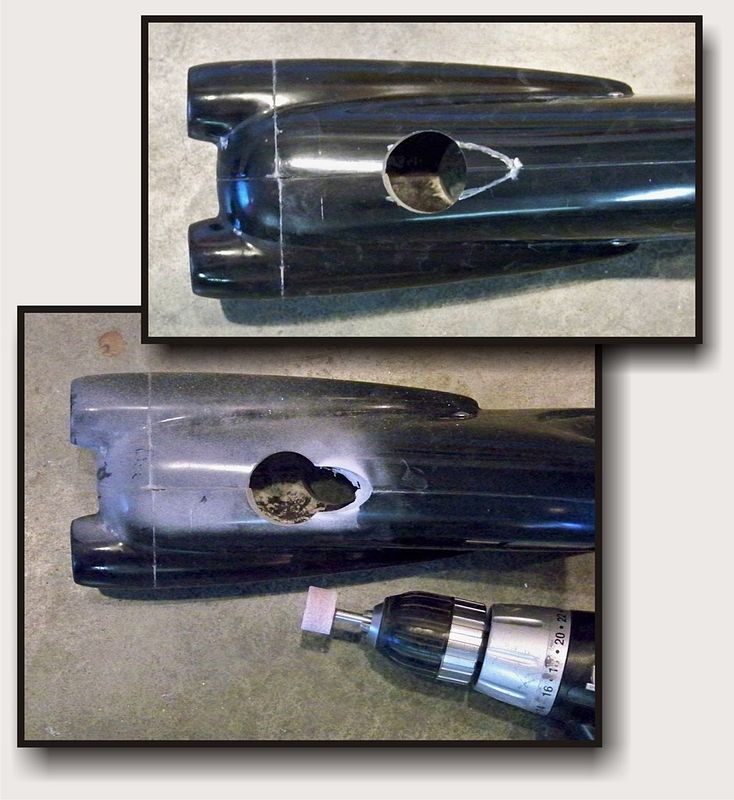
I've been out of town all day today, so maybe I can get to finish fitting tomorrow. I forgot to mark the top tube locations the first time around, so I took the tank back apart and marked it this evening.
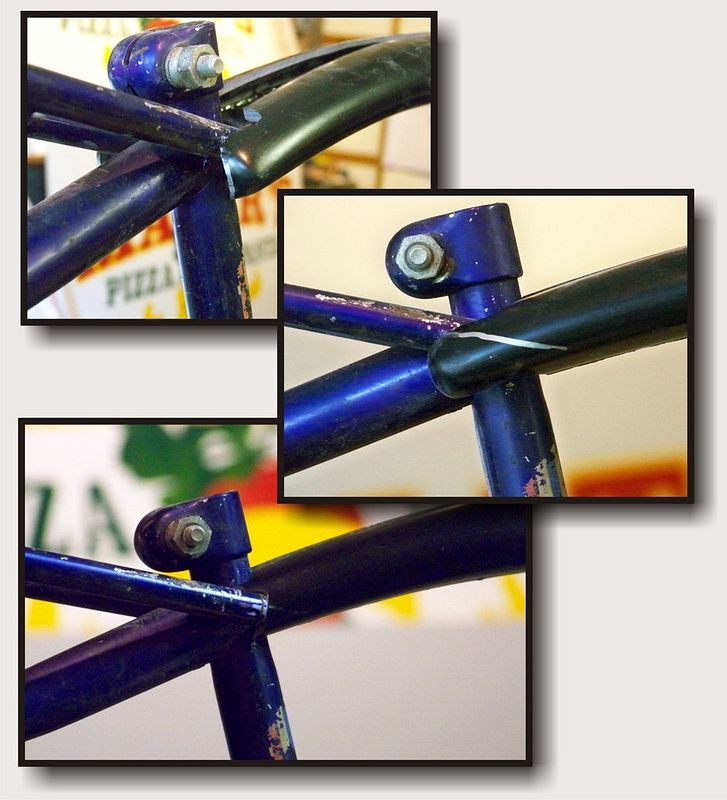
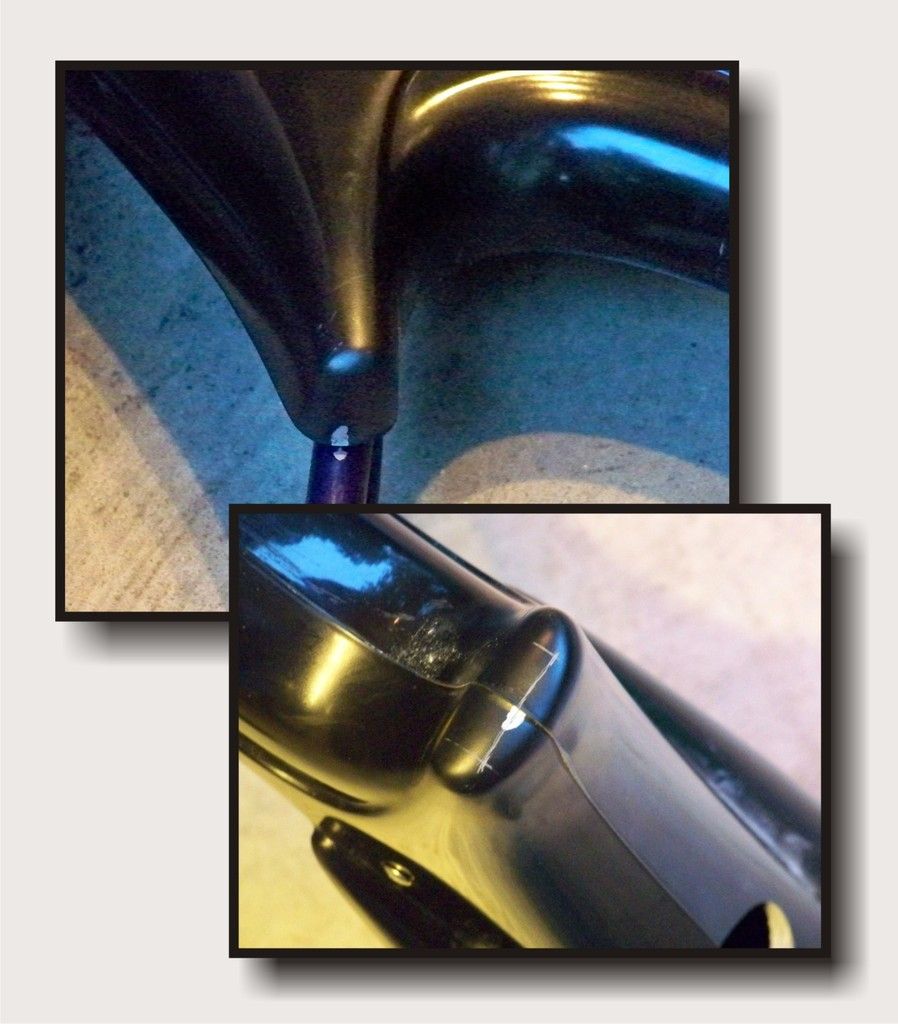
I used a silver sharpie and marked the tank and frame where they intersected. After I bolted the tank back together I scored a line across both halves. Then I found the measurement from center to center of the top tubes and scored marks to correspond on the tank. It got too late to drill them, so I'll do that tomorrow.
 My fabrication experience is limited to using wood, some 1/8 x 1/2 steel, paint, and other parts that can be manipulated with a hand drill, hack saw, and vise grip! But, being the overachiever that I am, I will press on to try to meet the standards that you all have set.....Thanks for sharing your expertise, and for your input and supportive words!
 This forum and the build-offs are very inclusive and resourceful for all of us. It's interesting that you bring up "skills, tools, and experience". After last year's bike with a good share of one-off fabricated parts, one of my goals for this build-off is to demonstrate how my bike can be built by almost anyone with common tools, available parts and a desire to tinker on bikes. I really hope when it's finished that others will like what I've done and know that they can do something similar if they want to!