(BO-X) RAMCHARGERS Drag Bike (Finished, last detailed pictures)

Rat Rod Bikes Bicycle Forum

Help Support Rat Rod Bikes Bicycle Forum:

This site may earn a commission from merchant affiliate links, including eBay, Amazon, and others.
This is where I'm at now...
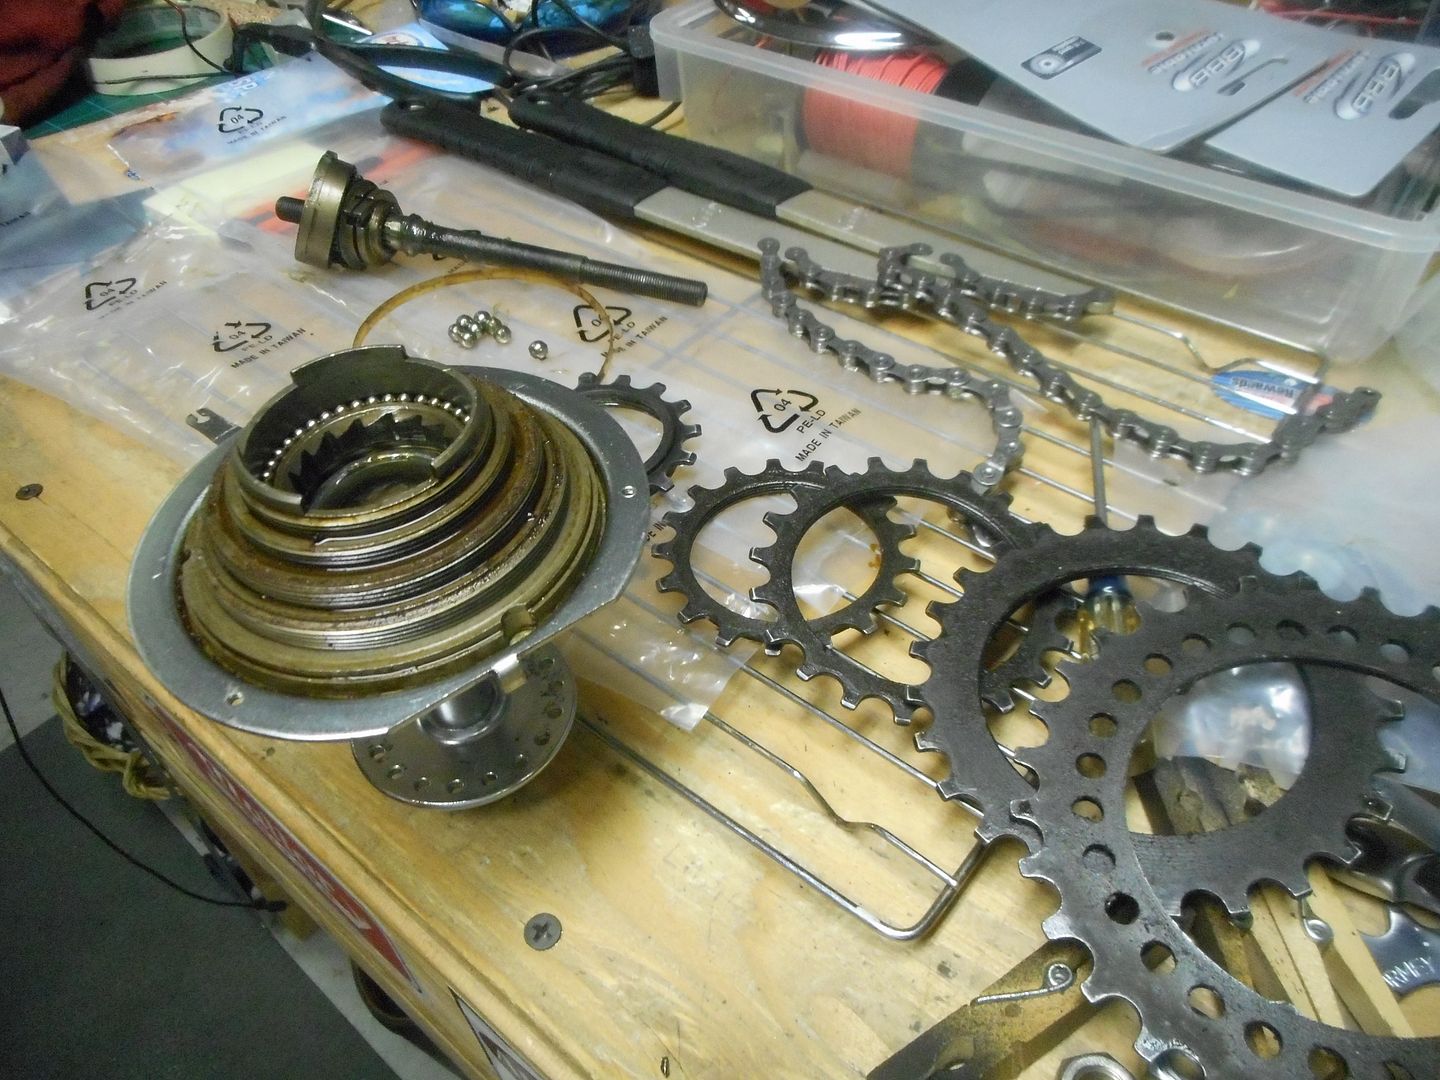
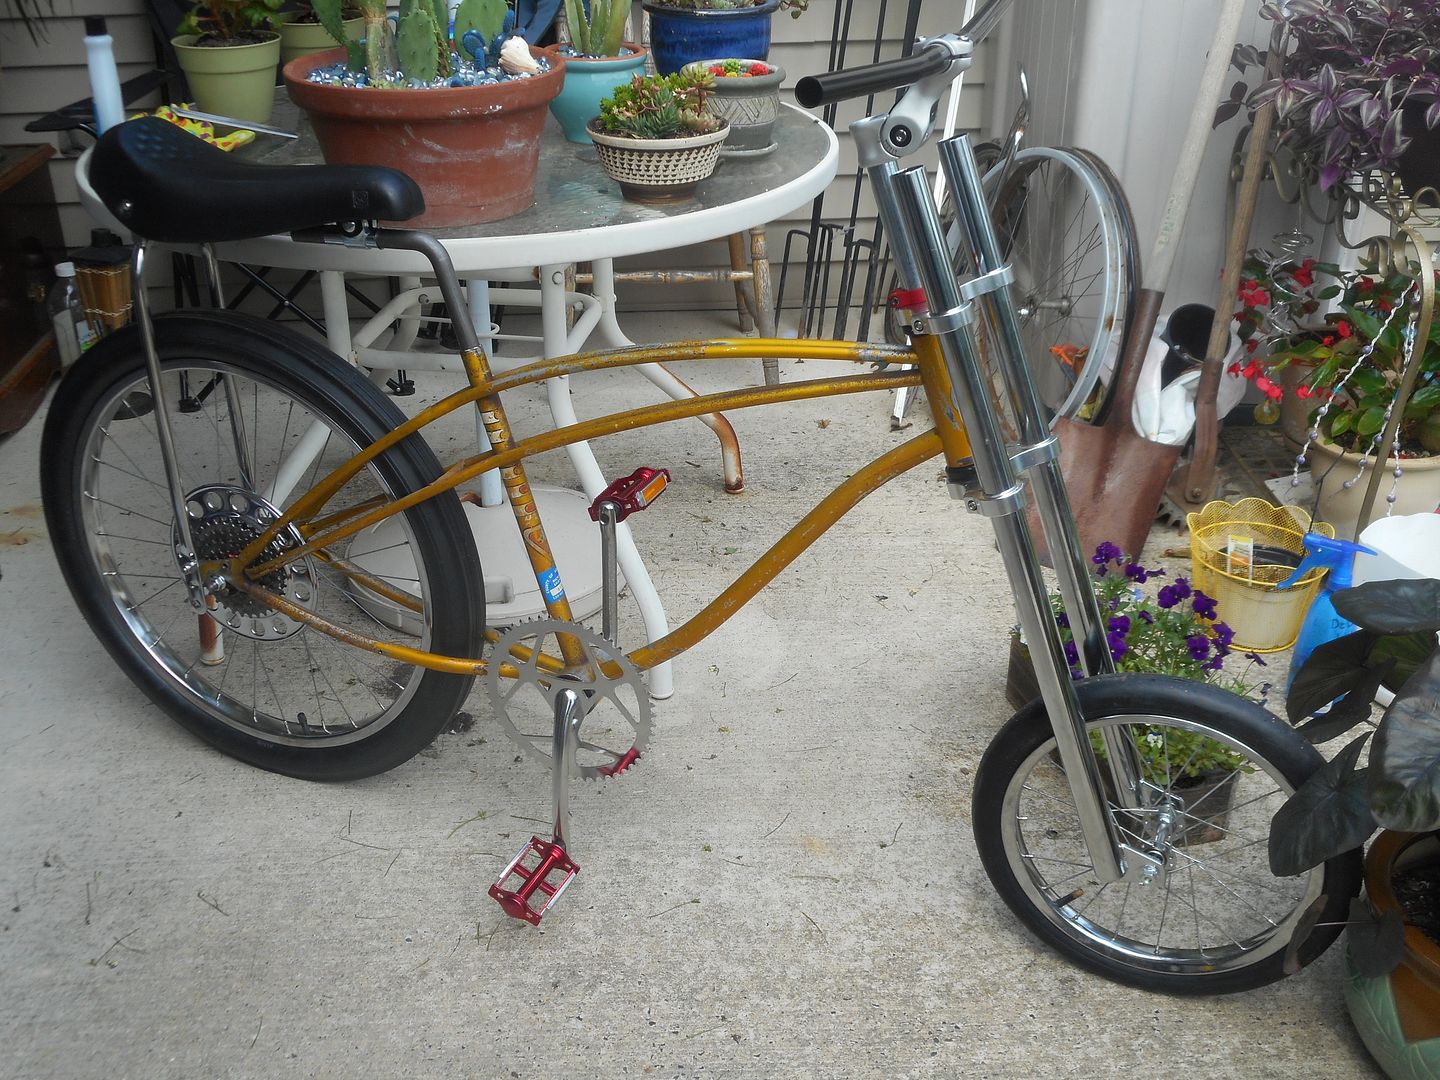
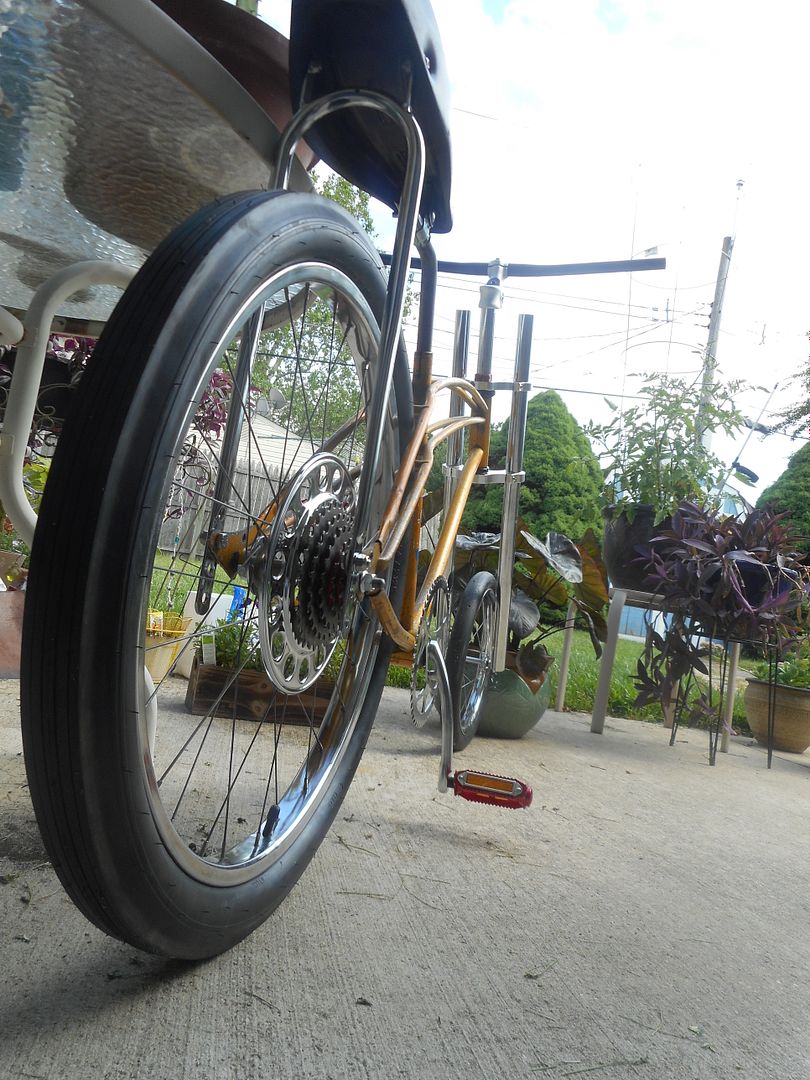
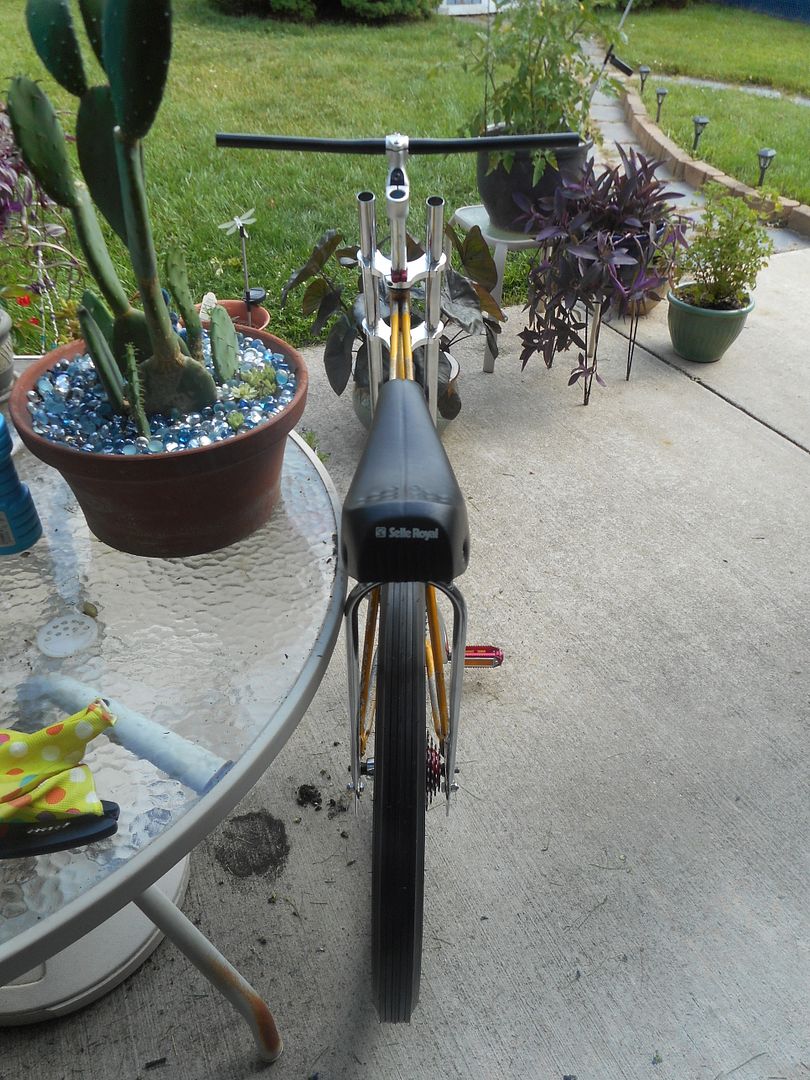
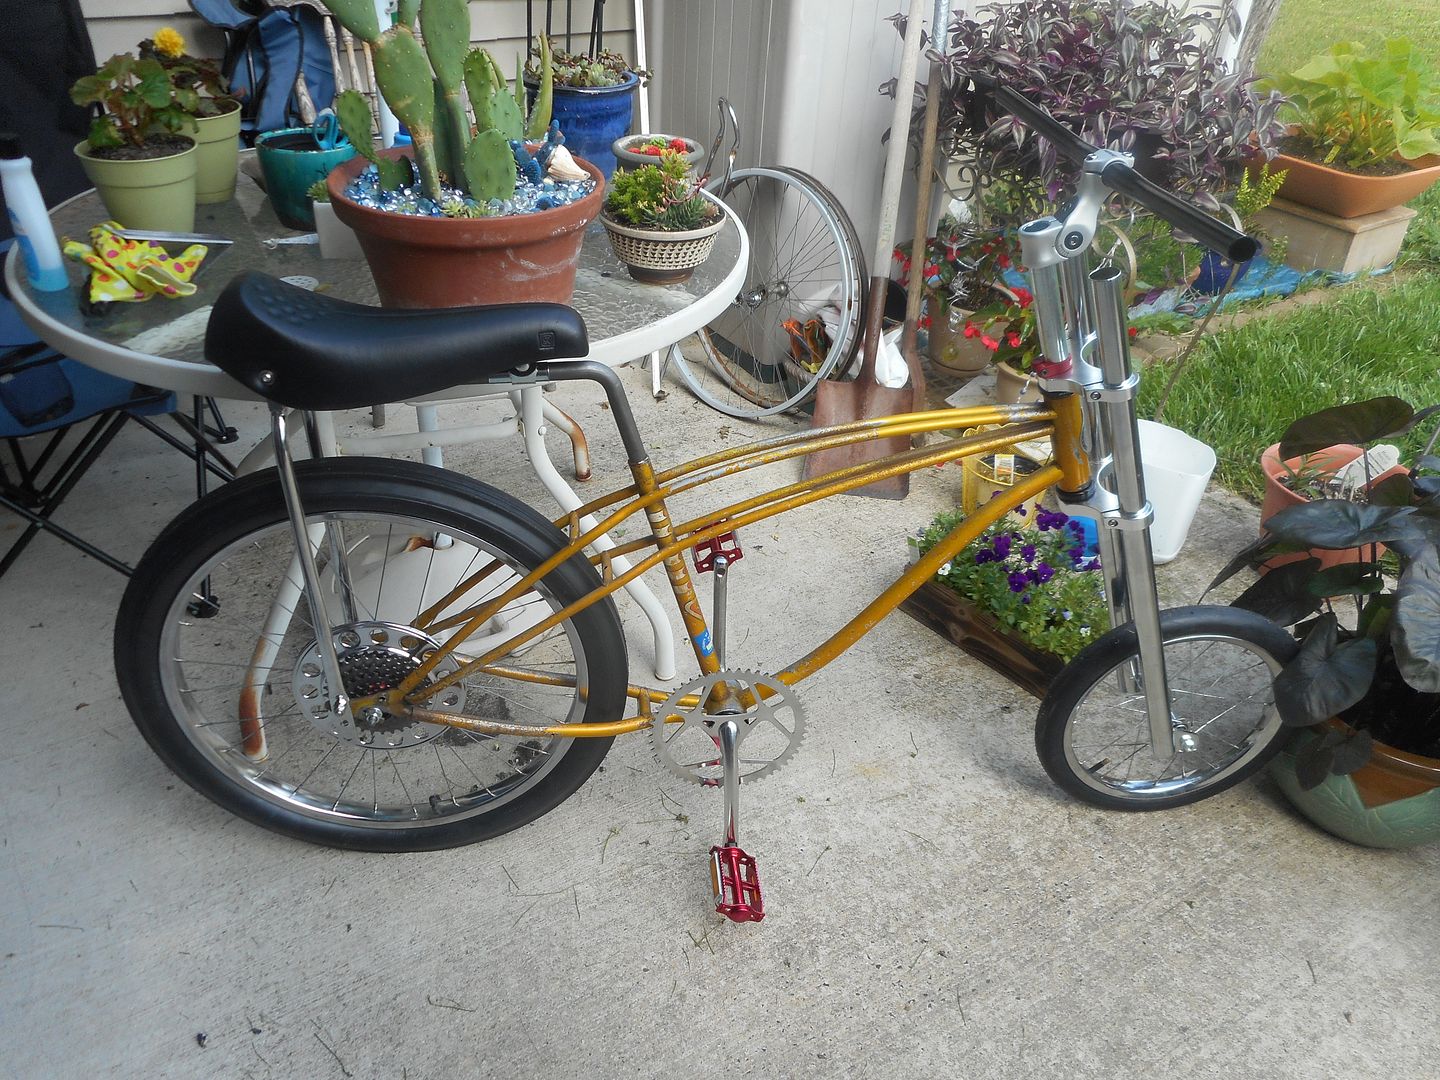
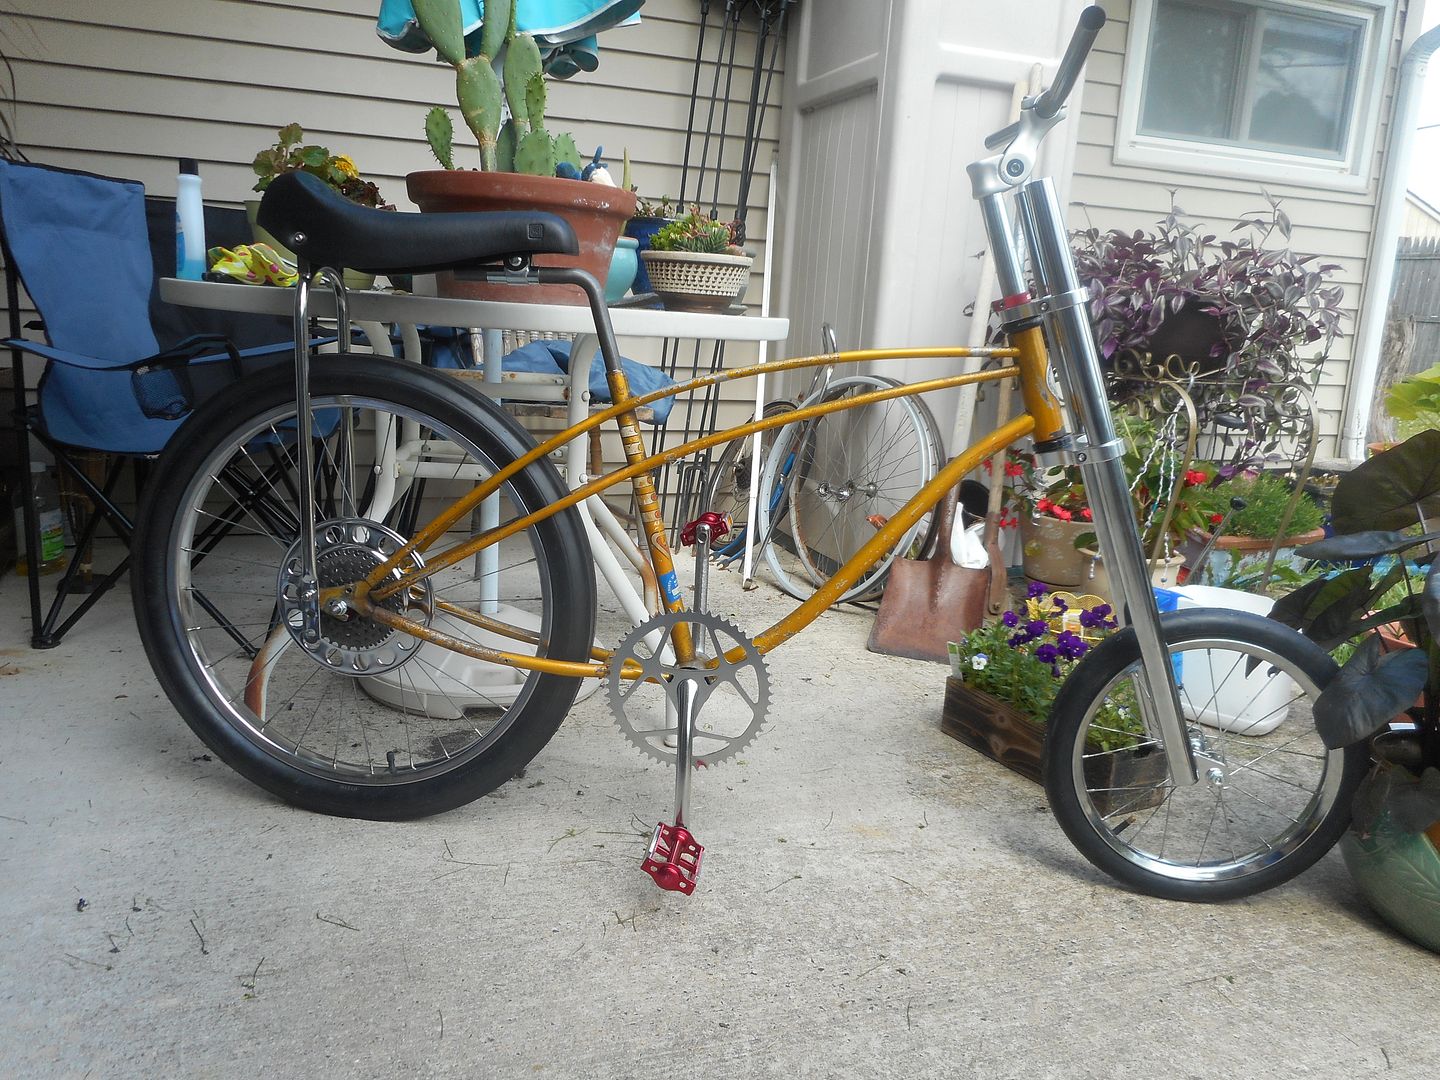
I got the BB assembled and checking my clearance for the pedals. Even before I snapped these pictures I extended the forks a little. I got it level and it has 1-7/8"! I'll add just a tad more clearance to it. I definitely want to get this right before I hack the forks first. The chain ring is a 52t and the new BB had everything for proper spacing.;)
DSCN0903.jpg

DSCN0905.jpg
DSCN0906.jpg

DSCN0907.jpg

DSCN0908.jpg
 
This build gets better every time I see it! Those rear brakes are very cool. That frame looks like it was made to have dual brakes.
 
Getting shifty. Small issue here... the sissy bar interferes with the derailleur so, do I trim it or bend it a tad??? I can't go any further with this as I am waiting for my shifter mounting clamp to arrive in the mail.
DSCN0919.jpg

DSCN0920.jpg


I also discovered that I have a slight tire rub on the brake caliper so I will grind about 3/16" off of that to clear. I also want to mention that the top caliper mounting bolt had a 1/4" cut from that to fit. It is a tight fit in there.
POINT.jpg
 
This build gets better every time I see it! Those rear brakes are very cool. That frame looks like it was made to have dual brakes.
They did come with dual brakes!:cool2::cool2: Double the coolness!
 
They did come with dual brakes!:cool2::cool2: Double the coolness!
I had no idea those came with dual breaks. I need to look for one of these frames now. As for the sissy bar clearance since you're only using the top screw hole I would just cut the bottom half off.
 
I agree with BikeBum, cut it off if you don't need it. If it's aesthetics you're going for maybe you can notch it so the derailer moves.
 
That's a cool double brake lever. I remember that my Screamer 2 had a double rear brake, but I had to have two brake levers to engage the brakes.
 
Well I believe I have almost everything ready to send it out for powder coating. There are 3 factory holes I have to weld shut, the chain guard mounting hole on the chain stay and the 2 head badge holes. I'll take that to my co-workers house and use his welder.
There was a bit of binding in the steering that I noticed during mock up and this is attributed in the larger 1-1/8" fork tube. There were 2 spots in the head tube I had to grind and file on top and bottom to get it so it moved smoothly.
DSCN0965.jpg

DSCN0966.jpg

DSCN0967.jpg

DSCN0968.jpg
 
Those are very cool! I have no idea how they work, so to me that just makes them cooler!

Luke.
Me either but I would love one for my space liner , that thing will be a rocket ship !


Sent from my iPhone using Tapatalk
 
Well I believe I have almost everything ready to send it out for powder coating. There are 3 factory holes I have to weld shut, the chain guard mounting hole on the chain stay and the 2 head badge holes. I'll take that to my co-workers house and use his welder.
There was a bit of binding in the steering that I noticed during mock up and this is attributed in the larger 1-1/8" fork tube. There were 2 spots in the head tube I had to grind and file on top and bottom to get it so it moved smoothly.
DSCN0965.jpg

DSCN0966.jpg

DSCN0967.jpg

DSCN0968.jpg
Got a wild color in mind ?


Sent from my iPhone using Tapatalk
 
Got a wild color in mind ?


Sent from my iPhone using Tapatalk[/QUOTE]
The WILD COLOR is white with red stripes, like all of the Ramchargers Dragsters were painted.
Ramchargers%201970%20Challenger.jpg
Ramchargers%201972%20Duster.jpg

Ramchargers%201970%20Cuda.png
Ramchargers%201964.png

FC%20Ramchargers.jpg
Ramchargers%201965%20AWB.jpg

Ramchargers%20SW.jpg

This is just a few of the many that were part of the Ramchargers Team. The first car is the exception, as it was gray.
High%20and%20Mighty.jpg
 
Last edited:
Lots of customizing going on here! That paint job is going to be the icing on the cake! :D
 
As a space liner, and a mopar fan you got vote [emoji232]


Sent from my iPhone using Tapatalk
 
I'm still working on it even though I may not finish. Frame is done. I had to take it to A&E MFG. Co. to fix some bad welding a friend did for me. That is sorted out.
So, tomorrow it is off to the powder coater.
0629151148_2.jpg

0629151150_2.jpg
 
I got a couple of chain wrenches and attacked the Automatic 5 hub today. I still need to get a tool to remove the inside parts. Cool shots of this hub planetary gears and where the oil goes when you fill the axle.
DSCN1028.jpg

DSCN1025.jpg

The axle is drilled out for oiling the planetary gears. Small hole is at groove inside splines of axle that allow oil flow all throughout planetary gears. Phil's Tenacious oil is recommended.
DSCN1026.jpg

DSCN1024.jpg

THIS IS THE PART I NEED THE TOOL FOR. FITS IN THAT SO I CAN TURN IT OUT. I'LL PROBABLY HAVE TO MAKE IT.
DSCN1027.jpg
 
Last edited:
I got a couple of chain wrenches and attacked the Automatic 5 hub today. I still need to get a tool to remove the inside parts. Cool shots of this hub planetary gears and where the oil goes when you fill the axle.
DSCN1028.jpg

DSCN1025.jpg

DSCN1026.jpg

DSCN1024.jpg

THIS IS THE PART I NEED THE TOOL FOR. FITS IN THAT SO I CAN TURN IT OUT. I'LL PROBABLY HAVE TO MAKE IT.
DSCN1027.jpg
Crazy, i've never tore one of those apart before I don't know if I could put it back together if I ever did.
 

Latest posts

Back
Top