b.o.b.o.b. (putting unwanted exercycles parts to good use)

Rat Rod Bikes Bicycle Forum

Help Support Rat Rod Bikes Bicycle Forum:

This site may earn a commission from merchant affiliate links, including eBay, Amazon, and others.
stretch said:
first set of bars. this thing has that drag bike/ downhill gravity bike look goin on. :D
i think there just a little too small.

picked up some black lag bolts and wings nuts to mount the back wheel disk.
i also managed to use an old chainguard bracket to mount my chainguard.
seems pretty solid, but i'm gonna add another bracket just incase.

IMG_0201-1.jpg

IMG_0200.jpg


i've got a feeling, shortly after the build off a subtle stretch/lower will be in order.
IMG_0203-2.jpg
 
i have something instore for those black lag bolts, but thats a darn fine idea.

thank ya!
 
and this was going so well. i'd take it for a spin if i could remove the darn seat post. lol

anybody got any bright idea's?

i tired penetrating oil over night.
drilled a hole in it for a screw driver, heated up the seat tube and beat up the screwdriver.

tried visegrips to twist/beat it outta there and it still hasn't budged. i'm about ready to drill a hole in the bottom of the bb and smash it outta there. :shock:

i just wanna take it for a ride that all. gotta figure out the placement of the shifter also.
so please, inspire me with your shifter pic's!

for now i'm gonna paint the frame flat black. i'll come back and detail/stripe the bike after the build off.
got lots instore, custom paint,speedo,shifter and hopefully some 24x3" white walls. :)

IMG_0205-1.jpg

IMG_0208.jpg
 
turn the set post into part of a slide hammer. drill a hole in a good sized chunk of 3/16" plate, put the plate on a long bolt with a big head, then a 10 lb. weight, then weld on said bolt assembly to the stubborn post. hold the frame over some grass, and use it like a slide hammer. the weight of the frame and of the downward force should pull the post out with heat helping you.
 
thx guys for all the tips.

the top of the seat post tube had been so badly collapsed by the seat clamp, it had actually changed the shape of the seat tube.
i fought with it for a long time (2 hours the first day- 3 hours the second.)
tried heating with /without the seat, tried a similar slide hammer technique, tried just about eveything you can throw at a seat post and i didnt even get it to move 1/16 of an inch in any dirrection.

not to worry kiddies, what is it they say??????
oh yeah, theres more than one way to skin a dead animal. :)

IMG_0213.jpg

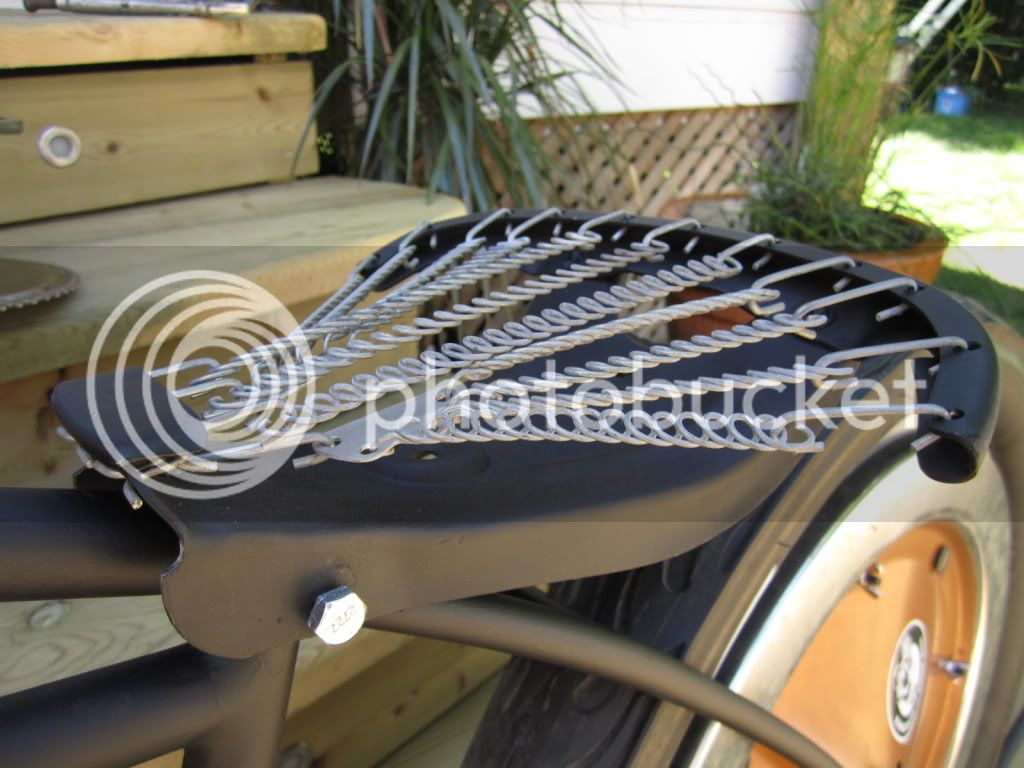
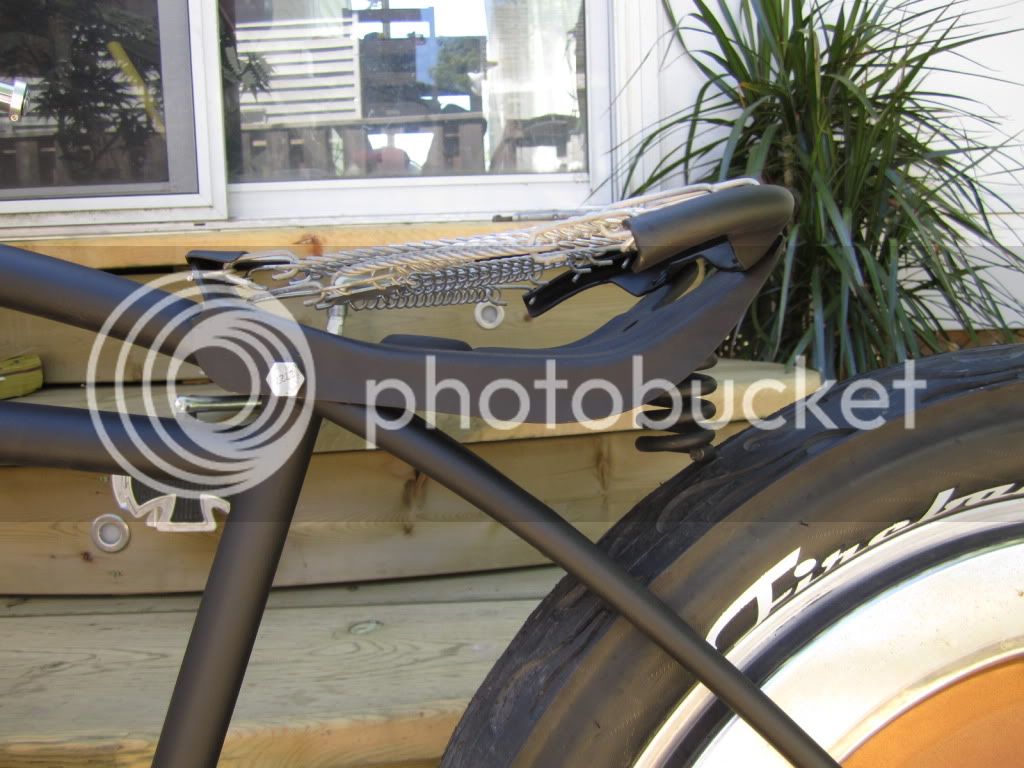
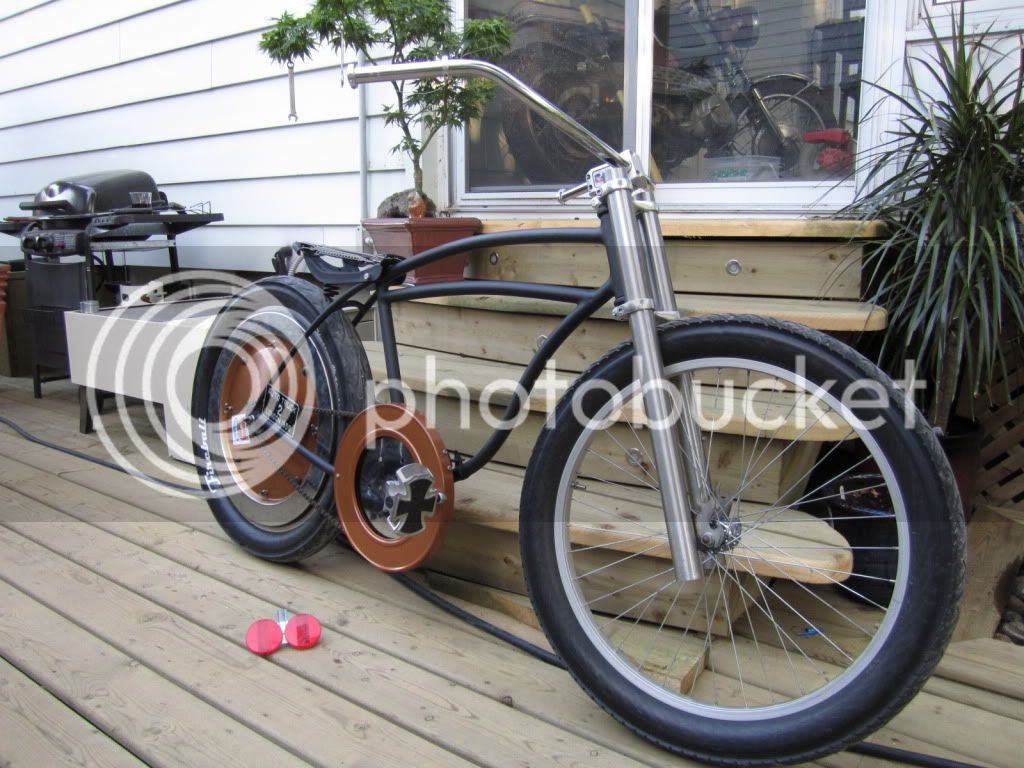
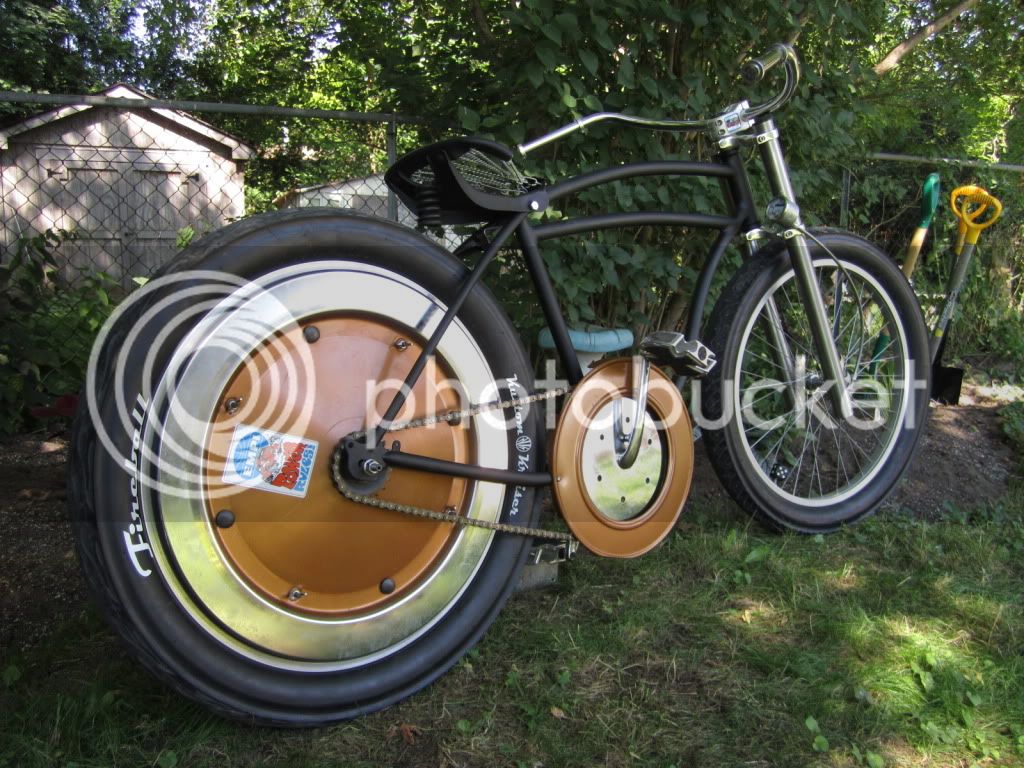
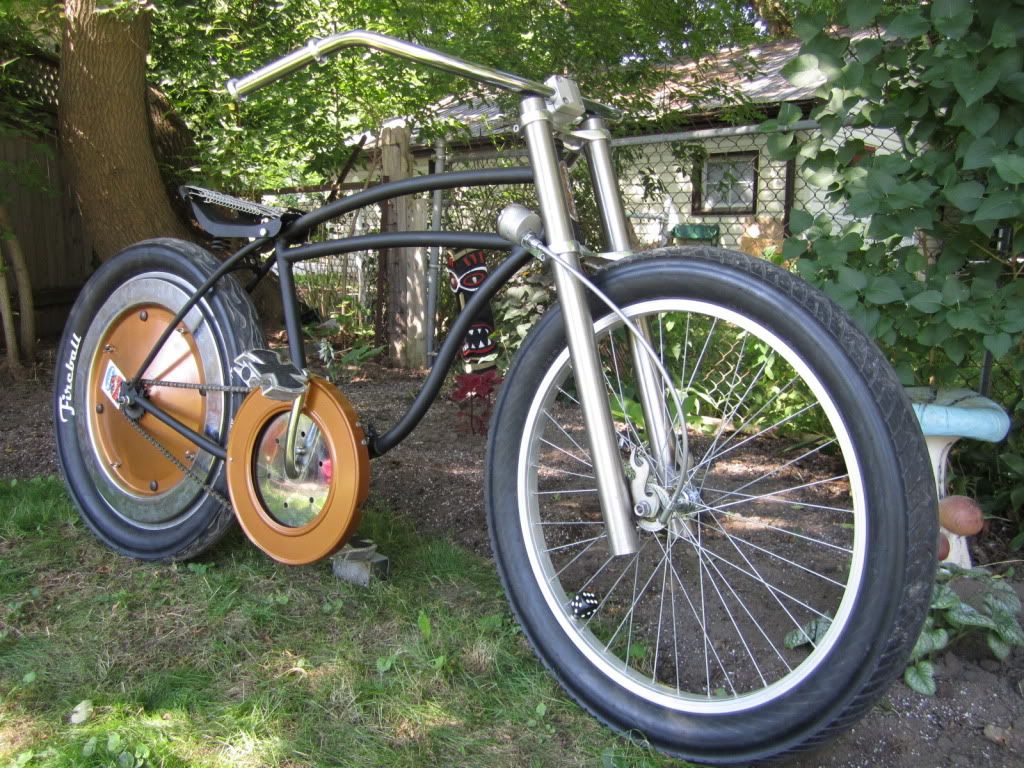
heck i just left it in there (cut of course) i just wanted it outta the way to fit this old ktm moped seat.
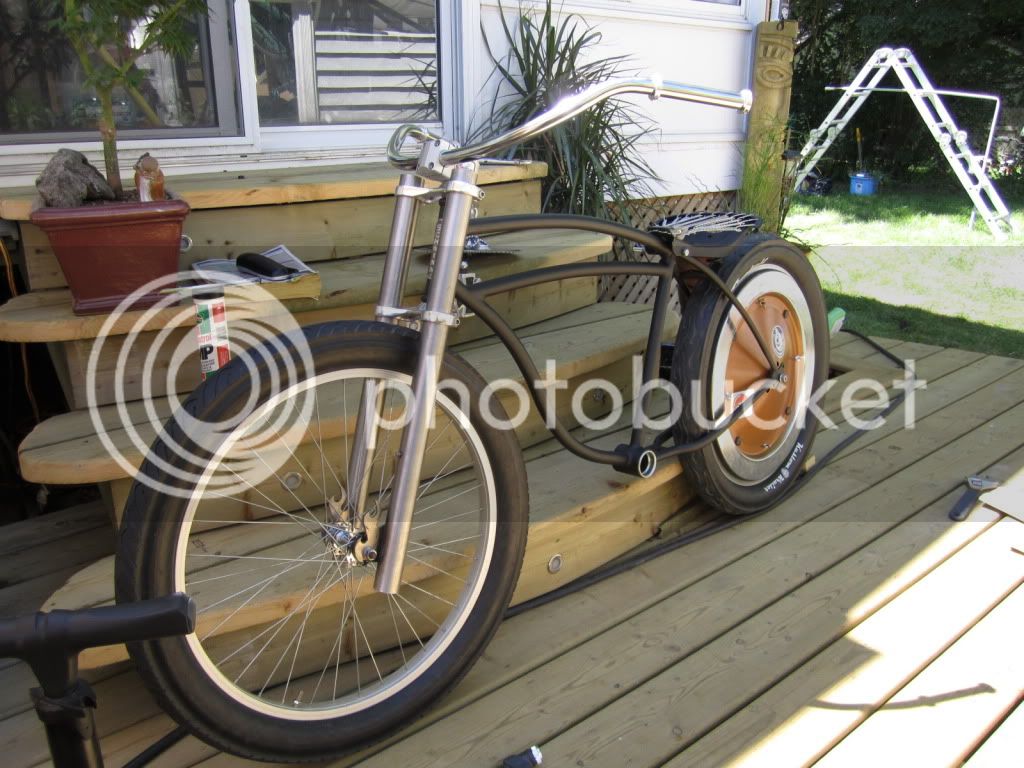
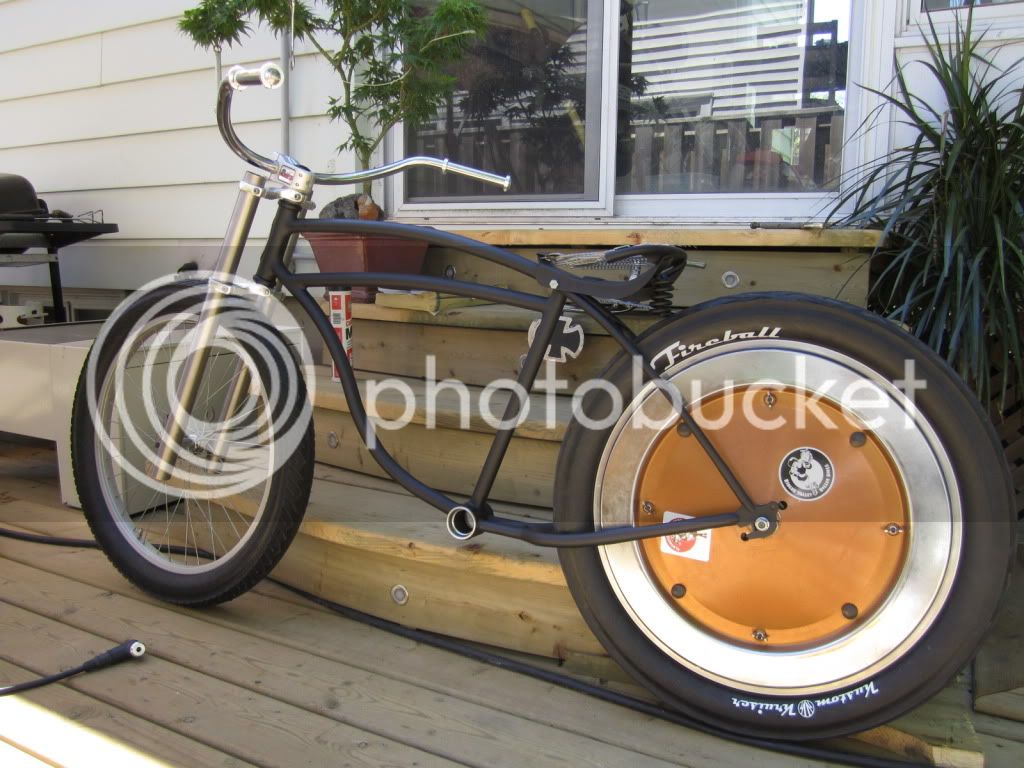
still a little work to be done.
IMG_0214-1.jpg

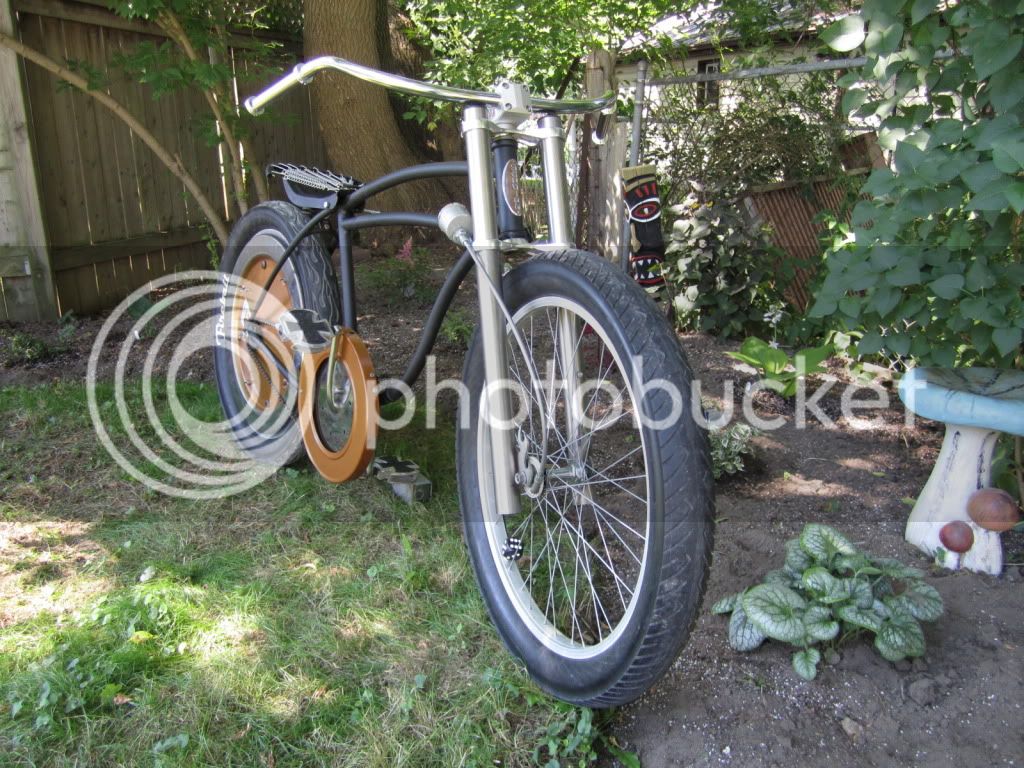
the seat is suprizingly comfortable (wearing jeans) all the coils are flat, so they dont pinch ya.
i still might install a heavy 11oz leather pad.

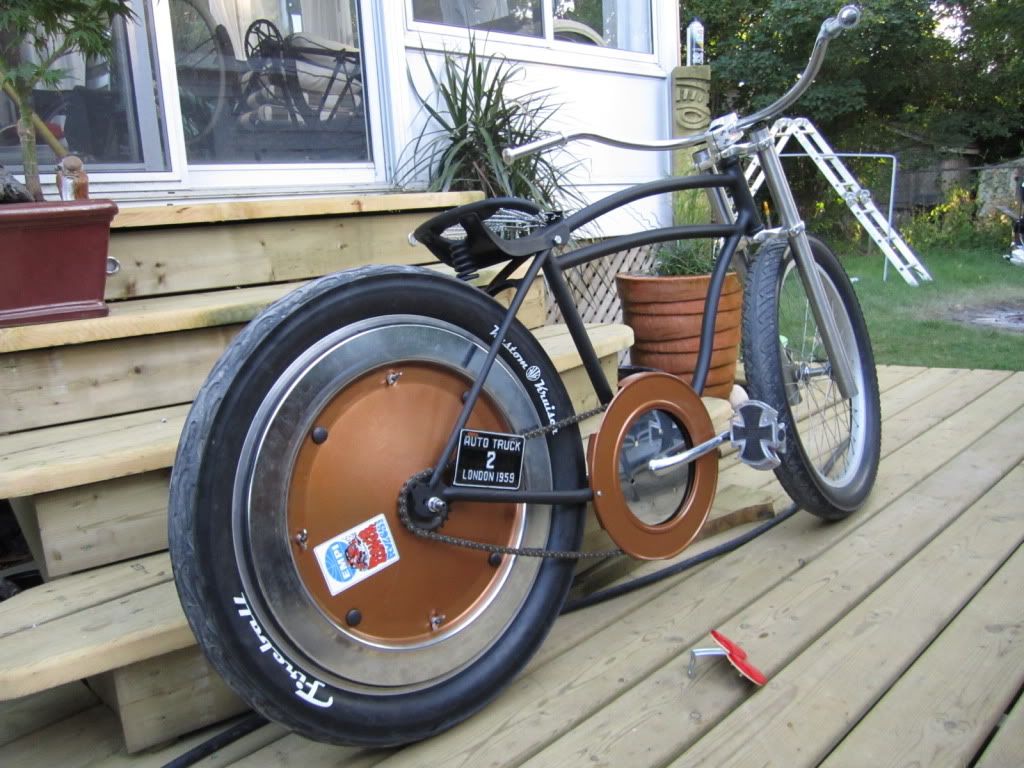
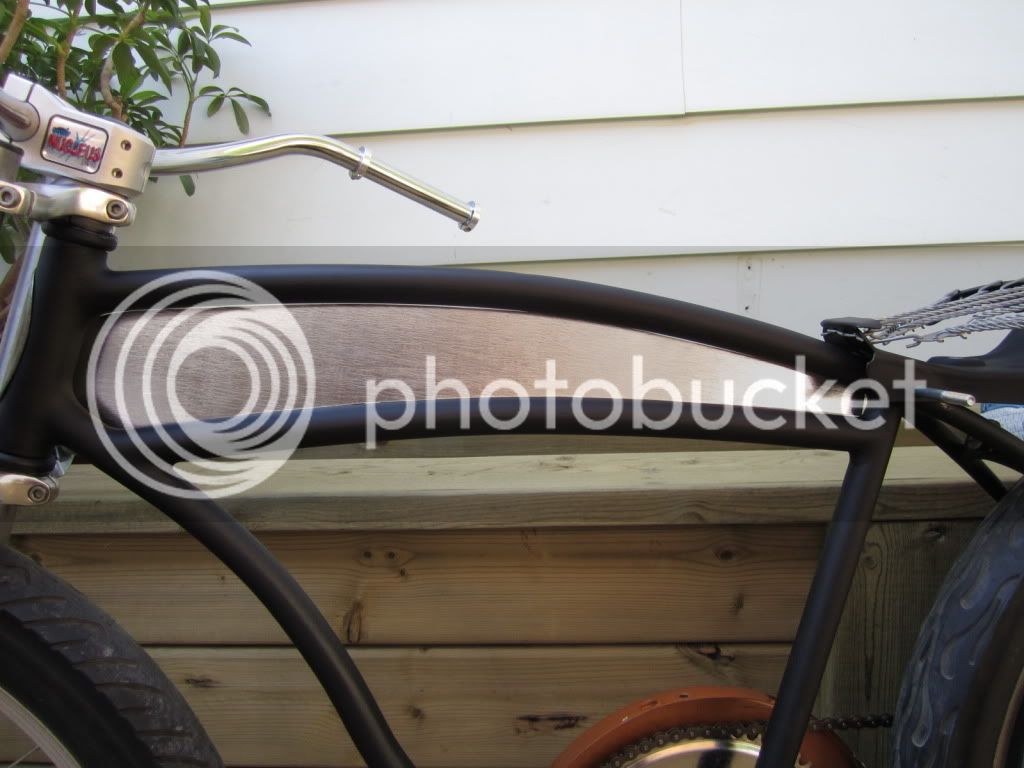
i'll be working on this after the build off is finished. till then a quick coat of my fav color.
i used krylons high heat bbq paint cause it sticks to almost anything. :)
just gave it a quick sand before i did.
IMG_0211.jpg

IMG_0210-1.jpg

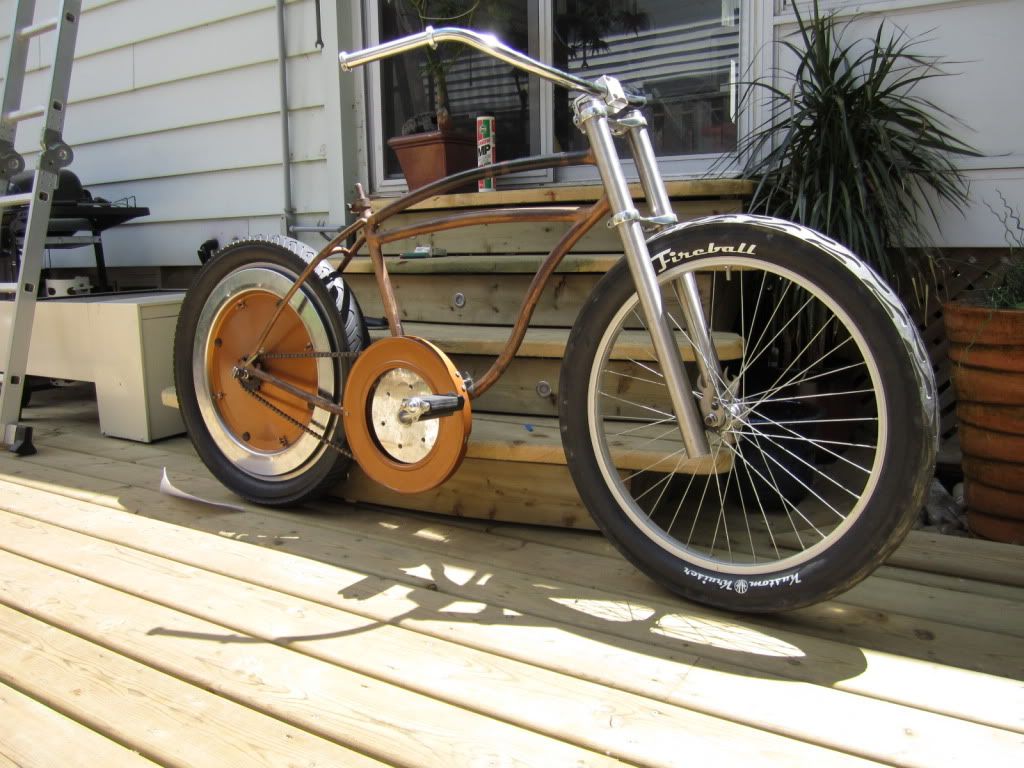
i'm digg'n the gold and black together.
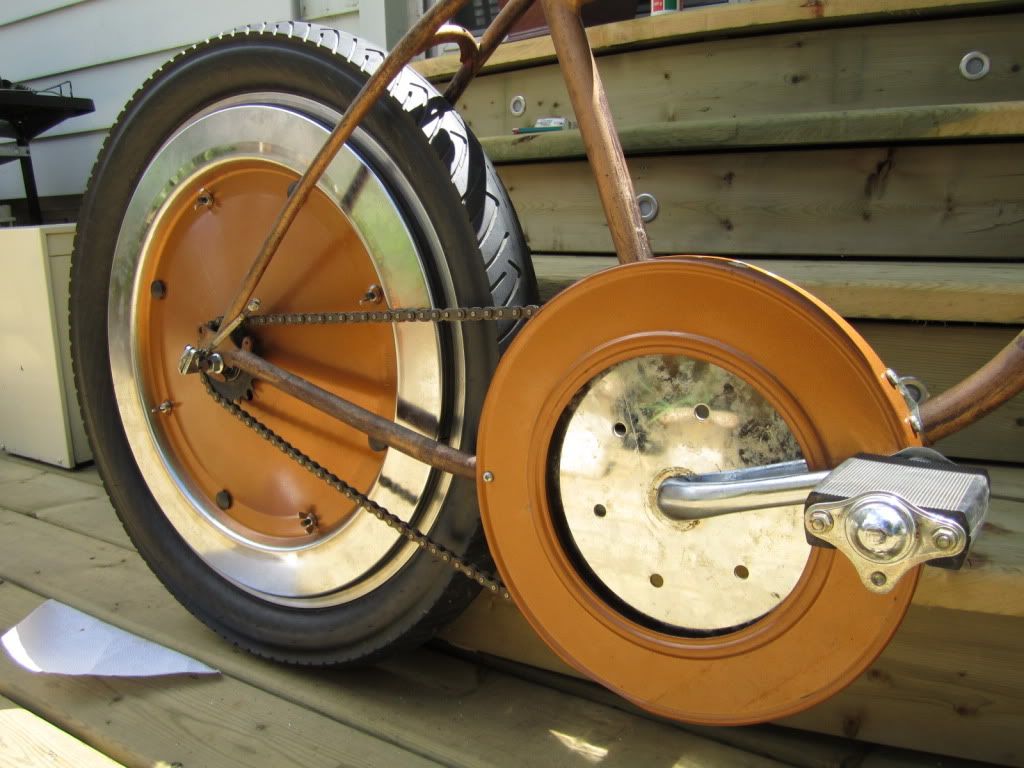
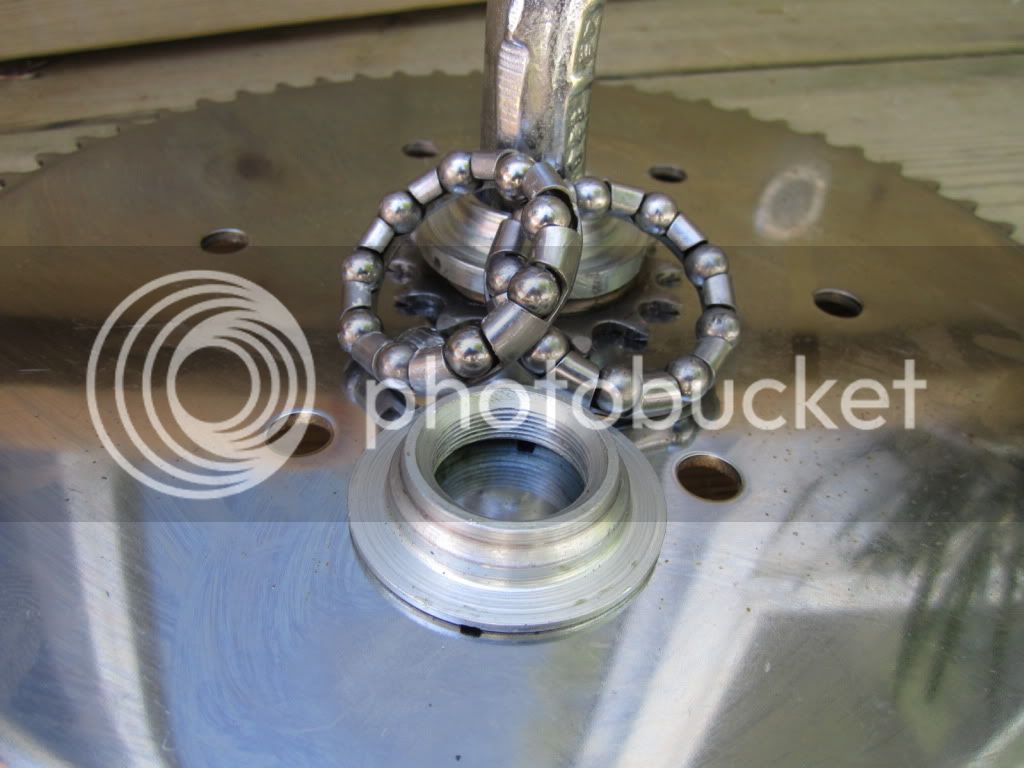
and i must say, I LOVE working with exercycles.
when your 31 year old bearings look like this, it must be heaven! :)
IMG_0209.jpg
 
once again, thx for the kind words.

stickers, had a couple laying around.
2 local roller derby clubs on one side and an empi on the other.
IMG_0221.jpg

IMG_0220-1.jpg

i'll probably add more race related stickers as i go.

took it for its first ride (without a seat or shifter)
rides real nice, will be even better when i can sit down.
IMG_0219.jpg

IMG_0216.jpg
 
getting carried away, i really should be working on my build off entry. :)

mounted up a speedo and worked out the details for the seat. (i just need a shorter bolt to finish up)
IMG_0237.jpg

IMG_0233-1.jpg


IMG_0238-1.jpg

IMG_0236.jpg


a little sheet metal work, some paint and i should have a pretty styling ride.
turned out better than i expected, probably the reason i haven't gone back to skull oh sis yet. :)
IMG_0239.jpg

rides like a dream with all the weight of the back wheel pushing you down the street. or at least thats the way it feels. :)
i still haven't hooked up the shifter for the shimano 3 speed hub (building a custom arm) and i can't wait to take this for a ride when it has gears to play with.

anybody know which gear i'm in when the pushrod assembly is un attached?
 
with the bike in 3rd gear (push rod assembly unattached) its super easy to get rolling. although i am glad its a free wheel and i can back pedal to start out and place the crank arm at the top of the stroke.

its crazy how a tiny little movement on the crank arm propells the bike.
i was sitting on the deck working on the chain guard and needed to move the bike forward about a foot.
(to rotate the rear wheel) i grabbed the pedal with my hand and started to pedal the bike.

in that one foot, the crank arm maybe moved a tooth or two. it moved so little i actually thought something was wrong and the crank arm was all jammed up. i didn't notice it moving.

had to check twice before i realized the bike was working fine. :D
 
Oh dear lord this bike is absolutely beautiful. Nice job!
 
thx guys.

its a great bike to ride, but i still have a little work to do before i can move through the grears.
my street is under constrution, right now its pretty much sand. even without the shifter hooked up (3 speed internal hub)
had no problem peddling through the sand.
 

Latest posts

Back
Top