Afterburn DBA "COSMONAUT", beyond the DIY bike tag

Rat Rod Bikes Bicycle Forum

Help Support Rat Rod Bikes Bicycle Forum:

This site may earn a commission from merchant affiliate links, including eBay, Amazon, and others.
Joined
Dec 10, 2008
Messages
70
Reaction score
1
Location
Pasadena, California, USA
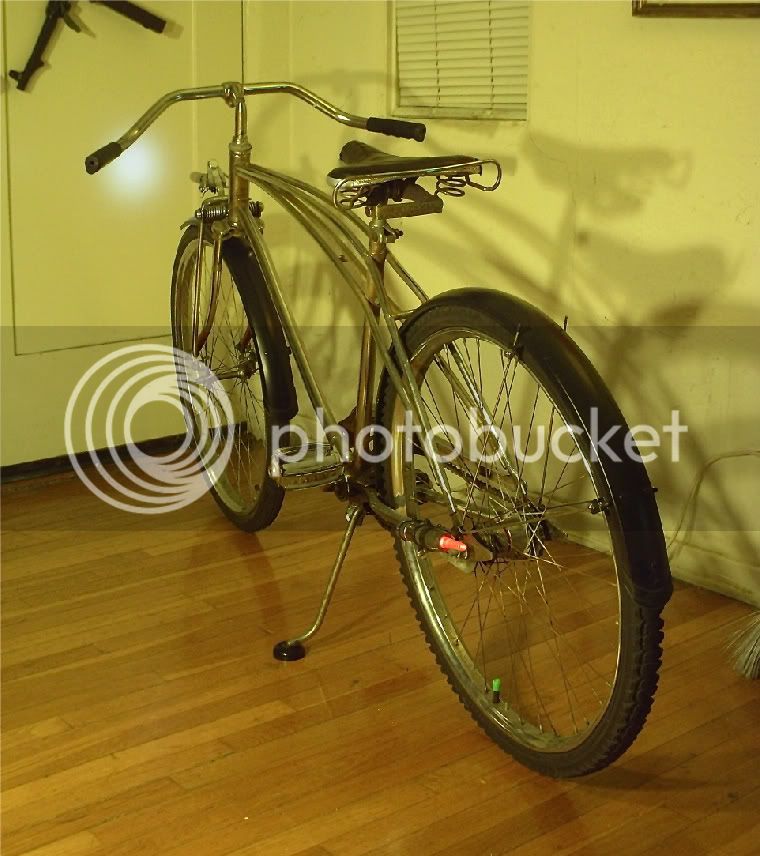
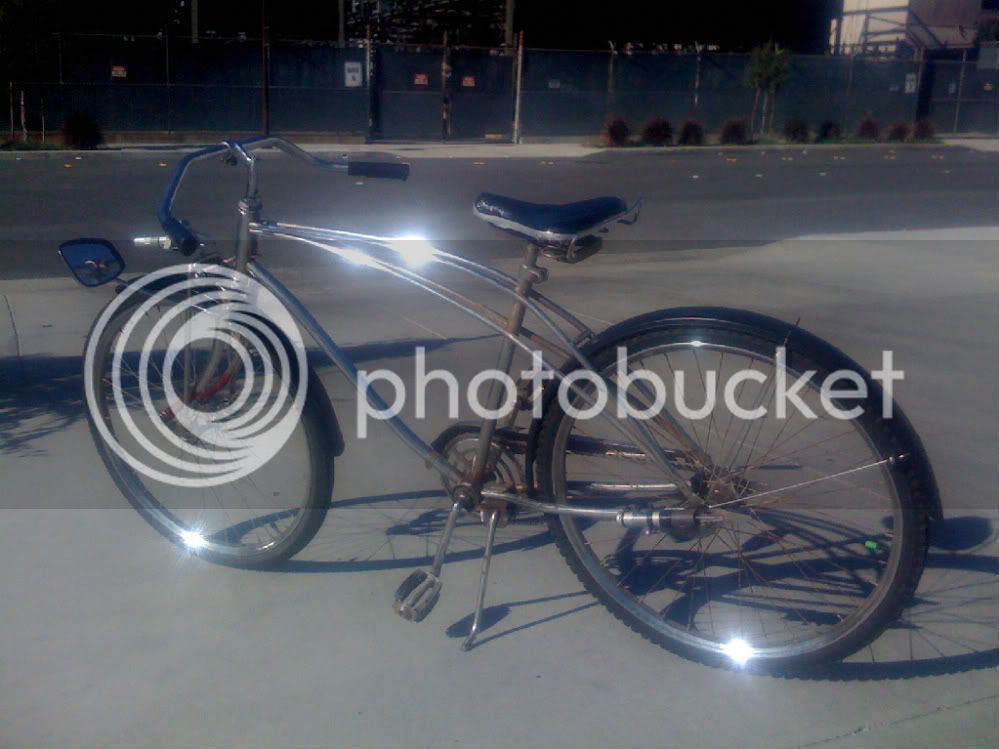
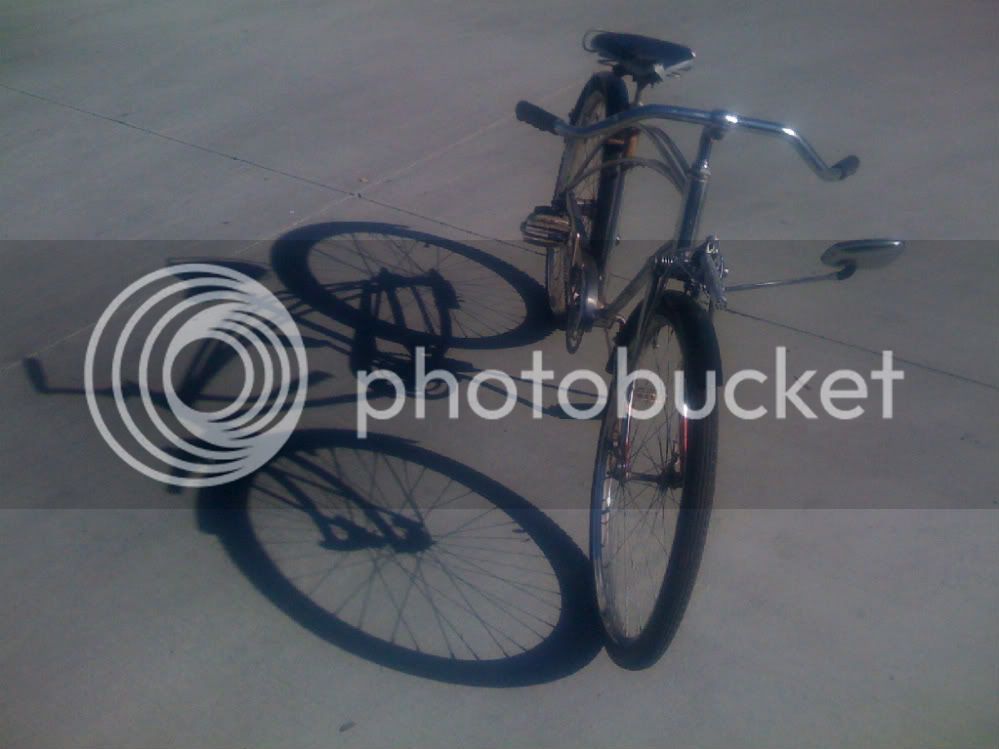
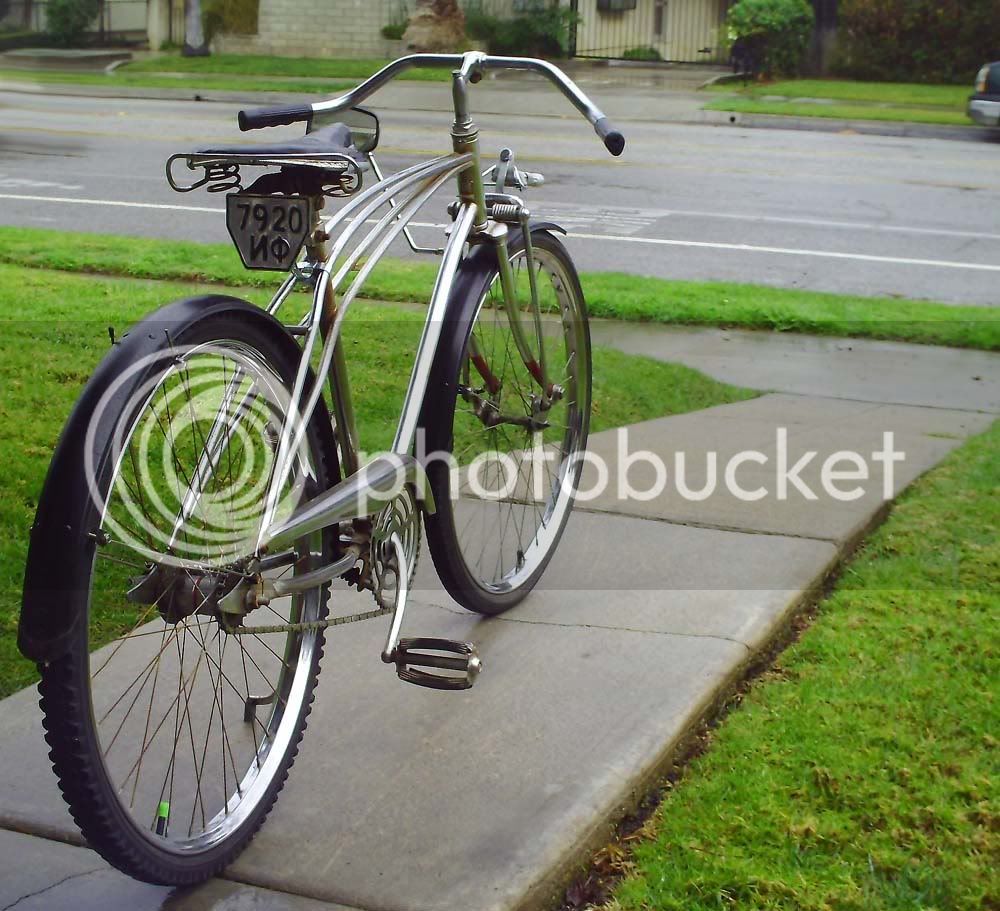
This is my liner i got out of storage at the ex's a few months ago after the majority of the rust removed. I need some tips on getting it out of the nooks and cranniesI
IMG_0006-1.jpg

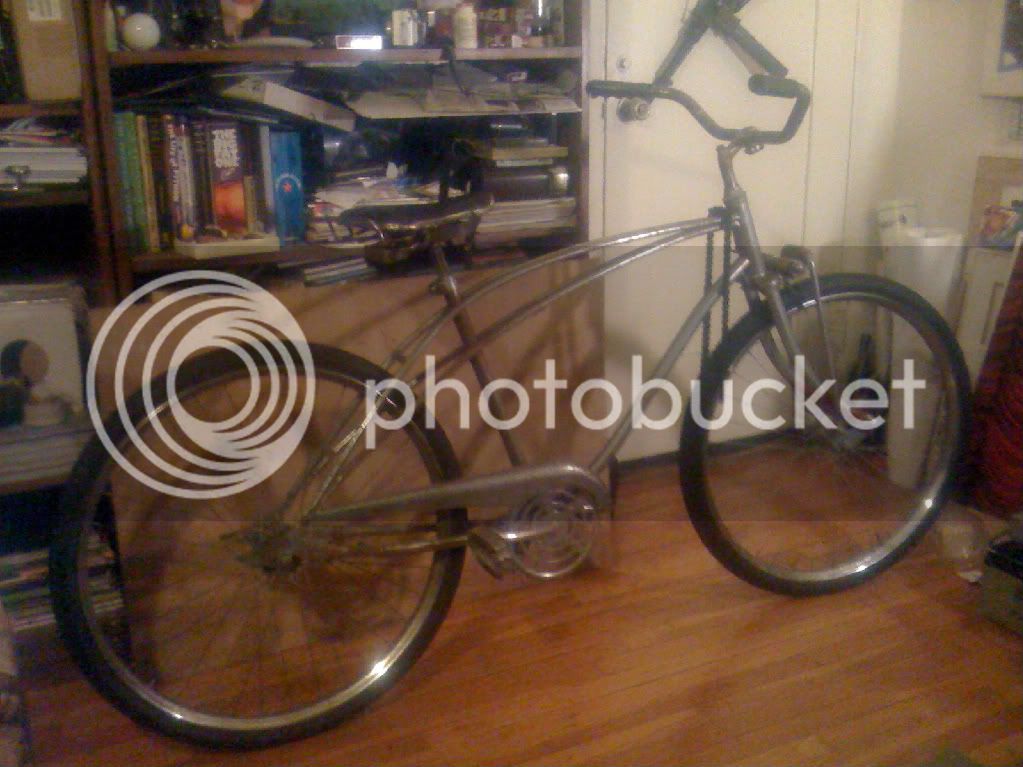
I have done some other work on the bike previous to this build off but this is the only space bike i have so......

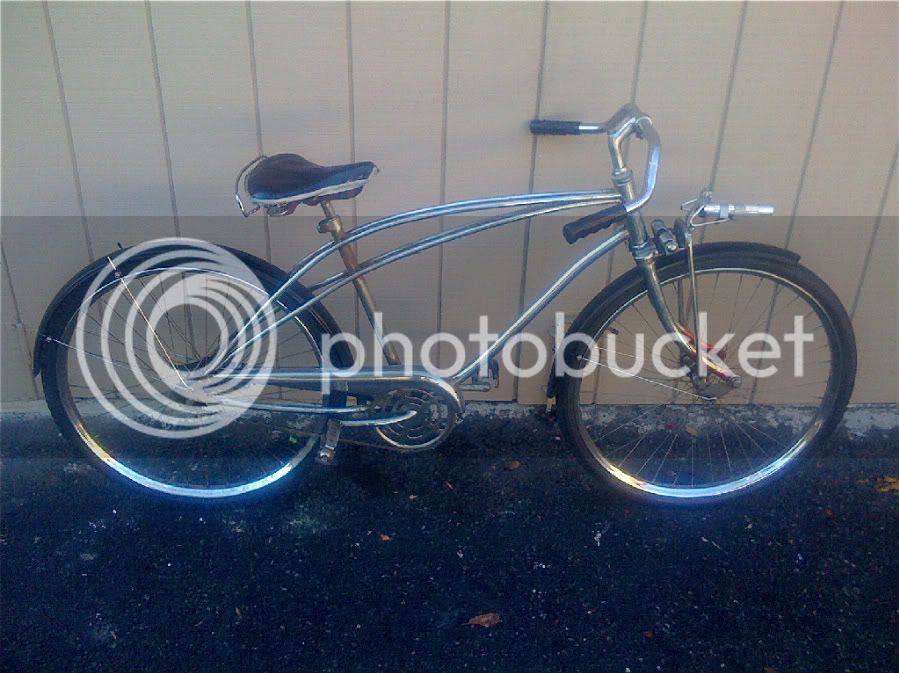
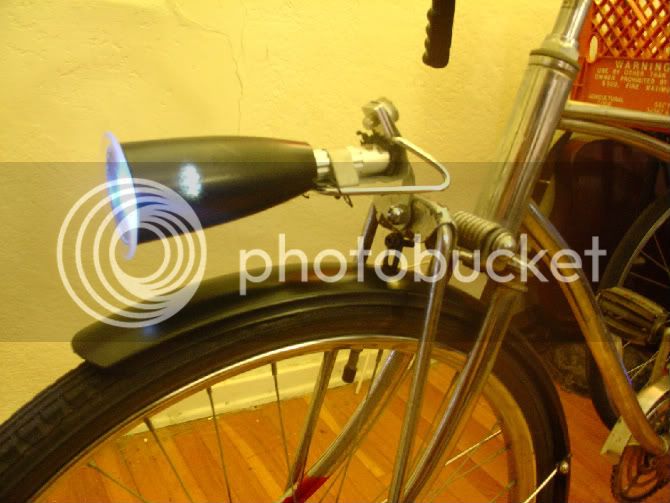
I read a post a few weeks back where a guy (please fogive me, i can't recall his name or post title) used a dime store acrylic wine glass as a body/housing for a tail light similar in shape to a chrome bullet, but using a blue lens..... Anyways as I was playing around with that idea for my spaceliner supe up, this is the headlght housing i made from a black primed champagne glass glueing the base to the top as the outer lens!
DSC02591.jpg

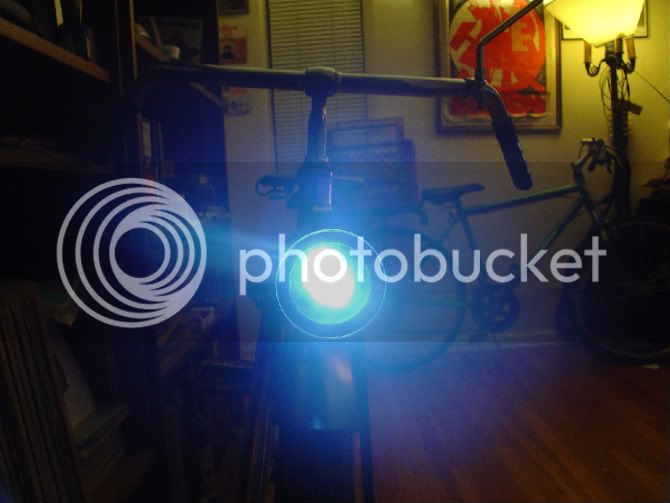
It gave off a COOL light but I'm going back :arrow: drawing board...
DSC02602.jpg


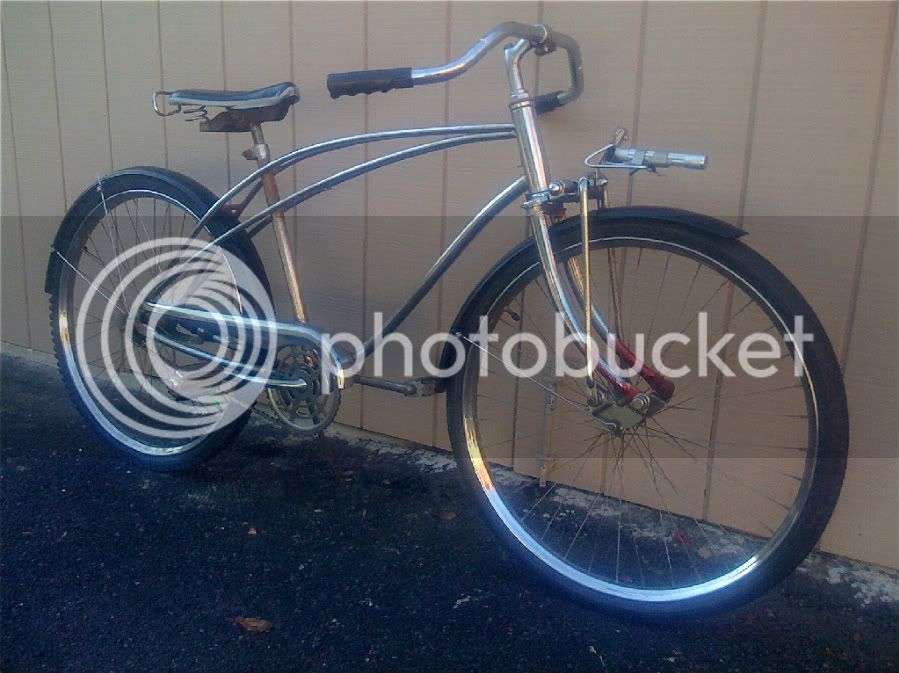
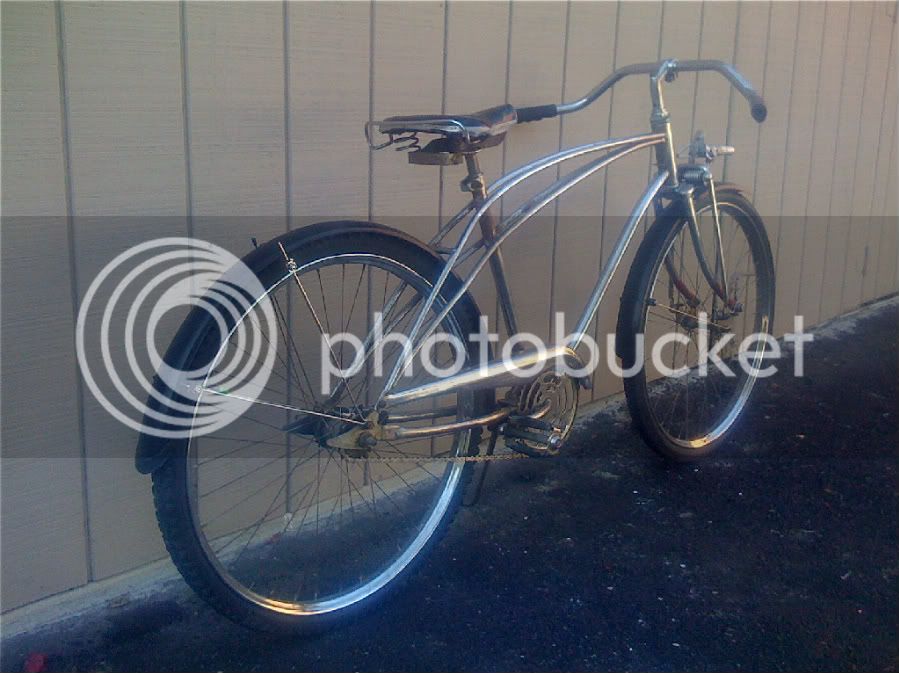
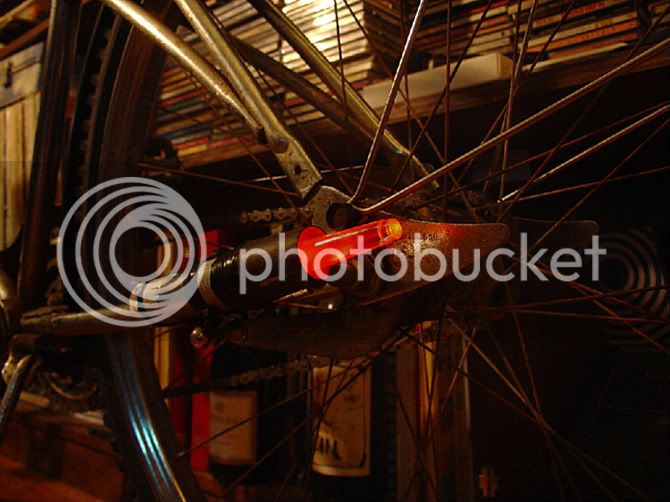
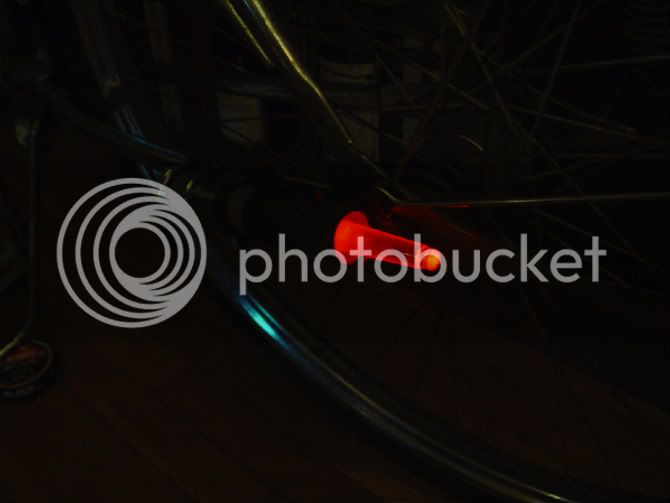
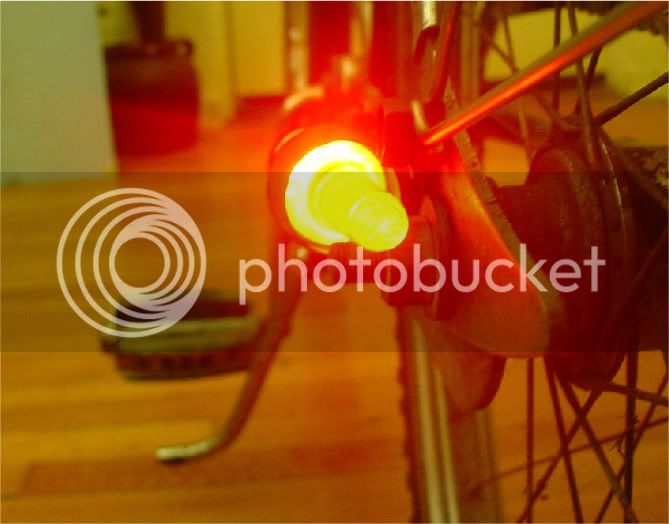
THEN this came into focus.... using the stem from the acrylic champagne glass, a found brass cone
and connecting it up to the red Sharpied LED flashlight I already had installed!

the AFTERBURNER tail light!
DSC02592.jpg

DSC02590.jpg

DSC02607.jpg
 
Re: Afterburner

Nice work so far man! Oh I still got that front fender for ya. I can't find the back one, but I got a back one that'll fit with a little finessing... I'll get 'em out to ya as soon as this flooding that I'm dealing with is over...
 
Re: Afterburner

BrigmasterA said:
Nice work so far man! Oh I still got that front fender for ya. I can't find the back one, but I got a back one that'll fit with a little finessing... I'll get 'em out to ya as soon as this flooding that I'm dealing with is over...
Hey cool, Brig, Hope you aren't in the muck of it up there, looked pretty bad on the news!
 
Re: Afterburner

Try a Dremel tool with fine cone shaped grinding wheel. Thats what I have used in the past to get in between the twin bar set-up. Also some "000" steel wool at the end of a popsycle stick works good to. So far you have my vote for creativity!!!!
 
Re: Afterburner

BankerRAt said:
Try a Dremel tool with fine cone shaped grinding wheel. Thats what I have used in the past to get in between the twin bar set-up. Also some "000" steel wool at the end of a popsycle stick works good to. So far you have my vote for creativity!!!!
Thanks for the tips!!!! Eventually I want ALL the rust gone!!!!!!

Here are a few pics with the temp Planet Bike fenders and
last night I flipped the bars and really love how that little switcharoo
changes the lines of the bike and its even more comfortable to ride!
PICT0018-1.jpg


IMG_0216.jpg


IMG_0220.jpg


IMG_0215.jpg
 
Re: Afterburner

Hrer two more pic with the new side view, I am gonna also flip the front fork after i get a hold of the chromies fenders
IMG_0223.jpg

IMG_0226.jpg


( no rush,Brig! Hope yer staying dry up there!)
I really wanna re-do my saddle too, it's definitely seen better days! I need to check in at the auto body shop and taalk to the upholstery guy!
 
Re: Afterburner

Should look good with the forks flipped. Don't know for sure, but it's been said that you won't be able to use a front fender (don't go by me, I don't use "springers")...........Either way, just a rear fender would look cool (again, don't go by me, I don't use "fenders" either :lol: )
 
Re: Afterburner, another detail (DIY license plate)....

I was looking through some of my WWII books the other day noticing all the
military motorcycles with their cool front and rear license plates. That would be
a kinda cool addition to my cruiser. I started browsing eBay for bicycle and motorcycle licence
plates. There is quite a selection... but I didn't wanna pay some of those shipping
prices. I started thinking maybe I could make one using Evergreen plastic (for scratch-building
found at the local model train store), as long as the text was easy to cut out!!!!
I found a really good looking Russian motorcycle plate on google images
2568363079_08afa1a0a0-1-1.jpg

Fairly simple bold text, love Cyrillic (Russian) letters, they looks so industrial and post modern '60's!
I was first gonna sketch and scale it down from the printed image, but I then had a better idea!
Trace it right off the monitor.
PICT0042.jpg

PICT0046.jpg

Then the tracing was transfered to the plastic thats where i
cut the characters out that would simulate a stamped plate. The border is evergreen pre-cut strip.
I put it all on the plate using Zap-a-gap CA glue.
PICT0052.jpg

To continue the effect of the "stamped" plate I got out the Squadron putty (it's bondo for model
builders) and filled in along the edges of the border as well ... the edges to the charactors.
pro-1.gif

I used different sandpaper grits as well as a few different scales of steel wool to get this.
PICT0083.jpg

Here it is against the original pic.
PICT0064.jpg

I can't wait to get this painted, because I wanna attempt to reproduce all the patina action
on the plate in the photo including the distressed paint and chipping around the screw holes!
Thats gonna be fun!!!!!!!!!!
PICT0078.jpg

liner500.jpg
 
Re: Afterburner

johnny nightwolf said:
WOW!!! Nice work on the tag!
Thanks, man!

Another brainstorm that just happened....
:idea: :!: :shock: :!: :idea:
I was contemplating the eventual breaking and demise of the plastic plate and thought
maybe I could talk to the denture casting lab my lab uses, about casting this in chrome!
It maybe too thin for that though, the plastic sheet is only .6mm thick.

But then I remembered something I had in the supply drawer....
With steel sheet, I 'metalized' my new bike tag. Woooo HOOO!

Another score i had lying around from the good ol' local hobby shop, comes in a roll of a few
feet long by a foot across! It is about .05mm thick! I just cut a piece out and started burnishing
it to the plastic 'sub' plate. First with my fingers and a lot of pressure, and then used the tail end
of a Sharpie marker to press in the shapes of the text and border 'stamp'. After that was done, I
went and cut the wrap around tabs..... folded over to the back along with the Zap cement
and I will keep applying pressure until it's fairly flat enough. I used another piece of the sheet metal
as a backing, cemented with more CA glue...
PICT0088.jpg
 
Re: Afterburner, the next detail, DIY bike tag

So thats actual steel? That can be rusted? In that case, the patina you want will be E-A-S-Y. If you need some tips let me know.

Also Kota is right about flipping the fork and not being able to use a fender as far as I know. It changes the geometry on the front end, causing the tire to move forward and up relative to the mounting point of the fender. Actually I guess it could be done, it would just take a lot of work to make it look right.
 
Re: Afterburner, the next detail, DIY bike tag

Nice man! So I haven't shipped your fender yet. I promise I'll do it on monday. Got hit with the opportunity to transfer to a different flood-free location with my company, and got busy. But your plate looks so good! The russian lettering goes with the space theme too! Nice work!
 
Re: Afterburner, the next detail, DIY bike tag

Boneshaker said:
So thats actual steel? That can be rusted? In that case, the patina you want will be E-A-S-Y. If you need some tips let me know.

Also Kota is right about flipping the fork and not being able to use a fender as far as I know. It changes the geometry on the front end, causing the tire to move forward and up relative to the mounting point of the fender. Actually I guess it could be done, it would just take a lot of work to make it look right.

I can't remember what metal it is exactly, I have to run by the model train shop and find out, I'd love to here the tips anyways!!!!
ALso I am thinking of skipping the fork flip, thanks to you and Kota for pointing out the problem......
I'm mean i am gonna try it, but probably just temporary cuz i dig the fender look, especially on this bike!!!!

Here it is with the text painted in enamel with a "chrome" background, mounted using some pipe brackets and good ol' velcro!
PICT0108.jpg


ENGINE WARM UP!!>
afterburn-r.gif


PICT0093.jpg
 
Re: Afterburner, the next detail, DIY bike tag

BrigmasterA said:
Nice man! So I haven't shipped your fender yet. I promise I'll do it on monday. Got hit with the opportunity to transfer to a different flood-free location with my company, and got busy. But your plate looks so good! The russian lettering goes with the space theme too! Nice work!
Oh no worries, I'm keeping my self busy finding other things for my'sweet' ride
I found a tank on ebay,
some early 50's schwinn fenders, may be used for the womens Murray cruiser i'm making for my lady,
a cool multi position headlight works off dynamo or battery,
some new tires, a Pearson saddle so ican re -do my Troxel,
plus some stuff for my mountain bike turned city bike' and eventually turned into a Euro countryside bike.......
!!! Loving that stretchliner project by the way!!!Thanks Brig, and good luck and congrats on the move!
 
Re: Afterburner, the next detail, DIY bike tag

That bike is looking great. The custom made tag is perfect. I also like where you mounted the mirror. looks like part of the bike instead of an accessory.
 
Re: Afterburner, the next detail, DIY bike tag

Remember when I said "Nice work on the tag," when you had it in plastic?
I stand by that, and much more so now that it's in metal... so much cooler... Really impressive work.
 

Latest posts

Back
Top