It was probably lacquer thinner you saw, use it for fine cleaning on bearing cups an cones.Just seen it in one of your pics next to the frame.
- THE SCRAP YARD
- THE ARCHIVES
- RRB BUILD OFF COMPETITIONS
- BUILD OFF 13 (2018)
- BUILD OFF 13 BUILD JOURNALS
You are using an out of date browser. It may not display this or other websites correctly.
You should upgrade or use an alternative browser.
You should upgrade or use an alternative browser.
RRBBO13 1939-40 Elgin Sports Model No (1)3 - (Refurbished Eyes for Elgins)
- Thread starter MazdaFlyer
- Start date


Help Support Rat Rod Bikes Bicycle Forum:
This site may earn a commission from merchant affiliate
links, including eBay, Amazon, and others.
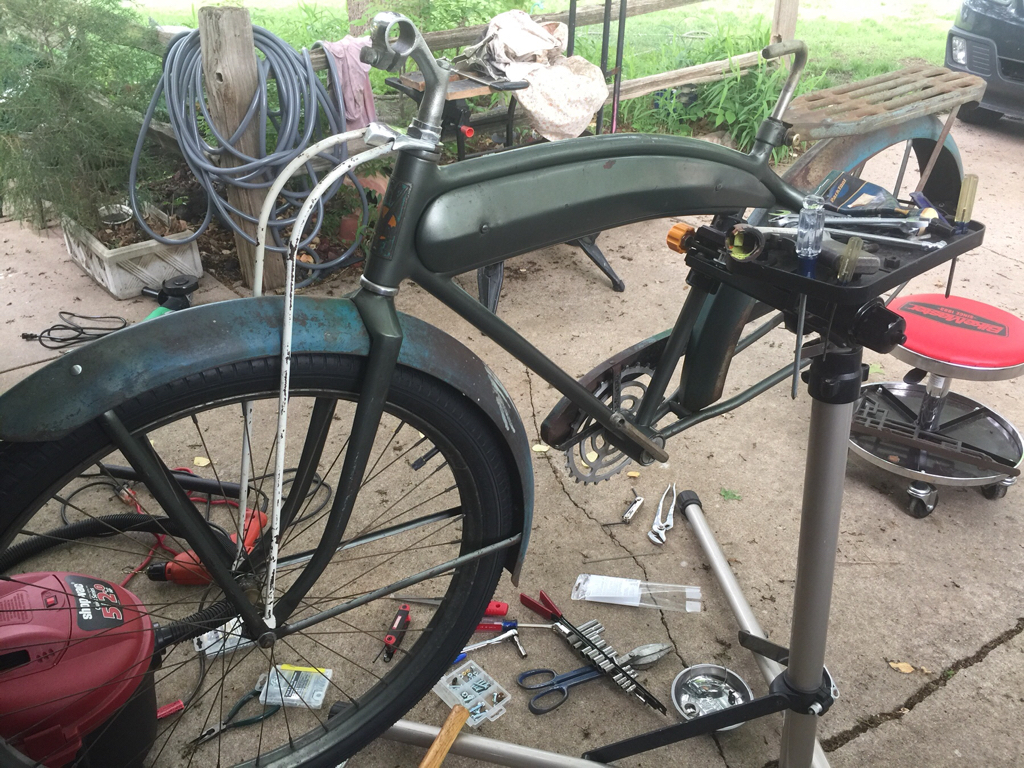
Not one to let grass grow under my feet I put the Elgin partway back together. I test fit the tires on hand. Goodyear 36”x2.125 measure out at just over 2” and look skinny in the fenders. The Fat Franks are a better fit but look too contemporary with all the graphics. They are 26”x2.350.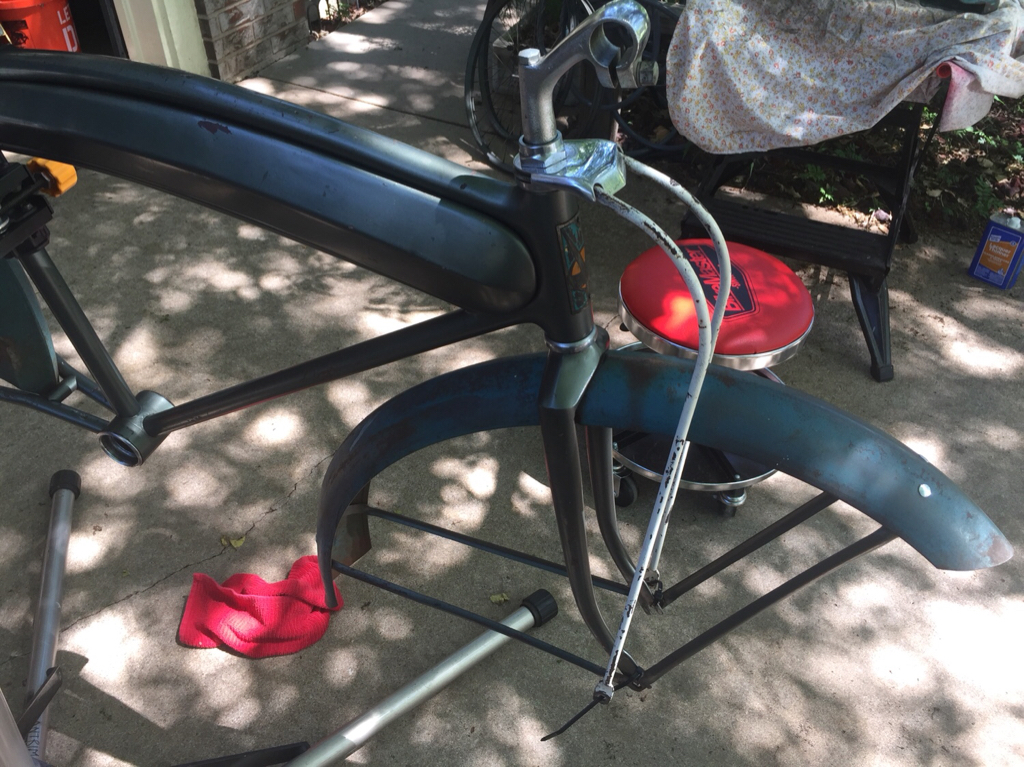


The rear wheel has a little runout so the rim needs truing. I may try to get the Sunlite Sandy Beach tires I used in BO#12 if I can get the wheel to run straight.
Need to figure out a clean way to mount the chainguard.
Sent from my iPhone using Tapatalk
This is looking very cool.
The fat franks fill the mudguards nicely...maybe you could try to remove the lettering?
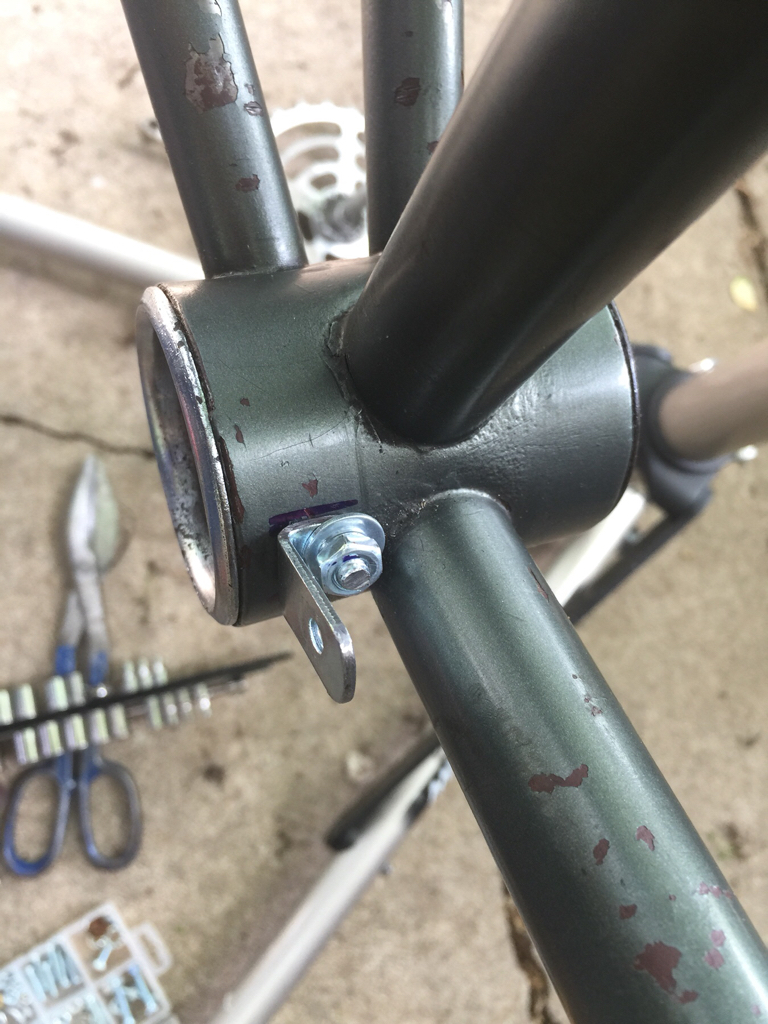
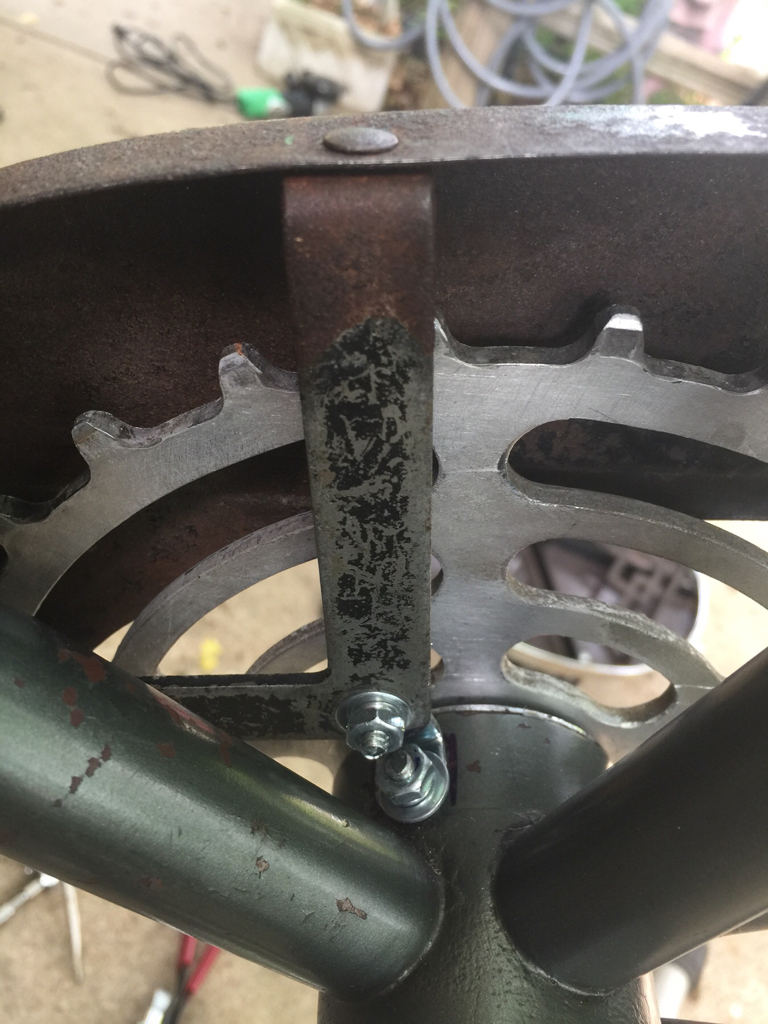
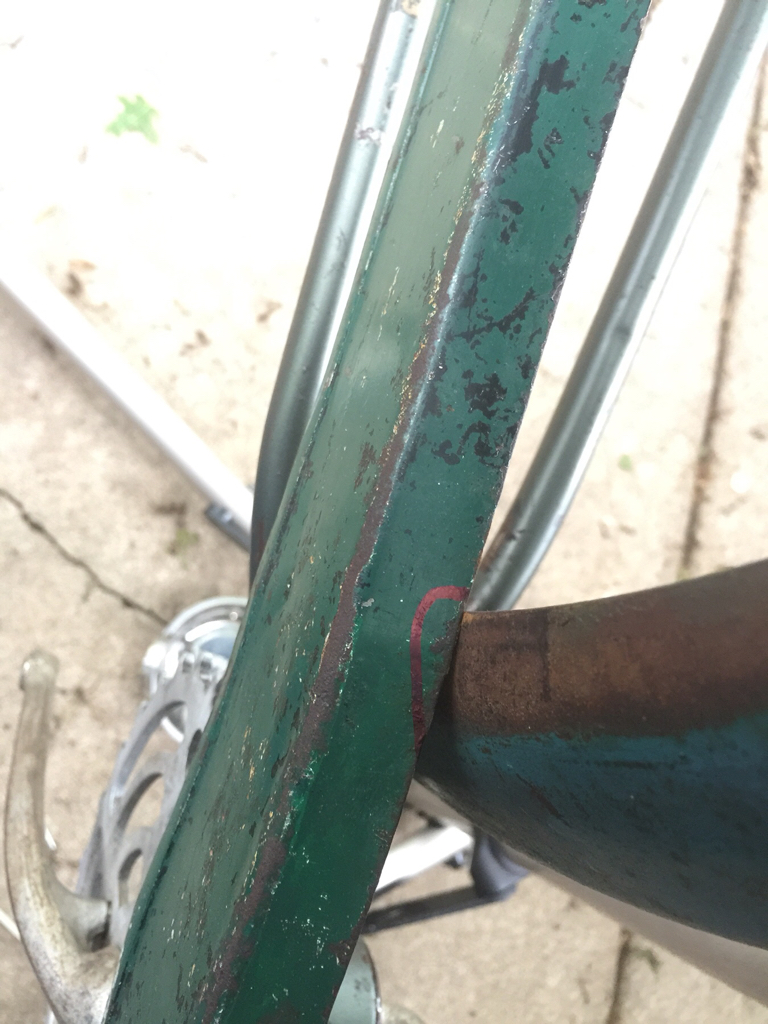
I decided to workout the mounting bracket for the donor chainguard. I removed the rear axle mount on it. Then I proceeded to make a bracket to mount it to the bottom bracket. I used a hardware 90 degree piece. I shortened one leg, added a new hole and rounded the corners. I drilled a 3/16” hole through the the bottom bracket between bearing cup and seat tube for mounting the fabricated bracket. I’ll drill a mounting hole at seat tube stays to secure the rear when I get the wheel back on. Test fit seems to work OK.
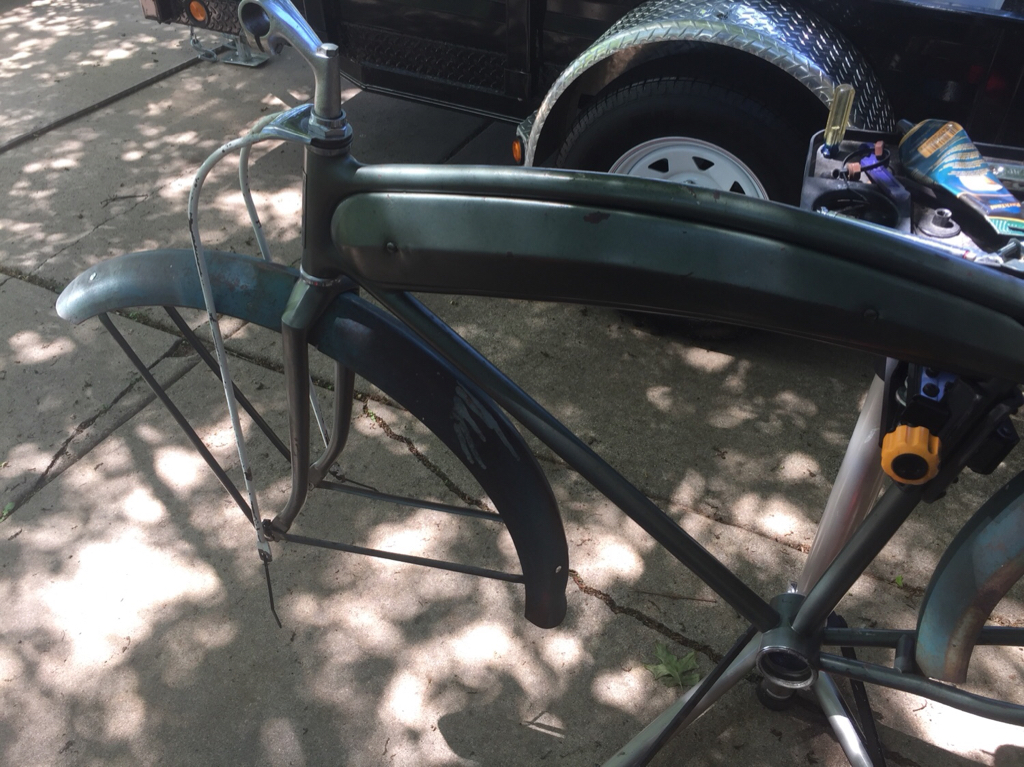
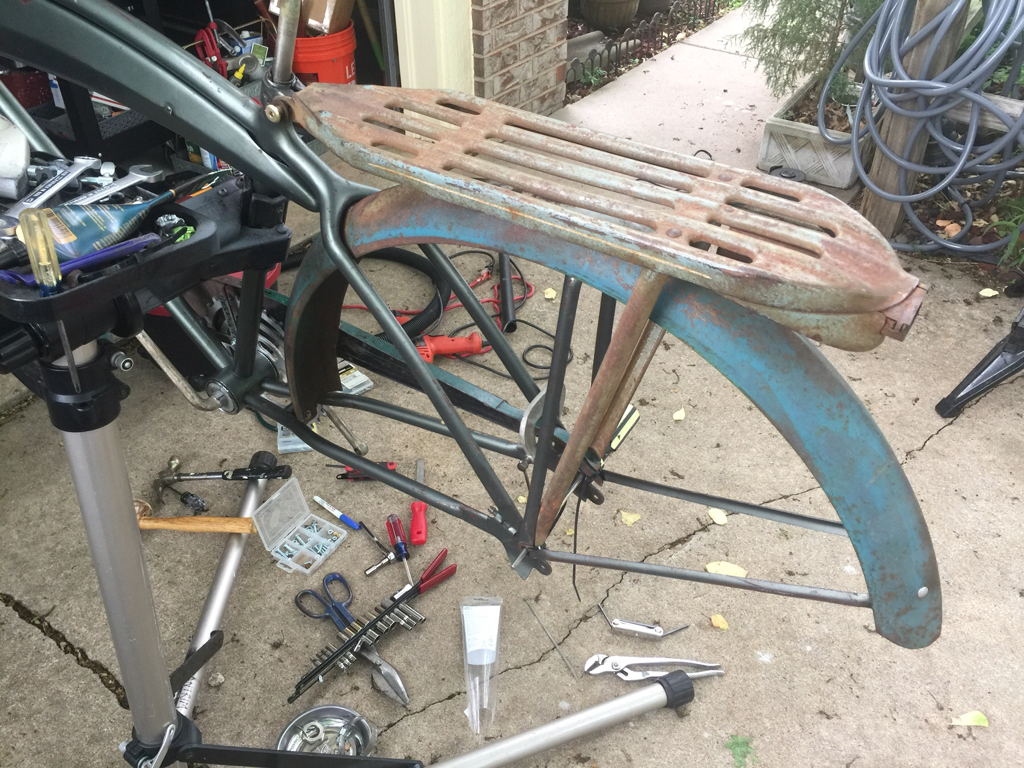
USPS delivered the rack today as well. It was claimed to be an Elgin rack.
USPS delivered the rack today as well. It was claimed to be an Elgin rack.
Last edited:
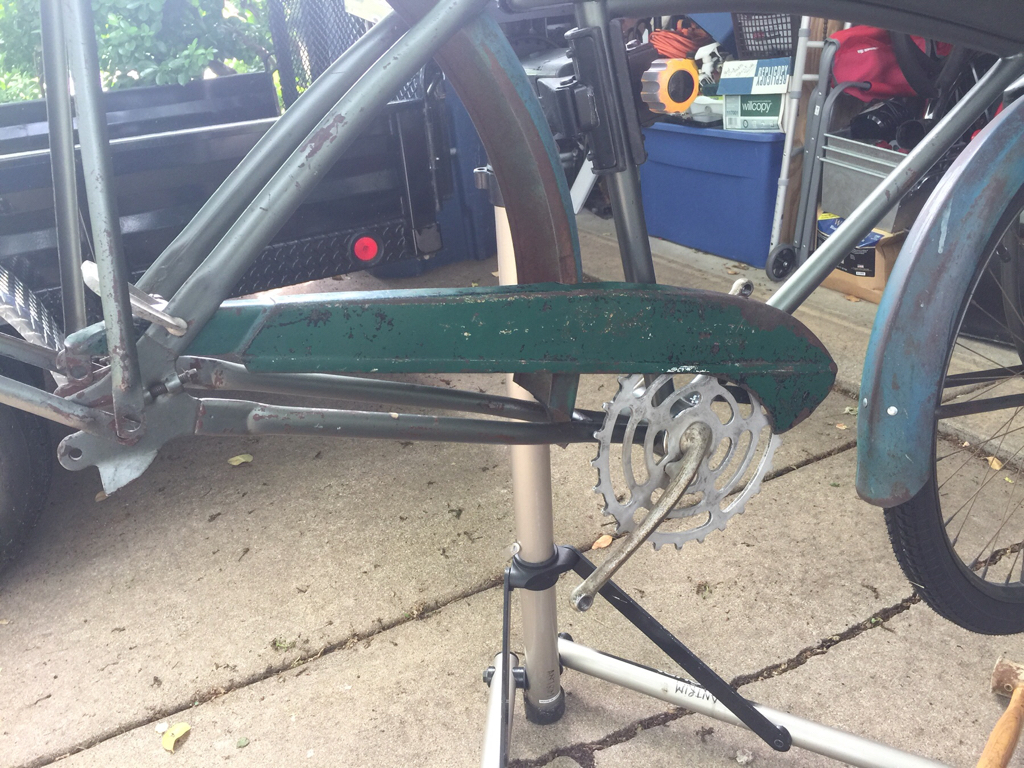
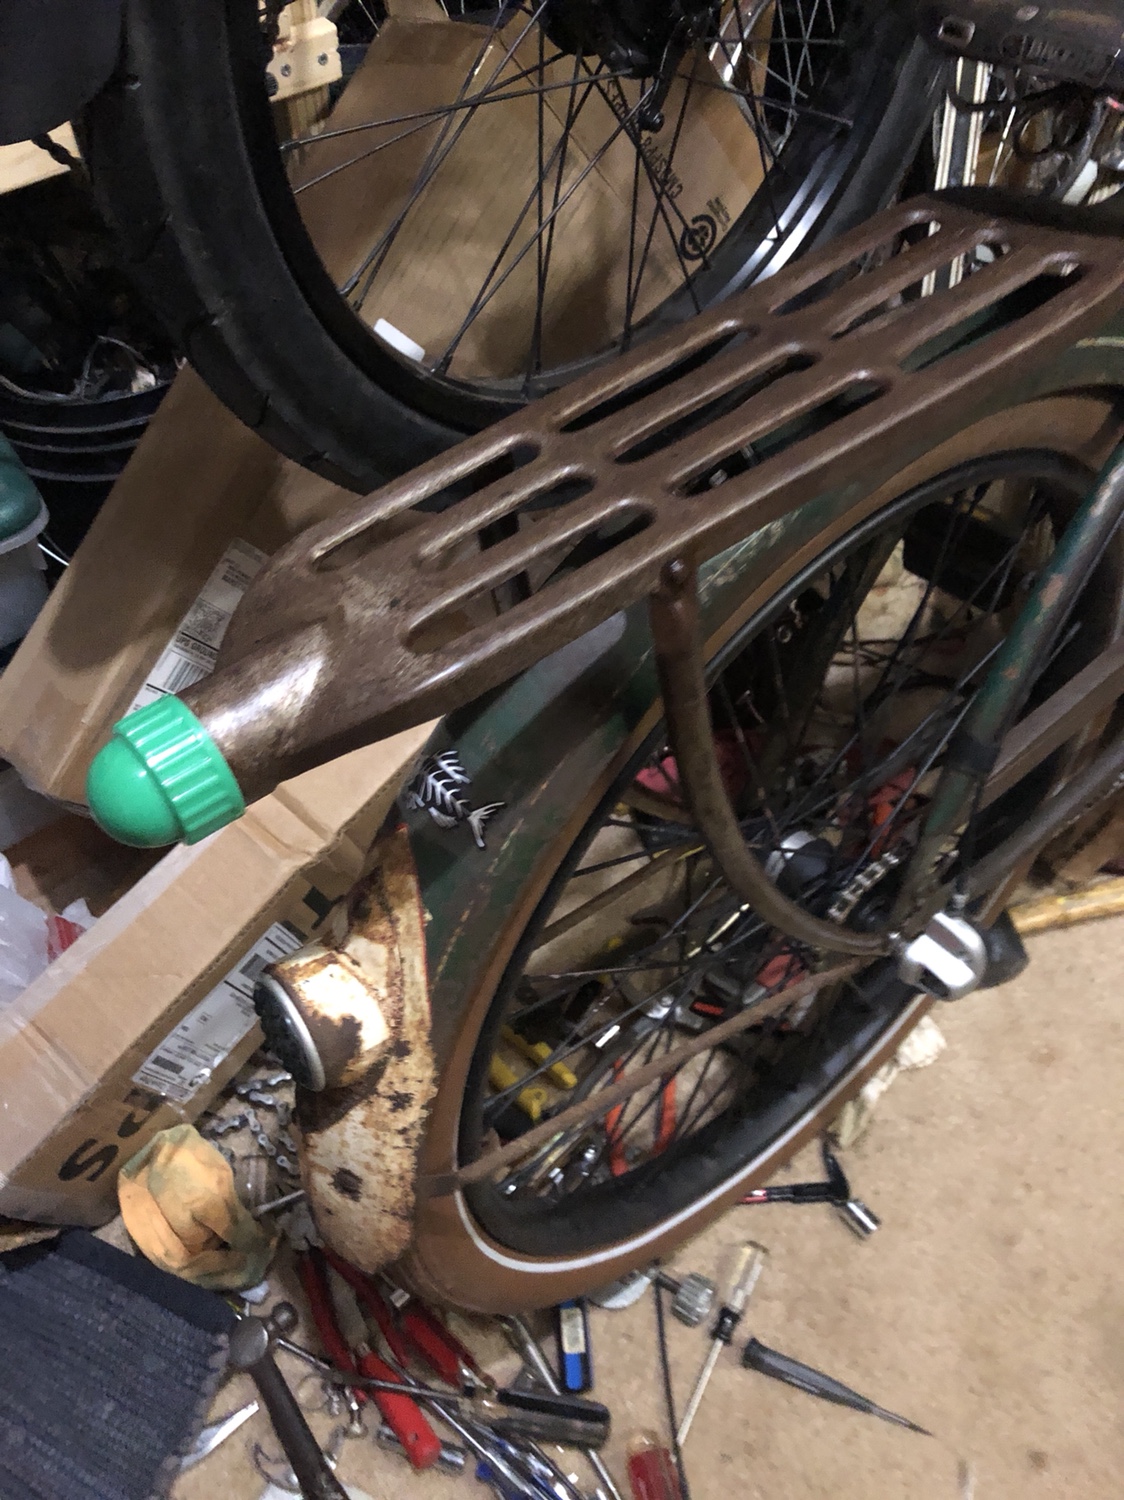
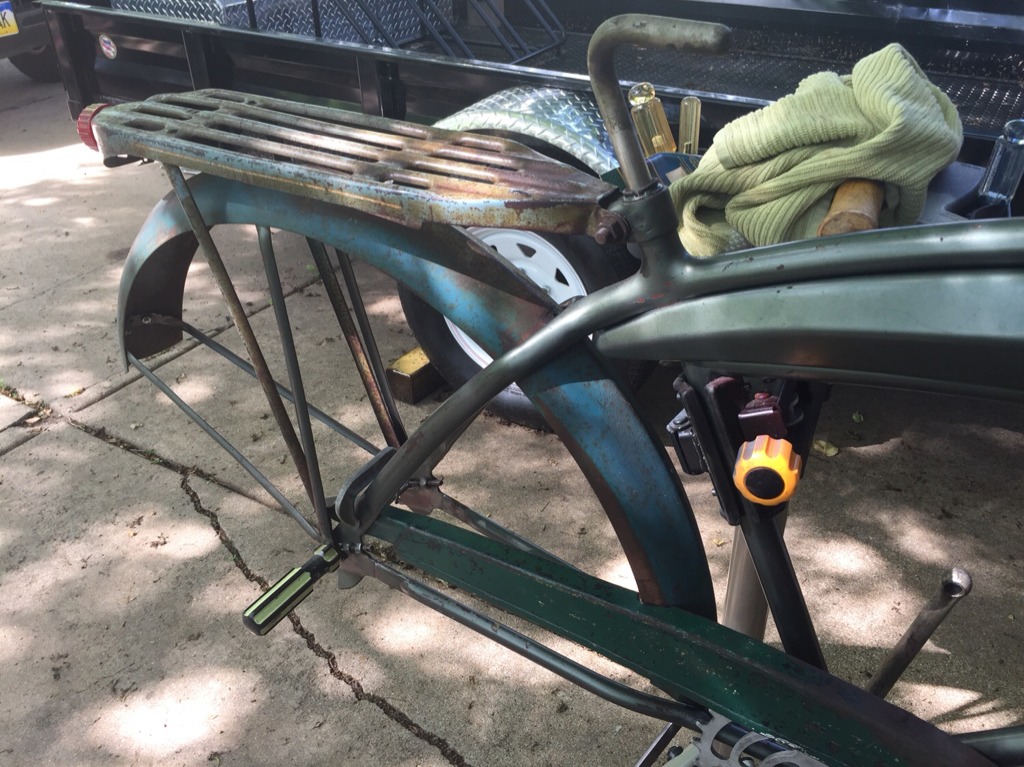
I test fit the Elgin rack after getting the chainguard roughed out. I’ll need to remember to grease the crank bearings as I put them together dry, even drier than those China bikes.
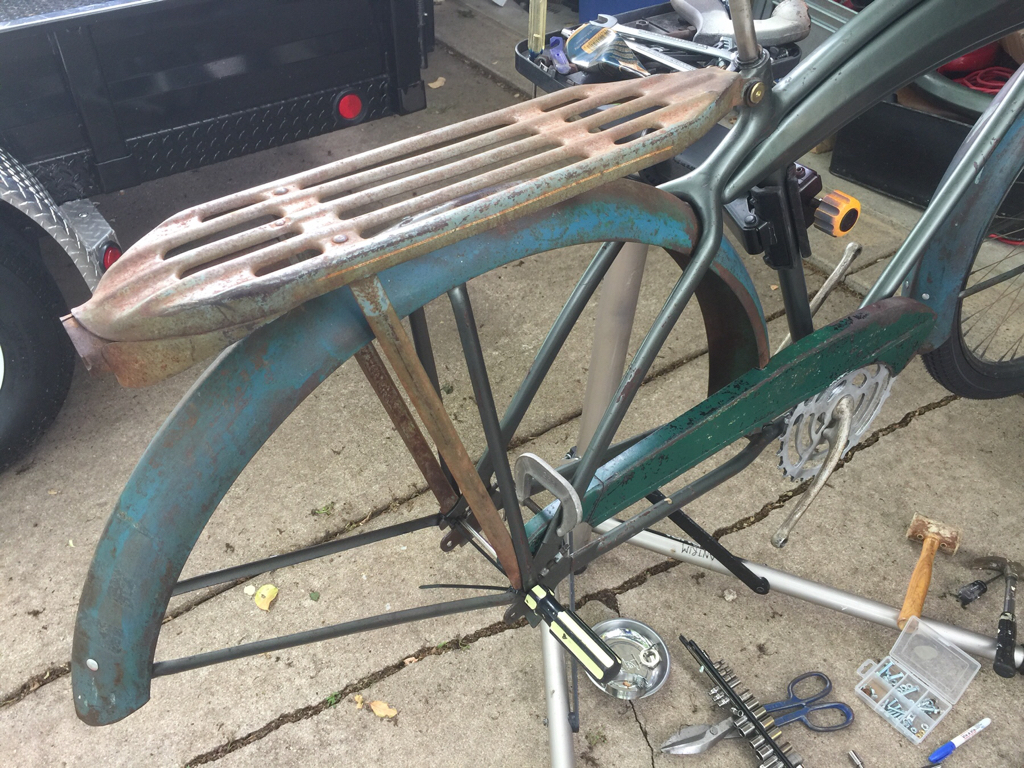
The rack seatpost mounting tabs need to be spread open as they won’t fit over my seatpost clamp. I used a temporary sex bolt to hold the rack in place. Everything else seems to fall into place. The rack is crusty, needs to be cleaned up. The color might come close to what’s already going on.
This rack would have had a light in place when new. I’ve seen the actual light modules on eBay but they are pricey. I’ll probably use a budget LED flashlight with a red lens or cover like I did in BO#12.
Last edited:
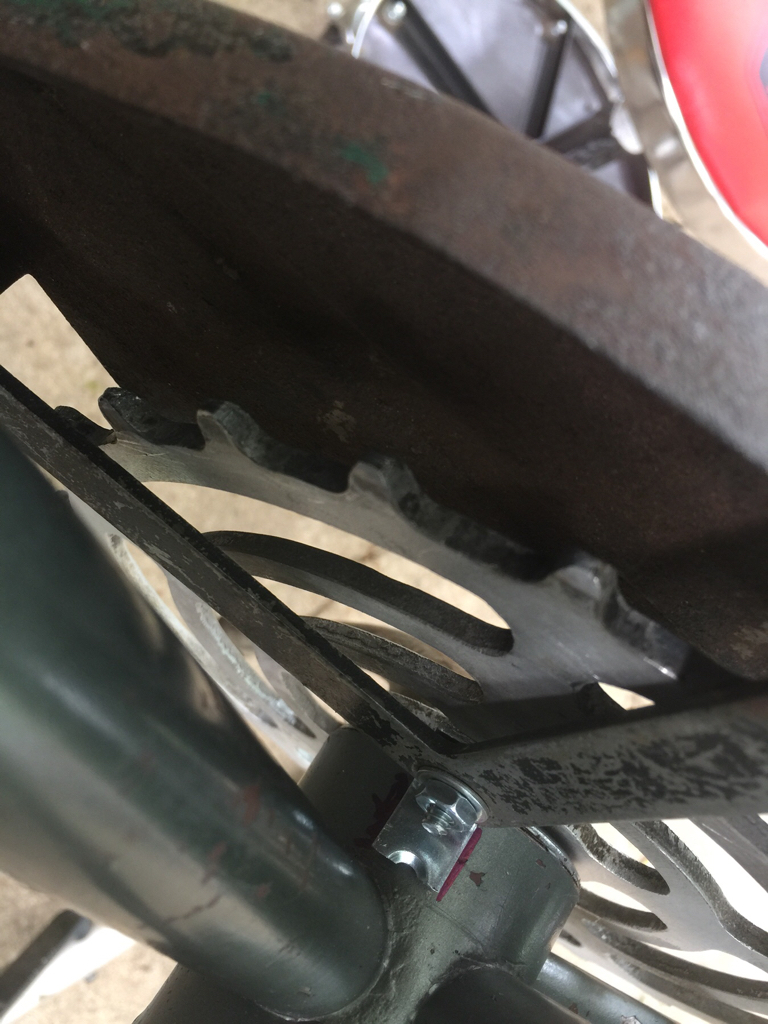
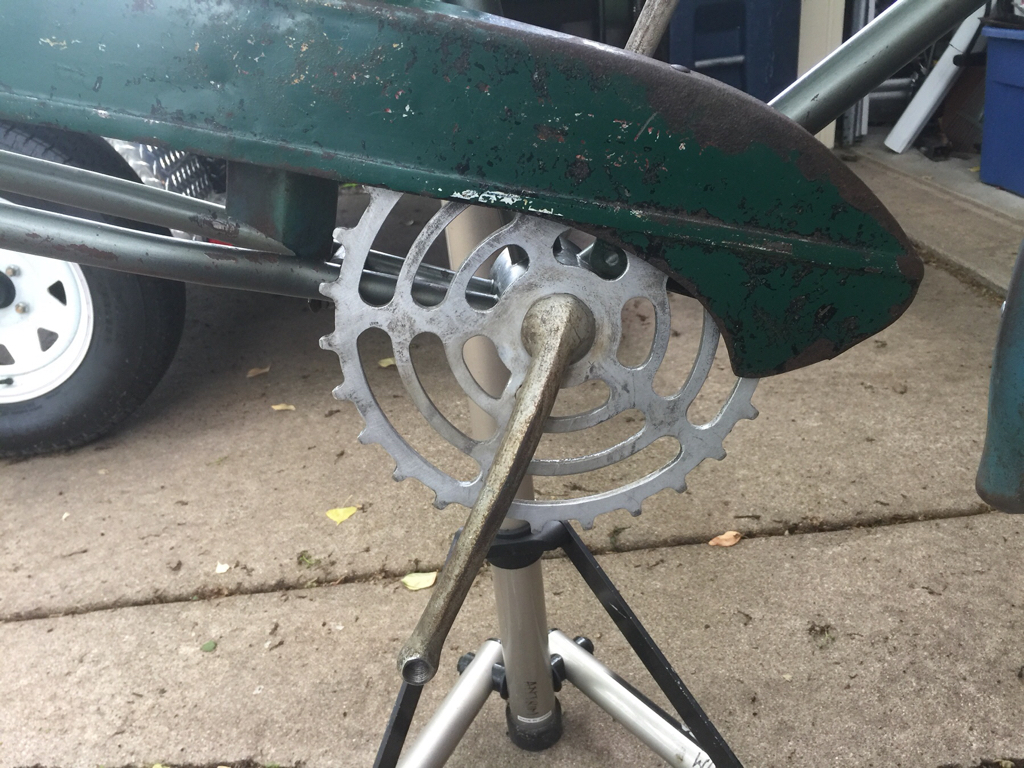
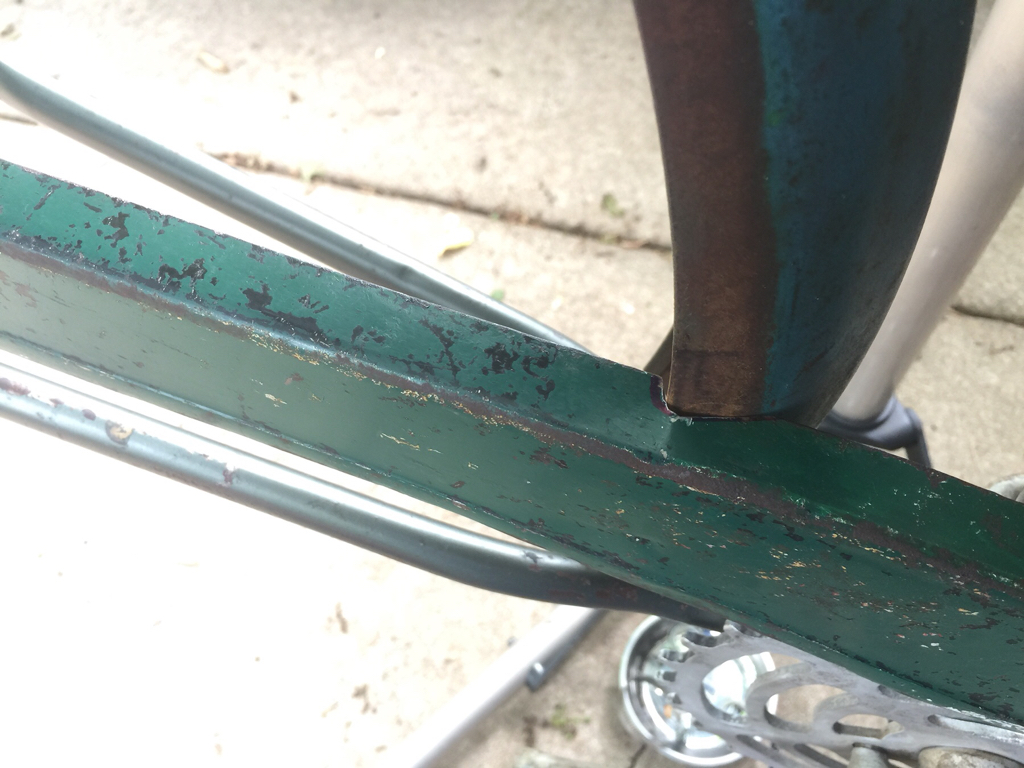
I forgot about notching the chainguard to clear the fender. This chainguard sets a little higher than the fender relief allowed for. I’ll still need to fine tune the notch.
Nice fitting work!
I like that rack.
I like that rack.
The Renaissance Man
__CERTIFIED DIVER__ (Open Water & Open Dumpster)
Staff member
Moderator
Pro Member
The rack is nice. The whole bike is very nice! Love the look!
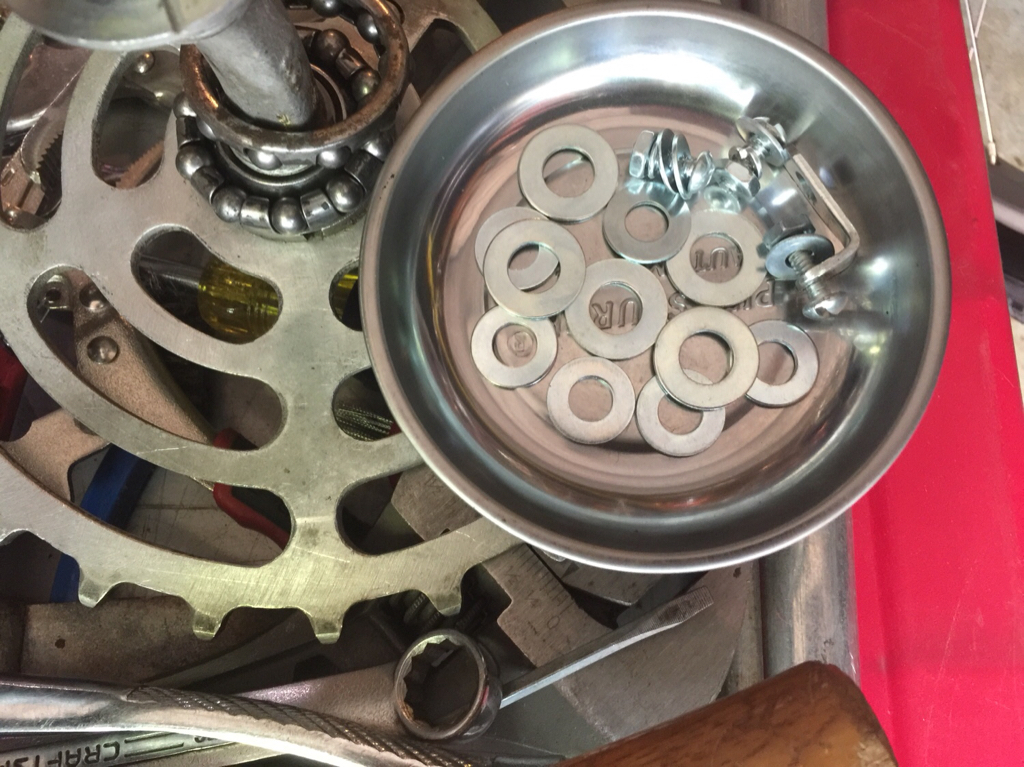
I hope you plan to knock the shine off of the new bolts and brackets. An overnight soak in vinegar will take the zinc off.
I hope you plan to knock the shine off of the new bolts and brackets. An overnight soak in vinegar will take the zinc off.
- Joined
- Jan 31, 2011
- Messages
- 632
- Reaction score
- 1,400
The rack is nice. The whole bike is very nice! Love the look!
I hope you plan to knock the shine off of the new bolts and brackets. An overnight soak in vinegar will take the zinc off.
Great idea about the vinegar; couldn’t agree more about the hardware, even if relatively hidden.
Very cool bike and some nice work putting it together.
furyus
I guess the challenges of these old bikes satisfy my need to be creative as crude as it may be. I have to be doing something, like riding a bicycle I have to keep moving. Thanks!Nice fitting work!
I like that rack.
The rack was a good timely find. Even as I’ve been trying to shed bikes, this Elgin just said take me home. The old Murray frames have some pizzazz about them.The rack is nice. The whole bike is very nice! Love the look!
I hope you plan to knock the shine off of the new bolts and brackets. An overnight soak in vinegar will take the zinc off.
I’m still mocking up and test fitting, I’ll do some aging before I quit.
I’ve used vinegar and salt water before. Stuff soaked in salt water just continues to rust even after being removed and dried. Vinegar is definitely the milder way to go. Acrylic paint is also a good artistic option.Great idea about the vinegar; couldn’t agree more about the hardware, even if relatively hidden.
Very cool bike and some nice work putting it together.
furyus
Thanks for the props, keep watching!
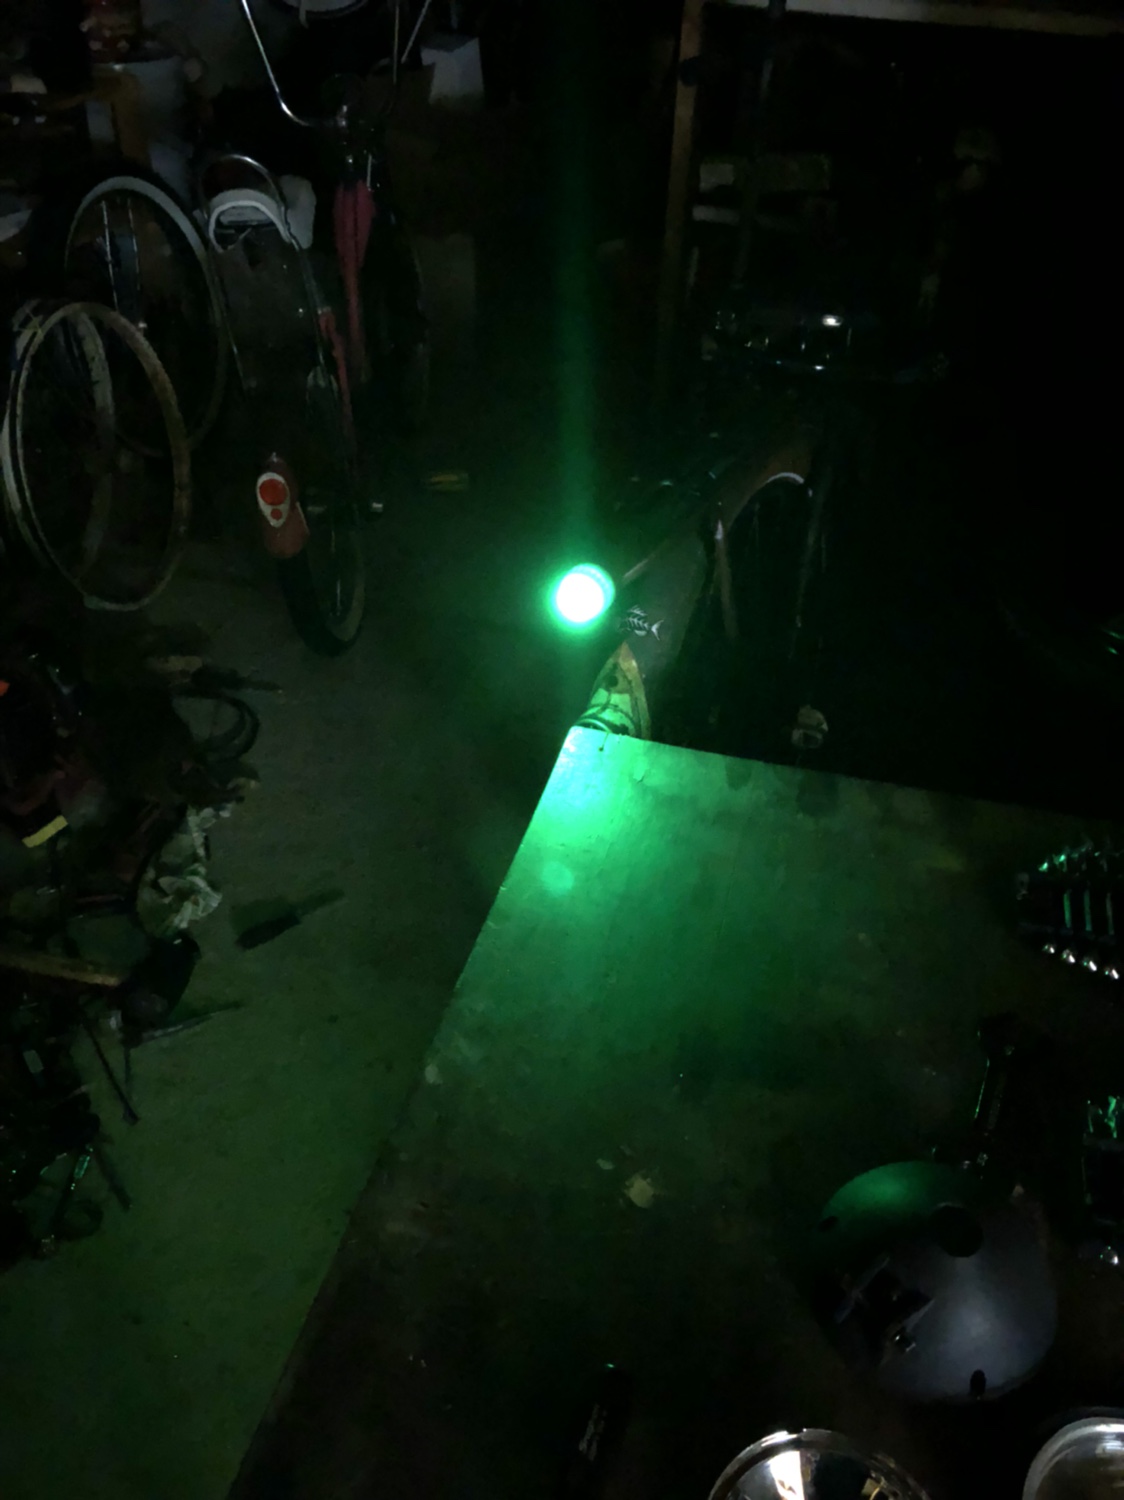
First attempt at Light for rack...cheap LED bike Light plus expensive Delta tail light lens.
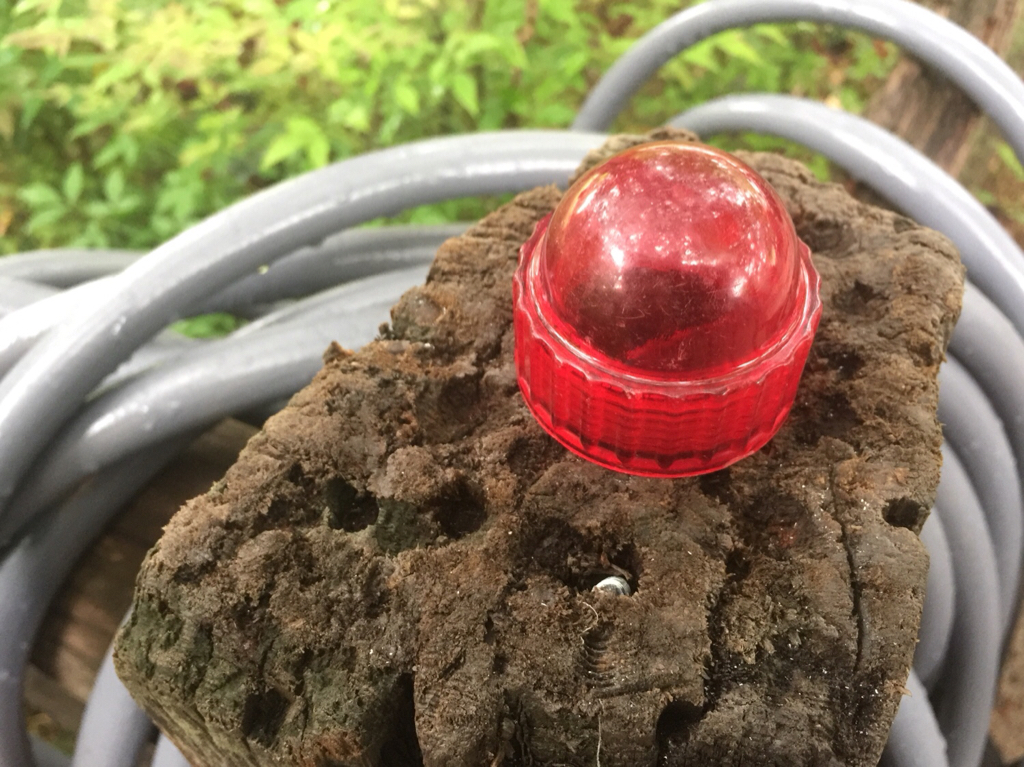
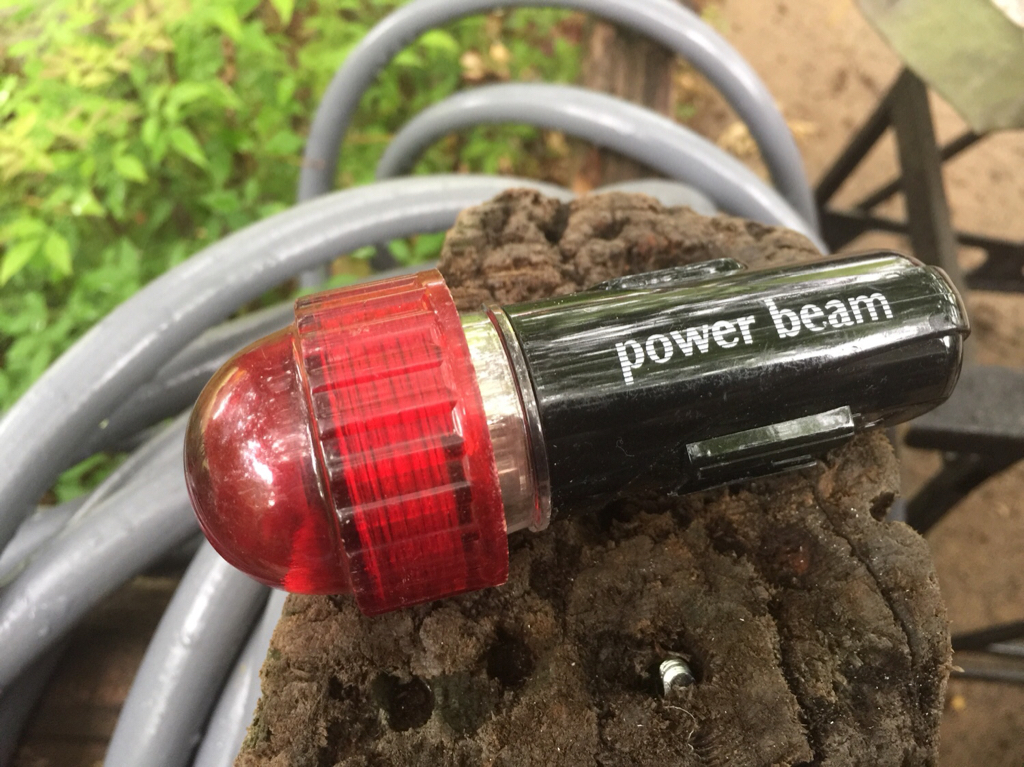
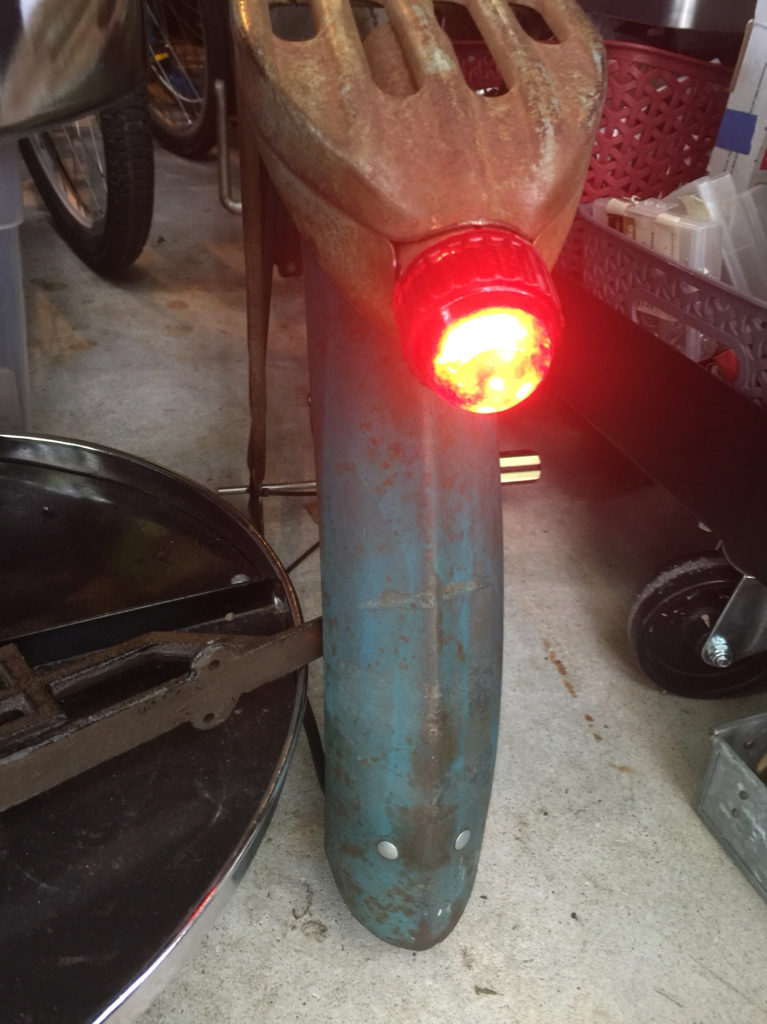
Still cheaper than the real deal and brighter with flashing mode.
Sent from my iPhone using Tapatalk
Still cheaper than the real deal and brighter with flashing mode.
Sent from my iPhone using Tapatalk
Did he same fix on my jacked up CWC rack.
My Delta light was cheap though..$4 at a swap meet a few years back...flashing mode is gonna come in handy
Sent from my iPhone using Tapatalk
My Delta light was cheap though..$4 at a swap meet a few years back...flashing mode is gonna come in handy
Sent from my iPhone using Tapatalk
That rack is perfect! Of course, personally I wouldn't clean it up TOO much. 
Dig the light.
Dig the light.
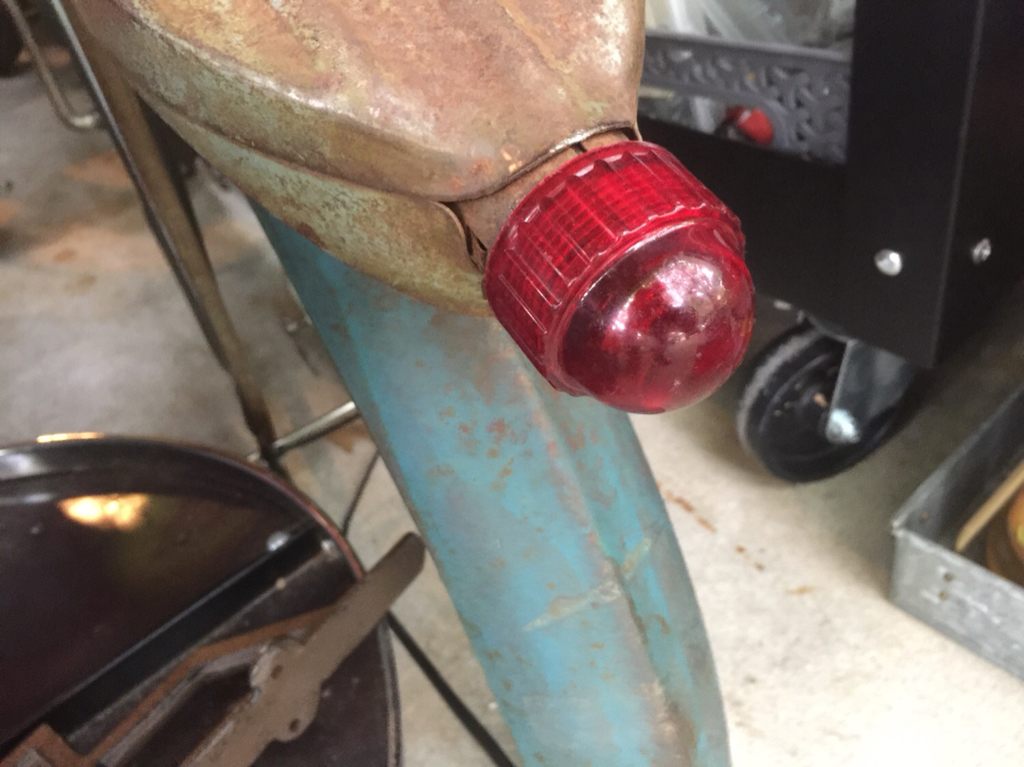
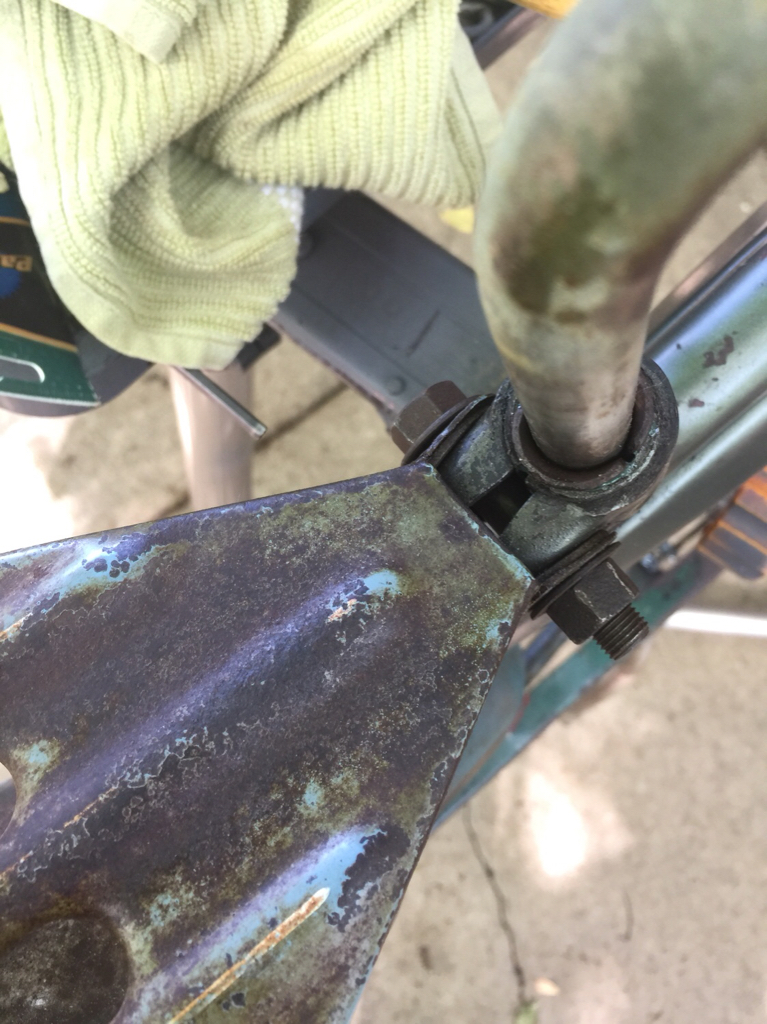
Well I got the he bracket connection on the rack opened up enough to fit the seatpost clamp, without breaking it. Then I cleaned it up with wool and oil and rough fit it.
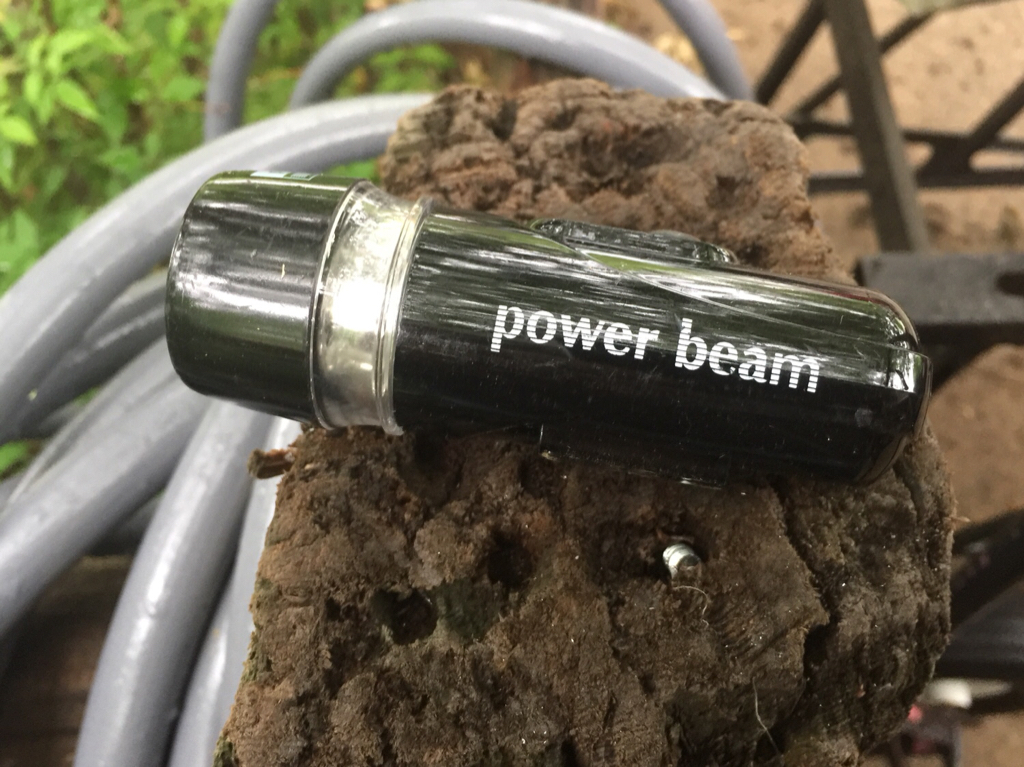
Played around with the rear light some trying to decide how to anchor it. The switch is on the side of the light requiring it to be removed to activate the light modes. The last one I did I used a light with switch on the back end which made it easy to switch on/off without removing.
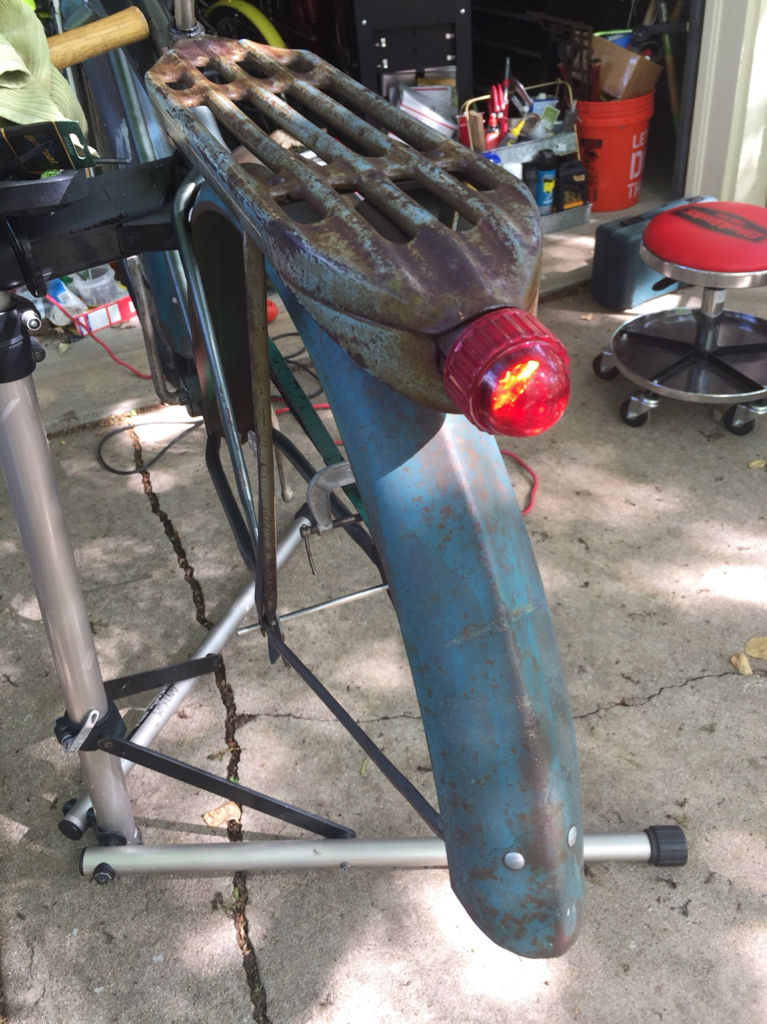
Color pretty close to fenders.
Sent from my iPhone using Tapatalk
Played around with the rear light some trying to decide how to anchor it. The switch is on the side of the light requiring it to be removed to activate the light modes. The last one I did I used a light with switch on the back end which made it easy to switch on/off without removing.
Color pretty close to fenders.
Sent from my iPhone using Tapatalk
Some hardware awaiting aging...
Sent from my iPhone using Tapatalk
Sent from my iPhone using Tapatalk
Some great work going on here. Nice colors/patina on this one. Cool fix for the rack light.
Dig it
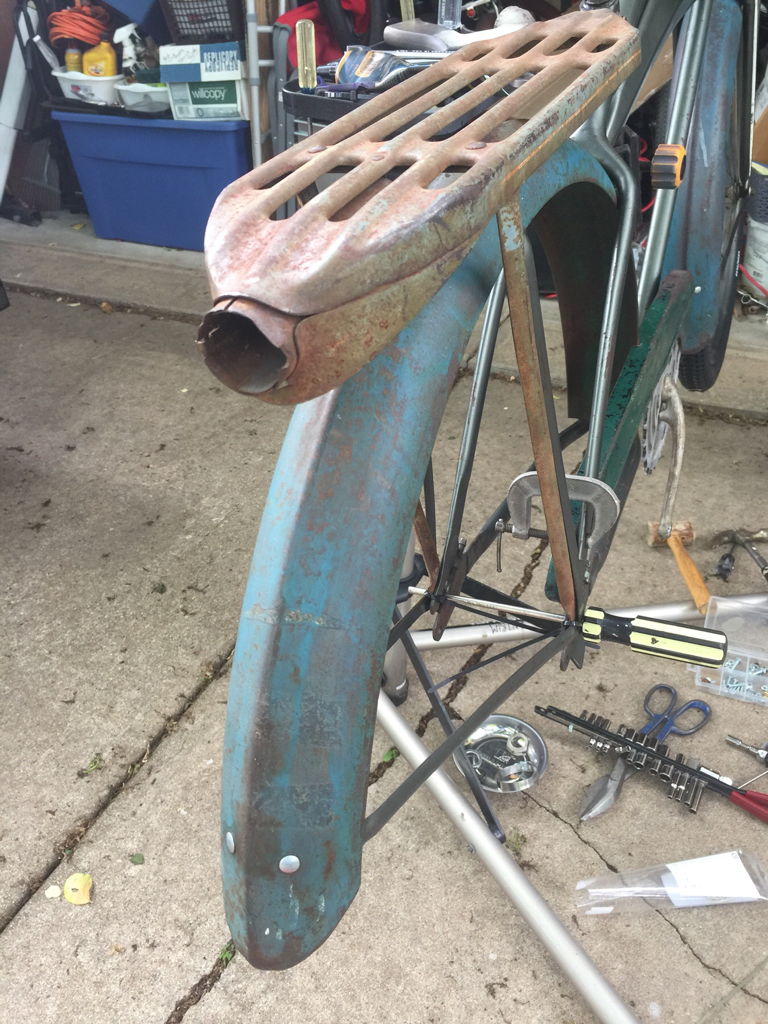
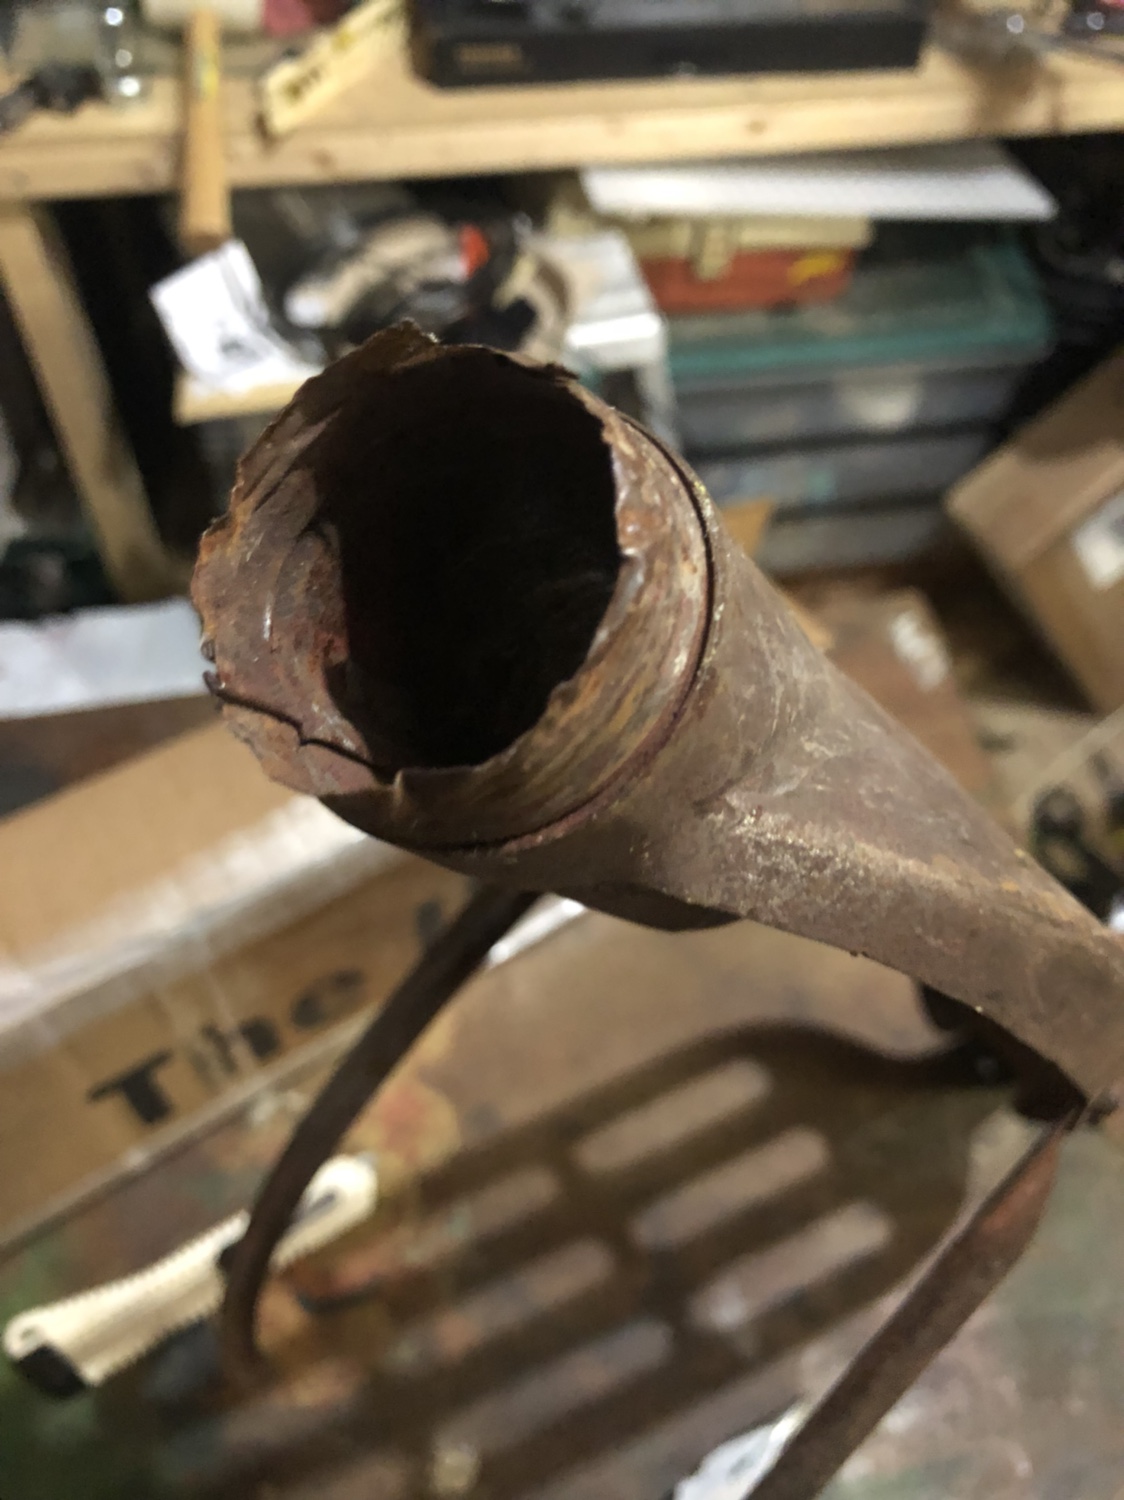
Looks good. I think your rack looks like it had the screw threaded end like the one I did last year. The lens I had just screwed on. This one is missing the threaded portion. I need to do a friction fit or come up with some type of retainer.Did he same fix on my jacked up CWC rack.
My Delta light was cheap though..$4 at a swap meet a few years back...flashing mode is gonna come in handy
Sent from my iPhone using Tapatalk
Sent from my iPhone using Tapatalk
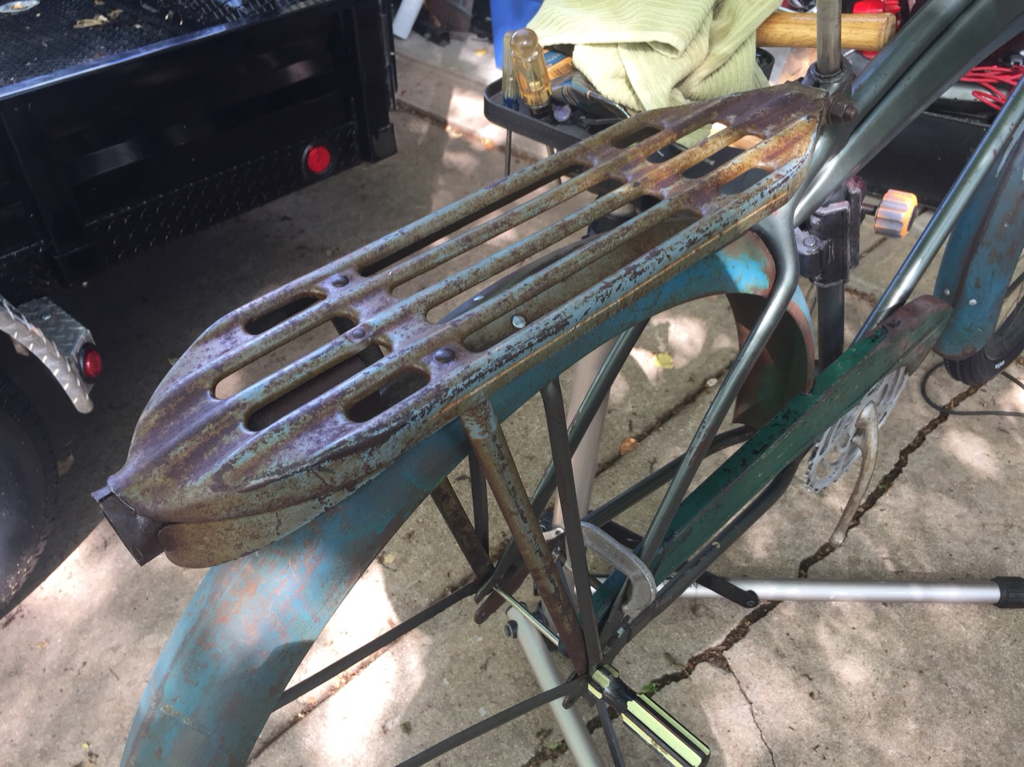
The rack was said to be an Elgin. I didn’t do any heavy duty cleaning, still mucho patina.That rack is perfect! Of course, personally I wouldn't clean it up TOO much.
Dig the light.
Thanks CT! From experience patina salvage beats new paint effort.Some great work going on here. Nice colors/patina on this one. Cool fix for the rack light.
I’m digging it too, keep trying to come up with some mild enhancements to honor this 77-78 year old survivor. Trying to stay period correct without breaking the bank. Thanks!Dig it
Sent from my iPhone using Tapatalk
Looks good. I think your rack looks like it had the screw threaded end like the one I did last year. The lens I had just screwed on. This one is missing the threaded portion. I need to do a friction fit or come up with some type of retainer.
Sent from my iPhone using Tapatalk
I used a set screw, simply drilled a hole in the bottom of the mangled metal bit and SLOWLY drilled a hole in the plastic light cover, inserted a self-tapping screw. My flashlight button is on the buttom and has a clip for fastening it to the underside of the rack.
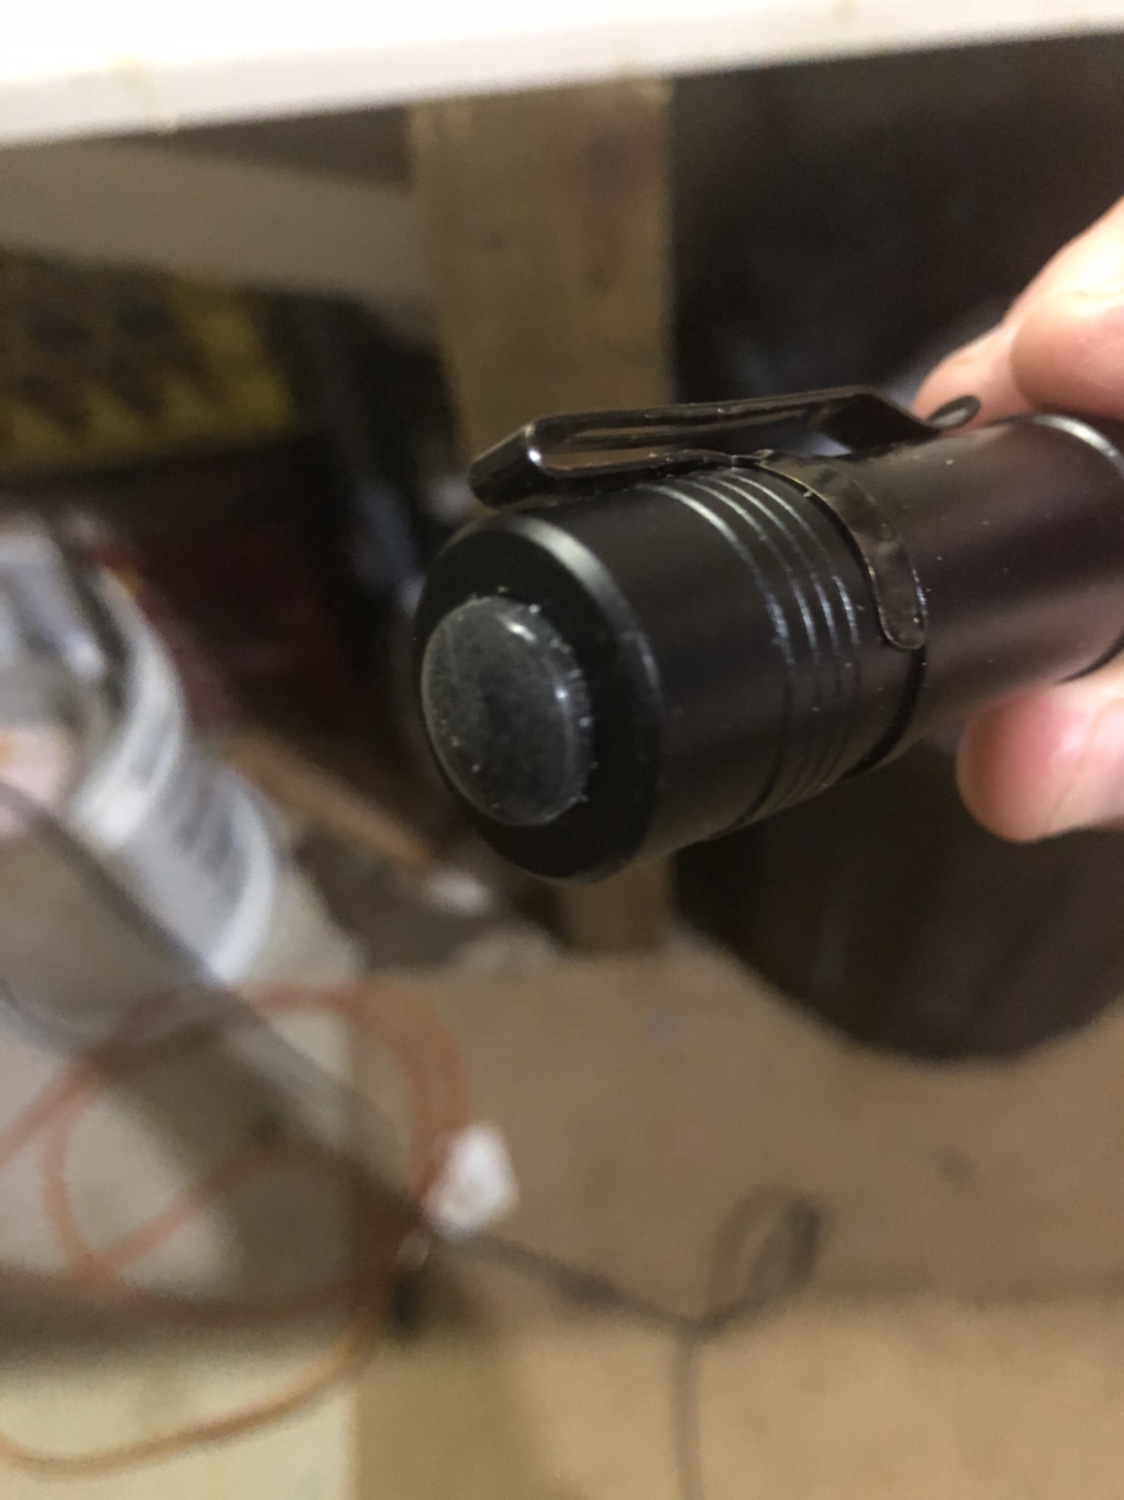
Hope this helps.
Sent from my iPhone using Tapatalk