Who woodn't

Rat Rod Bikes Bicycle Forum

Help Support Rat Rod Bikes Bicycle Forum:

This site may earn a commission from merchant affiliate links, including eBay, Amazon, and others.
Joined
Aug 25, 2008
Messages
222
Reaction score
1
Location
isle of wight
Rating - 0%
0   0   0
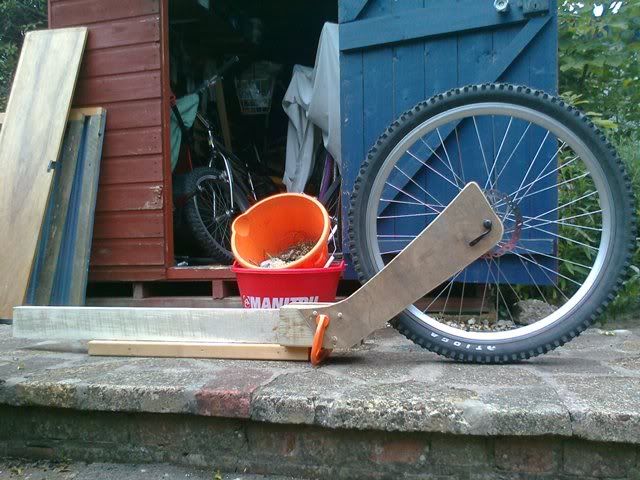
I guess this wood count as a scratch build, or at least a splinter build.
Today I started on a wooden build, kinda along the lines of a burrito. Building another burrito has always been an idea of mine, but no access to a welder put a stop to it, hence the wood.
I am a bit of a hoarder, and over the years have amassed quite a collection of useful looking bits of wood. So here goes.

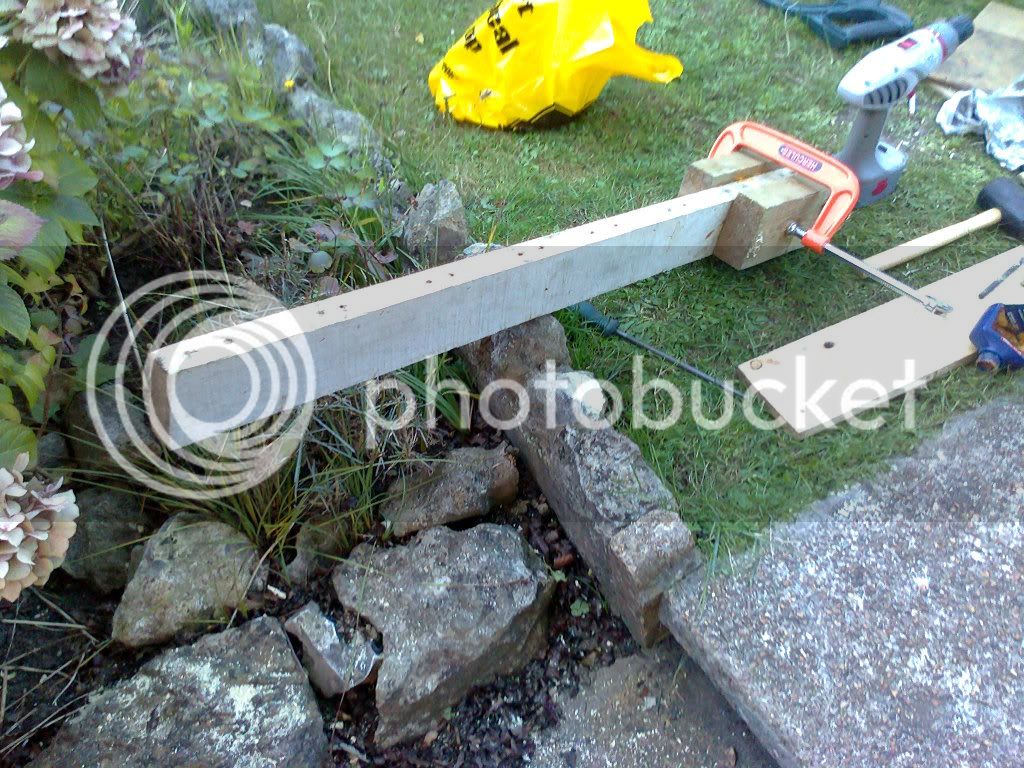
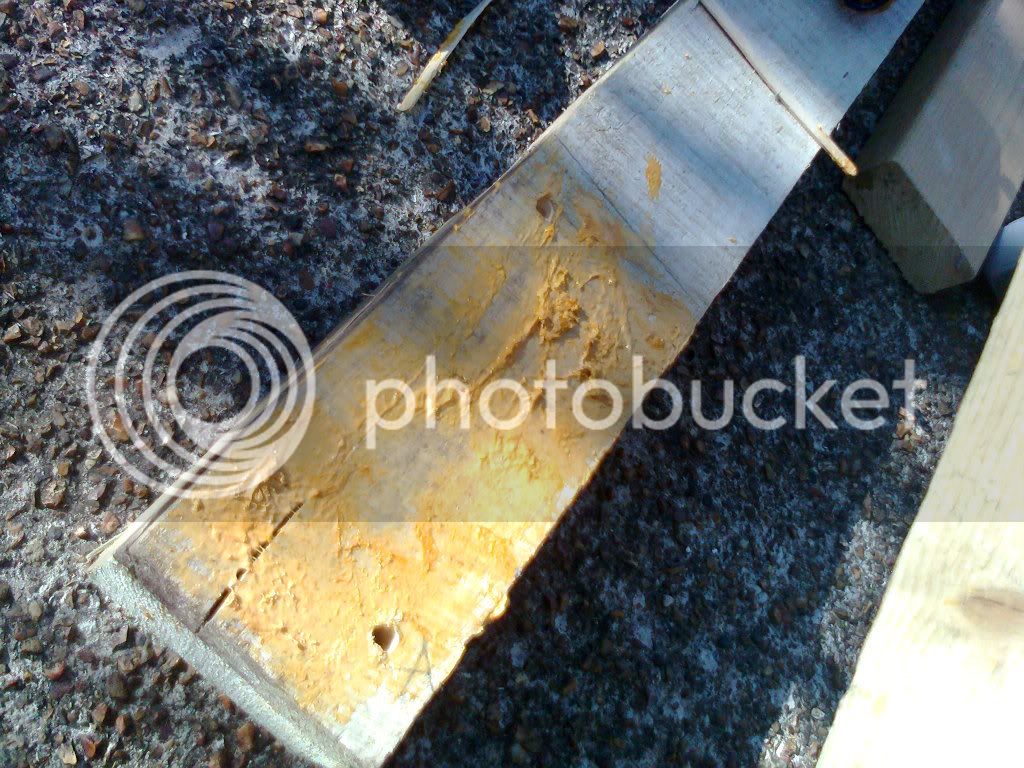
I started with a bit of wood, liberated from a pallet as the backbone. (1.5" x 3.5")

Photo0150.jpg


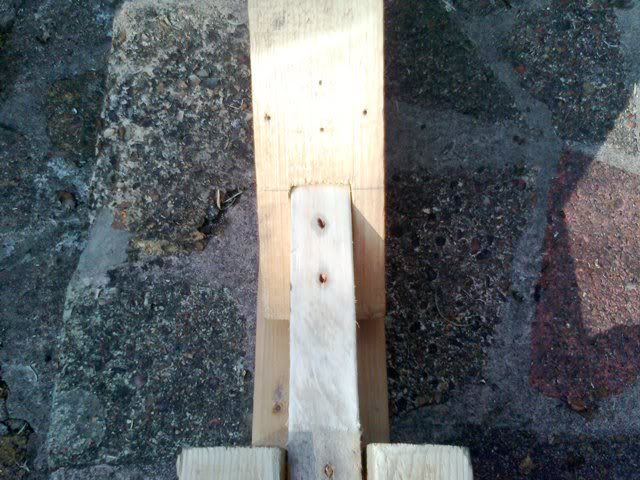
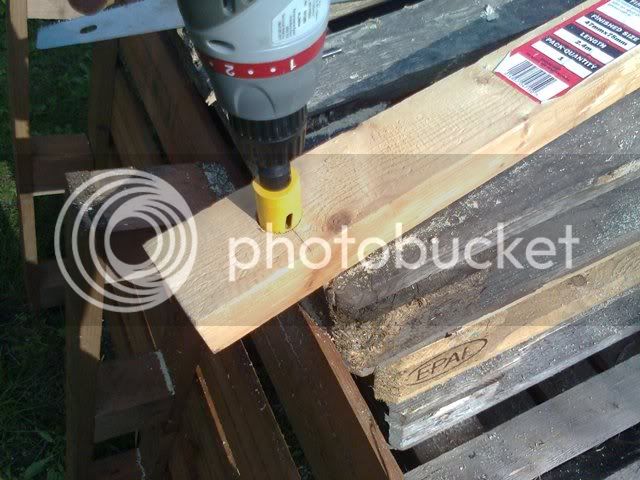
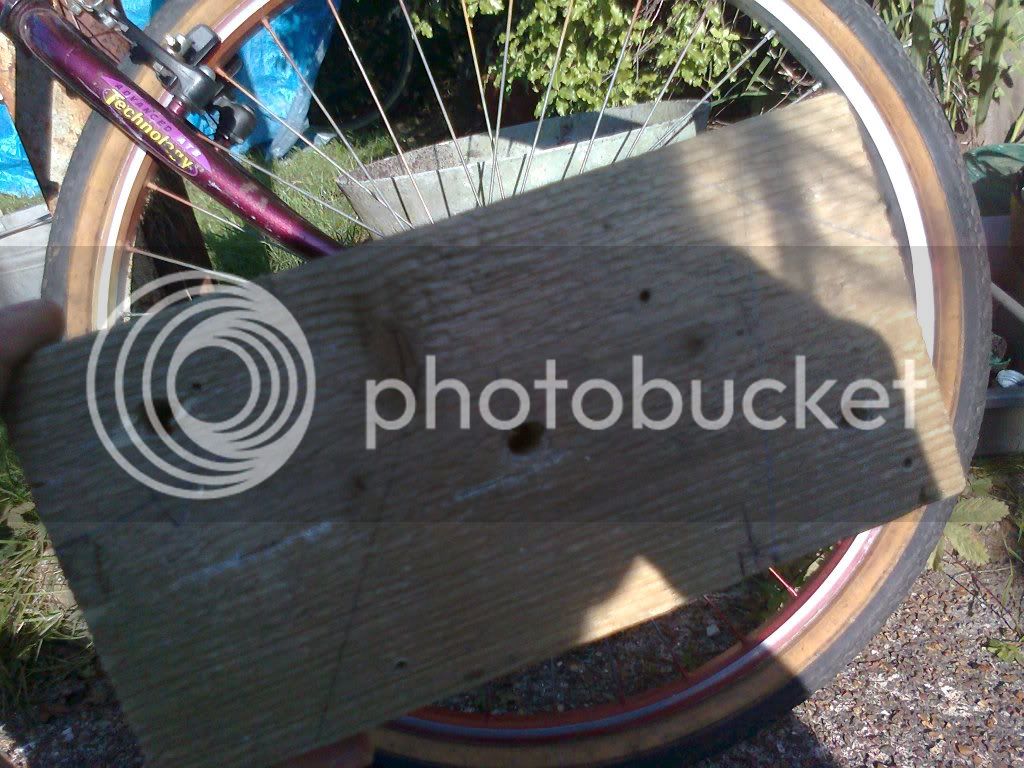
Then got some more burly bits of would and drilled diagonal holes through them (these continued into the backbone), handily the combined widths of the bits of wood bring the overall width to 135mm, the correct spacing for a mtb rear hub (almost like I planned it :p)

Photo0142.jpg


Photo0144.jpg


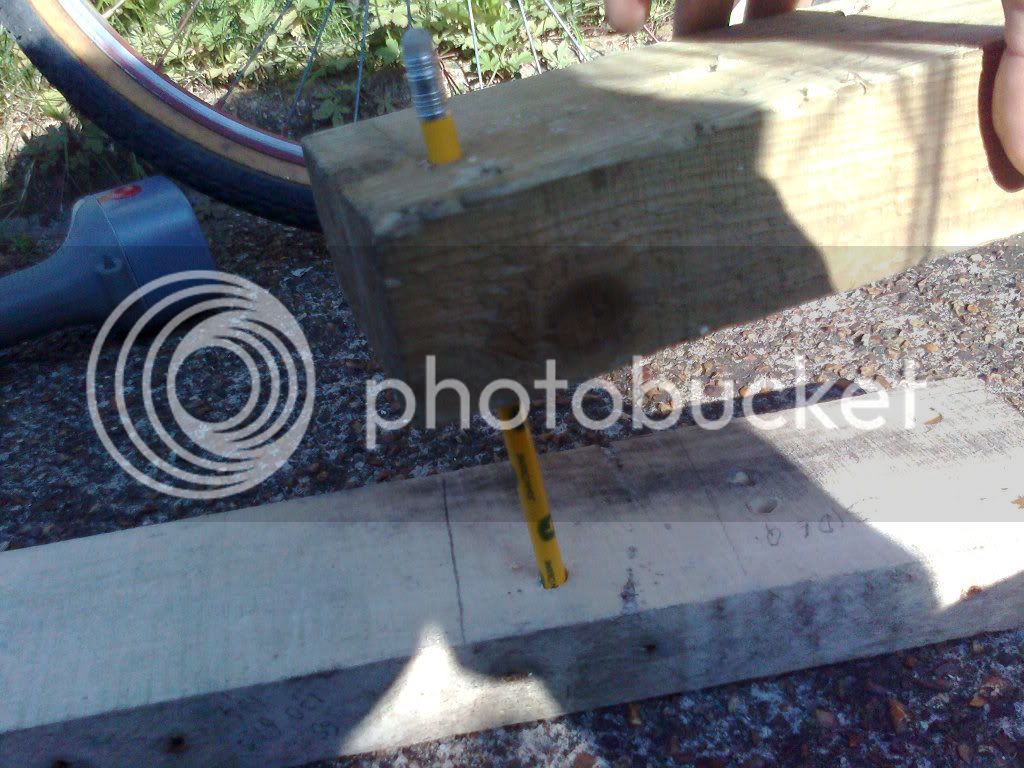
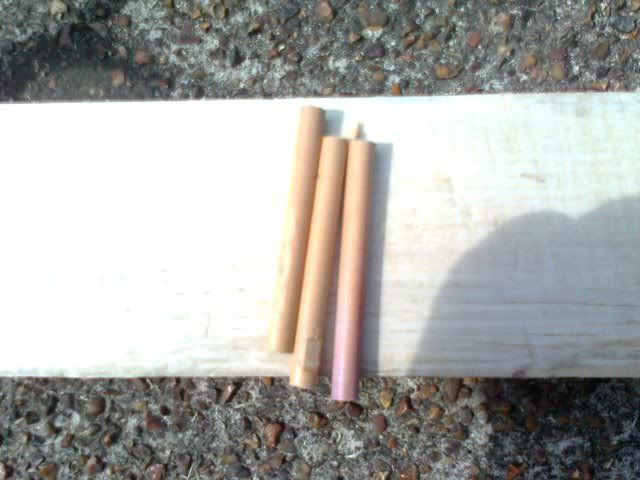
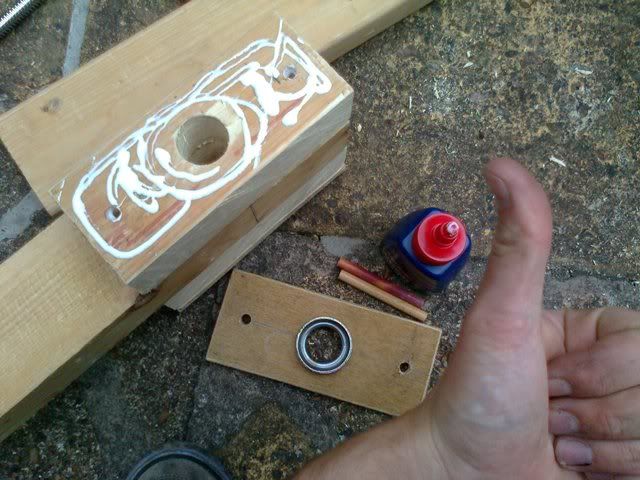
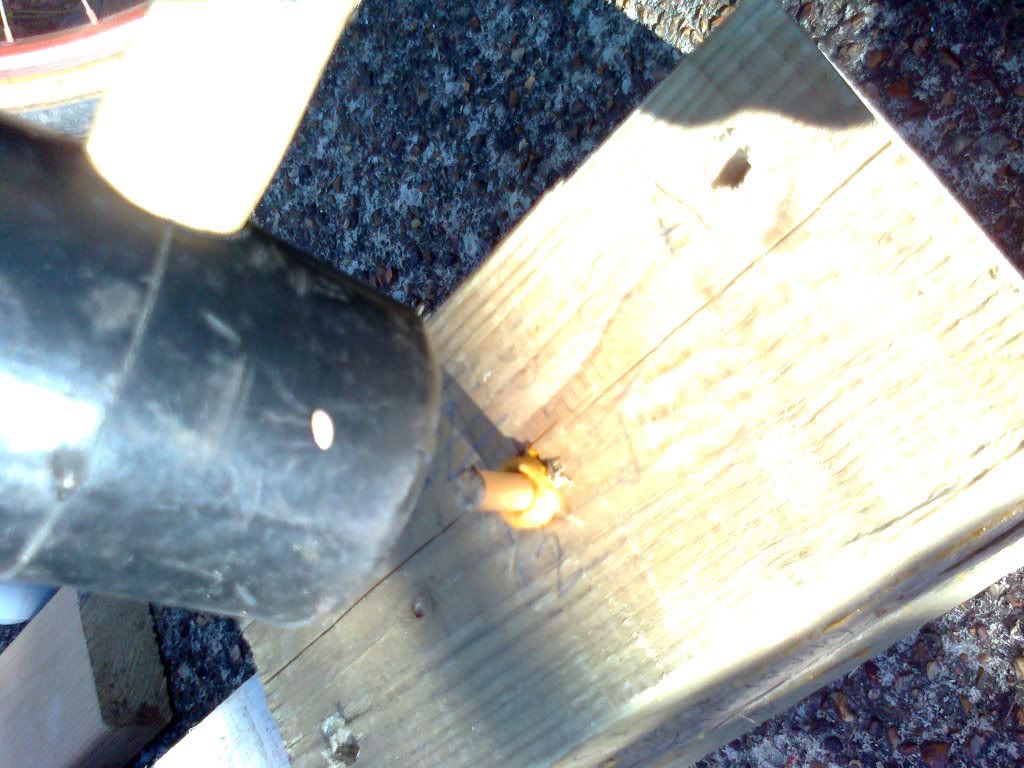
After the big bits were done I cut 6 dowels (points are awarded for what they are made from, they are 5/16 in diameter), these dowels are long enough to continue into the backbone through the burly bits

Photo0140.jpg


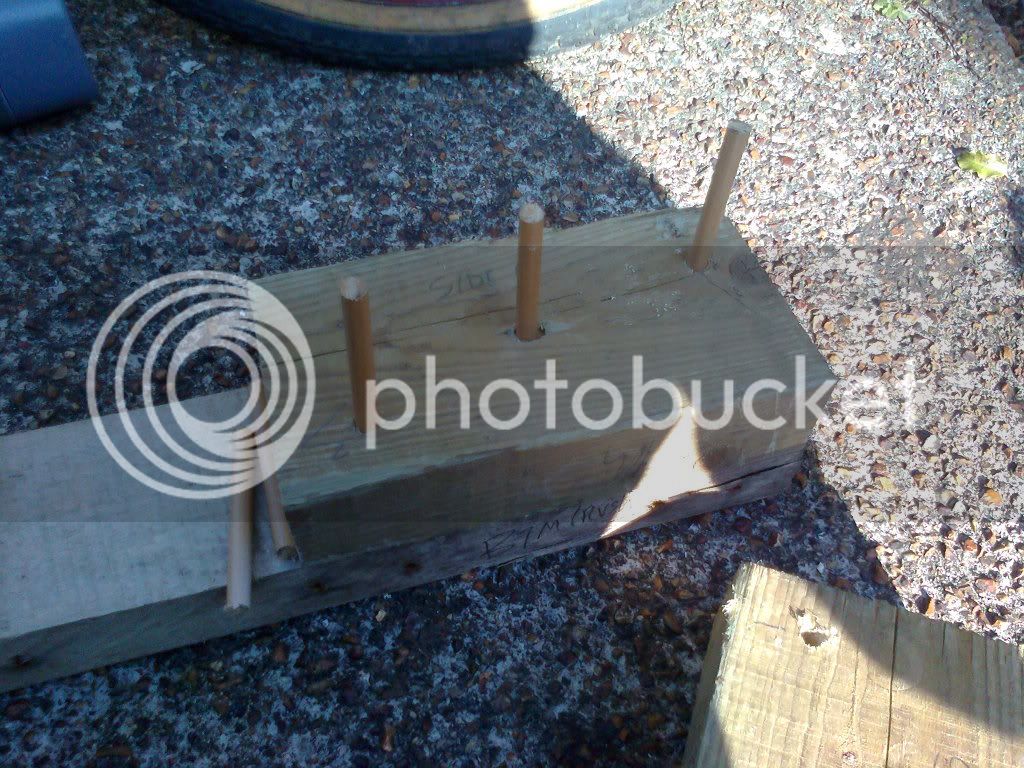
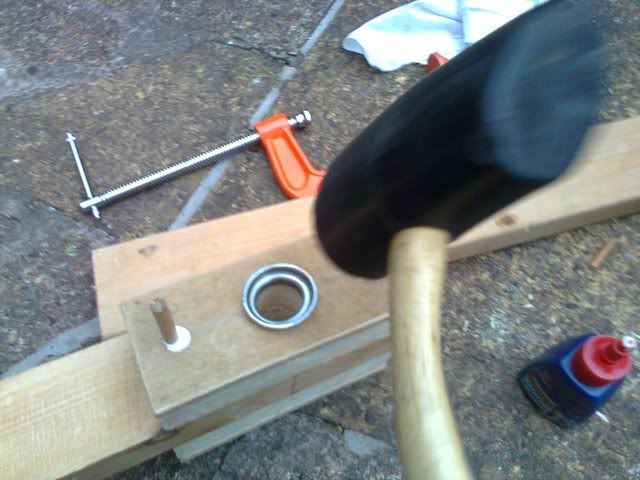
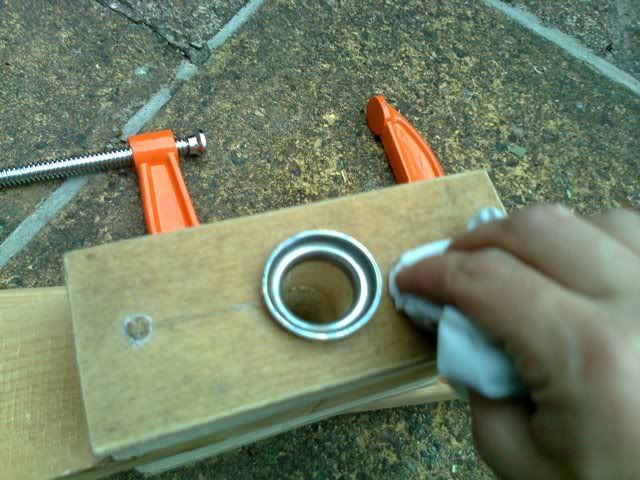
I glued the backbone to the burly bits and hammered the dowels through, I also glued these.

Photo0145.jpg


Photo0147.jpg


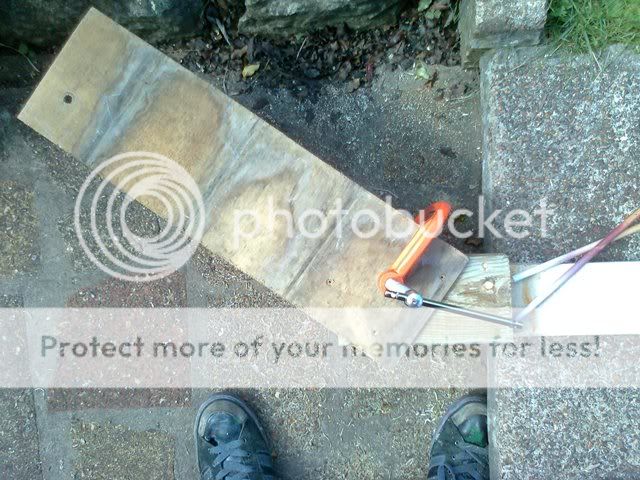
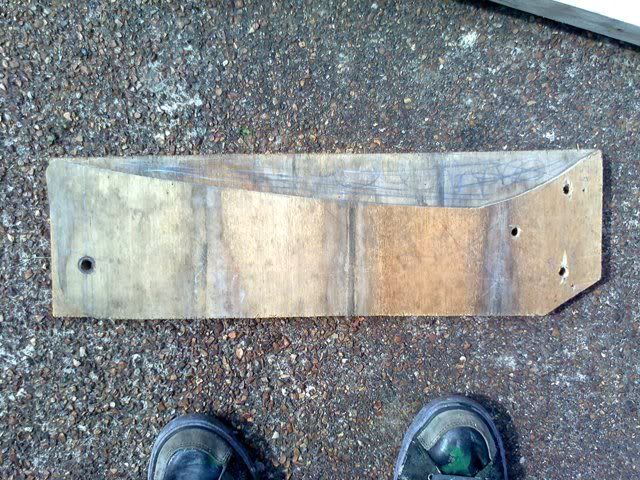
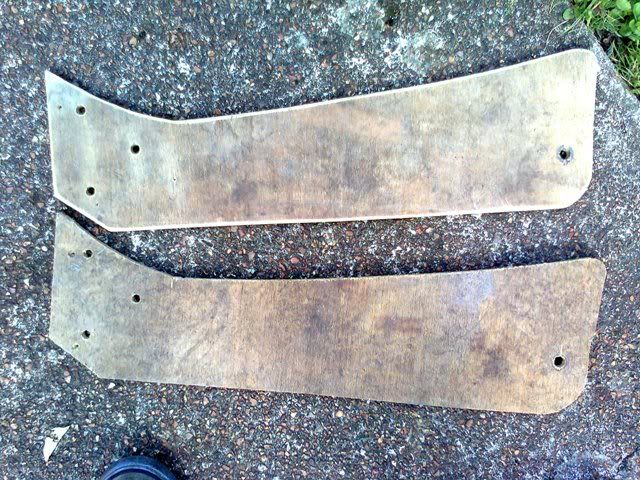
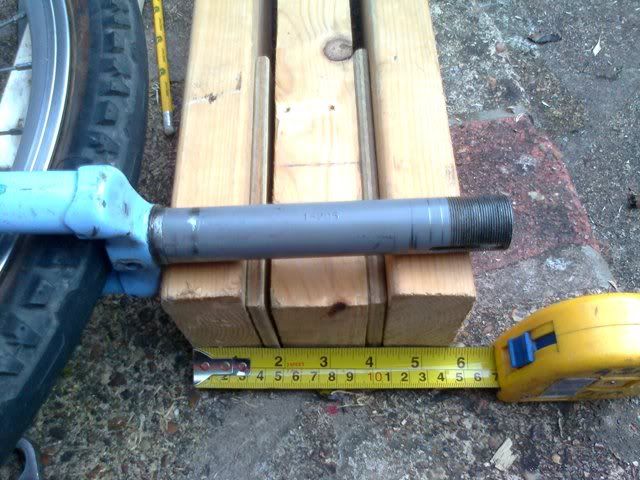
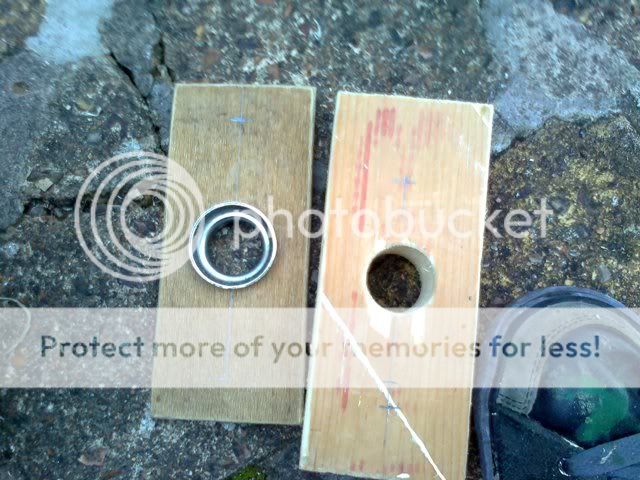
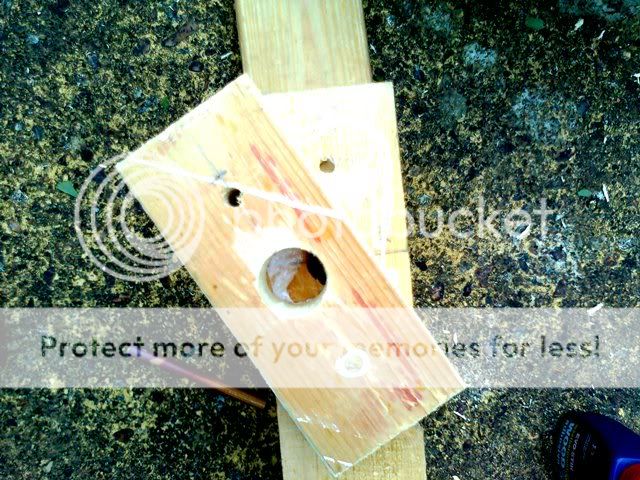
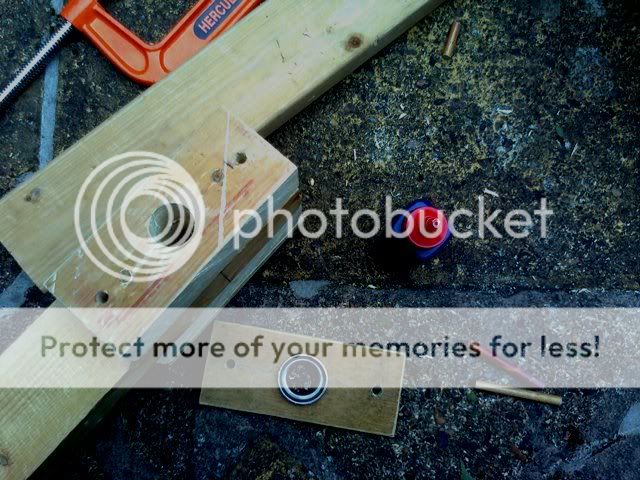
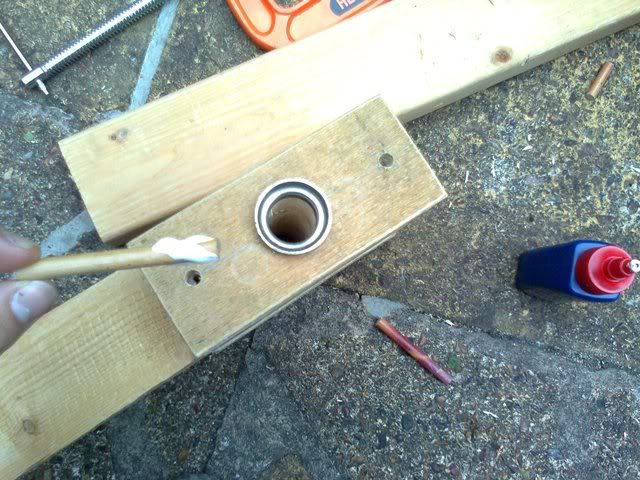
When the backbone was built I started on making the back end, for this I used 9mm ply, I drilled a 10mm hole for the 9mm axle of the rear hub to pass through and be held by the quick release, just like in a normal dropout.

Photo0151.jpg


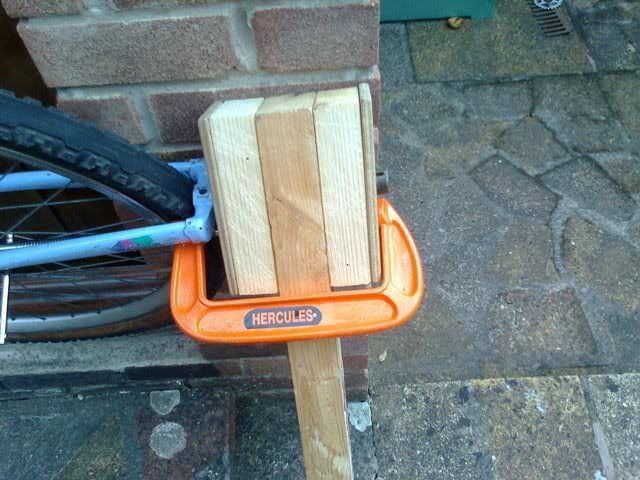
The rear end will mount onto the 'burly' bits of wood, I might screw them or peg them as I did with the other bits.

Any advice would be greatly appreciated, as would a real name for the bike.
 
how are you gonna do your headtube? i have a half-baked idea in the back of my mind for a bike made from an alternate material (not wood), and was wondering if you solved this yet.
 
I do have an idea, my plan is to drill a 11/8" holes in a plank and make a laminate out of it, this way i can make a head-tube length that is compatible with my forks, 11/8" is the size of the bit that fits in the frame of the headset cup so I'll put a normal headset in but just hide it in a wood head-tube, i bought an 11/8" hole-saw today to do the job. I'll probably be starting it on Sunday/Monday so I'll take lots of pictures for you.
I'm going to do the bottom bracket in the same way.
What material are you thinking of?
 
i always thought of taking a regular headtube off a bike and welding on a rectangular bracket so it an simply be sandwitched/bolted inbetween two pieces of wood. cant wait to see more of this! :D
 
OK got busy again on the old woodchop

I started today by getting the rear end ready to mount

Photo0152.jpg


Clamped it up to get the angle right and set the ground clearance/stance, then i drilled the holes for the pegs

Photo0155.jpg


Photo0156.jpg


After I worked out the mounts and drilled the peg holes I decided to add some shape to the rear end

Photo0160.jpg


Went from a boxy box to a nicer curvy shape

Photo0164.jpg


I then fitted them, I'm gonna have to do it one side at a time cause my clamp isn't big enough

Photo0167.jpg


I started on the front end whilst the rear was glueing

First of all I set the angle and cut a joint, i forgot to take any in progress pics on this

Photo0173.jpg


But this is what it looks like now

Photo0174.jpg


I then started on the headstock/headtube

Firstly i bored an 11/8" hole in the main plank bit

Photo0175.jpg


I needed a 51/2" headtube so I got some more wood out and worked it out

Photo0181.jpg


I decided to use the plywood as the parts that support the cups, I just have a feeling it may last a bit longer,

Photo0185.jpg


Clamped it all up to test, with the big bits in too

Photo0184.jpg


Just right I think, glued it all up and left it to set overnight, I reckon with a couple more days work we should have a woodchop, or at least a roller, the bottom bracket is the next hard bit I think.

Sam
 
Only did a bit today as I had to work, I glued up the headtube and done a step by step.

I got all the bits for the headtube cut yesterday and half of it assembled, I also drilled the holes ready for pinning too, so this is just assembly.

Photo0189.jpg


Glued it up and attached the big bit, hammered the pins in flush as below

Photo0190.jpg


Glued up for the small bit and cut the pins ready

Photo0192.jpg


Glued up the pins and pushed them into the aforementioned holes

Photo0194.jpg


WHACK! belted em' in with the safety hammer

Photo0202.jpg


Wiped up the excess glue

Photo0204.jpg


Clamped it and left it to dry

Photo0205.jpg


I'd do the same method if I was using more layers but I'd make the pins shorter, otherwise each layer would end up looking like emmental cheese.

Hope that helped any other wood be builders work out a better method on how to do it :lol:
 
I like the recycled pallet idea. Being heavily into wood bikes, it's fun to see how others approach the joinery and mechanics. Keep us posted. DPB
 
I made a wood bike from Laminated Venear Lumber and baltic birch plywood. I drill and pressed my head set and BB in much the same way as you did. One piece cranks work well as they hold themselves in. My laminated layers were vertical so I had to add a couple of fancy bolts to keep the fork from splitting the front end. My rear dropouts were made from steel so I could adjust tension for the coaster brake.

viewtopic.php?f=6&t=365
 
Galtbacken said:
Awesome, I'll be watching this with great interest! :D

I couldn't say it better. I once started a frame out of wood before I got a welder. I'll have to look for my parts and maybe start it up again. I may have burned it in the stove in the basement :oops:

Your making a 8) cool bike. Whats the finish going to be?

Graylock
 
Cheers for all the positive feedback!, the work has ground to a halt atm.
Been a bit busy and the weather is against me, its just coming into autumn (fall) and is raining quite a bit.
It should pick up again after Christmas, if not before (hopefully)

Finish wise, i'm not sure, i was thinking of wood stain and yacht varnish, or i could gloss paint it,
 
any updates
 
Great to see this moving forward? I've been working on a design for a long time - once in a while I just work on it while watching TV trying to simplify and simplify and simplify. Are you using a coaster brake on the rear to keep things simple?

K
 

Latest posts

Back
Top